Luminosity Masks have become a popular type of selections in Photoshop used by both professionals and beginners alike. However, unlike many other types of selections, they won’t be found in any menu. Instead, you’ll have to create them yourself. Don’t worry, it’s not as hard as you might think. It’s actually quite straightforward and all you need to do is follow a few simple steps.
Let’s get straight to it!
Creating the Brights Luminosity Mask
The first Luminosity Mask we’ll create is the Brights mask. This is the broadest brights mask and targets only the pixels that are considered more than 50% bright.
In other words, when you make an adjustment through a Brights Luminosity Mask, only the brighter areas of the image will be affected while the darker and midtone pixels will be left untouched.
There are a few different ways to create it but I’ll stick to the easiest and most common version. First, open an image in Adobe Photoshop, then follow these steps:
- Ctrl/Cmd + Click the RGB thumbnail in the Channels Tab. Marching Ants should now be visible around several areas of your image.
- Save the selection by clicking the Save selection as channel icon. The selection is now saved as a channel and given the name Alpha 1
- Double Click the name of your new channel “Alpha 1” and rename it to “Brights 1” or “Highlights 1”
- Hit Ctrl/Cmd + D to deselect the selection

That’s it; you’ve now created your first Luminosity Mask! It wasn’t that hard, right?
Creating the Darks Luminosity Mask
Now that you’ve created a Brights mask, let’s make a Darks. The process is almost the same as for Brights 1 but you need to invert the selection:
- Ctrl/Cmd + Click the RGB thumbnail in the Channel Tab
- Ctrl/Cmd + Shift + I to invert the selection
- Save it
- Double Click the new channel’s name and rename it to “Darks 1”
- Ctrl/Cmd + D to deselect the selection
Again, the initial selection created by Ctrl/Cmd + clicking on the RGB thumbnail targeted every pixel brighter than 50% white. Since we wanted exactly the opposite (everything darker than 50% black), we inverted the selection before saving.

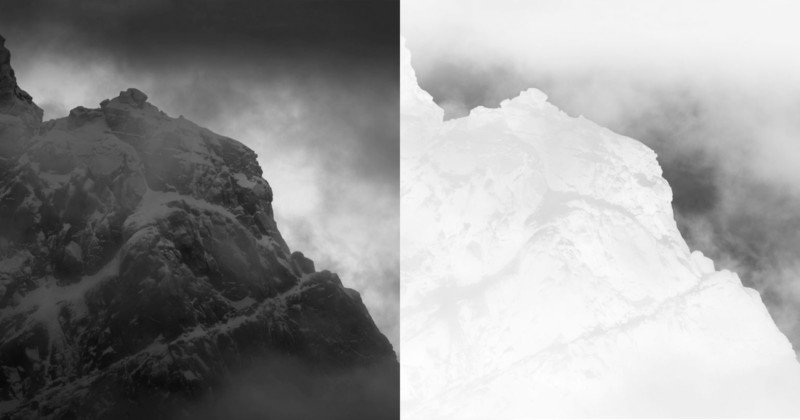
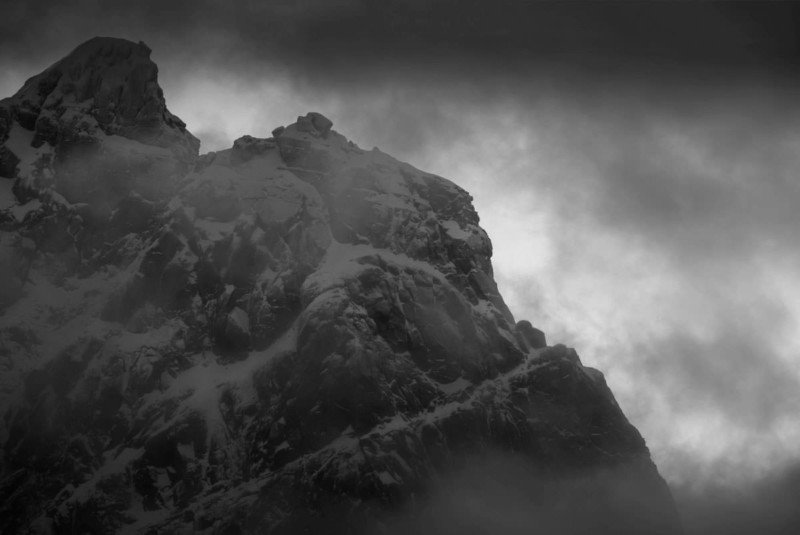
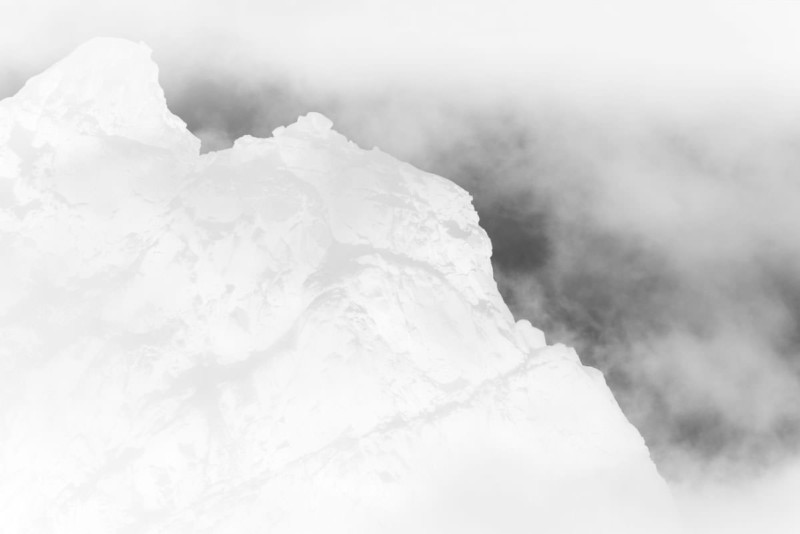
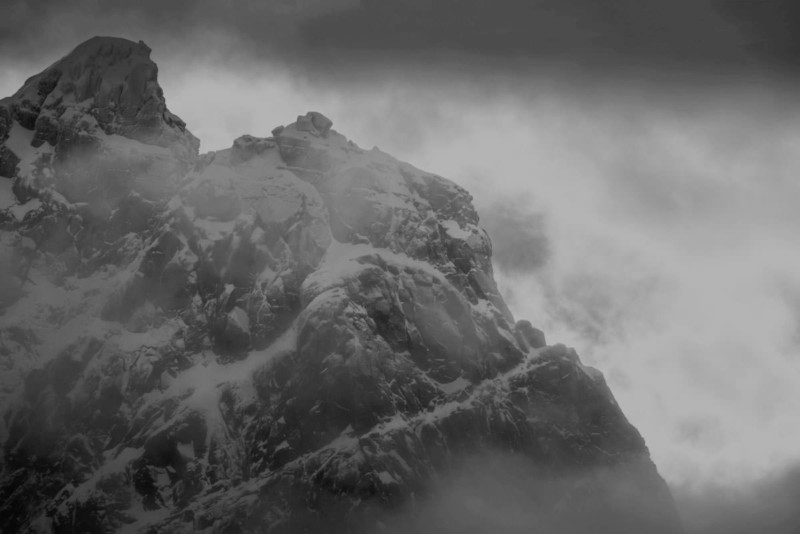
If you compare the two masks, you can see they’re indeed opposites. In the Brights mask, all the bright areas are white or some shade of it, while in the Darks mask all the dark parts are white.
Note: Remember that white reveals and black conceals. Everything white in a mask will be affected by an adjustment; everything black will be hidden/protected from it. The adjustment is affecting areas of various shades of grey at a lower opacity.
Creating the Midtones Luminosity Masks
You need to follow a few different steps to create the Midtones mask. In fact, we need both Brights 1 and Darks 1 to make it but don’t worry, it’s not rocket science. I find that the Midtone masks are very helpful and I use them in more or less every image I process.
Basically, midtones are all the pixels that weren’t selected in Brights 1 and Darks 1. To create the Midtones mask, we’ll take the entire image and just subtract out the brights and darks.
Here we go:
- Select the entire image (Ctrl/Cmd + A)
- Subtract Brights 1 (Ctrl/Cmd + option/alt + click on the ‘Brights 1’ channel’s thumbnail)
- Subtract Darks 1 (Ctrl/Cmd + option/alt + click on the ‘Darks 1’ channel’s thumbnail)
- Save selection and rename the new channel to ‘Midtones 1’

Let’s recap what just happened: We started by selecting all the pixels, then removing pixels that are brighter than 50% white and then those darker than 50% black. That left us with the first (and narrowest) selection of the Midtones; the mask targets pixels that are neither dark nor bright.
What Now?
If you’ve followed the steps above, you’ve successfully created your first Luminosity Masks. You can activate one by Ctrl/Cmd + clicking on its thumbnail. This reveals the Marching Ants. Any Adjustment Layer you make with the selection active will automatically apply the Luminosity Mask to the Layer Mask.
The Brights, Midtones, and Darks masks are the broadest Luminosity Masks and target a majority of the picture. Quite often you want to target only more narrow parts, which means you’ll need to refine the masks.
About the author: Christian Hoiberg is a full-time landscape photographer who helps aspiring photographers develop the skills needed to capture beautiful and impactful images. The opinions expressed in this article are solely those of the author. Download Hoiberg’s free guide 30 Tips to Improve Your Landscape Photography and open the doors to your dream life. Hoiberg is also the founder of CaptureLandscapes. You can find more of his work on his website and Instagram. This article was also published here.