If you’ve ever heard that “natural light is best” for food photography, then you’re not alone. But natural light isn’t the only way to create beautiful food photography. In this post we’re going to cover 10 tips to help you use lighting more effectively in your food photography.
1. Control Natural Light
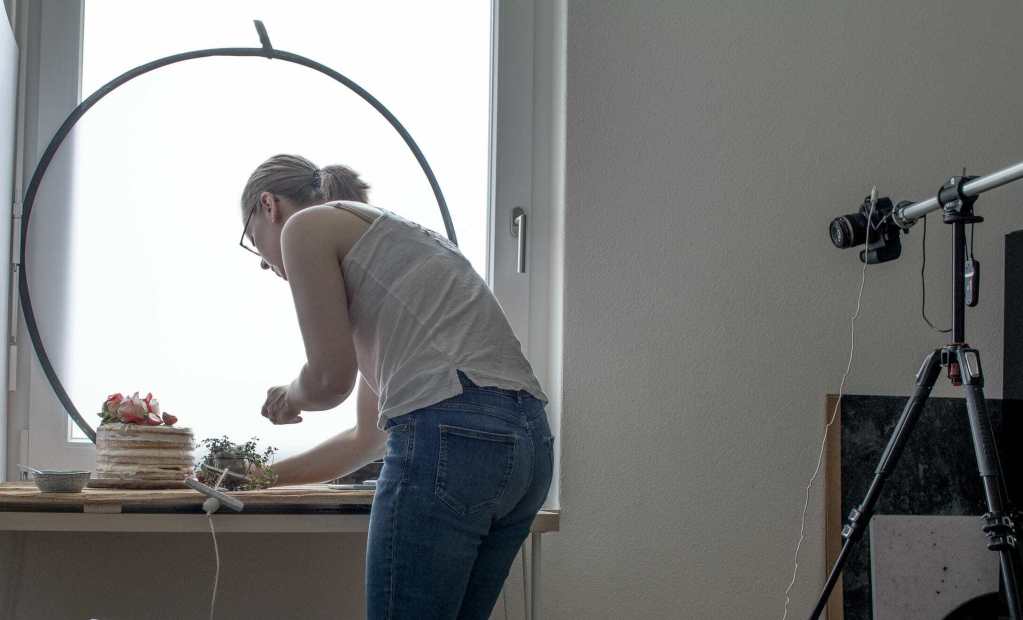
Natural light is temperamental, we can’t control it, so things like the intensity, colour temperature and direction are subject to change at any point throughout the shoot. But natural light can produce incredible food photos, so here are some ways you can work with natural light more successfully:
- Use a south-facing window. This will help you avoid direct sunlight, giving your photos a more consistent look.
- Use a diffuser. A diffuser is a thin sheet of material that is used to soften
light . When you’re working with natural light, there may be times that you just can’t avoid direct sunlight. A diffuser will allow you to work-inbeautifully soft natural light no matter what your window situation is. - Block off all windows except the one you’re using as your main light source. This will help you create a more intentionally lit photo, without any disruptions from ambient light.
2. Use a Light Modifier
Whatever kind of light you’re working with, arguably, the modifier is more important than the light source itself. Modifiers help you control how the light you’re working with behaves so choosing the right modifier is super important.
Diffusers
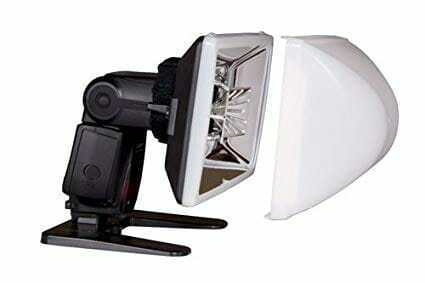
You have probably experienced the harsh lighting effects produce by on-camera flash. This is because the on-camera flash produces a harsh light source that is concentrated and directional. Resulting in an unnatural look with harsh shadows, overexposed areas, and washed-out colors.
A light diffuser is a light modifier that helps avoid harsh lighting by softening and/or spreading out light. Which leads to more natural and flattering lighting without harsh shadows. They come in a variety of sizes and can be used with artificial and natural light.
Softboxes
A softbox is a light modifier which traps light inside an enclosure and let it escape through a diffuser on to your subject.
Softboxes are especially helpful in food photography due to their portability. They comes in many sizes and shapes. Allowing food photographers to produce beautiful soft light wherever the food is!
Soft light produced by a softbox helps to evenly lit the surface of your food photos without hard-edged shadows. They can also act as a secondary light source which improves the overall lighting levels while keeping the natural lighting conditions of your kitchen/restaurant.
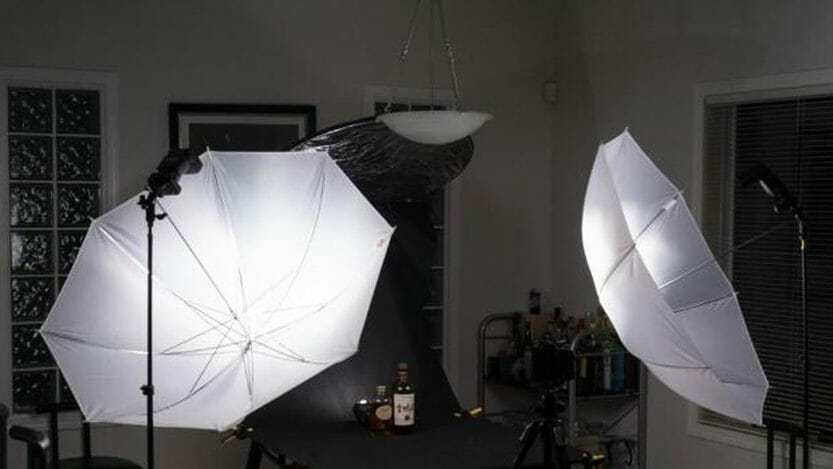
Shoot-through Umbrellas
Shoot-through umbrellas are made from translucent white fabric from which the light passes through to the subject. They create a more visually pleasing light condition by softening and broadening the light source. Which allows you to place them closer to your subject. Resulting in a softer light that is ideal for food photography.
3. Use Bounce Cards and Fill Cards to Manipulate Shadows
Bounce cards and fill cards will help you control how the shadows look in your photo. They are great for enhancing a bright and airy, or dark and moody look.
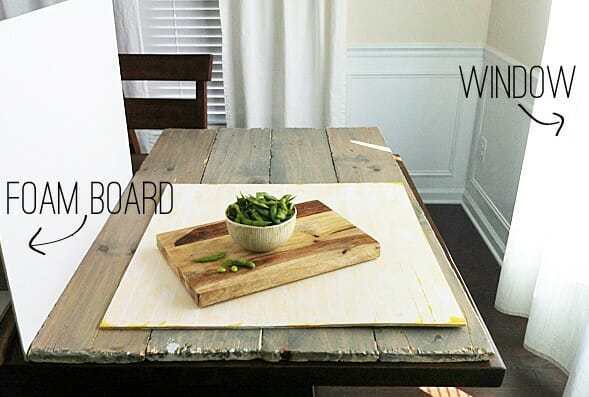
Bounce Cards
A bounce card is a white or silver reflector that will bounce light back onto your scene. Which helps to lighten your shadows. A foam board is a cheap and easy way to achieve this. Place the foam board directly opposite your light source to lighten deep shadows for a light and airy look.
Fill Cards
The opposite of a bounce card, this is a black piece of card. When you place a fill card opposite your light source with your subject in the middle, the card will absorb light, stopping it from bouncing back onto your subject, creating deeper, darker shadows. This is especially effective for dark and moody food photography.

Using a white reflector opposite the light source to lighten the shadows 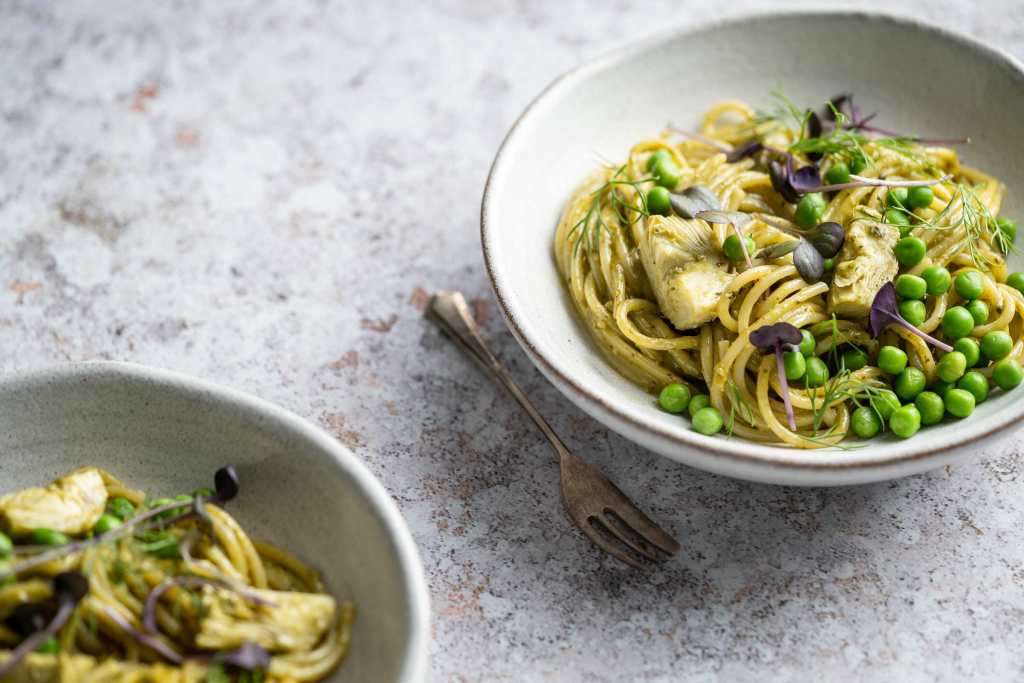
Using a black fill card opposite the light source to darken the shadows
4. Shoot with a Custom White Balance
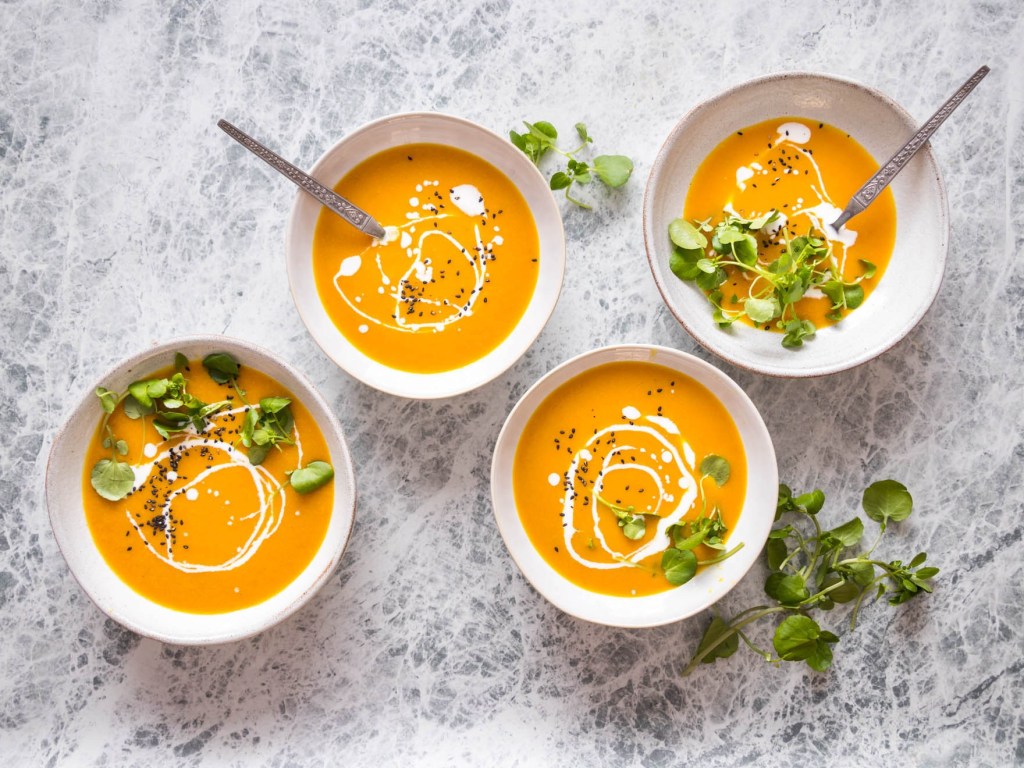
All light has a color temperature, and it’s measured in Kelvins (K). White daylight has a value of 5500-6,000K, but most of the time, the light we’re working with (even daylight), isn’t exactly this value. If you’re shooting in the morning, or on a cloudy day, the light might be more blue toned, whereas if you’re shooting in the height of summer in the evening, the light will have more of a yellow tone, and we need our camera to compensate for that to produce accurate colors in our food photos.
While there are many pre-set white balance options on DSLR’s (including auto), setting a custom white balance in your camera will allow it to better analyze the light you’re working with and apply the right settings to get the perfect white balance. This helps your photos look natural and helps the colors look true to life.
5. Use Manual Mode on Your DSLR for Better Food Photography Lighting
When you’re shooting in auto mode (or any other kind of programmed auto), your camera is using the light around you to calculate your exposure. Which then determines your exposure triangle settings (ISO, shutter speed, aperture).
However, it’s not able to take into account exactly how you want your photo to look. Let’s face it, YOU are smarter than your camera, and you should have the final say on your camera settings.
When you shoot in manual mode, you can make intentional decisions about your depth of field, your shutter speed, and use the light you’re working with to nail your camera settings, making your post processing much easier.
Manual mode can seem overwhelming if you’ve never used it before, but it’s by far the best way to get the most out of your food photography lighting.
I created a free 5 day e-course to take you from auto mode to full manual mode in just 5 days. You can join the course absolutely free here.
6. Use Backlighting for Amazing Specular Highlights
Food photography loves backlight. It’s a great way to pick up some gorgeous specular highlight on foods with a natural shine (think glazed pastry, drinks, etc).
When backlighting, place your light source behind your subject at a slight angle to avoid dead straight shadows in the front, and place a white fill card in front of your subject to help bounce some light back onto the front while still maintaining the beautiful highlight.
Backlighting works best in 45° angle shots for food photography, but you can play around with straight on shots too.

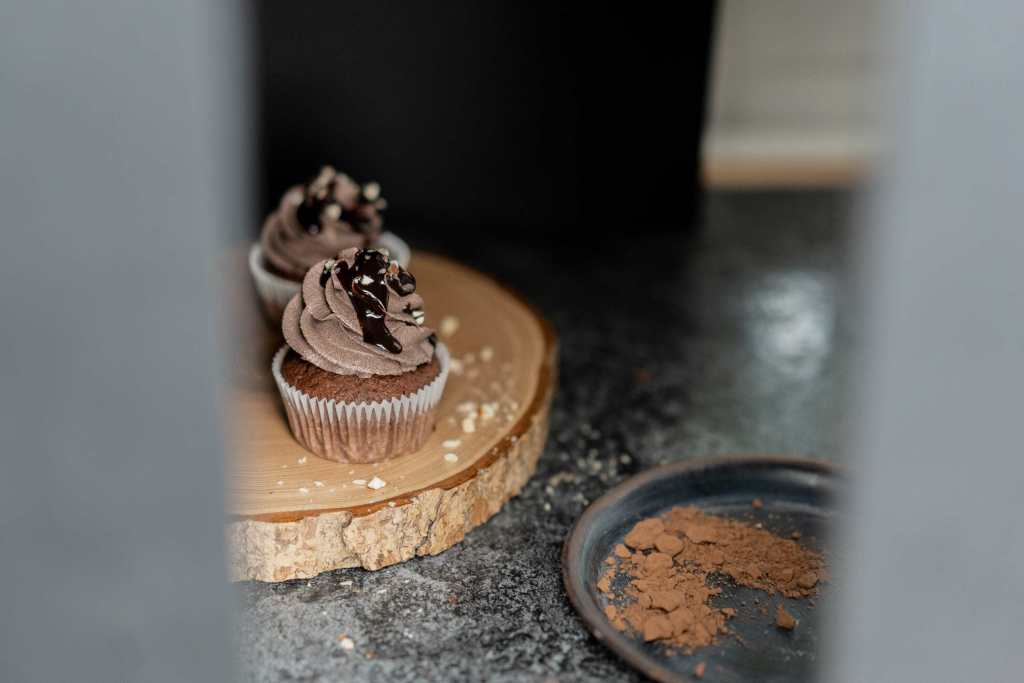
7. Manipulate Light with Fill Cards
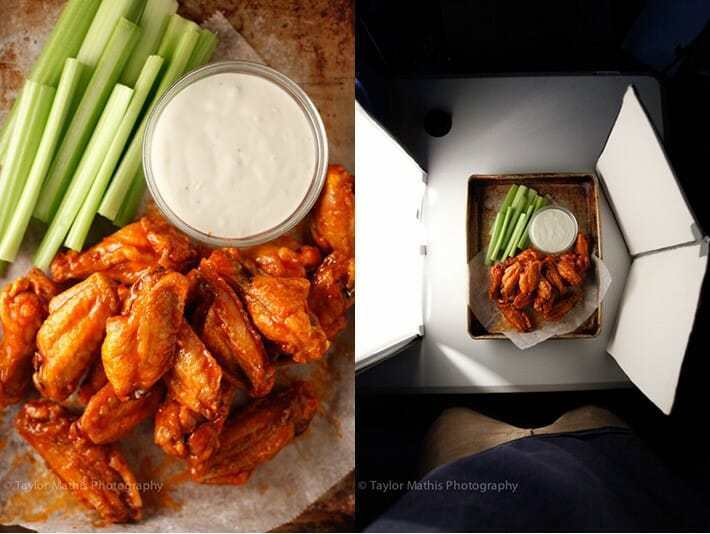
When you’re trying to achieve a dark and moody look in your food photography, using fill cards to screen off the light from part of your set is a great and easy way to create a more focussed strip of light on your subject whilst keeping the rest of the scene dark.
In dark and moody food photography, it’s essential that our subject is still well exposed, so using cards to direct the light this way works really well.
Place two fill cards on either side of your subject to create a beam of light that falls through a gap just onto your subject. If there is too much light spilling over the top of the fill cards, you can use a third card on the top to create a “tent” around your subject.
Fill cards creating a small beam of light concentrated on the subject 
The final image
8. Use Continuous Artificial Light
Continuous light is a form of artificial light that is constantly on (opposite of a flash which is only fires at the time of shooting). Continuous lighting is best for videos and a “what you see is what you get” preview of your images.
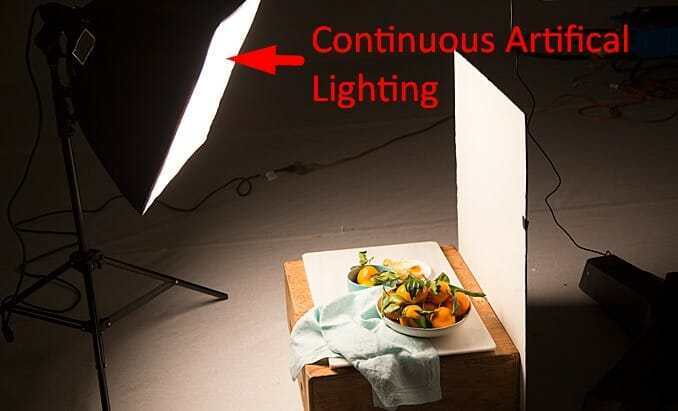
It’s the easiest form of light to start with when you begin to work with artificial light. This is because you can see exactly how the light is behaving as you move the light around your set. The size of the modifier you use will affect how hard or soft the light is, the bigger the modifier, the softer the light.
Knowing what kind of look you are trying to achieve in your photos can help you make the best decision about what kind of modifier to buy.
9. Use Off-Camera Flash
If you hear the words “off-camera flash” and shudder at the thought of all the different pieces of equipment, getting them to communicate and learning a whole new way to shoot… then you’re not alone.
Flash can be overwhelming, especially in the beginning, but I promise you, it’s not as scary as it first seems. Using off-camera flash will allow you to create some really creative photos.
If you want to capture that perfect, frozen in time pour shot, while working with natural or continuous light, you’d need a shutter speed of around 1/2000 second, which is super fast. This means you either need a really bright light source, or you’ll have to raise your ISO up pretty high to achieve a good exposure.
However, when you’re working with flash, the flash duration of different power settings will allow you to create these kinds of photos far more easily, wherever you shoot.
10. Don’t Be Afraid of Hard Light
Hard, undiffused light has such a bad reputation when it comes to food photography. It’s drilled into us that we should only be working with natural, indirect diffused light, but hard light can allow us to create some really interesting, unique photos.
Hard light works particularly well for drinks, especially when you’re working with glasses that have an interesting texture. The light will catch all these facets, and make art out of the shadows in your photos.

Hard light creates a feature of your shadows 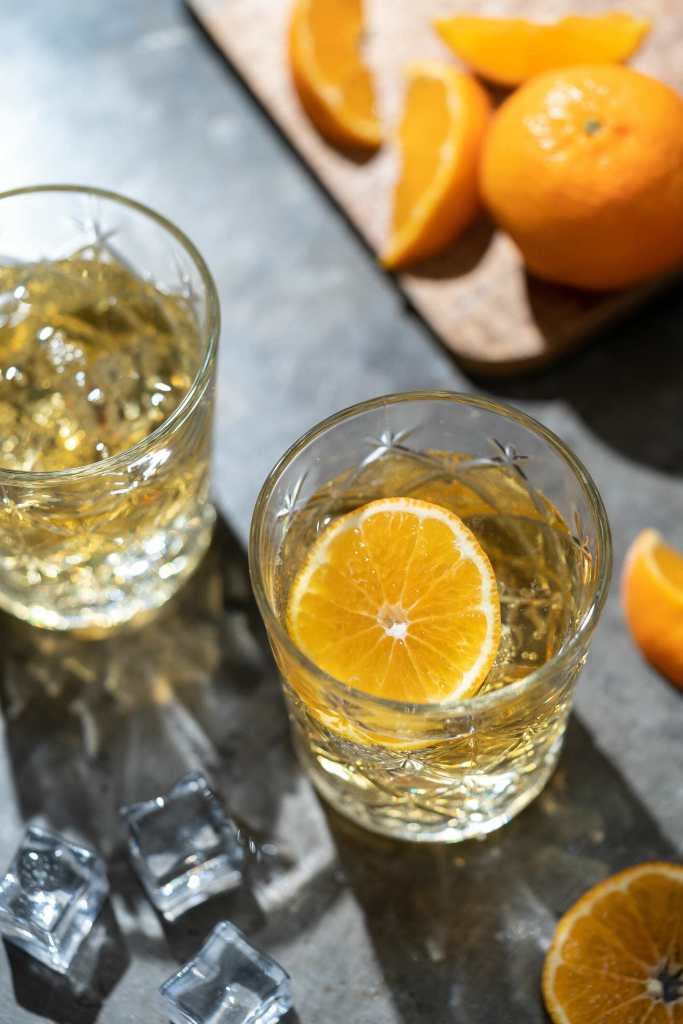
Shooting drinks in hard light works well for a more creative look
Your turn…
Now it’s time for you to go out and start experimenting with these food photography lighting techniques.
Don’t be discouraged if you have quite a few “failures” in the beginning. Nailing lighting takes time and practice, and you’ll probably see improvement in small steps. Just keep going and challenge yourself with different techniques.
And don’t forget that one of the most powerful things you can do for your photography
You can enroll in my FREE 5-day e-course “Manual Mode Essentials” to get you shooting like a pro in just 5 days. Join the course absolutely free here.
Download FREE Photography Lighting Cheat Sheet
Subscribe and get a free downloadable photography lighting cheat sheet