Pexels License
One of the biggest challenges of photographing wildlife is simply finding the wildlife. Wild animals generally try to avoid humans, so that means that you might need to work and plan ahead in order to find what you’re looking for.
While animals at the zoo don’t really count as wildlife, you can still find many of the same animals that you might be chasing in the wild.
There are several reasons that zoos are great spots for photography, including:
- Almost every city has a zoo, so you won’t have to travel very far.
- You can get access to a wide variety of animals at one place and in one day.
- You can practice photographing “wildlife” very easily by going to the zoo.
Although there is a lot to love about photographing at a zoo, there are also plenty of challenges.
You’ll have to deal with:
- Obstructions like cages and glass.
- Ugly backgrounds that don’t resemble the wild.
- Crowds of people.
- Animals that may or may not move into the place and position you want.
But all of those challenges can be overcome, and it’s possible to leave the zoo with some very nice photos of animals that would otherwise require a great deal of effort to photograph. In this article, we’ll cover some tips that you can use to make the most of your trip to the zoo.
→ Related reading: Tips for Wildlife Photography
Tips for Photographing Animals at the Zoo
1. Visit at Off-Peak Times
If possible, plan your trip to the zoo to avoid peak times. Most zoos will attract the biggest crowds in the summer and on weekends. If you’re able to visit on a weekday during the school year, crowds are generally a lot smaller.
The number of people at the zoo can have a big impact on your photography because many of the exhibits will have only a small area that gives you the ideal vantage point for a photograph without obstructions.
2. Research and Plan Ahead of Time
Pexels License
Researching and planning is a big part of landscape and wildlife photography, and you shouldn’t forget about that if you are heading to the zoo. You should check the zoo’s website ahead of your tip to see if there are any announcements or events that may impact your trip. This could include things like an exhibit that is under construction and unavailable, or special animals that are on display for a limited time.
In some cases, you may be able to find information on things like feeding times or other times of the day when the animals are most likely to be active.
3. Prioritize
In order to get the best photos, you may need to spend a lot of time at one exhibit. You may need to wait for the animal to get up and move to an area that gives you the right shot. It’s a good idea to decide which animals you want to prioritize. You don’t need to try to photograph the entire zoo in one day. Choose one, or a few, exhibits that are most important to you, and spend the majority of your time there. That way, you’ll be ready when the situation is right.
4. Be Patient
Pexels License
Spending most of the day at just a few exhibits means that you’ll need to have plenty of patience. You may need to wait for an animal to lift its head, to look your way, or to move to a certain spot. If you’re not patient, you can run around the zoo and quickly snap photos of each animal, but 90% of them won’t be ideal. If you want great shots at the zoo, you’ll need to be patient.
5. Bring a Monopod
Tripods are ideal for getting sharp photos, but space at the zoo can be very limited. It’s likely that there will be plenty of situations where using a tripod is not practical or possible.
A monopod can also give you a lot of added stability, and it requires much less space than a tripod. Because of this, monopods can be very practical and helpful at the zoo.
Aside from the added stability, a monopod can help to support the weight of the camera and lens. If you’re using a DSLR and a heavy lens, the weight will become noticeable when you’re waiting around for the right shot. A monopod can help to lighten the load.
→ Related reading: Tripods, Monopods, and Image Stabilization
6. Pay Attention to the Background
Pexels License
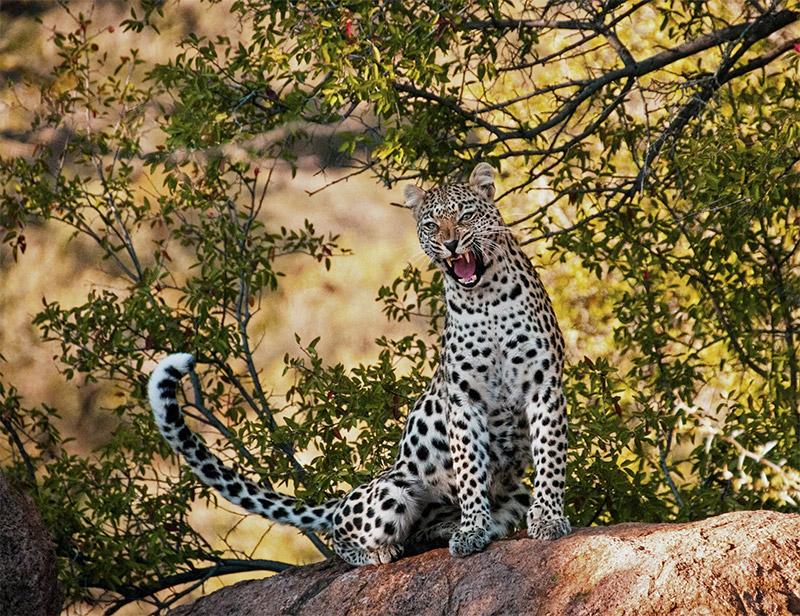
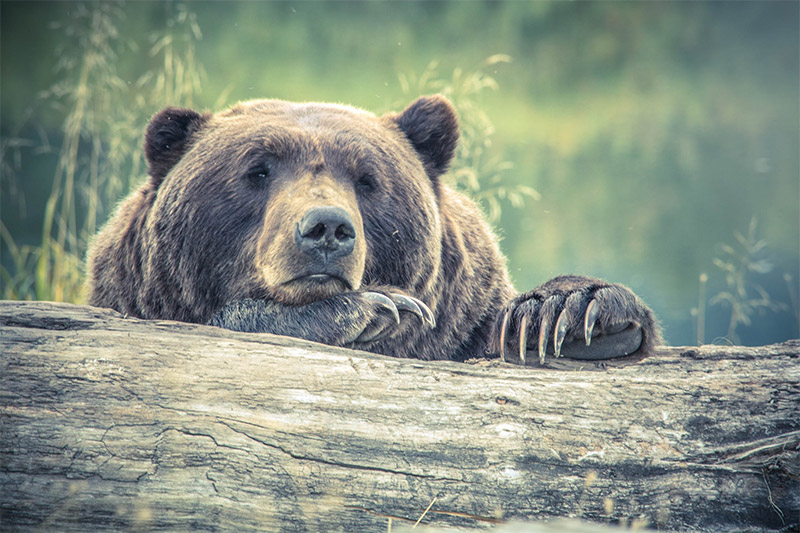
One of the biggest problems with many zoo photos is the background. Although the animal is the main subject of the photo, the background can ruin an otherwise great photo. Make every effort to get a natural-looking backdrop.
Try to find an angle where you can avoid people, concrete walls, cages, and anything unnatural in the background. A lot of times this isn’t easy, and this is where patience becomes an even bigger factor. There may be one place to get a shot with a nice background at an exhibit, but you may need to wait for the animal to get into the right place in order for it to work.
7. Get Close
Unsplash License
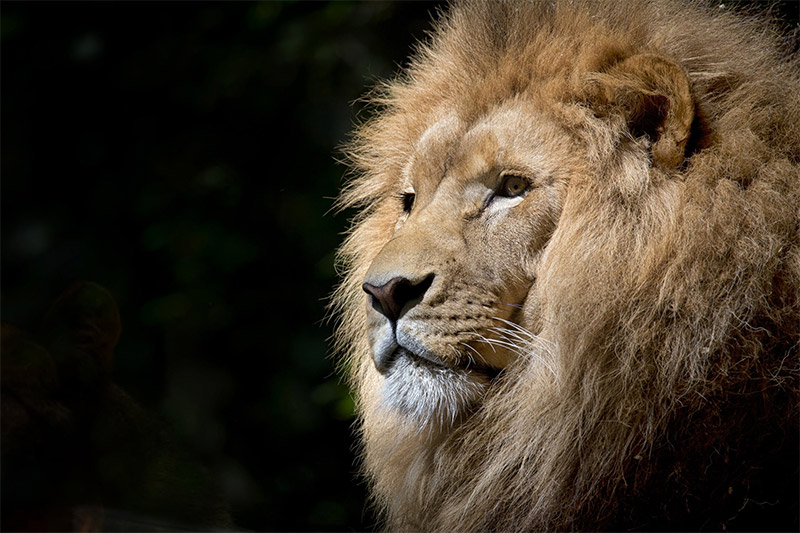
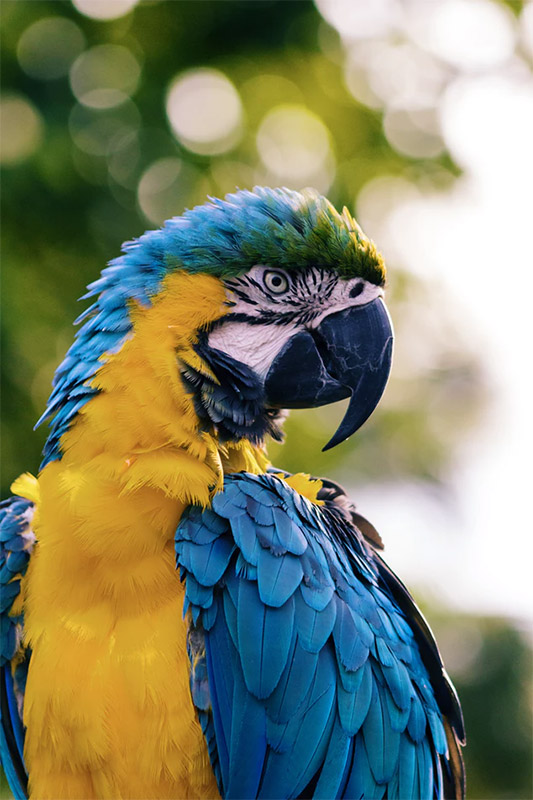
Distant photographs of animals will be much less interesting than close-ups. Get as close as you can, without violating any rules or annoying the animals. Use a telephoto lens to be able to get close-up photographs when needed.
One of the nice things about close-ups is that it will help you with avoiding some of the uglier backgrounds. The closer you get, the less of the background will be visible in the photo.
→ Related reading: The Best Telephoto Lenses for Canon and Nikon
8. Focus on the Eyes
Unsplash License
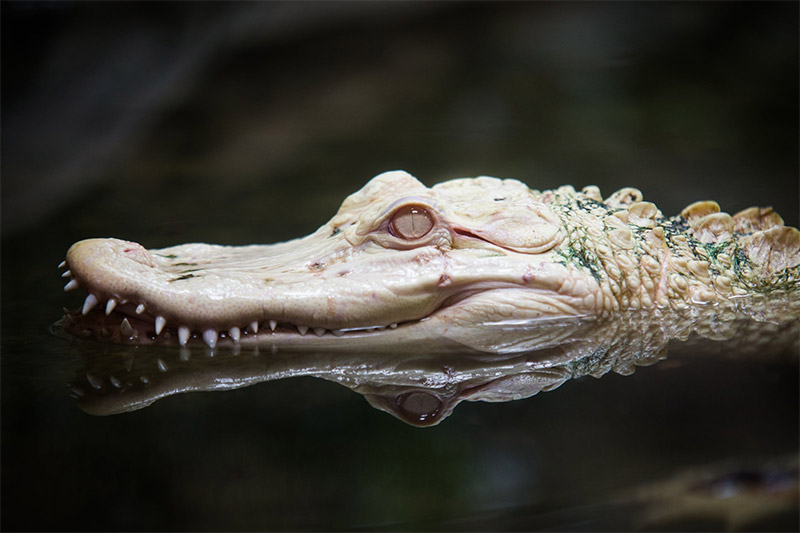
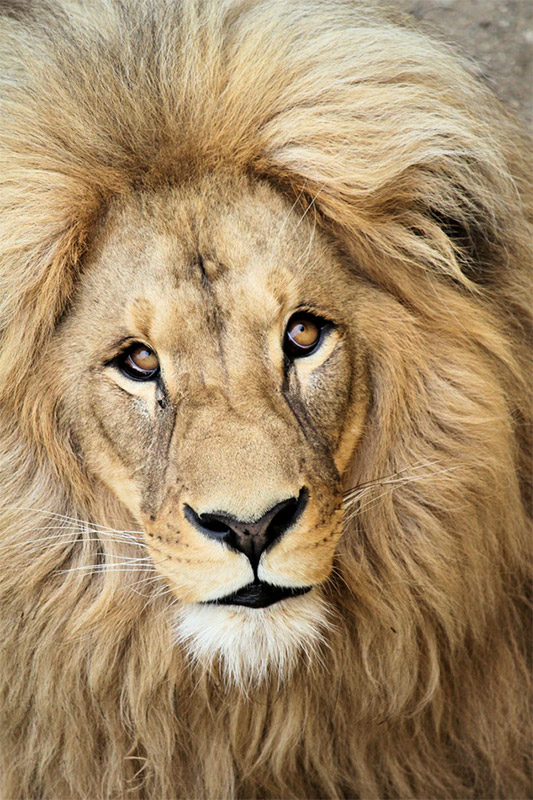
When you’re taking a portrait of a person, you should focus on the eyes. Think of your zoo photos as portraits of the animals. Photographing close-ups and focusing on the eyes will give you the best chance to come away with high-quality photos at the zoo.
9. Be Flexible
There are several ways that you’ll need to be flexible when photographing at the zoo. This may apply to photographing different animals or exhibits if the animal you planned to photograph is not out. It can also involve finding different angles or vantage points to get the right shot. It can also involve simply being courteous to other zoo visitors and not being a nuisance.
Keep these tips in mind and I’ll think you’ll find that a zoo is a great place to photograph, even if it does come with some challenges.
