I was recently asked by someone on a Q&A session what is my biggest worry when I’m on a shoot. Without hesitation, I responded with “losing my photos”. Knowing how to keep your photos safe when traveling is not only practical, having a system you follow every time will keep your mind at ease.
As to my answer, most people in the audience were surprised.
Surely something, like missing your flight or even having a camera stolen, would top the list.
The thing is that for me anything which is repairable isn’t that scary.
Yes missing a flight is a real hassle but most of the time you can get another. A stolen camera can be replaced. The one thing that usually can’t is those unique moments that have been captured.
Call me paranoid, but there’s a reason why
This paranoia probably stems from my biggest embarrassment ever as a photographer. It was early on in my career and I had just finished a long shoot for a local company involving models.
As I made my way home on the London subway, I took my camera out of my bag to have a look at the photos I had taken. For some strange reason, I then decided to change my memory card so that I could keep the one with all of the photos on safe in my bag.
Well, fast forward to the next morning and I still remember the horror that filled me when I realized that the card was on the train as I had put it next to me on the seat whilst I changed cards.
Frantic phone calls followed with no success of getting it back before I sheepishly phoned the client to explain the situation. To their credit, they were completely understanding and I offered to re-do the shoot for free.
But a lesson well learned…
So nowadays when I’m on the road naturally I am extra careful with my photos and go through the same process every night to ensure that I keep my photos safe.
It’s my digital workflow as a travel photographer.
Travel Photographers Workflow
What I Take With Me:
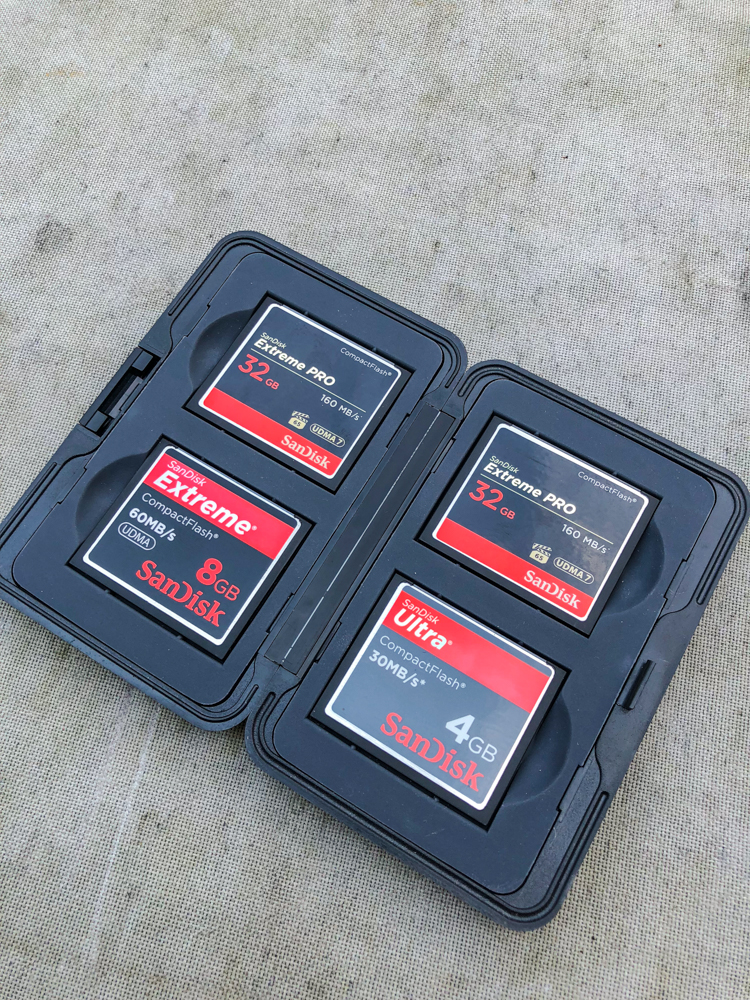
Memory Cards
I always make sure that I have enough memory cards to last me for each day of the trip.
So, for example, if I am away for 10 days, I would take at least 10 memory cards (but I would usually take a couple more as spares). I rarely ever use a whole one in one day but it just makes it easier to know that I can use a fresh one each day and not accidentally delete photos that I haven’t backed up.
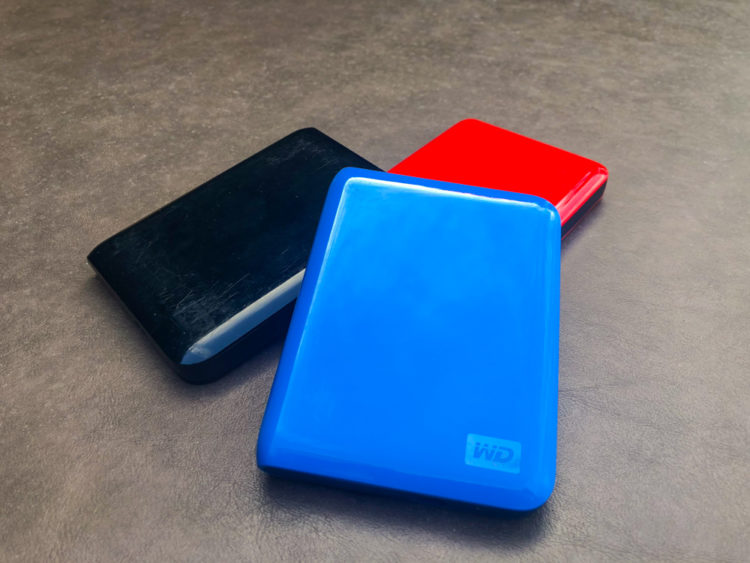
Three 1TB Passport Size Hard Drives
In addition to the memory cards, I also take three passport size 1TB hard drives. I purposefully have these in different colors (I will explain why later).
One thing to keep in mind when you are buying hard drives is aside from being portable you should also make sure they work just plugged into your laptop (i.e. they don’t need to be plugged into the mains as sometimes you may need to back up whilst on the move).
My Back-Up Process When I’m Traveling
- First – Every single night after the day’s shoot I transfer all of my photos from the memory card from that day onto my three hard drives in a folder called “Day 1, Day 2, etc”.
- Second – Next I transfer the photos from that first hard drive onto the other two as it’s usually quicker than transferring from the memory card to the hard drive. I’m basically making 2 extra copies of the photo.
- Lastly – I then turn over the memory card in my metal card holders so that I know that card if full of photos. This way I won’t accidentally pick it up if I need to change cards.
Why the Three Hard Drives?
I have three hard drives firstly to ensure if for any reason one corrupts, I have backups.
This is where you may think I’m being paranoid.
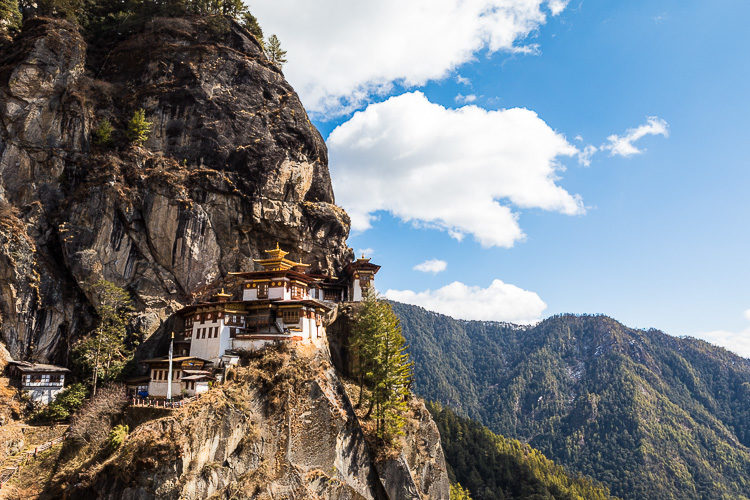
This exact thing happened to me on a recent trip to Bhutan. Around 5 days into the trip one of my hard drives crashed meaning I had to re-format it to be able to use it again.
If I didn’t have backups I would have lost all of the photos I had taken (other than what was on my memory cards – another reason to take a lot with you).
NOTE: If you want to go with a slightly better option choose ones with an SSD drive like the Samsung T5 Portable SSD 1TB drive. They are super small and lightweight and have no moving parts so less likely to fail – but they come at a premium price as well.
My three different color hard drives also provide me with the opportunity to pack them separately in case they get stolen.
- The black drive stays with me all the time. It is always packed in my day camera bag.
- The red drive stays in the hotel safe
- The blue drive goes into my rental car (or if I don’t have a car then hidden in my suitcase).
Keep Your Photos Safe When Traveling
I use the same system when I’m traveling. Keeping my drives separated ensures at least one will make it home.
For example, when I’m flying, I’ll put one hard drive in my carry on, one in another bag like a laptop bag and another in my suitcase.
Conclusion
The key to any photography workflow is that it works for you. Mine has come about from years of experience and also learning from my mistakes.
The most important thing to remember is that no matter how unlikely it is to happen; things can go wrong. As long as you prepare for it then when something does go wrong at least it doesn’t have to become a crisis.
One of my biggest pieces of advice to amateur photographers is to always make sure you back your work at home but also whilst on the road.