Last month I posted a brief overview and roundup of Color Fonts, the latest development in the world of typography. Unlike traditional fonts, Color Fonts contain full colour graphics for each character, which means creative text styles can now be typed out directly in Photoshop and Illustrator, without the need for any additional effects to be applied. The people behind Fontself reached out to me and asked if I’d like to try out their tool for creating custom Color Fonts, so in today’s tutorial I’ll take you through the process of how I created my first Color Font with ease, using the Fontself extension for Adobe Photoshop.
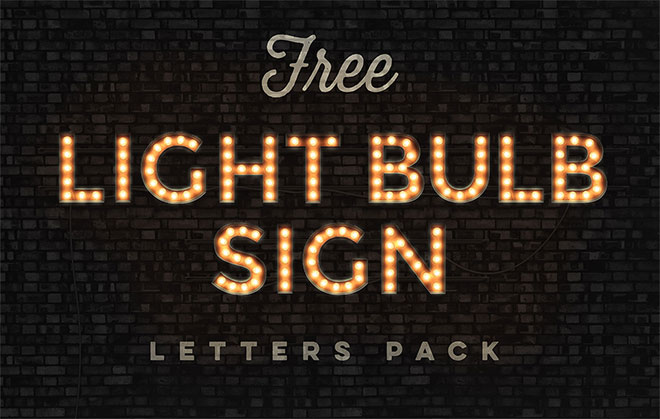
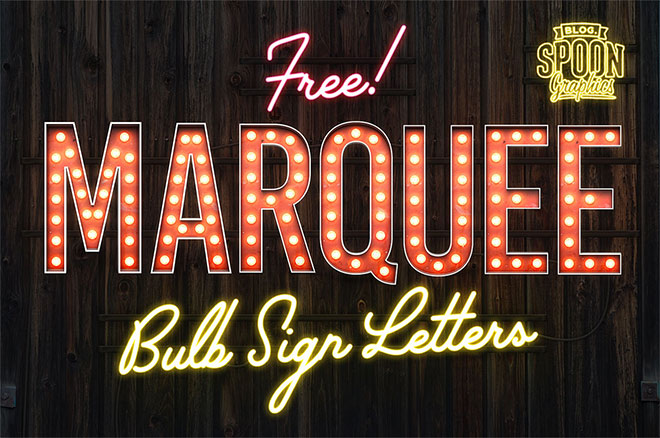
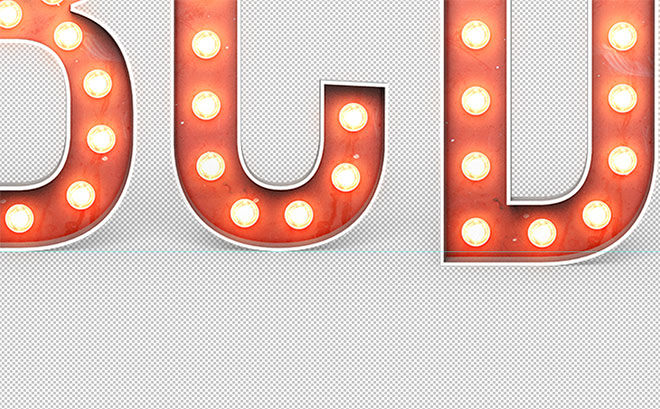
Amongst my most popular free downloads on Spoon Graphics are my sets of vintage style marquee bulb sign letter packs. Because fonts (until now) could only contain a flat shape, those full colour marquee letters had to be saved as individual PNG images, or layers within a Photoshop document for the designer to then copy and place each character to spell out their desired words. The Color Font technology solves this problem! After converting the letters into an OTF font file using Fontself, it’s now possible to work with these marquee letters like any other font, by quickly spelling out the words with your keyboard.
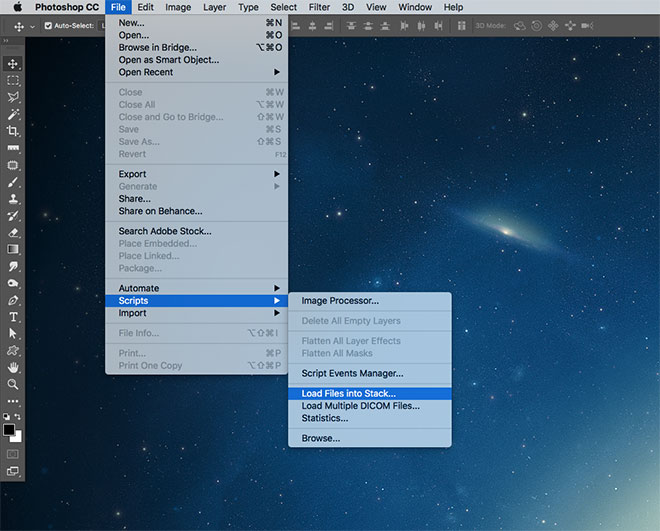
I already had all my letters from my vintage style marquee bulb sign pack saved as individual PNG file, so I used the Load Files Into Stack command in Adobe Photoshop to automatically layer them all into a single document.
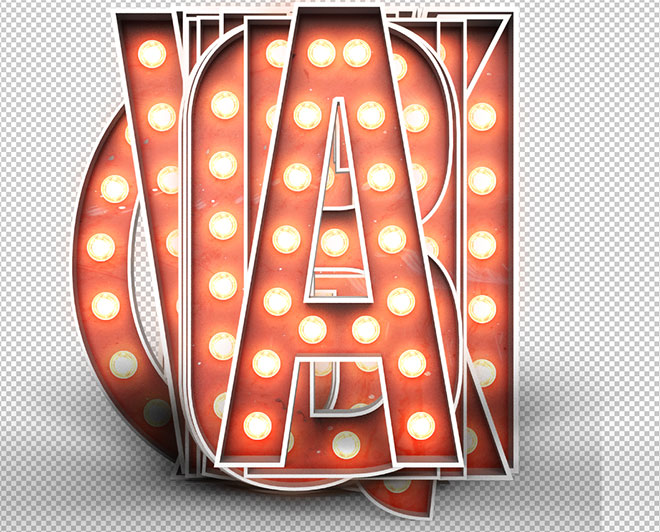
Each letter was originally saved with a transparent background, which is a crucial requirement for Color Font usage.

The advised size for a Bitmap Color Font is in the region of 500-1000px, to balance between resolution and crash-inducing memory requirements. Resizing my document to 800px placed the letters in this recommended scale.
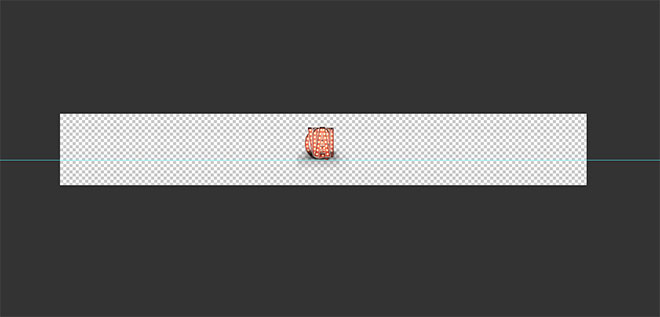
Preparing the artwork for conversion into characters is easy. They just need to be laid out in a row, so the Canvas tool was used to provide a nice wide work area. A guide helps set the baseline for the font.
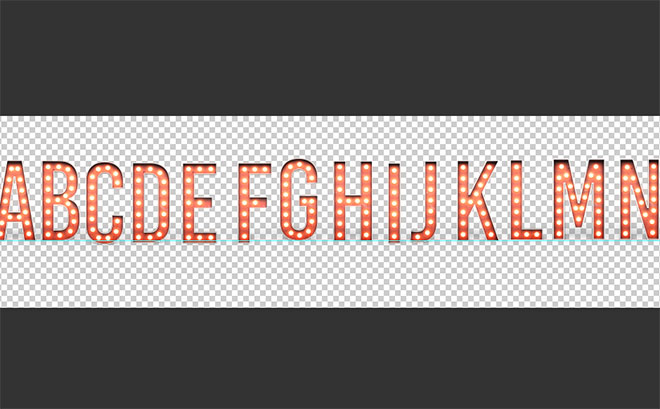
All the letters were roughly set in order first using the Selection tool and the crucial Auto Select Layer option in the top toolbar, so the graphics could be easily clicked and dragged.
The alignment to the baseline was then set for each letter at a much higher zoom level. This is particularly important for characters with a descender, which would otherwise sit too high without the alignment to the guide.
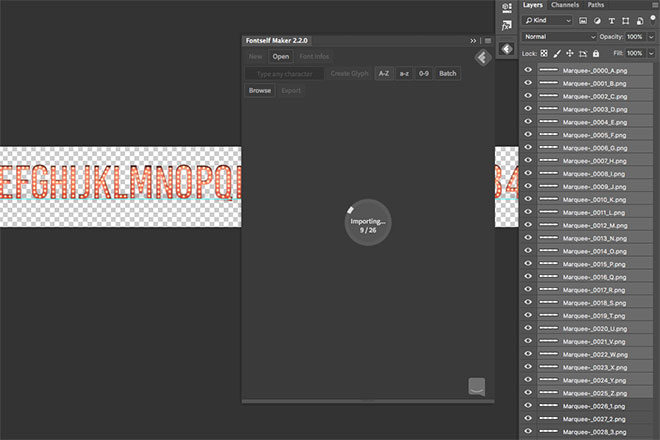
Creating the actual font is easy. Within the Fontself extension there’s buttons to automatically import A-Z characters, lowercase a-z character, numerals, or to import everything in one go and let the extension handle it. Since my letters pack only features uppercase characters, I selected the relevant A-Z layers and imported them for both uppercase and lowercase.
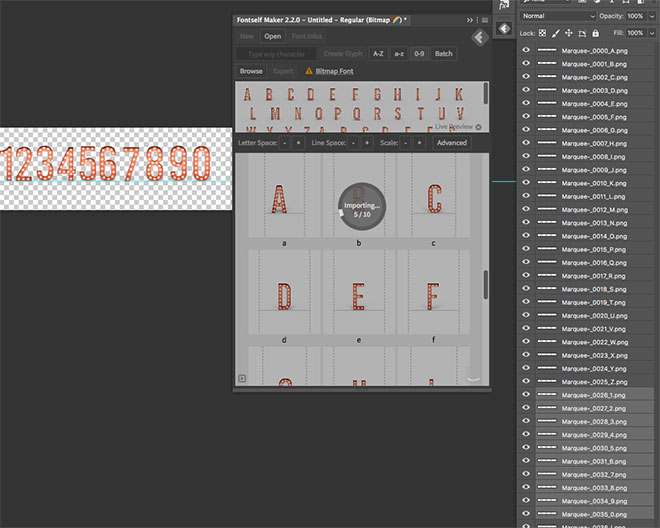
The layers for 0-9 were selected and imported as numerals. Fontself automatically recognises the characters and applies the relevant keyboard identifier.
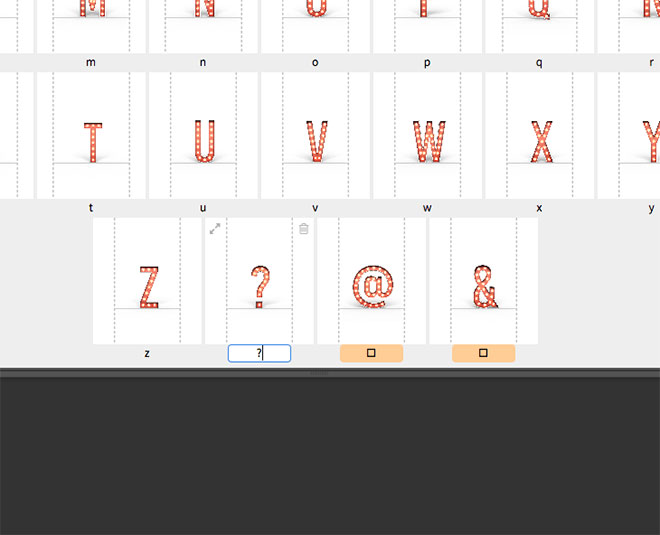
Fontself didn’t recognise the small collection of symbols in my character set, so these had to be set manually by entering the pressing the correct keyboard key.
A more thorough professional-level Color Font would also contain punctuation glyphs and support multiple languages. Any missing characters in my quick example will simply revert to a default font.
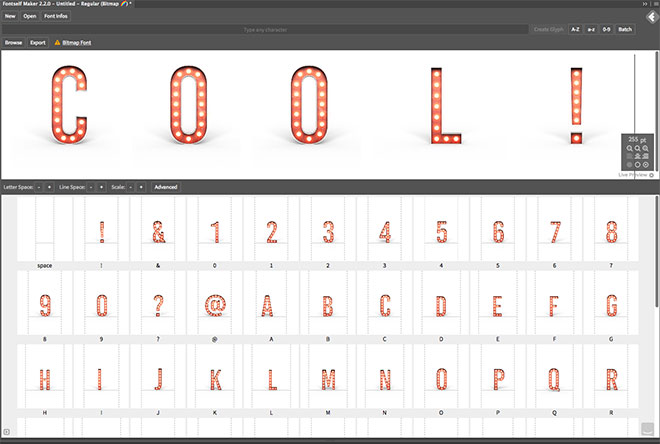
The shadows that were originally rendered with each letter in my marquee sign pack caused some problems with the spacing, but simply setting a standard mono space figure somewhat tamed the awful kerning between certain characters. It is possible to fine tune the kerning pairs and set alternate characters, as well as construct a complete font family of different styles and weights.
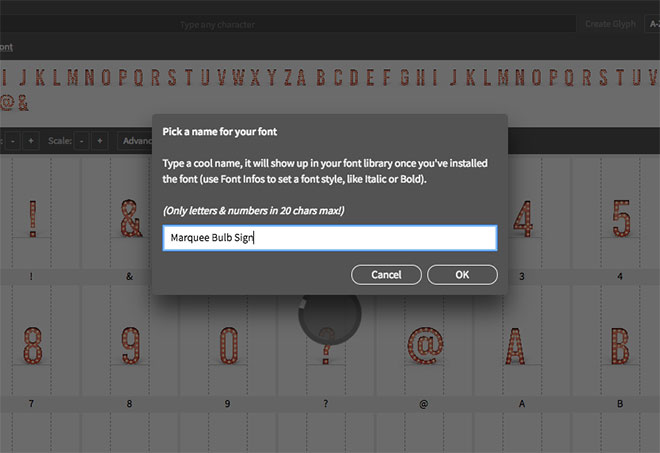
Once complete, my basic Color Font was exported as a standard OTF file. This font can then be installed as usual, although Color Font support is still quite limited, so it can currently only be used in the latest versions of Photoshop and Illustrator.

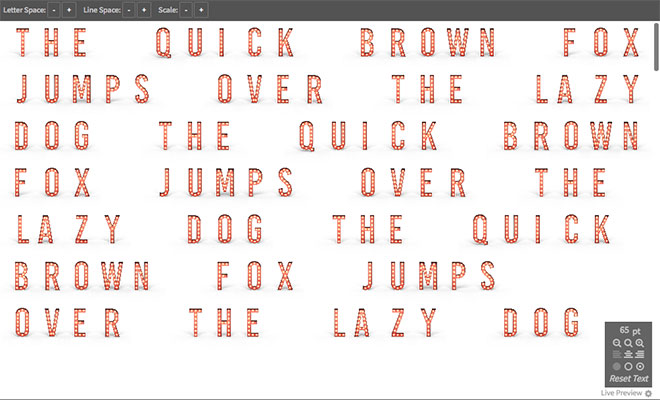
Being able to type out words and have the effects immediately applied simply by choosing the font from your library is really exciting. You’ll immediately notice the horrendous letter spacing in my marquee sign font, but it can be quickly tamed using the Character panel in either Photoshop or Illustrator.

Tracking adjustments and kerning corrections with the ALT and Cursor Keys shortcut combo is still much faster than manually laying out the individual letter graphics from my original marquee sign pack!

Those free marquee bulb sign downloads have been updated to include a Color Font alongside the original PNG and PSD graphics, but you’re welcome to download the Color Fonts right here to experiment with them yourself.
Download My Free Marquee Sign Color Fonts