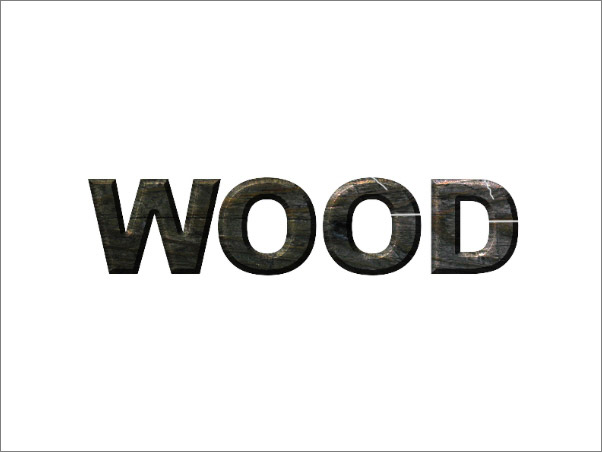
In this tutorial, we’ll learn how to create an old weathered wood text effect in Photoshop.
First we use a texture as the basis of our tutorial and then build the text effect with Layer Styles, brush, color, masking and a few other things. You can use the same combination of techniques for creating an old and weathered look on other surfaces like stone, concrete, metal and many more. The techniques I share here are essential techniques for any Photoshop user in their regular daily projects. So without any further explanation lets dive into the wonderful world of Photoshop and image making.
Photoshop Star Premium Members can login now for full access to this tutorial. Premium Members get access to exclusive tutorials for Photoshop and Illustrator. Also access to dozens of tutorial source files.
Get a Premium Membership now.
Final Image
This is the final image that we’ll be creating: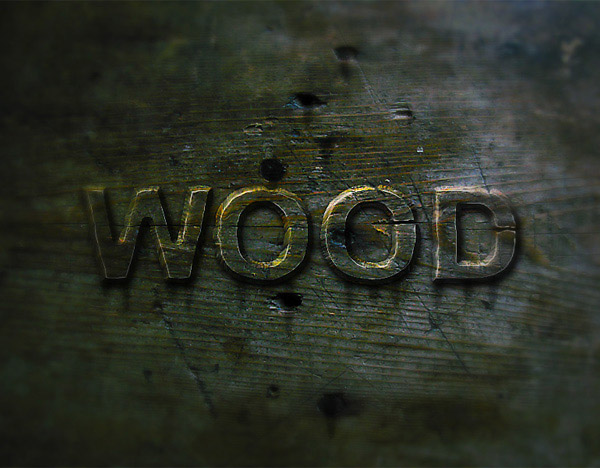
Tutorial Details
- Program: Adobe Photoshop CS3+
- Estimated Completion Time: 30 minutes
- Difficulty: Beginner-Intermediate
Resources
- Wood Texture – Thanks a lot, Lumbe-Stock (DeviantArt) for the wonderful texture.
Step 1
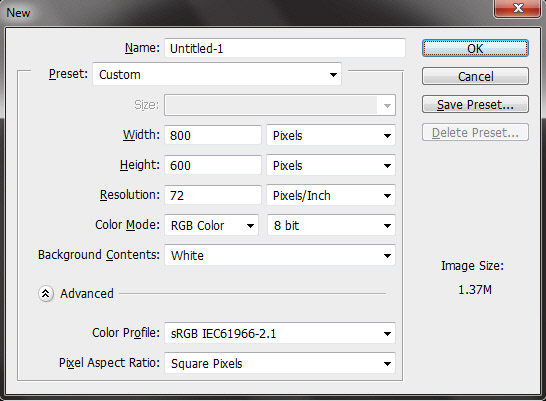
Open a new file (File > New) in Adobe Photoshop with the following settings:
Step 2
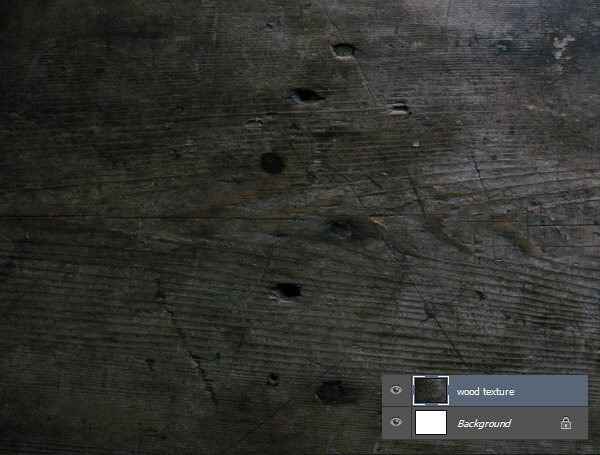
Save the file as Old Wood Effect.psd. Open the wood texture image in Photoshop and then bring this texture into your project file. Rename the new layer as “Wood texture”. Resize the texture layer with Edit > Transform > Scale (CTRL+T) to fit within the project file area.
Step 3
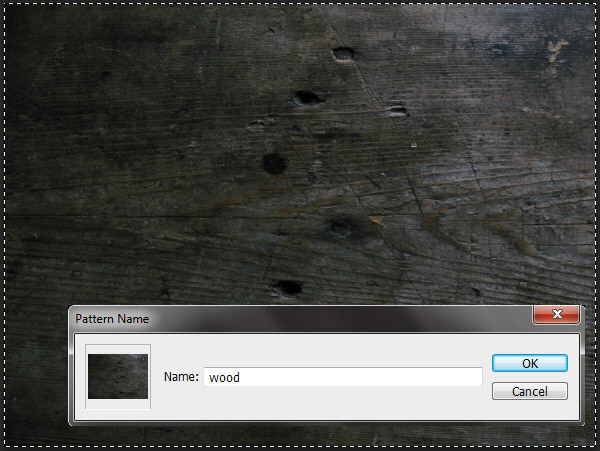
Then Menu > Select > All (CTRL + A). Now from Edit > Define Pattern and type “Wood” in the name field. Click OK to close the “Pattern Name” dialogue box.
Step 4
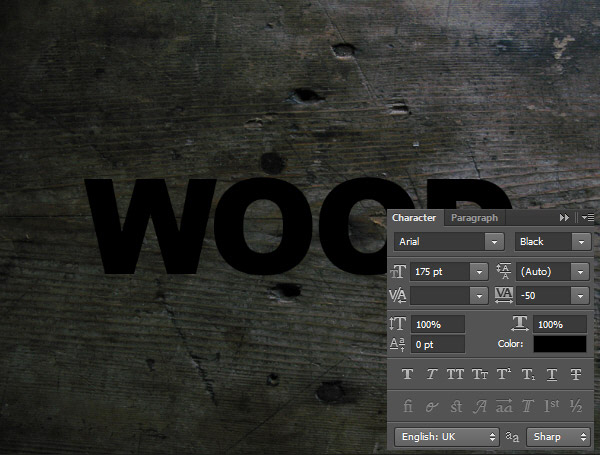
Take the Type Tool (T) and type the text “Wood”. I’m using the font “Arial Black” and color (RGB 0, 0, 0). For the text use the settings from the screenshot below.
Step 5
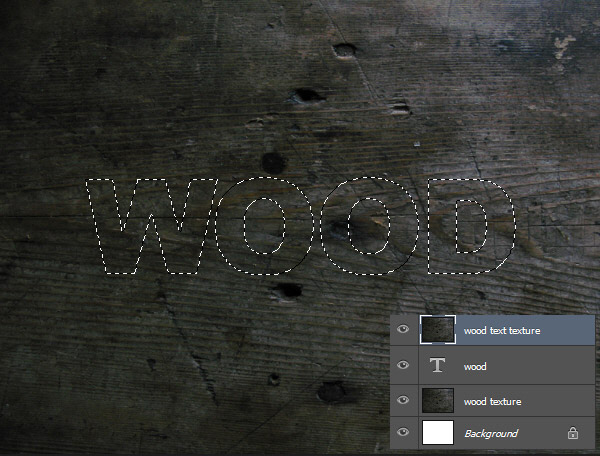
Duplicate the texture layer “Wood texture” and drag it on top of the Text Layer “Wood”. Rename as “Wood text texture”.
CTRL-click on the Text layer below it to load the text as a selection and make sure that the “Wood text texture” layer is still the active layer.
Step 6
The text selection is still active on top of the “Wood text texture” layer, click the “Add Layer Mask” button below the Layer Panel. This step will convert the selection into a layer mask. Now the wood texture will be visible through the text shape only.
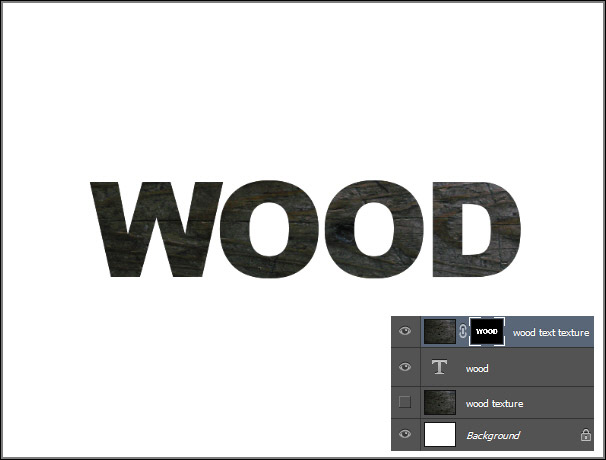
Step 7
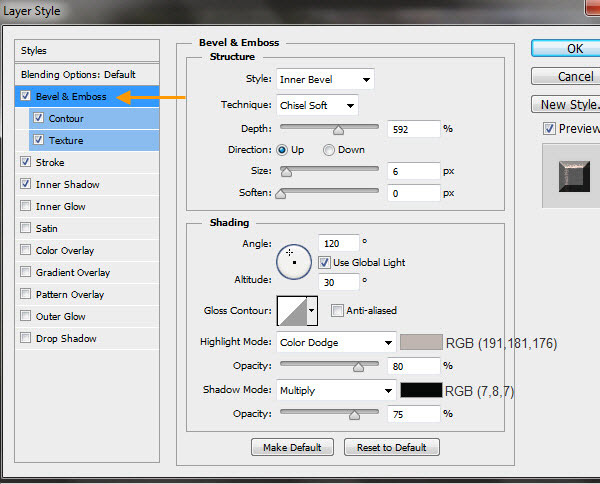
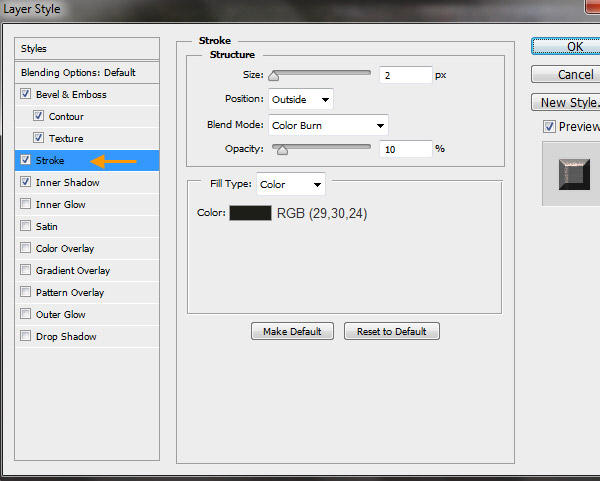
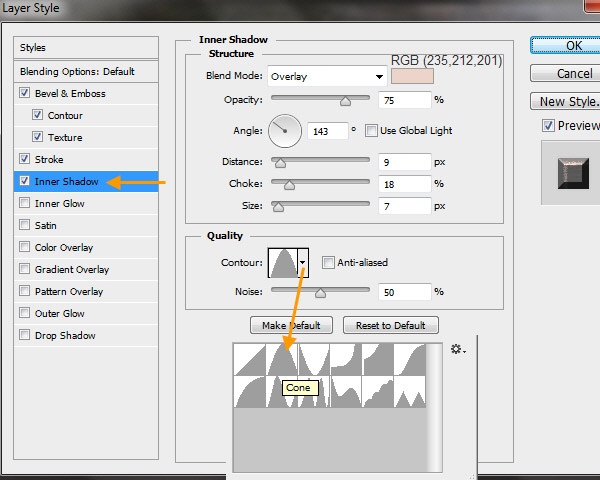
Double click on the “Wood text texture” layer to open the Layer Styles window. Use the screenshots below to create the Layer Style. We start with “Bevel and Emboss”.
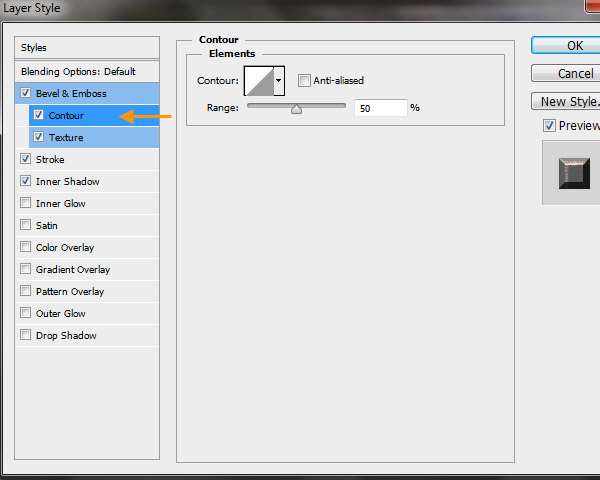
Bevel and Emboss – Contour:
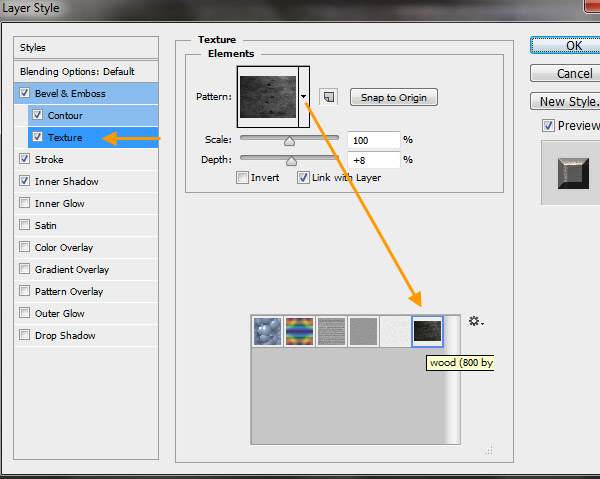
Bevel and Emboss – Texture. Click on the downward pointing arrow beside the Pattern Picker and select previously saved “Wood” pattern.
Next Stroke.
Then Inner Shadow. Here select the “Cone” contour in the Contour Picker.
Step 8
Target the “Wood text texture” layer. Click on the Eye Icon at the left side of the Layers to turn off the visibilities of all layers beside the “Wood text texture” layer.
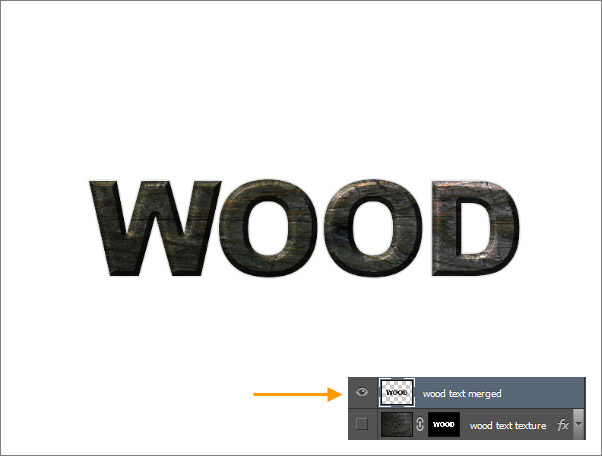
Press CTRL + ALT + SHIFT + E to create a merged layer on top of the “Wood text texture” layer. Rename as “Wood text merged”. You can turn off the visibility of “Wood text texture” layer as we don’t need it anymore.
Step 9
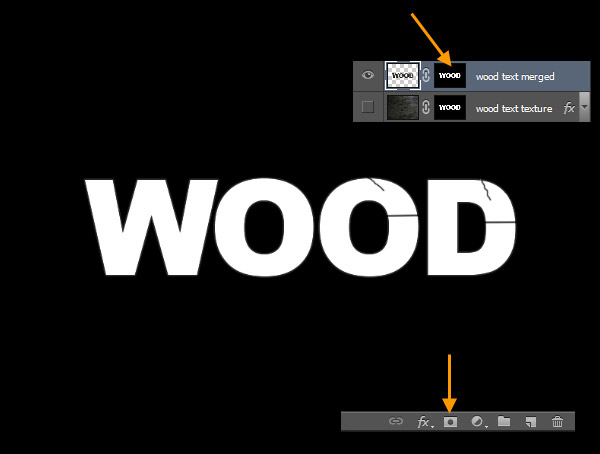
Target the “Wood text merged” layer and add a layer Mask to this layer by clicking on the “Add Layer Mask” button below the Layers Panel. This will create a white mask or Reveal All mask.
Select a small black color brush with 50% opacity and paint within the mask following the exact position of the cracks from the wood texture layer. It will create the groove of the cracks within the text of the “Wood text merged” layer.
