Have you ever wondered how photographers capture silky smooth waterfalls?
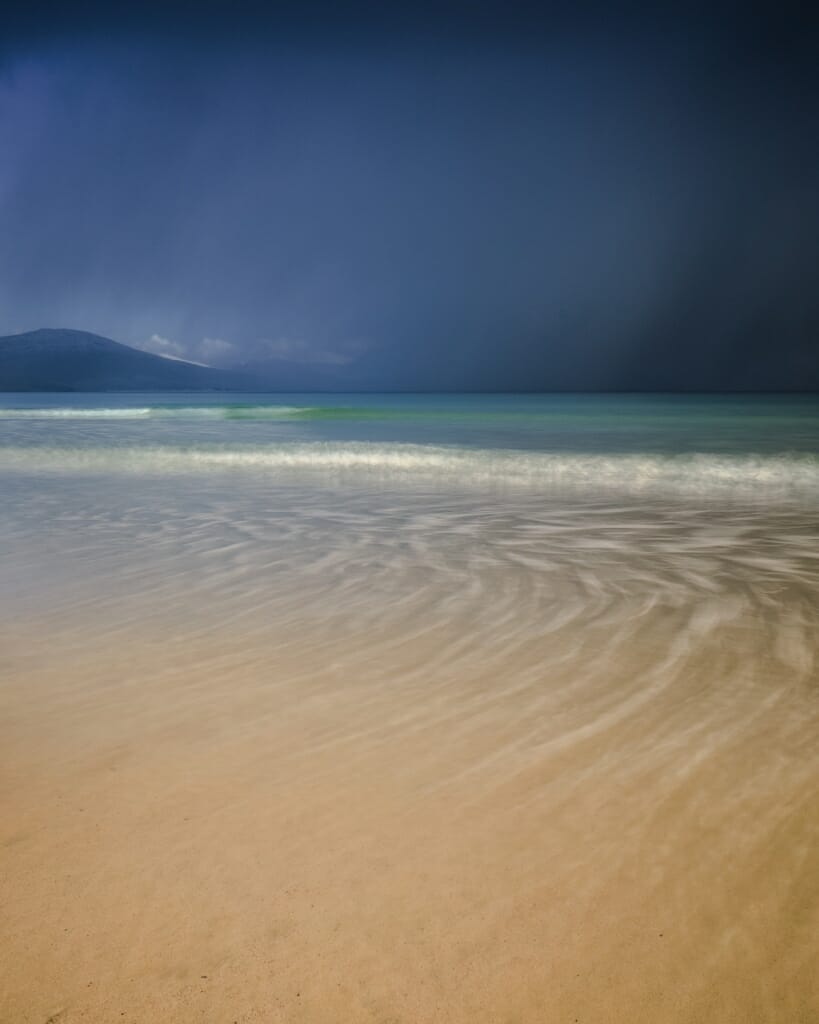
Or how they smooth out the water in seascapes?
One of the secrets is a Neutral Density (ND) filter.
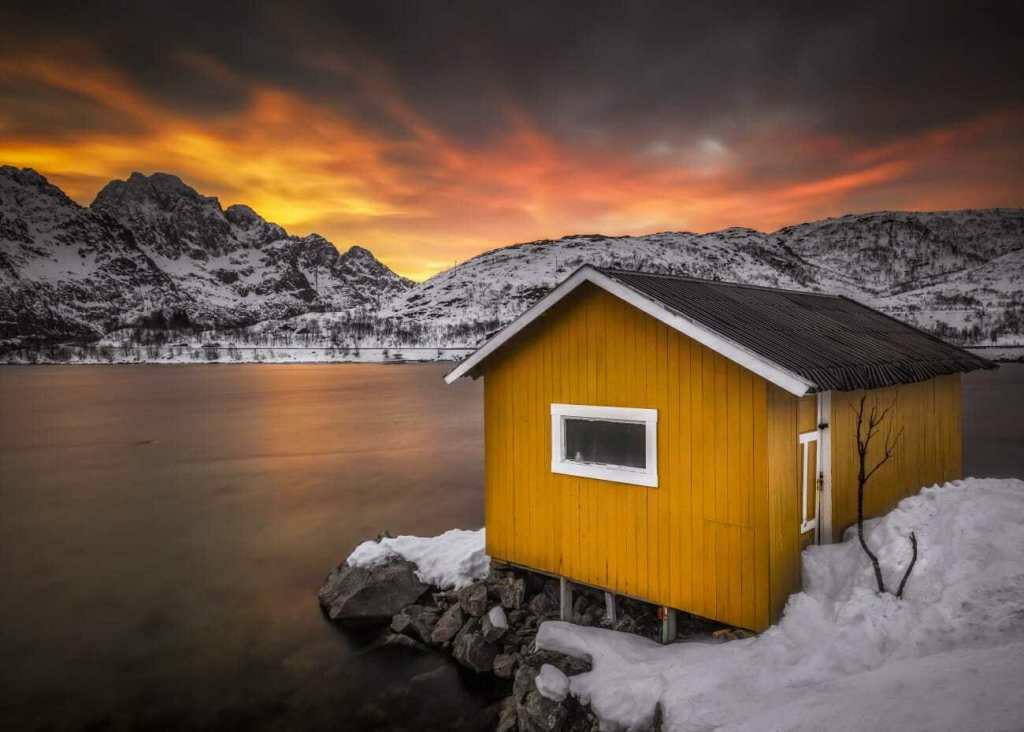
In this article, we will explore what is an ND filter is and how to use it in your long exposure photography.
What Is an ND Filter?
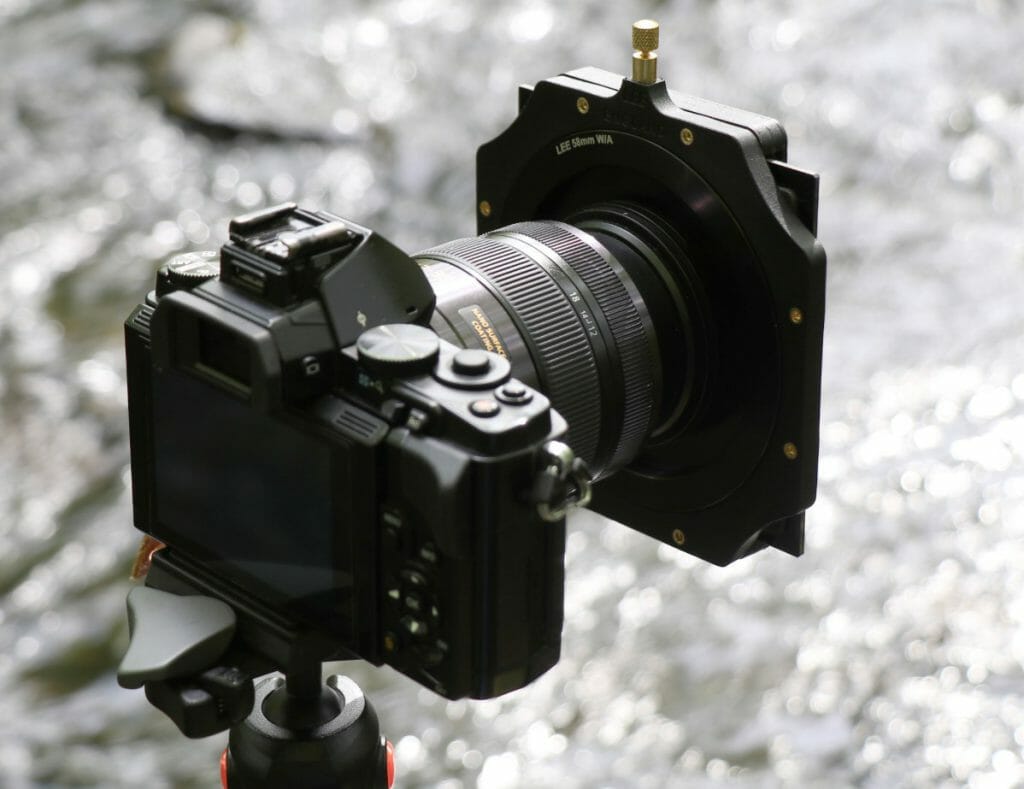
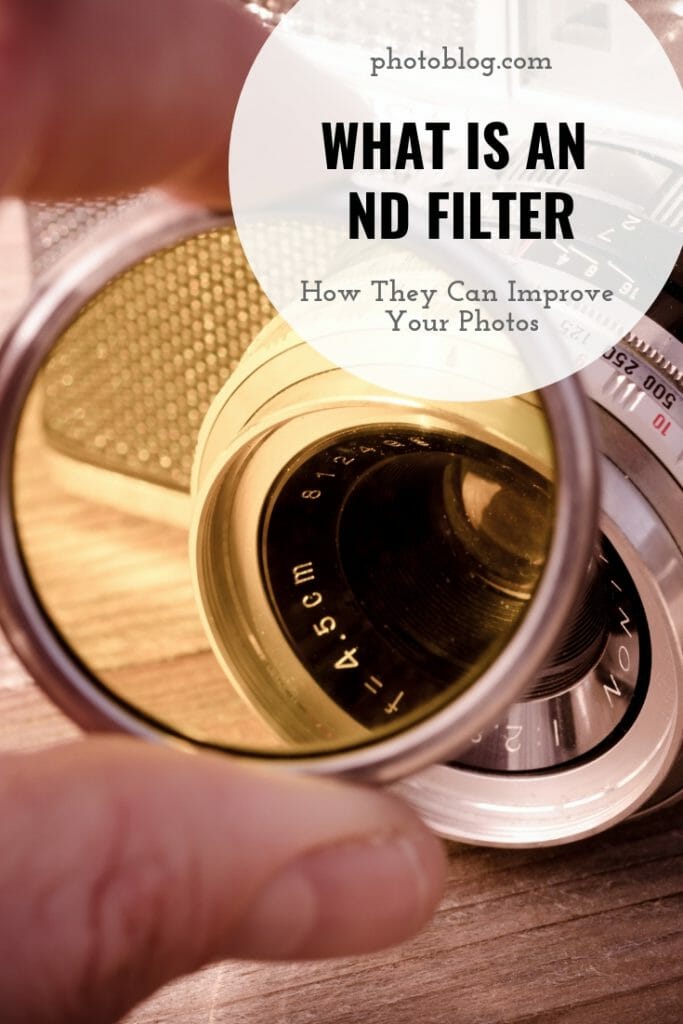
An ND filter is a solid, dark plate of glass or plastic that is often square in shape and fits into a filter holder which attaches to the front of your lens.
You can also purchase circular, or screw-in versions, which attach directly to your lens.
The idea behind an ND filter is to reduce the amount of light coming into the lens, which allows you to expose for longer shutter speeds.
This also allows you to capture a scene with a long exposure.
The length of the exposure will be dependent on factors such as the time of day, shutter speed, and aperture.
These longer exposures can range from a few tenths of a minute to many minutes, depending on the strength of the filter you’re using and the time of day.
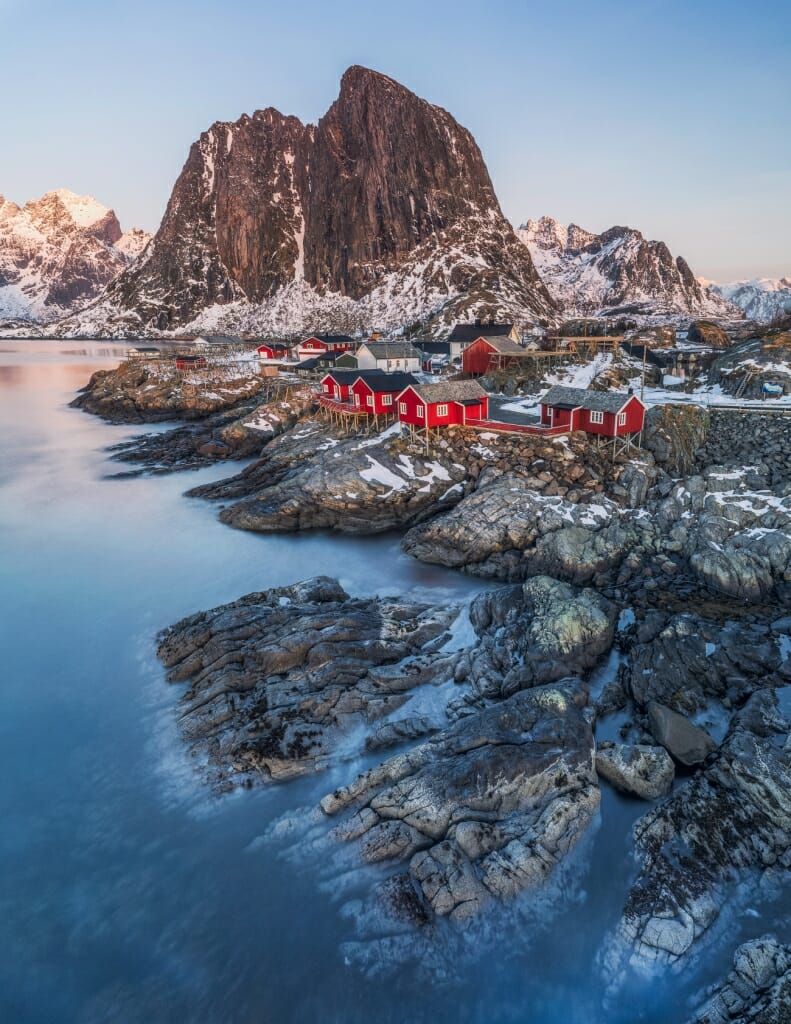
You can buy ND filters of various strengths, the most popular is a 10-stop (or x1000), which reduces the amount of light reaching the sensor by 10 whole stops.
When and Where to Use an ND Filter
Neutral Density filters come in very handy for particular types of photography; such as landscapes, waterfalls, seascapes, or even street photography.
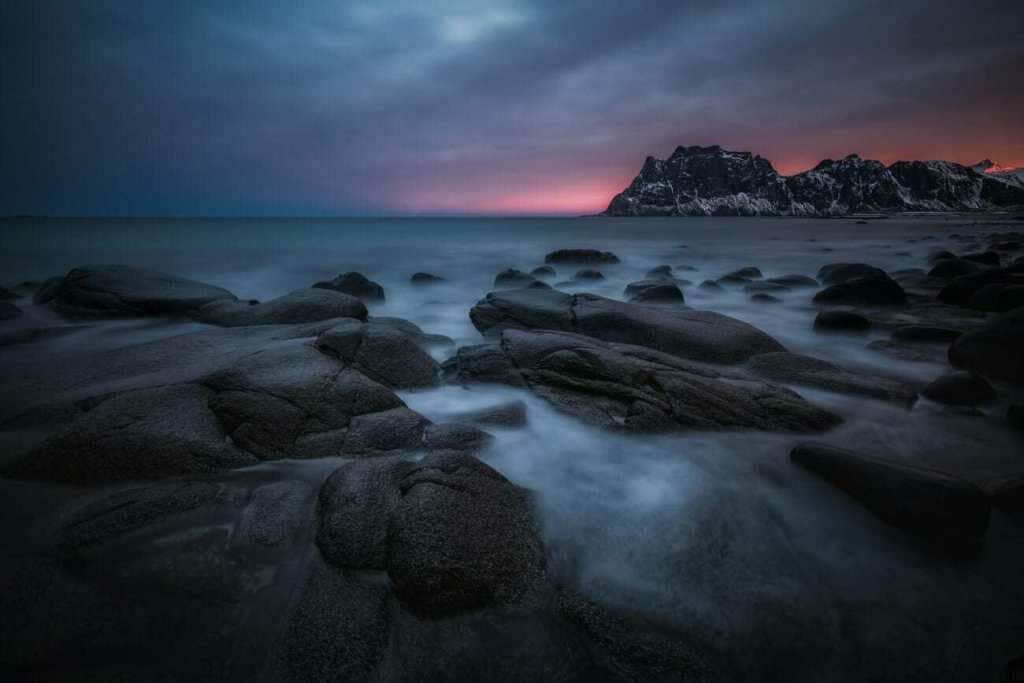
Extending the exposure time when photographing movements accentuate the impression of movement, which adds artistic flair to an image.
For example, longer exposures give water a milky quality, which adds a misty, almost dream-like, quality to a shot.
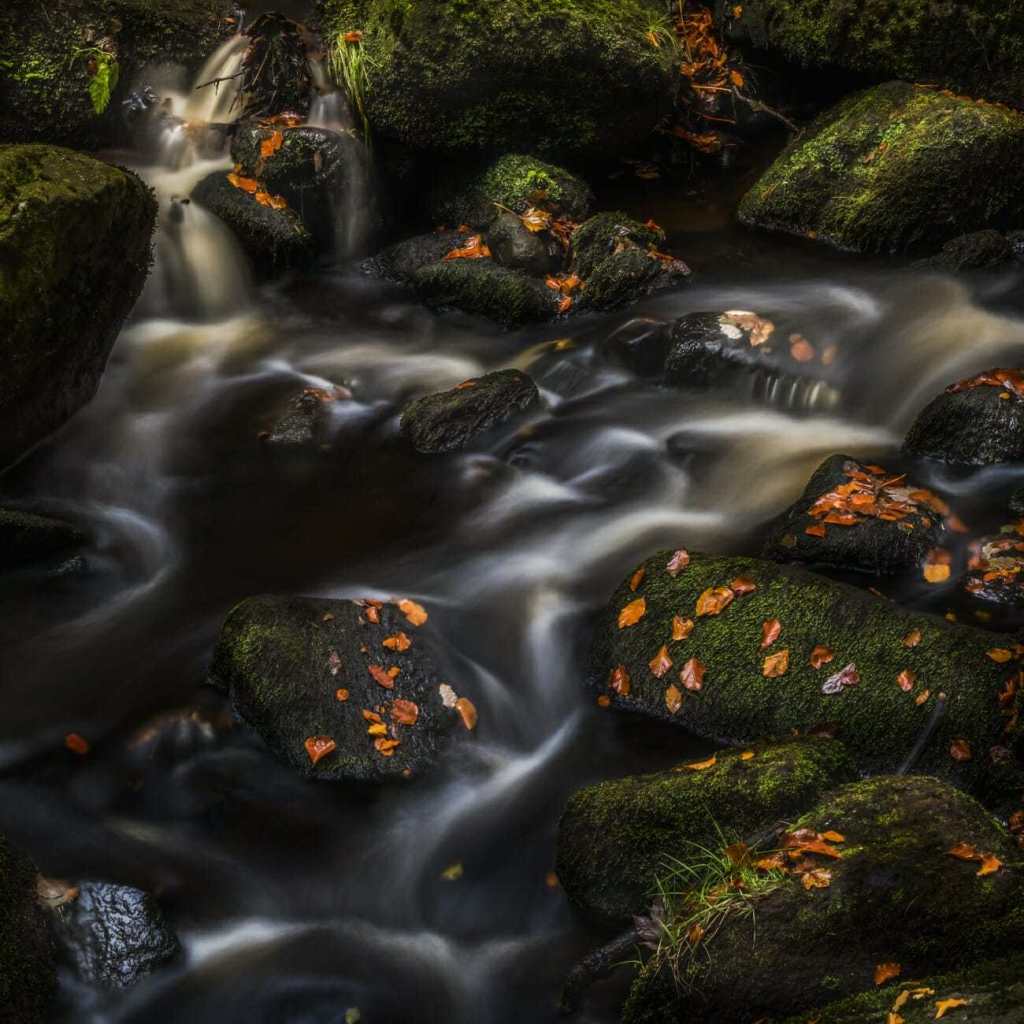
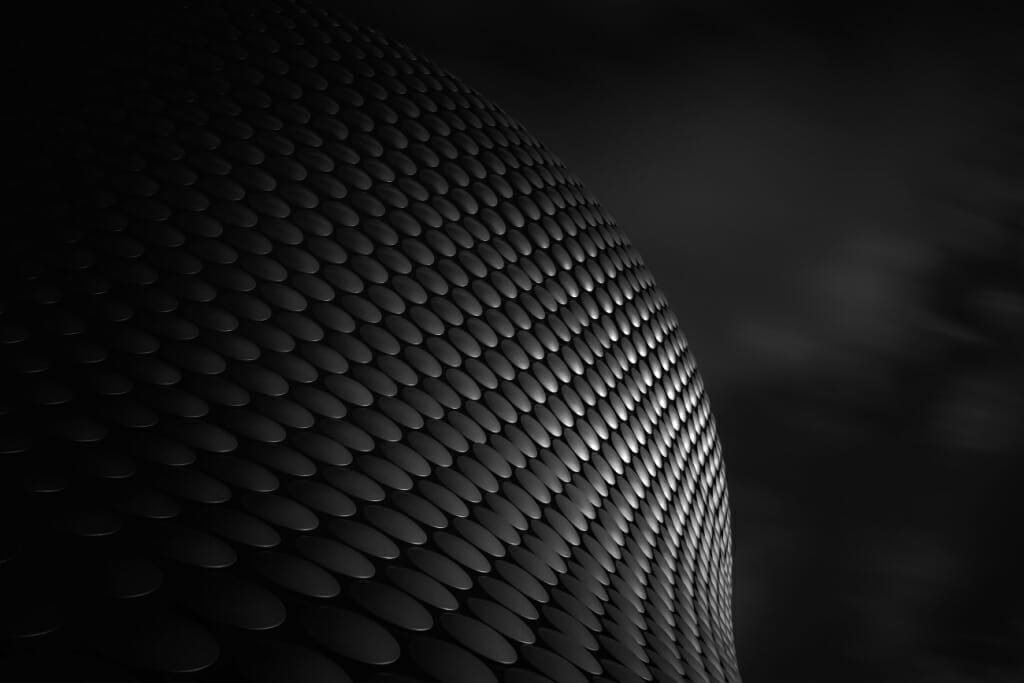
ND filters are also great for creating movement in the sky. For example, a 15-30 second exposure can give the impression of clouds moving.
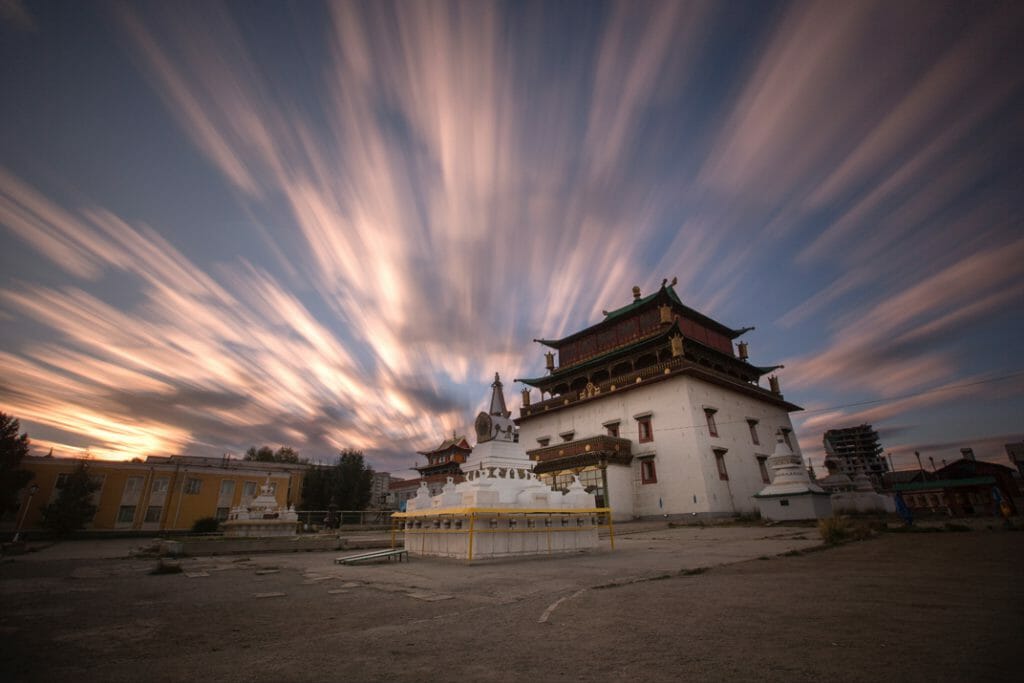
This can be particularly effective if you’re shooting architecture photography in an urban environment.
ND filters can also add impact to street photography or busy cityscapes. If there are many people or lots of traffic in a shot, an ND filter combined with a long exposure can reduce their appearance and create an artistic ghosting effect in their place.
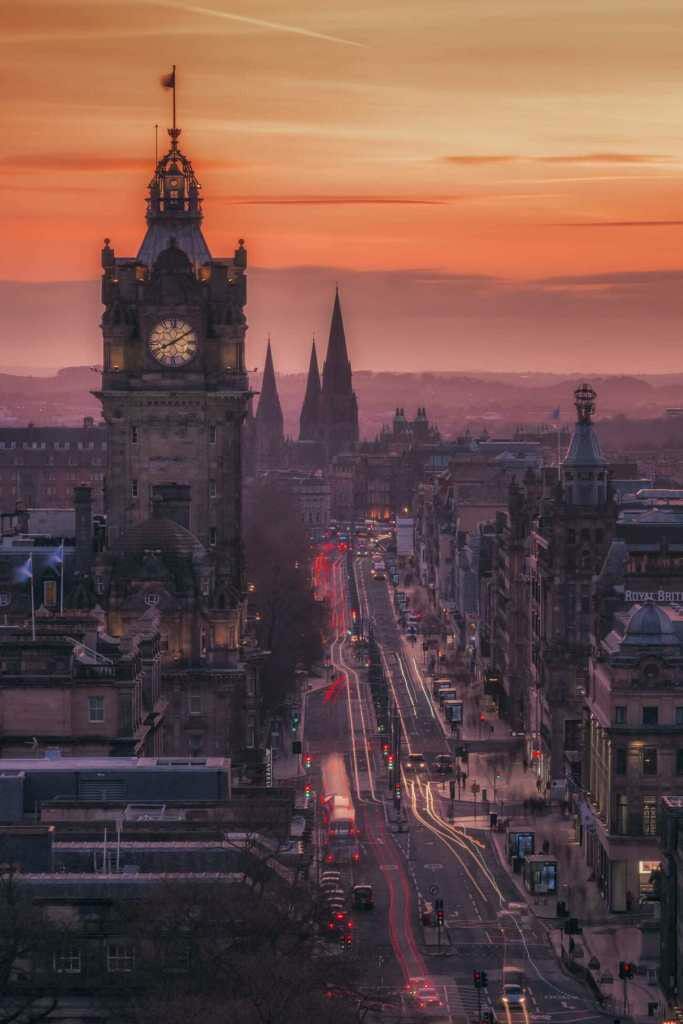
There is no right or wrong scenario when using ND filters. If you’re feeling creative, you can indulge in some ICM (Intentional Camera Movement).
What is a Neutral Density Grad Filter?
Our eyes are incredibly versatile. We can look at a sunset and perceive the entire range of light. For example, You can see the brightest points of the sky, yet still, perceive the detail in the shadows.
Unfortunately, this skill does not transfer to our cameras.
This is where a Neutral Density graduated (ND Grad) filter comes in handy.
The ND Grad is designed to maintain detail in the sky by darkening it, while also allowing you to expose for the foreground.
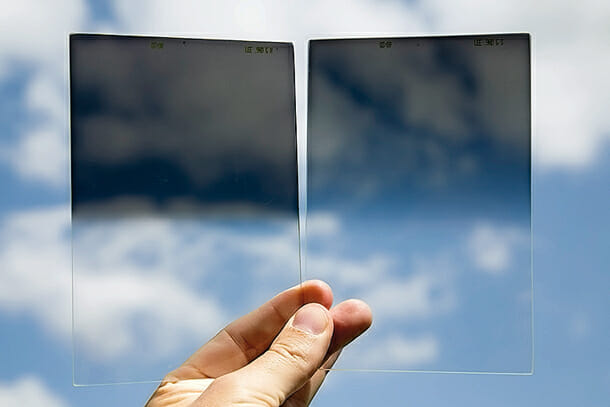
This means you can avoid those pesky instances where either the sky is too bright or the foreground too dark.
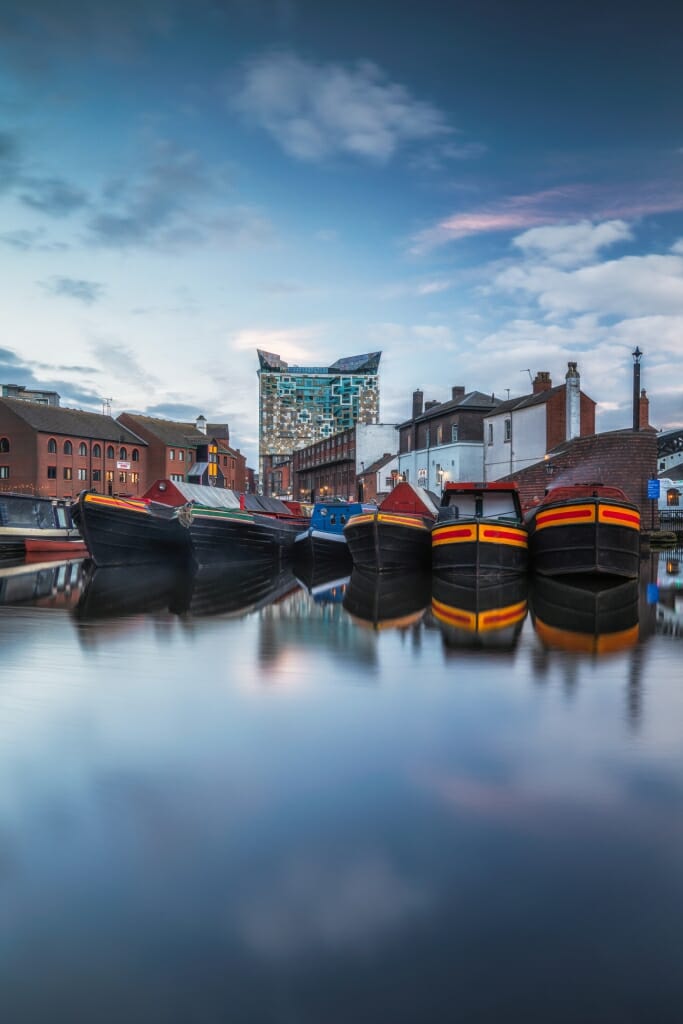
Different Types of ND Grad Filters
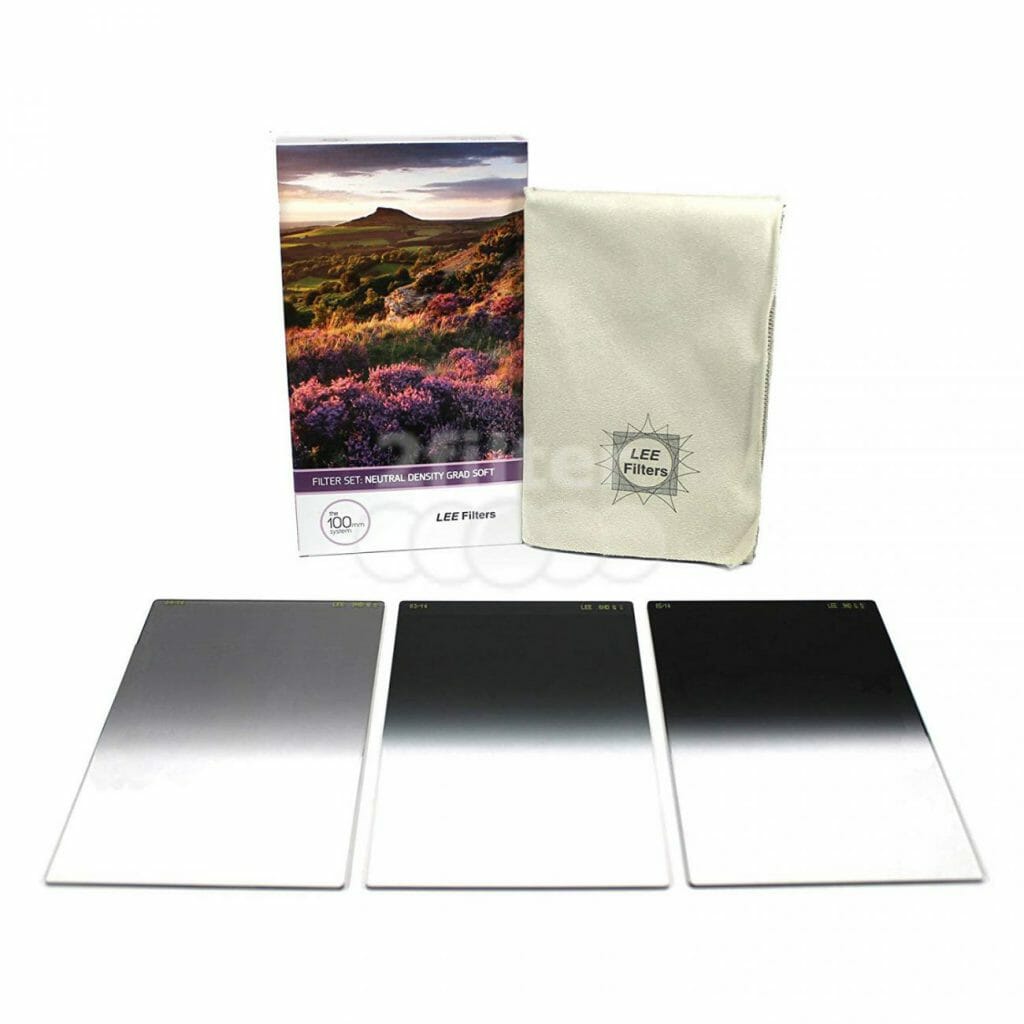
ND grad filters come in different varieties and strengths. You can get soft or hard versions, which relate to the line between the darkened section and the rest of the filter.
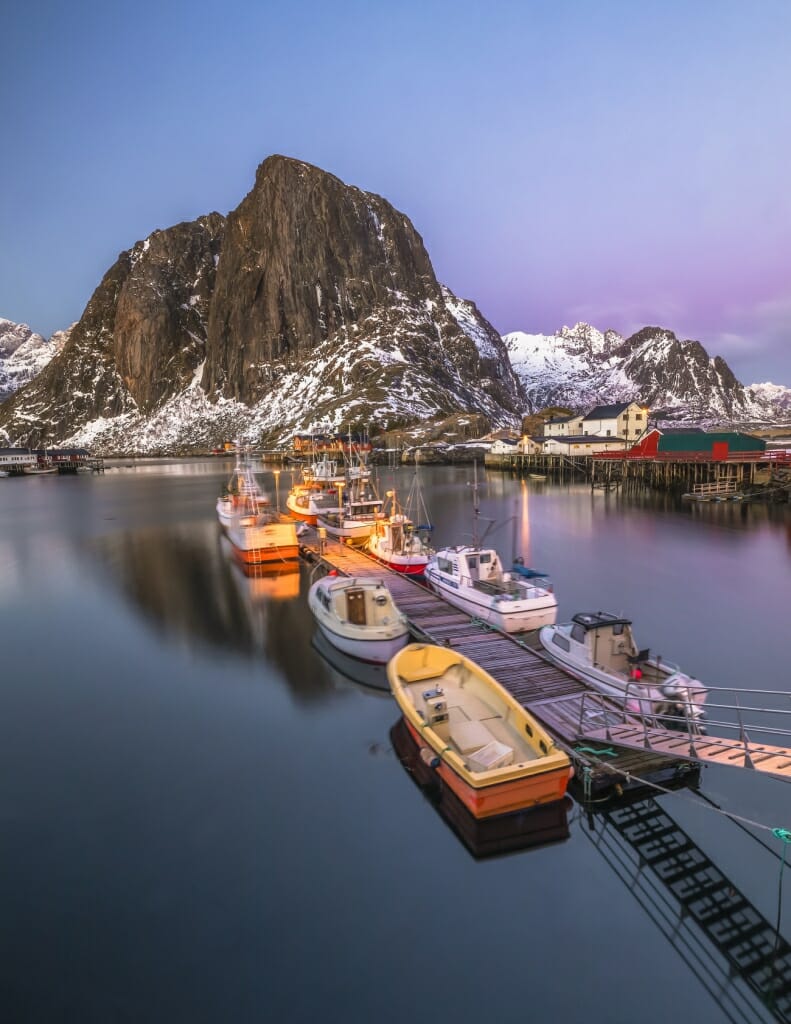
The hard version has a very definitive line so you would need a subject with an obvious horizon–such as a seascape–to get the best results.
There are also various strengths in terms of how dark the filter is at the top.
These come in 0.3, 0.6 and 0.9 strengths; which equates to a 1, 2 or 3 stop reduction in light entering the lens (through the dark edge).
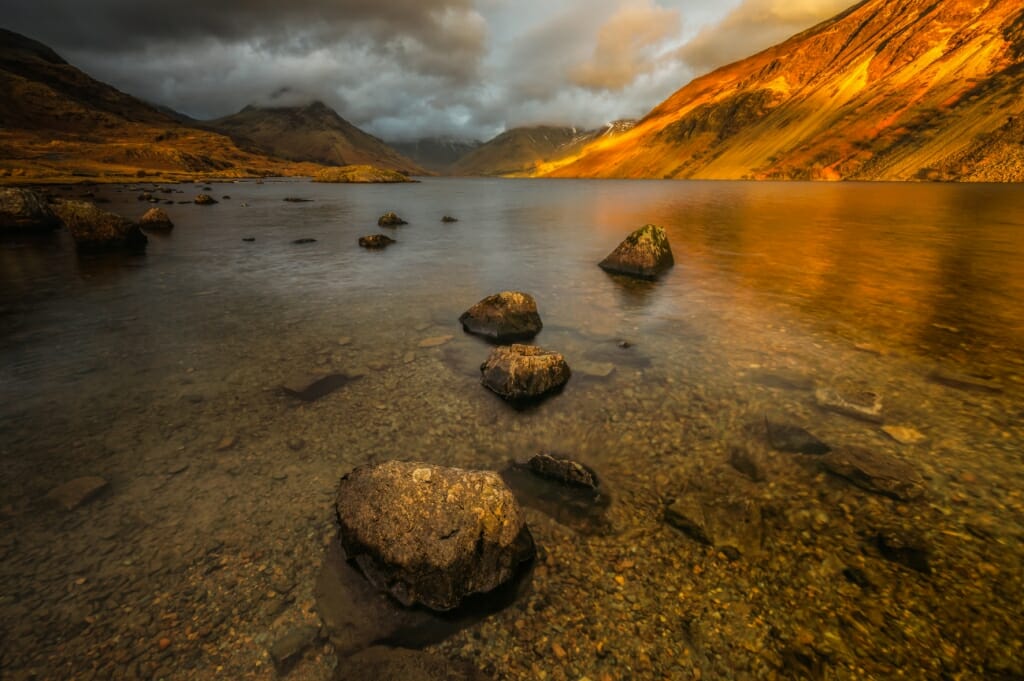
The thing to remember with ND grad filters is to make sure you’re using the clear area of the filter to expose for the darker areas of the image, or your results will be less than desirable.
What to Look for When Purchasing an ND Filter
When you invest in a filter, you can either go for a singular screw-in filter that attaches directly to your lens or one that slots into the filter holder that sits on the front of your camera lens.
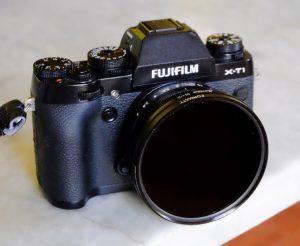
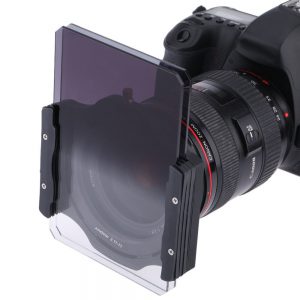
a screw-in filter might be cheaper and easier to transport, but the latter is more versatile. Using a filter holder means you can use the ND filter in conjunction with other filters.
If you’re purchasing a square filter you’ll need to invest in a filter holder. This can bump up the cost, especially as you’ll need a filter adaptor ring for your lens–but it is worth the money.
The bonus of using a filter holder and an adaptor ring is you will be able to use the filter on any lens, regardless of its diameter. This works out much cheaper than purchasing a new filter for every lens you have.
There are many varieties of ND filter on the market to cater to all costs and needs. The premium quality filters will cost more than the cheaper alternatives.
Naturally, the higher the quality of the filter, the better the image quality. Cheap plastic filters are great for beginners though, especially if you are not used to using filters. However, there can be a downside, such as strange color casts or noise. I would recommend investing in a mid-range set, so you don’t get frustrated with the color cast issue.
5 Best ND Filters
Here is a list of my top 5 ND filter recommendations.
1. Lee Filters 100x100mm Big Stopper
This is probably the best-known 10-stop filter on the market, known for its precision engineering and high-quality glass. This is a great addition to any landscape photographer’s kit bag.
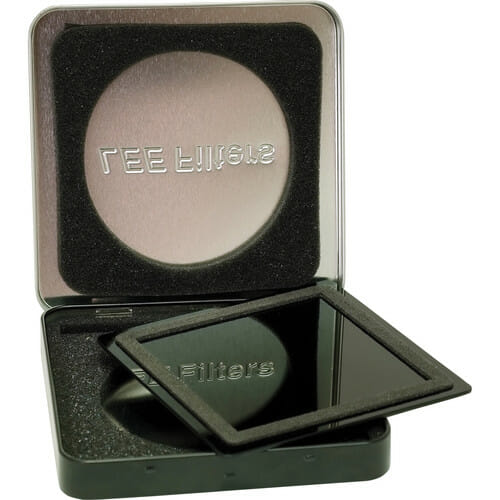
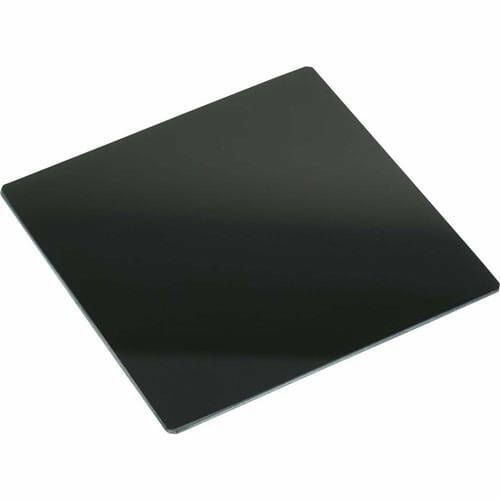
2. Lee Filters 100mm Little Stopper
This is the Big Stopper’s little brother. This equates to 6-stops, which is great for sunsets or sunrises when you wish to capture long exposures but don’t want to be waiting for long stretches of time.
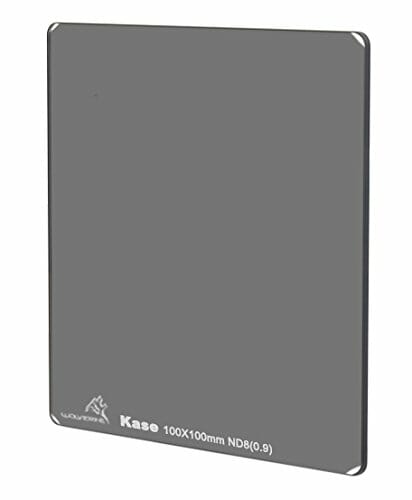
3. Kase Filters 100mm Wolverine ND8
Kase are the new kids on the block, but have some really nice filters. This is the equivalent to 3-stops, which is good for seascapes when you just want a hint of motion rather than a longer exposure.
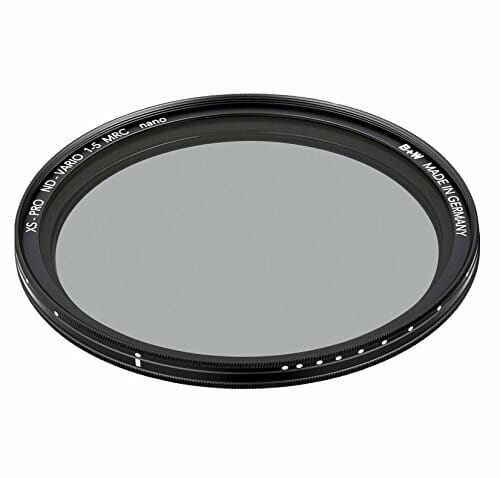
4. B+W XS-Pro Digital ND Vario MRC-Nano Filter
If you don’t want to purchase a filter holder and associated kit, B+W have a screw-in ND filter which can vary from 1 to 5 stops. The downside is you’d have to buy a different one for each of your lens sizes.
5. Lee Filters Neutral Density Soft Edge Grad 0.9
This is the perfect filter to balance out exposure if you’re dealing with variable light. It can be used in conjunction with other ND filters.
Over to You
So if you’re looking to capture eye-catching seascape, waterfall or street photography, add an ND filter to your kit bag. It could help take your photography to the next level.
Now that you’ve learned these tips for stunning photos, you’re a better photographer.
Guaranteed.
But the fact is, the journey doesn’t stop there. There are more tips, tricks, and secrets–all of which will help you take gorgeous photos.
And if you want to learn all of these secrets, I recommend you sign up for the PhotoBlog newsletter. We send our subscribers all sorts of great stuff–including the tips, tricks, and secrets, straight from the experts. All to help you capture world-class photographs.
Did I mention that it’s all totally FREE?
(Oh, and we’ll send you a natural lighting cheat sheet–designed to help you use light in ways you’ve never considered.)
So to start taking stunning photos, enter your email: