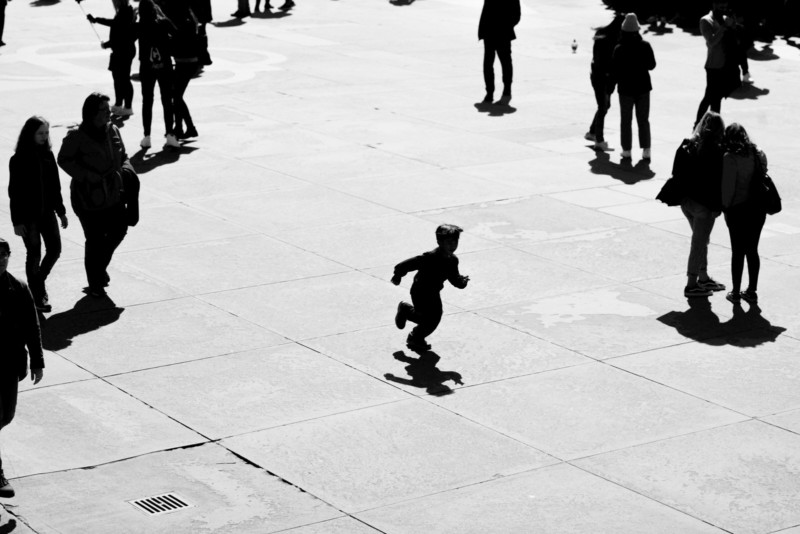
The black and white aesthetic can sometimes be a contentious issue among photographers. The decision to shoot monochromatic images is, for some, an afterthought in a way that other choices like filters, focal lengths, and exposure settings would not be.
This means that some of the nuance to a well-balanced black and white exposure can be overlooked, and I think this is a shame because it wouldn’t take much for photographers to take a little more control and consideration and produce effective and beautiful black and white images.
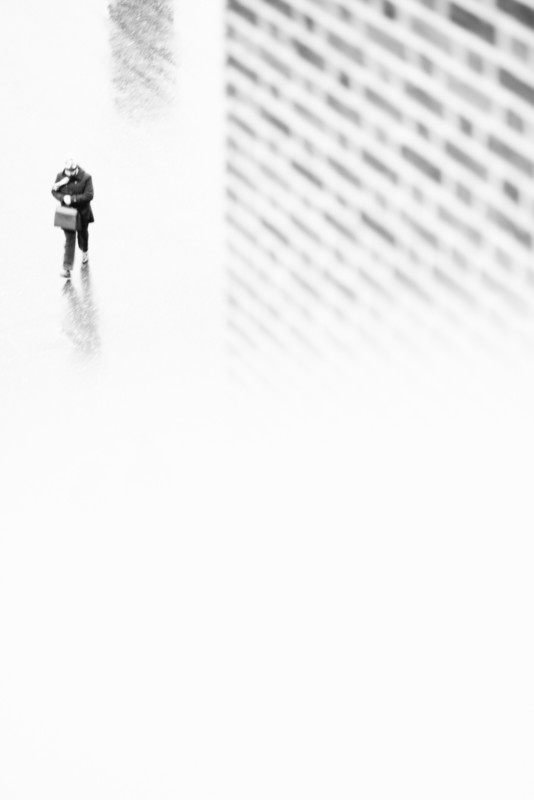
Many black and white edits are heavy-handed, simply boosting contrast and sharpness with little subtlety or thought for mid-tones. I think that some of the best black and white images have a more complex aesthetic that cannot be achieved through desaturation and contrast increments alone.
There are a few ways a better result can be achieved, and the implementation is not technically difficult by any means. It is also not a specific formula and leaves enough to the photographer’s own preference that they can create their own black and white “look” once they have a good understanding of the way that their exposures look.
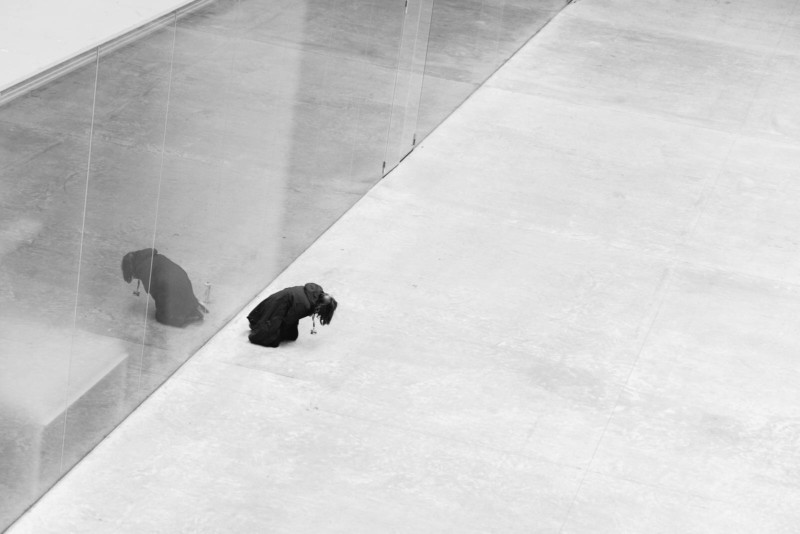
It may sound obvious, but the first step towards creating a good black and white image is to have the intention to do so in the first place. Rather than using black and white to salvage uninteresting color images, a good black and white image is shot deliberately to have certain characteristics that make the conversion easier.
“Cheating” a photo by switching it to black and white (or through any post-processing gimmick) rarely works; there has to be some redeeming aspect – you can’t make a photo good in post, only bring out the best of what was originally seen.
For example, a well-composed image with good figure to ground and well-exposed light will look just as good without color as it does with. This is because the image is based around shapes and light, which translate well to a black and white image. An image featuring vivid color, or subtle contrasting elements may suffer from losing its color, as it could have been the only thing making it worthwhile, or interesting.
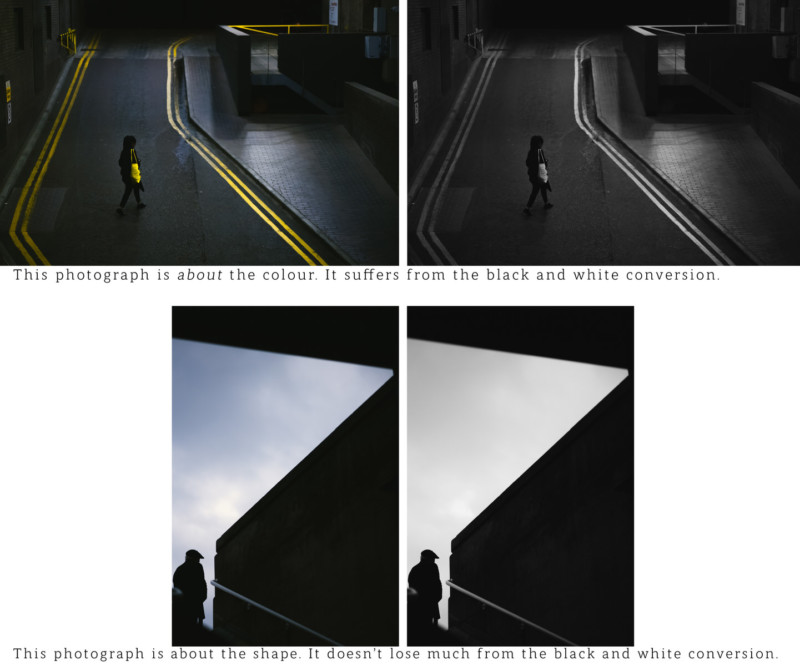
The best thing, in my opinion, about black and white is that it is not a true representation of the world. It is a purely artistic means of expression, and this means you can really control the exposure, and stretch what’s possible from your camera. You can afford to lose detail in the shadows, highlights or mid-tones — and sometimes you should in order to get the exact look you are after.
The key to my exposures for black and white is an exaggeration of the light you are using. Through deliberate and careful consideration of the scene you are working with, you can decide whether to exaggerate the shadows or the light and to allow one or the other to dominate the scene. A good way to do this is to spot meter for the exact light you want and then adjust your exposure accordingly.
Using a digital camera with a live-view function makes it much easier to see exactly what you will be getting with your exposure and is, therefore, one of the best ways to shoot for black and white.
It can take a while to become comfortable losing the highlights of an image, but I’ve often found that in my images the “action” is almost never the most brightly lit part of my scene. People will be darker than the sky or other sources of backlight so exposing this way offers a very clean, minimal subject. I’d rather lose detail in the sky, or in billboards or from streetlamps, and have more detail from my characters and situation.
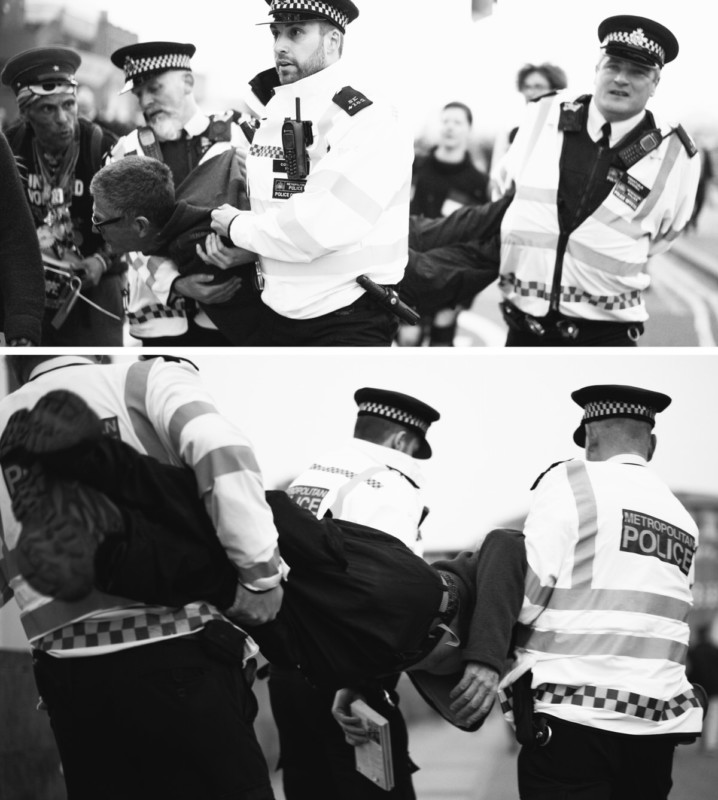
In these photographs, I overexposed by two stops. This gave me vivid whites from the fluorescent jackets worn by the police, and also a great amount of detail in the arrestee, who would have otherwise been in shadow.
Similarly, if I am exaggerating the shadow then I am happy to lose the details in favor of rich blacks and interesting highlights.
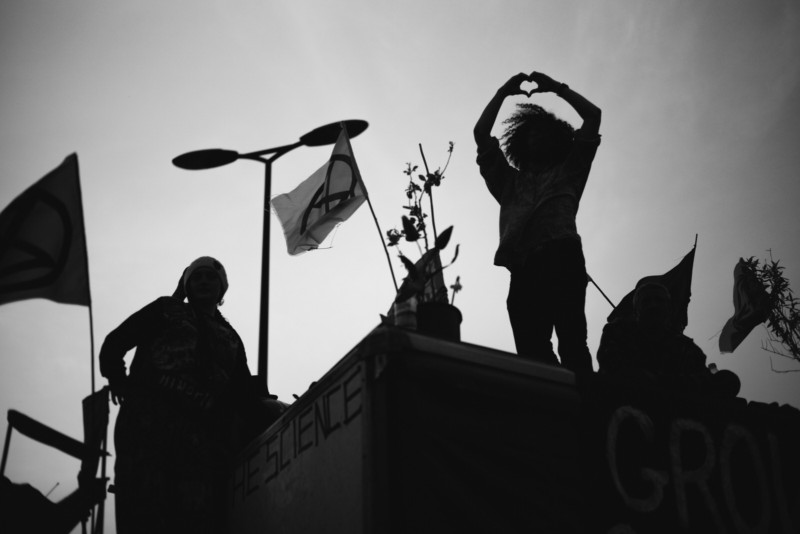
For example, in this photograph, I exposed for the sky and was able to capture my subjects silhouette, including the heart shape he was making with his fingers. If I had exposed “correctly” there is a chance his fingers would have been blown out against the sky.
For this image, I metered for the sky, then underexposed by one stop, giving me a moody aesthetic, and deep blacks.
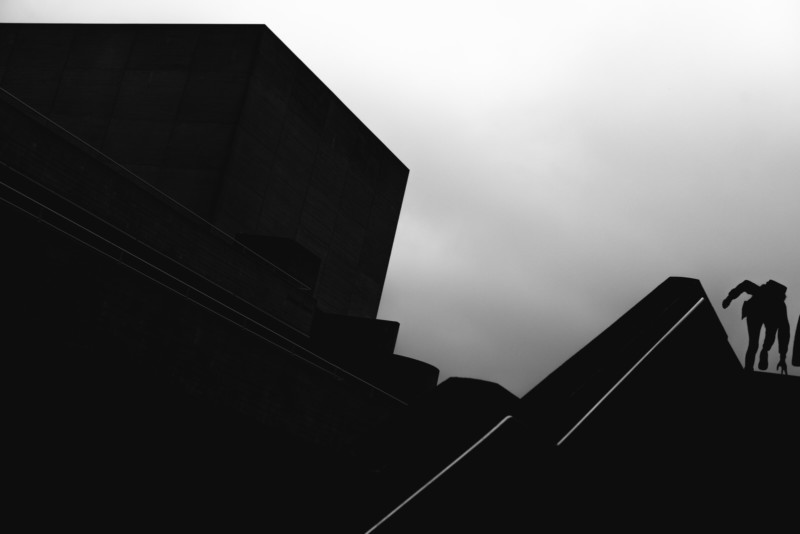
These last two images probably represent the easiest and perhaps most common way to create a dramatic black and white shot – a low angle silhouette against the sky.
Shooting black and white film is a very different experience than shooting an image digitally and then converting it. The way film reacts to light means it is usually better to overexpose a scene than under, and achieving rich shadows can be difficult without push developing which can reduce dynamic range.
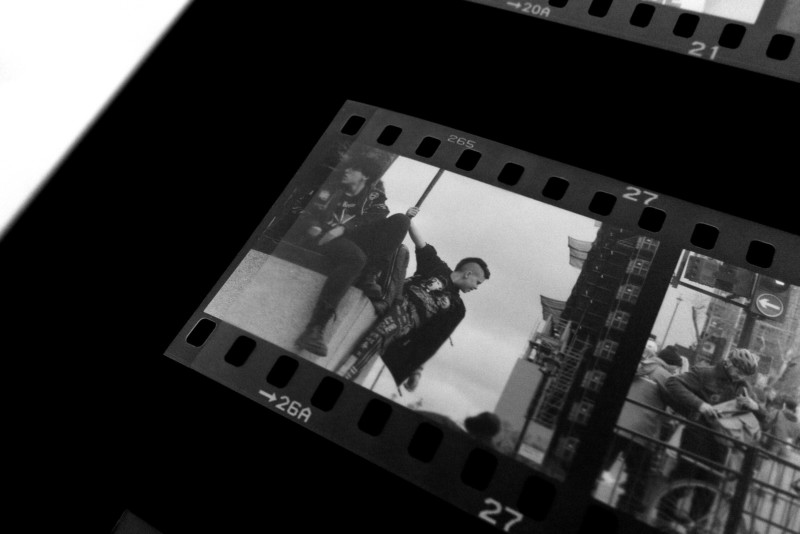
Film is great for capturing dynamic scenes with lots of midtones, and I’ve done some of my best film work in flat light.
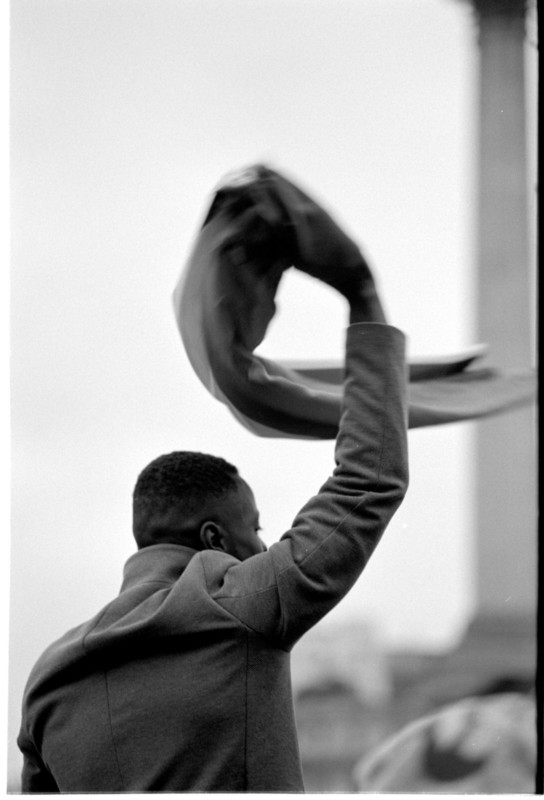
When choosing a black and white film it is best to research not only the latitude for pushing/exposure, grain, and “look” but also to discover whether it will react to light offering high contrast or low contrast. You can usually manipulate a lot with black and white film, but learning what each emulsion offers first, and playing to those strengths is a great starting point.
For this article, I’ve used examples from street photography, but exaggerating your exposure for black and white is not limited to that genre. One of my favorite landscape photographers (which means a lot, as I usually dislike landscape photography a lot!) is Jay Vulture, who goes by Vulture Labs.
His long exposure black and white work is an incredible manipulation of the scene, and the result is such a beautiful and surreal effect.
There are so many different ways to apply an exaggeration of light through deliberate “incorrect” exposure in order to create an engaging black and white image. I’m still working on methods in my film work that will deliver consistent results across the different types of film I use, and it’s been a difficult process to use my meter as a starting point for me to further alter rather than for an exact measurement. So far I have been very rewarded in my results, and I will continue to push my exposures, my film, and myself until I am satisfied with the look.
About the author: Simon King is a London based photographer and photojournalist, currently working on a number of long-term documentary and street photography projects. The opinions expressed in this article are solely those of the author. You can follow his work on Instagram and you can read more of his thoughts on photography day-to-day over on his personal blog. Simon also teaches a short course in Street Photography at UAL, which can be read about here.