When I first started indoor photography, I struggled with overall exposure, color tones, and that bright & airy look I saw in the works of other professional photographers.
If that sounds like you right now, read on…
I am going to share with you the secrets to perfecting your indoor photography.
Shooting photos indoors can be a challenge, but it can also be very exciting.
What is Indoor Photography?
Indoor photography refers to photos taken indoors: be it portrait photography, real estate photography, or product photography. It can also include artistic projects, such as still life photography or photojournalistic images.
Each interior space will be unique and offer different possibilities, but there are some basic rules to bear in mind that will make the process smoother.
Let’s dive into some tips to help you improve your indoor photography.

1. Camera Settings for Indoor Photography
Shooting indoors typically means there’s less light than outdoors, so you need to amend your camera settings to accommodate this.
You’ll need to think about your ISO, aperture, shutter speed and white balance.
Here are the best camera settings for indoor photography that works for me:
- ISO: 100 if I am on a tripod. If hand-holding, I will boost it up to 800 or even 1000.
- Shutter speed: 1/100th if handholding. If n a tripod I will go much lower.
- Aperture: f/4 or less for indoor portraiture. F/11 for real estate, interior design photography.
- WB: Custom or preset
- Photo Format: RAW
- Shooting Mode: Aperture Priority
These settings work great as a starting point, but let’s see how you can customize them to be more creative depending on your subject, available light, and artistic needs.
2. Boost Your ISO in Low Light
The most common way to increase overall exposure in low light locations is to raise your ISO settings, but be aware this does increase the chance of noise, or grain, in your photos.
However, depending on the type of work you’re doing, grainy photos can be embraced. Having grain, or noise, in your photo can add to the mood of portraits or details.
Pro Tip: Look for “Auto ISO Range” in your camera’s settings if you are worried about unrecoverable noise in your images. Setting this range will make sure your camera does not increase ISO above the max settings.
3. Open up Your Aperture
One way to increase your exposure without introducing noise in your indoor shots is to open up your aperture.
Doing so let more light to reach the camera’s sensor through the lens. However, be aware that a large aperture narrows your depth of field. Which could result in a blurry background.
This works very well for indoor portraiture, fine details, or small items.

4. Use a Slower Shutter Speed
Another way to increase the overall exposure in your indoor photography is to slow down your shutter speed.
Bear in mind you’ll have to use a tripod for any shutter speeds under 1/60th.
Pro Tip: Switch your camera to Aperture Priority mode (Av on Canon, A on Nikon). This mode will allow you to set your aperture and the camera automatically optimize for the fastest shutter speed.
5. Correct Your White Balance
Modern cameras do a good job of getting the correct white balance in ‘Auto White Balance” mode. However, for best results, I find it is best to adjust the white balance (WB) settings manually.
Setting WB is especially handy if you are shooting JPG format instead of RAW. JPG only stores limited details of an image, so you lose details when heavily adjusting the white balance in post-processing later.
If you’re in a space with indoor lighting and not much sunlight, you should set your white balance to match the type of bulbs in the lights (incandescent or fluorescent).
Pro Tip: If you want to get the white balance perfect in your camera, you can use a cheap white balance card as a reference.

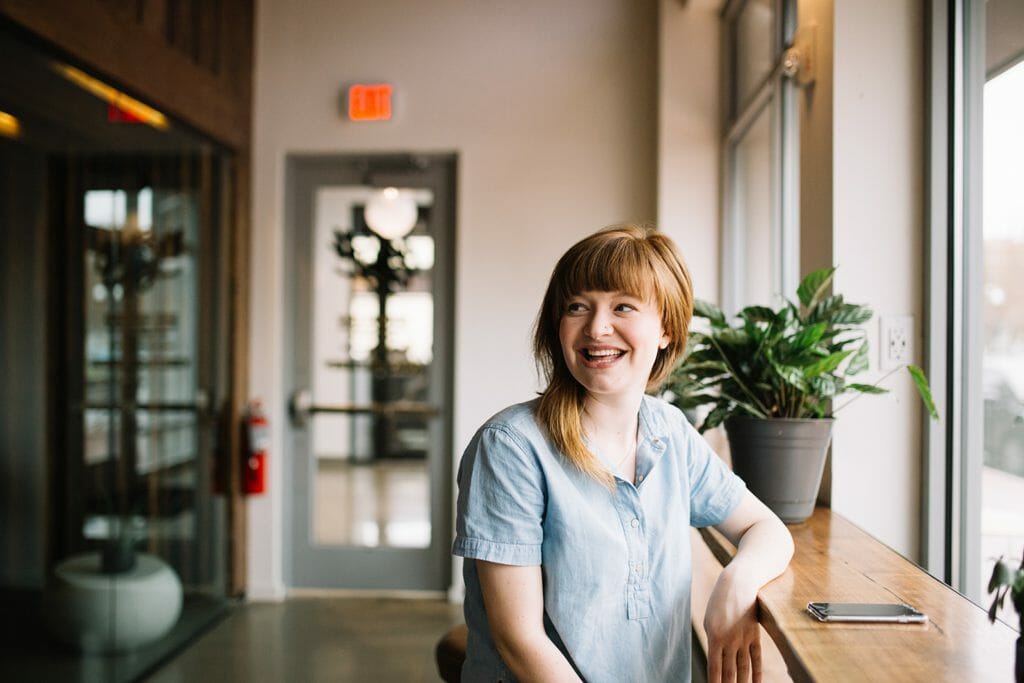
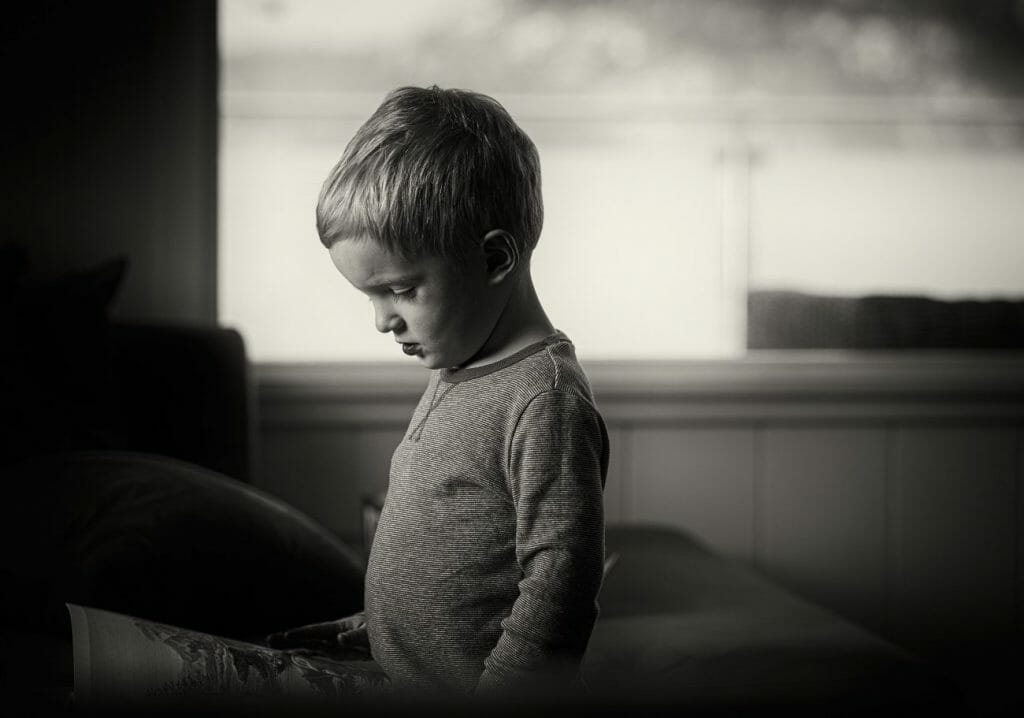
6. Make the Most of Window Light
Shooting indoors limits the amount of natural light, so one of the simplest things you can do to increase the light is to head towards the nearest window.
Positioning your subject by a window can give more than enough light for images, especially if you’re photographing products or people.
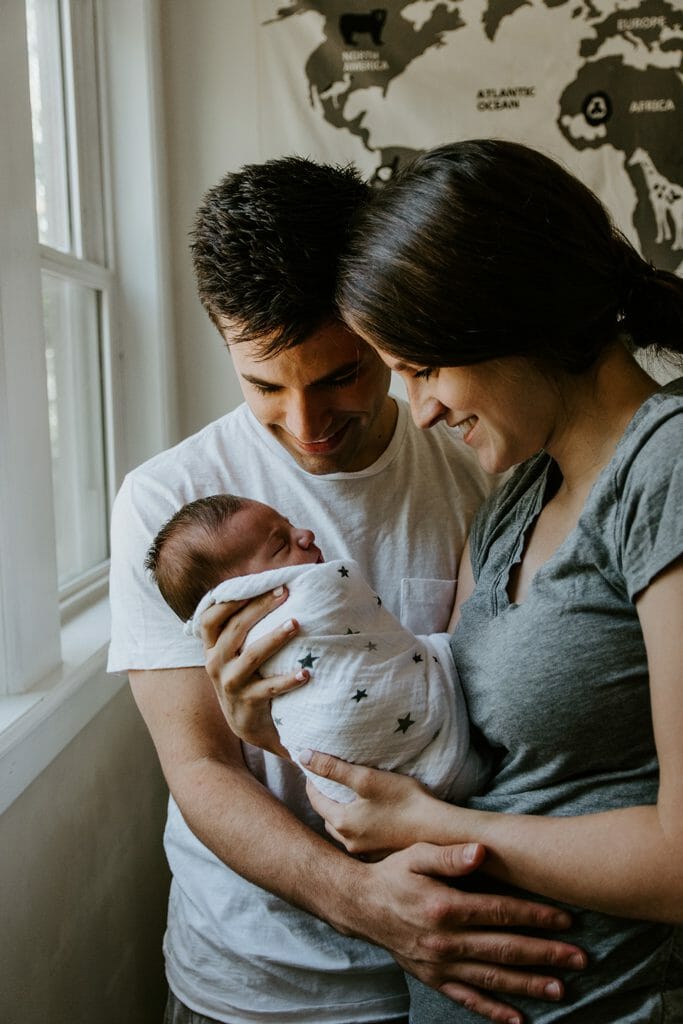
Avoid having the window behind your subject, as that will make your subject appear very dark.
If you have harsh light coming through the window but don’t want to stray too far from the light, use curtains or blinds to diffuse the light. This will give you a soft light source without harsh shadows.
7. Schedule Indoor Photography Shoots to Optimize Light
You need to know which way the sunlight will hit the building during different times of the day; this is crucial to shooting indoor photography.
For example, a living room might get harsh light in the morning but is bathed in beautiful indirect light all afternoon.
Or you may want a dramatic portrait by a window which let golden light through in the afternoon; in which case you need to work with a room that faces west.
If you have access to your location prior to your shoot, spend time there to observe the light throughout the day.
If you don’t have access before your shoot, have a conversation with your client about where the sun will be at different times of the day. Then you can plan your shoot accordingly.
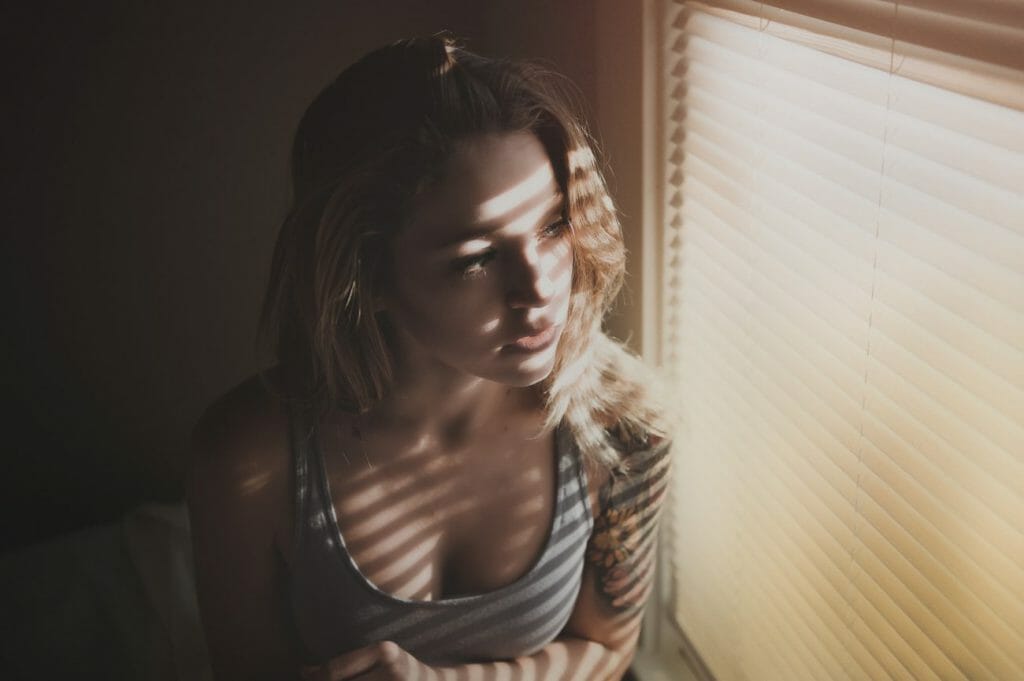
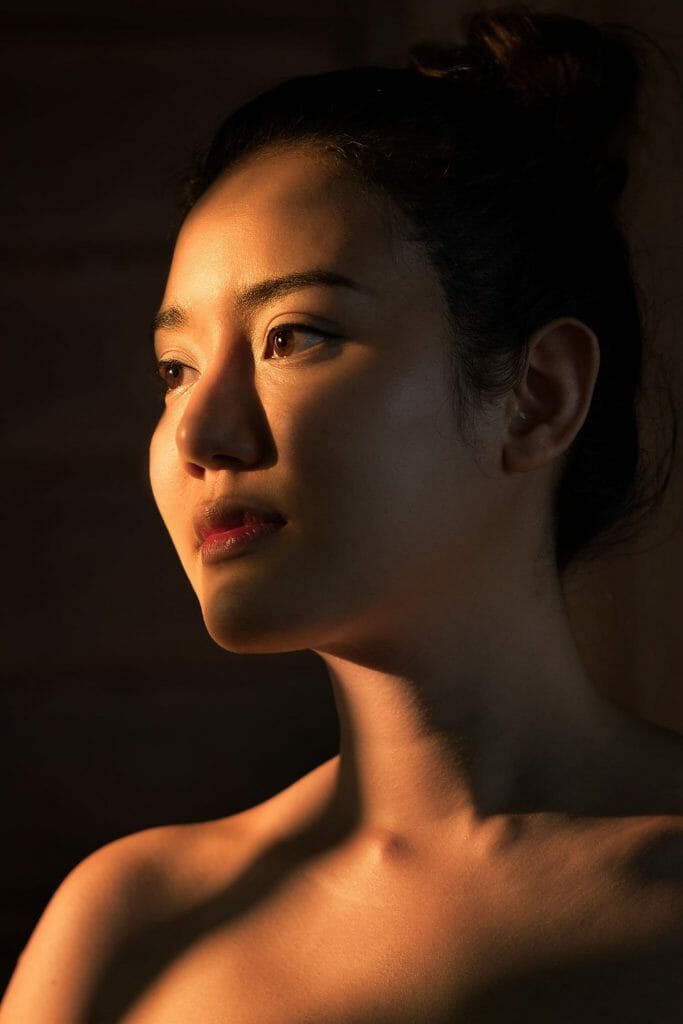
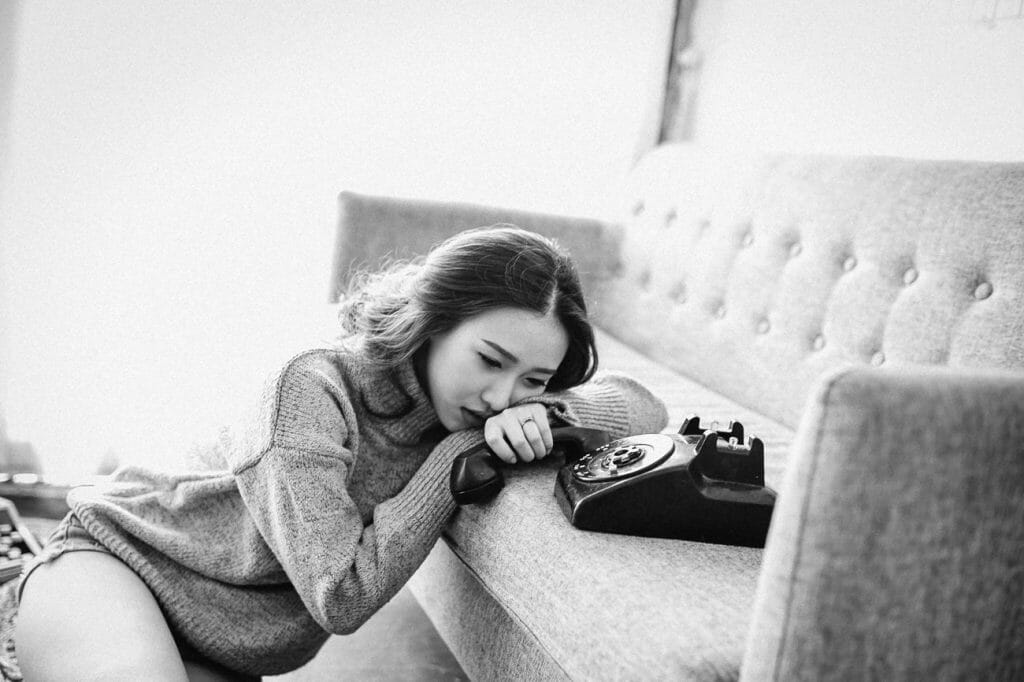
8. Embrace Shadows
Don’t shy away from shadows when shooting indoor photography. Shadows can add depth, mood, and drama to your images.
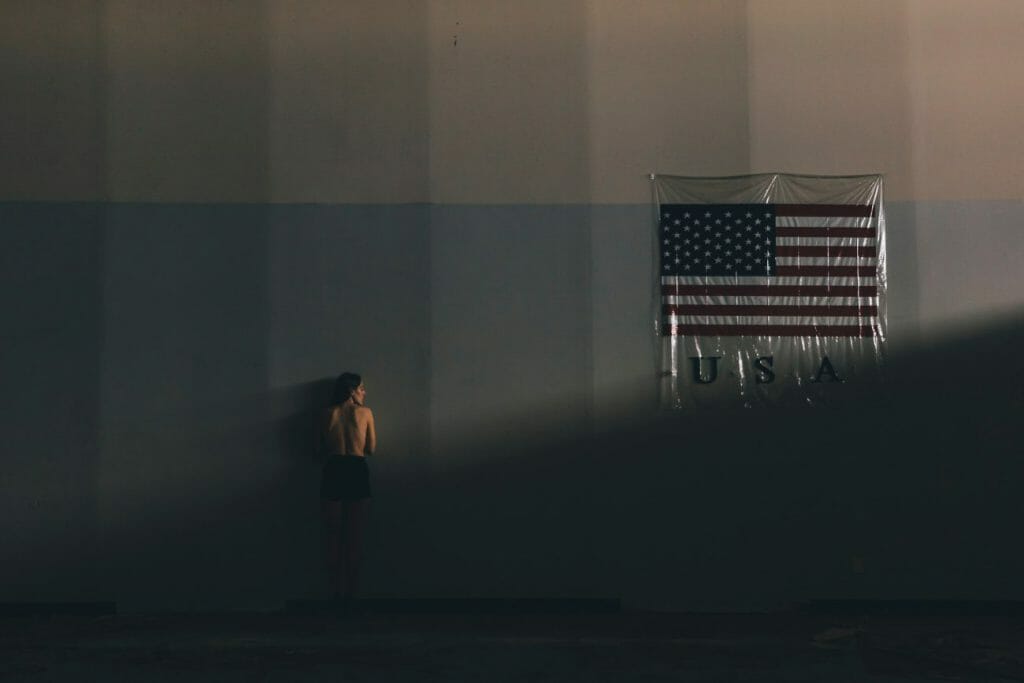
If you’re shooting portraits or still life, turn your subject sideways onto the window so the light falls on half of them. You can also use existing light fixtures to light from overhead and create dramatic shadows.
Play with light fixtures that are existing in the space or get creative with handheld lighting options, such as a flash or a softbox. Just be sure to adjust your white balance for any artificial lights.
9. Use Reflectors to Bounce the Light
If you’re looking to fill in the shadows, a reflector is an inexpensive way to do that.
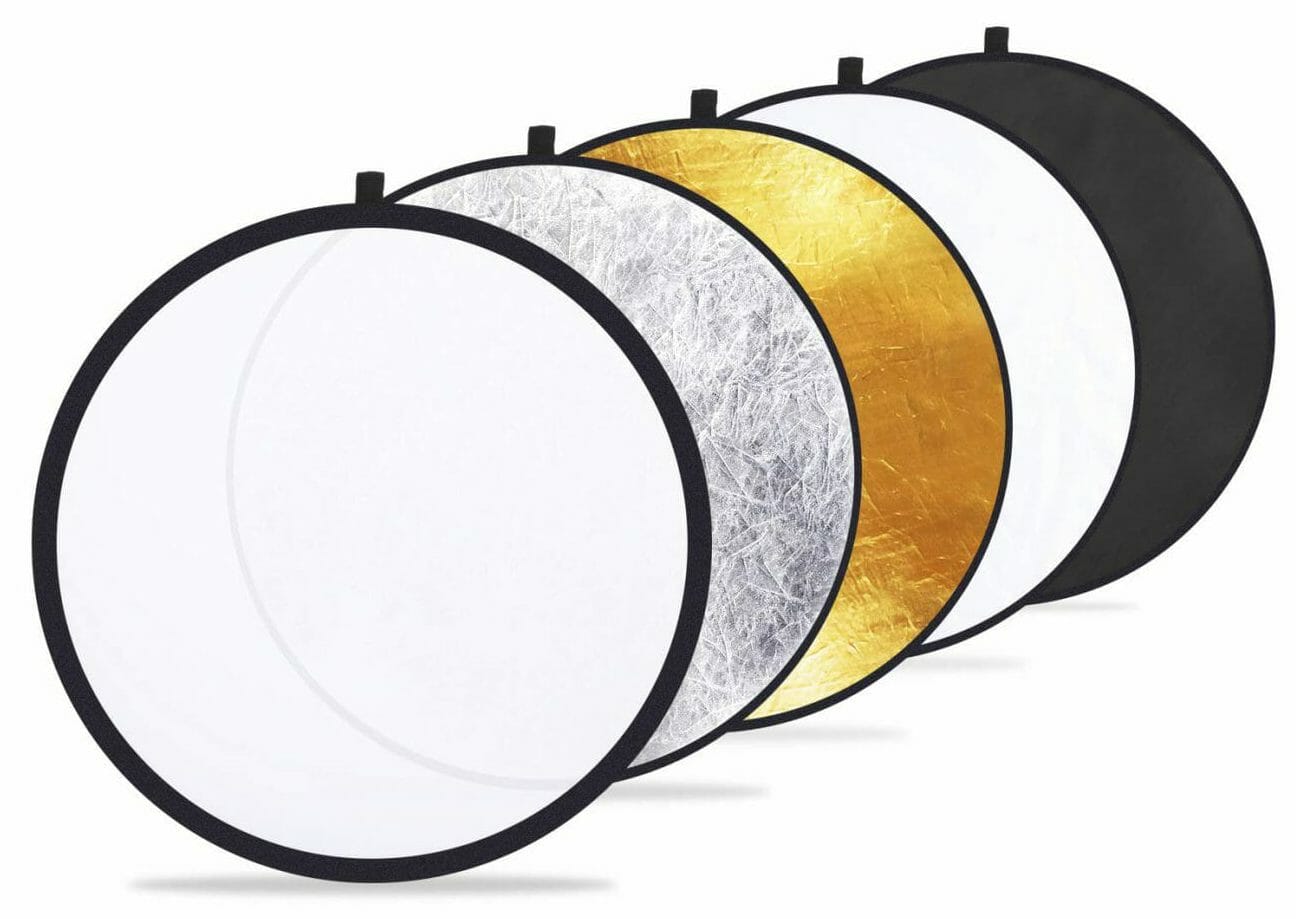
There are low-budget reflectors that can be found online, but you can also use just about any material that is white and opaque. Such items can often be found around the house, such as white bed sheets or white poster board.
Pro Tip: If you have a flash or other type of light source, bounce it off a wall or ceiling to diffuse and soften the light on your subject.
Related Article: Ultimate Guide to Flash Photography


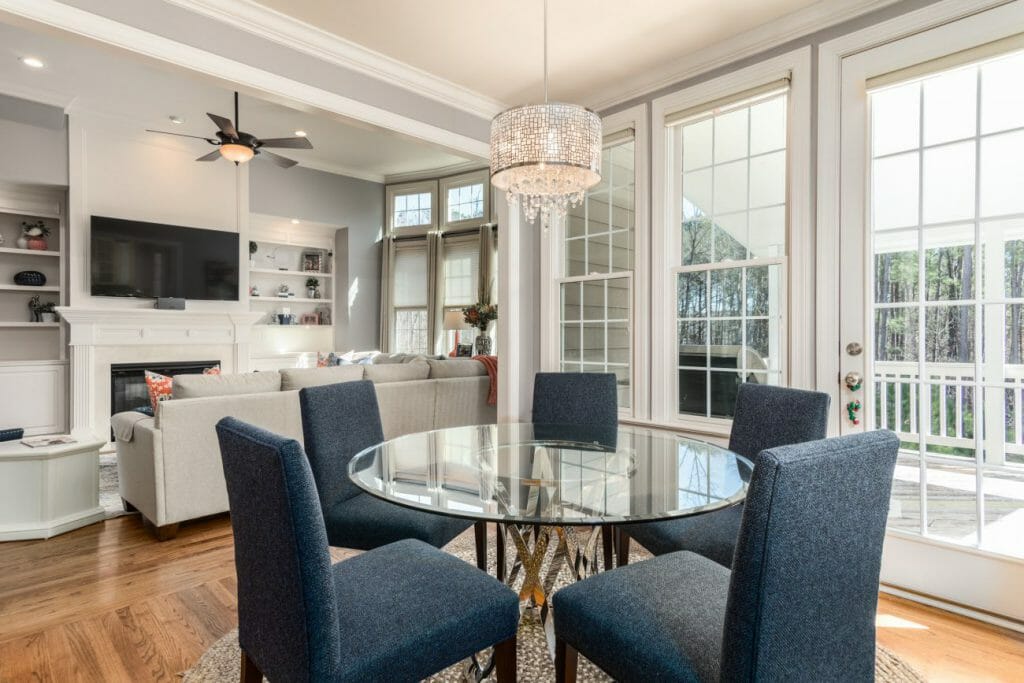
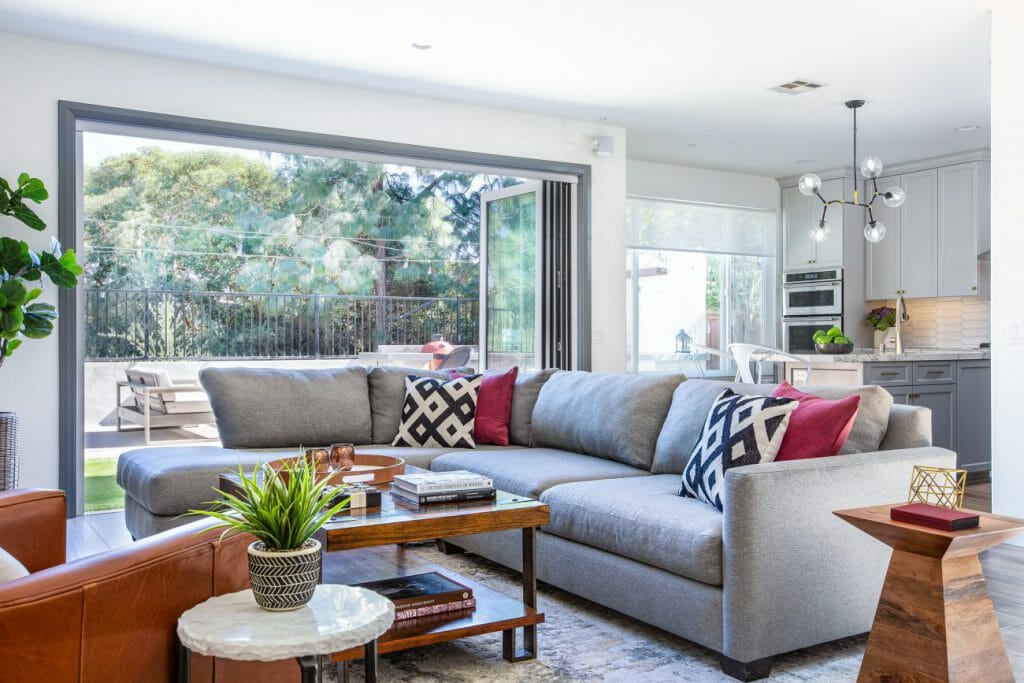
10. Pay Attention to the Background
The background of your photo can either tell a story or simply fade away.
If you want to put more emphasis on your subject, consider a simple background like a solid wall or curtains.
If you can’t escape a busy background, opening up to a wide aperture will help soften it, so that it doesn’t detract too much from your subject.
On the other hand, to tell more of a story with the background, consider showing more of the room (wide-angle) with a narrower aperture (large f-number)
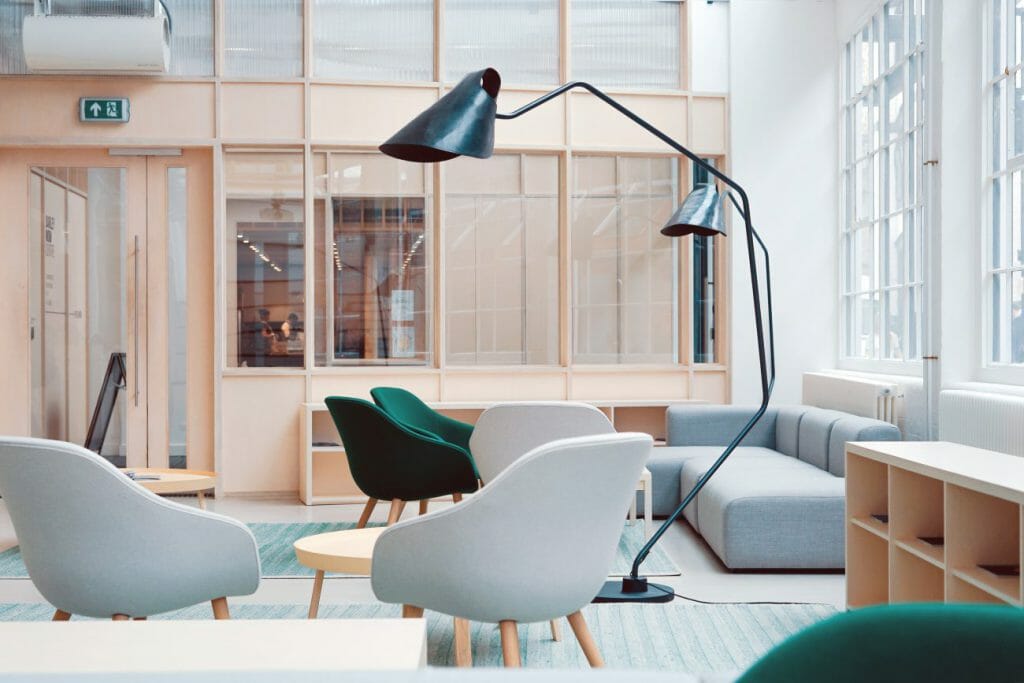
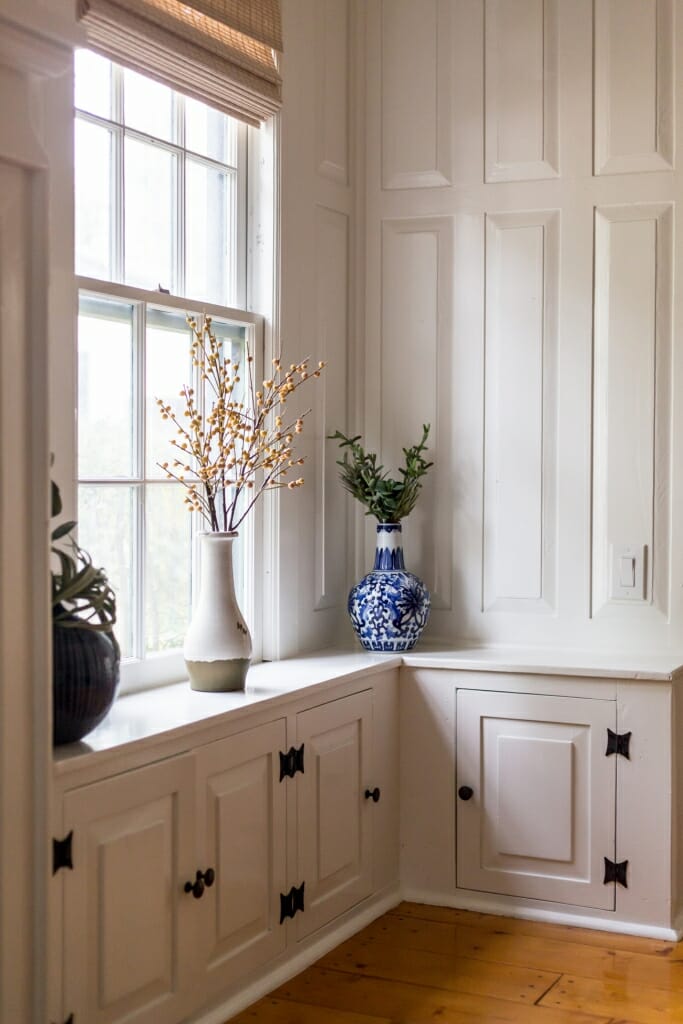
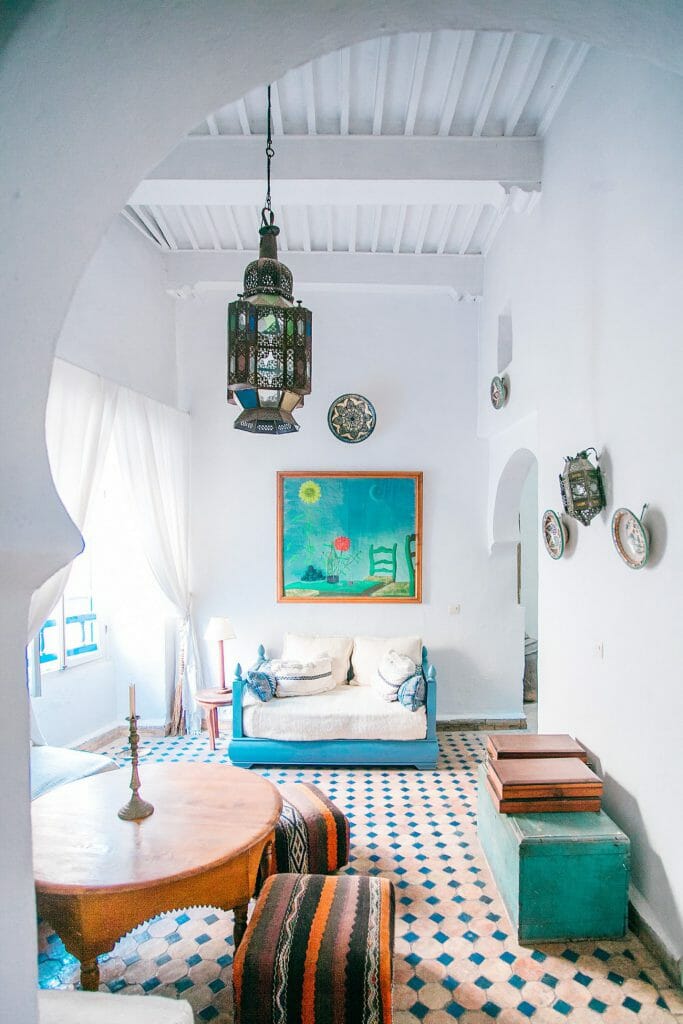
11. Include Props, Textures, and Details
Look around to see if there are decorative items or home goods you can use as props. Items such as a blanket, a vase with beautiful flowers, or a great sofa, can add interest to your indoor photographs.
A vintage or textured table can make the perfect backdrop to flat lay images of products. A casual throw or colorful flower bouquet can add pops of color or warmth to real estate photos.
So take a few moments before each set-up and see if there’s something nearby that can help your photos stand out.
12. How to Edit Interior Photos
Interior photography is one of those types of photography where you never want to publish without doing at least the basic edits. Here is a list of bare minimum edits you should do in Lightroom or Photoshop
- Enable profile corrections: This will get rid of distortions and vignetting from your lens.
- Boost shadows: often, the shadows come out too dark, but it is easy to correct in Lightroom. Simply increase the shadows slider.
- Add vibrance: Don’t go crazy with vibrance, just a touch to bring out the colors will do.
- Adjust WB: If you feel the camera didn’t do a good job, you can adjust it in Lightroom
Here is an example of what that editing steps can do to your photography:
After the edits 
Before the edits
From there you can add further edits if you like. Edits in LIghtroom are non-destructive. Meaning you can play with them to see if they work or not.
Have Fun with Indoor Photography
Taking photos indoors doesn’t have to be challenging. In fact, it can be a really fun way to create unique images.
While practice makes perfect, our tips should help prepare you for the possibilities that await you in any indoor space. Have fun and be creative with your indoor photography.
Now that you’ve learned these tips for stunning photos, you’re a better photographer.
Guaranteed.
But the fact is, the journey doesn’t stop there. There are more tips, tricks, and secrets–all of which will help you take gorgeous photos.
And if you want to learn all of these secrets, I recommend you sign up for the PhotoBlog newsletter. We send our subscribers all sorts of great stuff–including the tips, tricks, and secrets, straight from the experts. All to help you capture world-class photographs.
Did I mention that it’s all totally FREE?
(Oh, and we’ll send you a natural lighting cheat sheet–designed to help you use light in ways you’ve never considered.)
So to start taking stunning photos, enter your email: