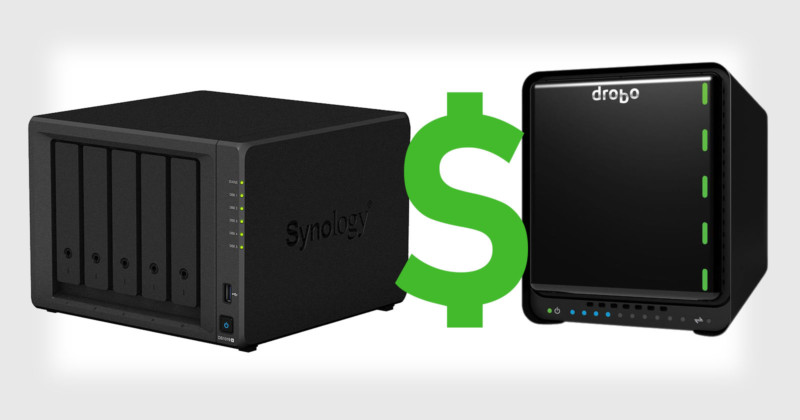
Not everyone needs the massive terabytes of storage that are possible with a RAID/NAS/DAS storage device. But you don’t need to fill up all the drive slots in one of these devices to get the advantages offered. This article is going to look at how to set up a storage device similar to offerings from Synology and Drobo with a small amount of storage (4-8TB) that gives you the benefits of the RAID redundant storage now with room to grow with your storage needs.
You can run most of these storage appliances with as few as two drives. In that configuration, they are typically “mirroring” the data across both drives so that there are two exact copies. If one drive fails, you still are able to access your data and have time to make sure your data is backed up properly.
I’ve used mirroring for many years on my work servers, and it’s a very good option that’s much more secure than a using single external drive.
The first thing we have to decide in our minimal configuration is what size drive? That really depends on your storage needs, but consider the small (relative) difference in price between 4TB, 6TB, and 8TB drives as of late 2019:
4TB internal drive: $90 or $23/TB
6TB internal drive: $120 or $20/TB
8TB internal drive: $149 or $19/TB
Because of the way adding drives to RAID system works in the Synology and Drobo, buying bigger drives now will help when you want to add more storage later on. Picking a drive size based on what will meet about two years of your storage growth of new files is a good metric. 4-8TB drives hit the current “sweet spot” of drive pricing. Larger individual drives will cost you significantly more per TB.
Heres a breakdown of total costs of a system that will help picking the right drive size:
$344 storage device with two 4TB drives = $524 total cost
$344 storage device with two 6TB drives = $584 total cost
$344 storage device with two 8TB drives = $642 total cost
A $60 difference in total cost up front allows you to jump from 4TB capacity to 6TB or 6TB to 8TB. It’s a pretty small cost considering that makes it easier to upgrade your total capacity later.
What about when you need more storage in the future? With most NAS or DAS boxes, you can add a drive at any time, but you probably want it to be the same size as the original two drives so that you can make use of its full capacity. Play with the Synology or Drobo calculators to better understand how your device will use drives of differing capacity.
While you can upgrade some systems by adding one drive at a time. I recommend you upgrade by adding two drives, going from two drives to four, and turning on dual-drive redundancy mode. The more drives you have in your device, the greater the risk of a drive failure, so the more redundancy you want.
Extra redundancy significantly lowers the risk of a crash. It’s why airplanes have two engines. Single-engine planes are one failure away from the risks of a dead stick landing. Two engine planes offer significantly more safety, as it’s very very rare to have both fail at the same time. If one engine does fail, the remaining engine is enough to get it back safely on the ground. This is a good illustration of the security drive redundancy offers you in a RAID.
Once you’ve added four drives to your device, assuming you have a 5-slot model, you only have one free slot remaining. When you need more storage, fill that slot with a drive the same size as your other drives, and you’ll have maxed out the capacity of your device. If you still need more storage, the best solution is probably to buy a second device and start the process all over again. (Run the math and see what the costs are.)
In my experience, storage is one of the areas photographers neglect most due to cost, but it’s a false economy. No one would willingly drive their 4 kids around in a snowstorm with bald tires, yet we regularly take that same risk with years worth of our photographic work.
A minimal NAS/DAS system works out to about $120 a year for 5 years. That’s just the cost of doing digital photography, and far less than film and processing used to cost us. A basic setup is a good way to make your storage more secure and to fix that hodge-podge mess of drives that’s probably cluttering your desk. But like eating right and exercising, you have to be the one to decide to do it.
This is part 2 of a 3-part series on RAID/NAS/DAS storage for photographers. You can read part 1 here and part 3 here..
About the author: Rich Seiling is the guy his friends call when their hard drive crashes and they need to be rescued. The opinions expressed in this article are solely those of the author. He has successfully stored about a million photo files for ~20,000 of his fine art printing clients. Check out his workshop and blog at CraftingPhotographs.com and RichSeiling.com