In this article, you’ll get some great tips on how to do pet photography at home so you can capture memories of your furry family members.
With the reality of the current situation worldwide, we have to accept that as photographers we might be staying inside a little longer than normal. With that being said, all hope is not lost.
You have many subjects around the house that you can photograph. Some might even be sleeping right next to you as you read this. That subject being your pet (or pets).
That faithful companion that is probably overjoyed now that you are home more. Pets, be it your cat, dog, goldfish, or hedgehog, make great subjects on which to practice photography. It can be a little difficult at first but trust me it gets easier.
I am writing this from the perspective of someone who doesn’t normally do this kind of photography all that often. I am a travel and landscape photographer. So there will not be any fancy flash setups or backdrops in this article.
Feel free to add these in if you can, but I feel that with a little natural light available you are more than ready. I recommend you keep things as simple as possible, especially to start.
Preparations for pet photography
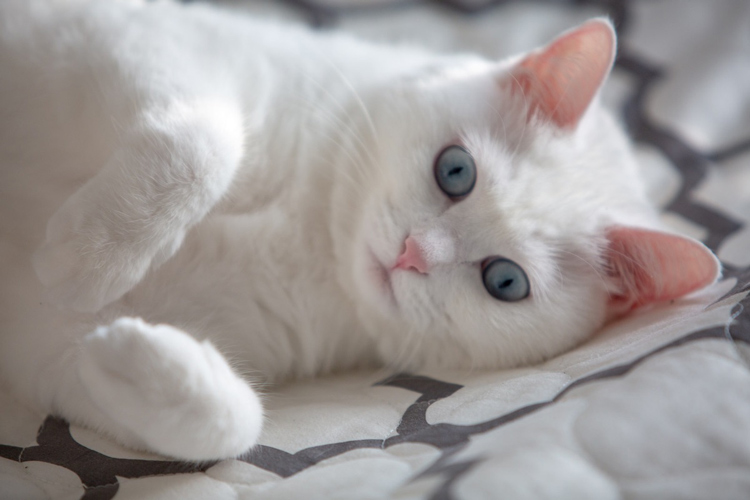
You don’t want to disturb your pet’s comfortable space too much. My cat despises the vacuum, like you wouldn’t believe! However, you should clean up the clutter around the area where your pet hangs out and where you’re going to be photographing.
Check the spots that will be in the background to see if there is anything that could be distracting there as well. The last thing that you want is laundry in the background or a pile of dirty dishes just to the left of your subject.
This is also the time to add any props if you are going to be using them. Just take your time and work slowly, as your pet may get uncomfortable if you start adding a pile of storage things all at once.
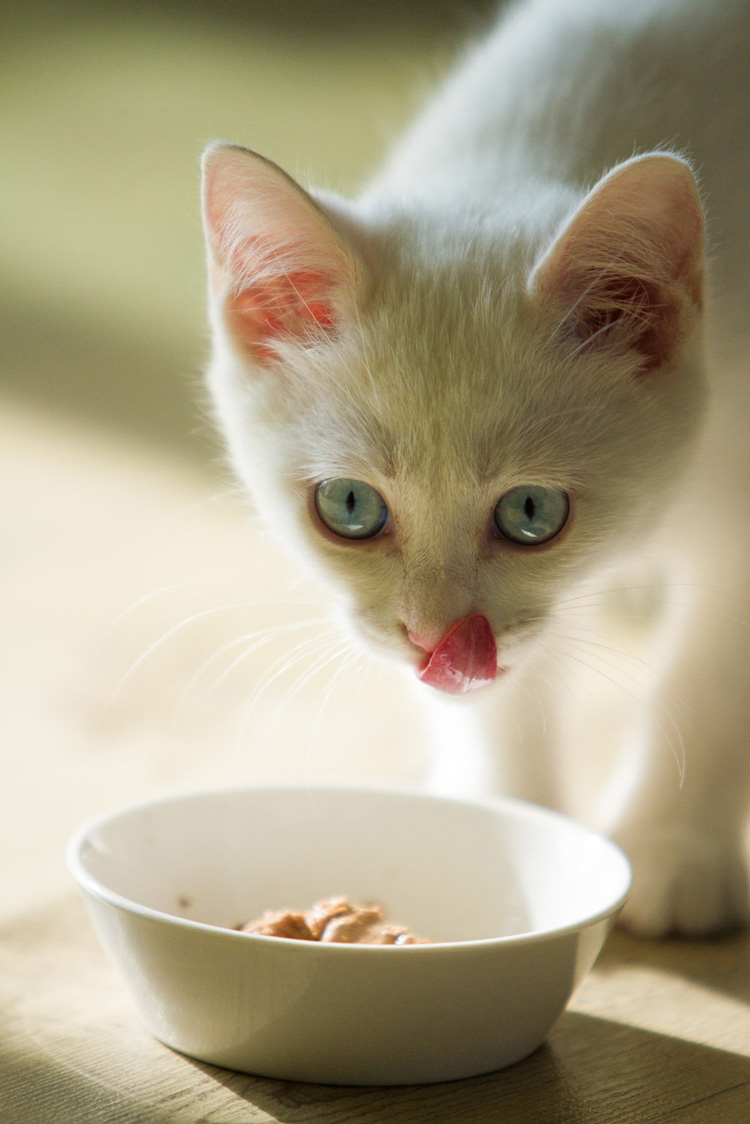
So again, go slow and steady and make the entire experience comfortable for you and your pet.
Be patient
After you have tidied up a bit and added in any props, just sit and wait. Patience is often the key to good photography!
Allow your pet to get comfortable with any changes you’ve made to their environment. Wait for the right light too.
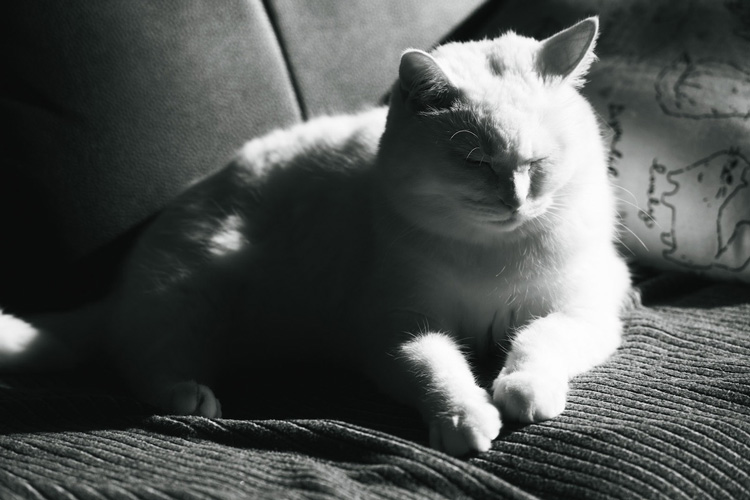
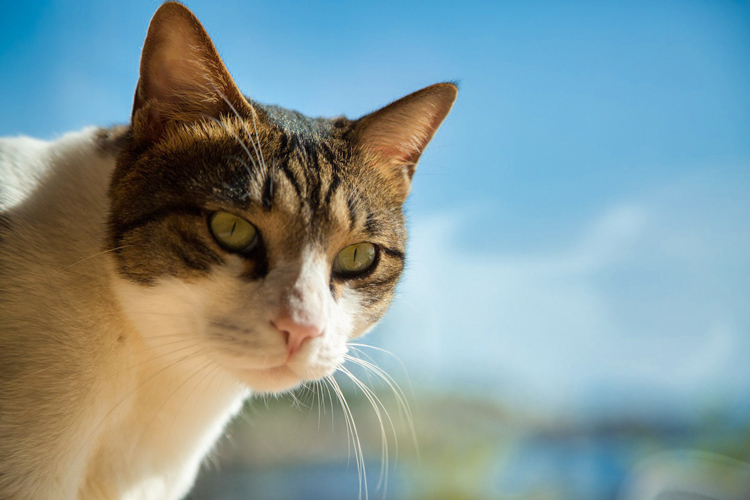
I find that the best shots come during the day using natural light. For my cat, she loves bright sunny days. So if I see her out and about, I will grab my camera and get ready. Then just wait and see what she gets up to.
This waiting also gives you time to better compose the shot or at least get an idea of how you want to photograph your pet. Get into position and find the right pose without having to poke and prod your pet too much.
Unless you are looking to capture your pet in play or in motion, then this is a waiting game. Also action shots indoors may not work as you have a lot of background elements to contend with, and you may need a faster shutter speed than is possible indoors in low light.
Position
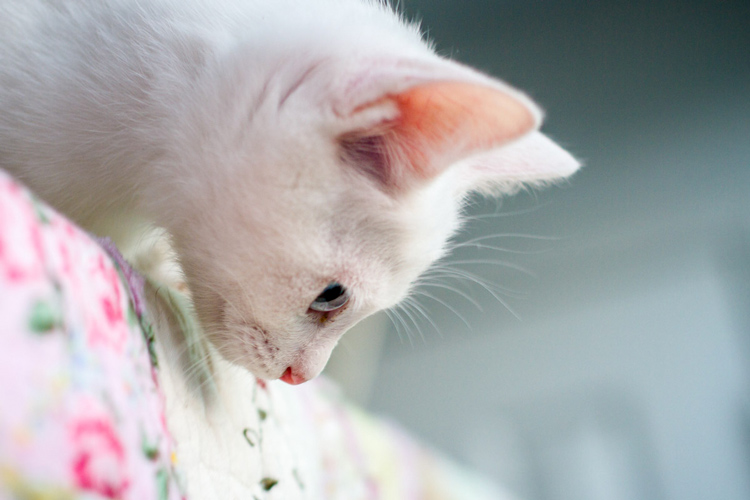
In many ways, working with pets or animals is a lot like photographing children. This means that you will want to get down to their level.
When you are using a lower camera angle you place your pet in a more prominent and interesting position. Don’t just point the camera down at them because we are used to seeing them from that angle day in and day out. Physically get down low to get a different perspective.
Another way is to approach it is to wait until your pet curls up on the couch (sofa) for a midday snooze. This may provide a neutral background. When your pet is sleepy, they are also a little more agreeable and that means you can pose them or reposition them a little if need be.
Cat towers and dog beds also work great as you can maneuver around them to get a better angle. Again, just be aware of the surroundings when trying to find the right camera position.
I recommend you take a few test shots to see how everything looks, then adjust as needed before you start getting the shots that you want. This can save you a lot of headaches later.
Gear and camera settings
So now that you have your pet in a good mood and position, and you’ve taken some test shots so you know everything is perfect. It’s time to get those perfect pet photos!
I usually use a lens that can shoot wide-opened which means it is able to shoot at an f-stop of f/2.8 or lower (f/1.8 – f/2.8 are wide apertures). In many cases, I use a 50mm f/1.8 prime lens.
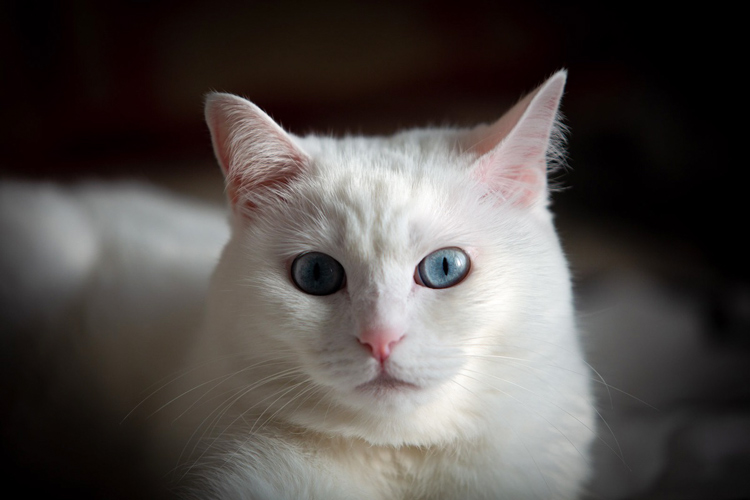
This is a fairly affordable lens that has a wide aperture and is great for photographing pets. It is also a physically smaller lens so that it won’t freak them out too much when you point it at them.
Another favorite lens that I like to use is a 70-200mm f/2.8. This is an expensive lens but it works great when you don’t want to disturb your pet or when you want to get in a bit closer.
Zoom lenses work great for keeping your distance or getting in close without freaking your pet out. But ones like this come with a big price tag too in order to get the f/2.8 maximum aperture. If you want a longer one but don’t want to break the bank, try an 85mm f/1.8 or 135mm prime.
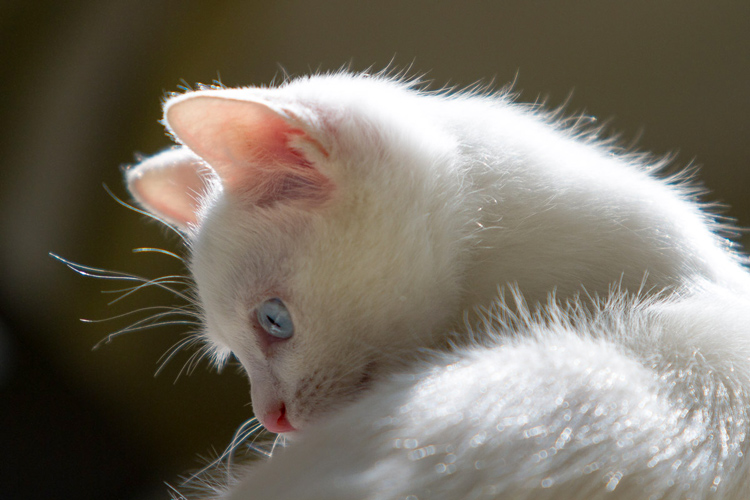
NOTE: Make sure your shutter speed is fast enough to freeze any motion in your pet and to avoid camera shake.
Kit lenses or other lenses geared towards landscape photography may take an okay picture but even at their widest aperture (f/5.6 usually), they still leave a lot of the background in focus. So you really have to be aware that there is nothing distracting lurking there.
I would avoid using flash in many cases as it could freak out your pets a lot. While some may not care, many pets will not like a sudden flash of light hitting them out of the blue. So that is why I usually wait until there is good light coming through the window before I start shooting.
Focus
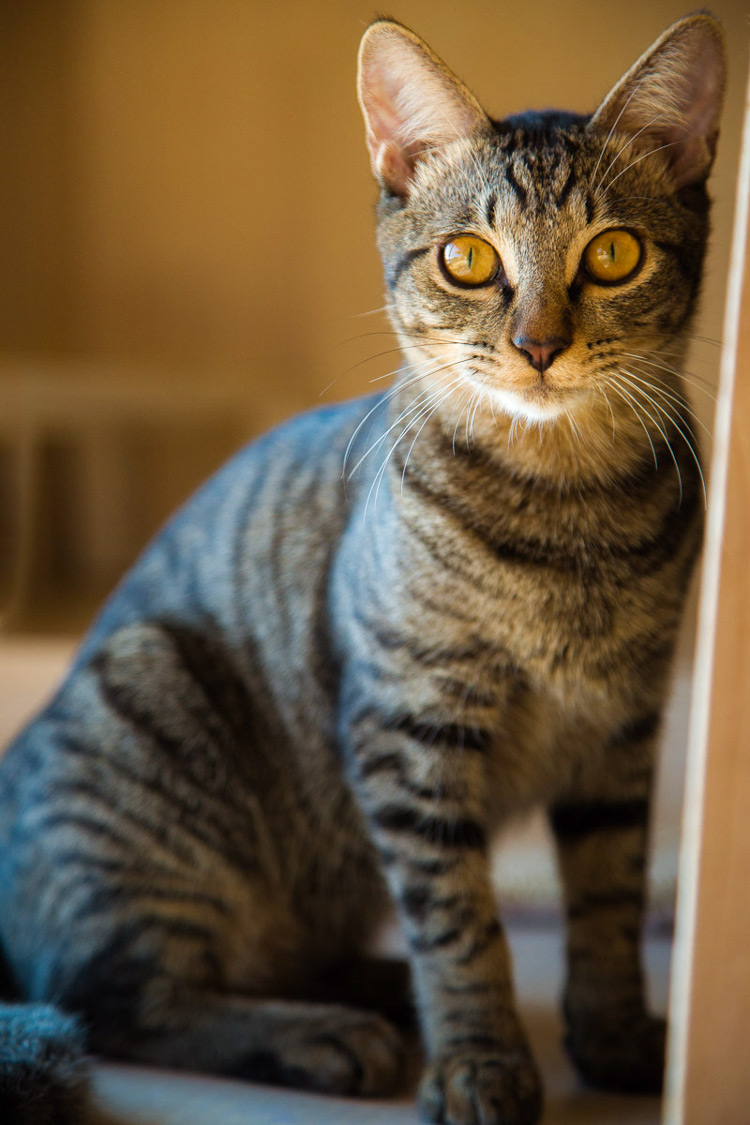
You really want to nail the focus for pet portraits. Many pet photographers will tell you to focus on the eyes. If you don’t then the picture just looks a little off.
This is also why experimenting with depth of field can come in handy. Depth of field (DoF) is essentially how much of your image is in sharp focus, and how much is blurred.
When you shoot wide-opened at f/1.4, a very narrow part of the image will be in focus like in the image above (called shallow depth of field). This can be a good or a bad thing depending on what you want to achieve. I find f/2.8 a little more reasonable to work with as it’s a bit more forgiving.
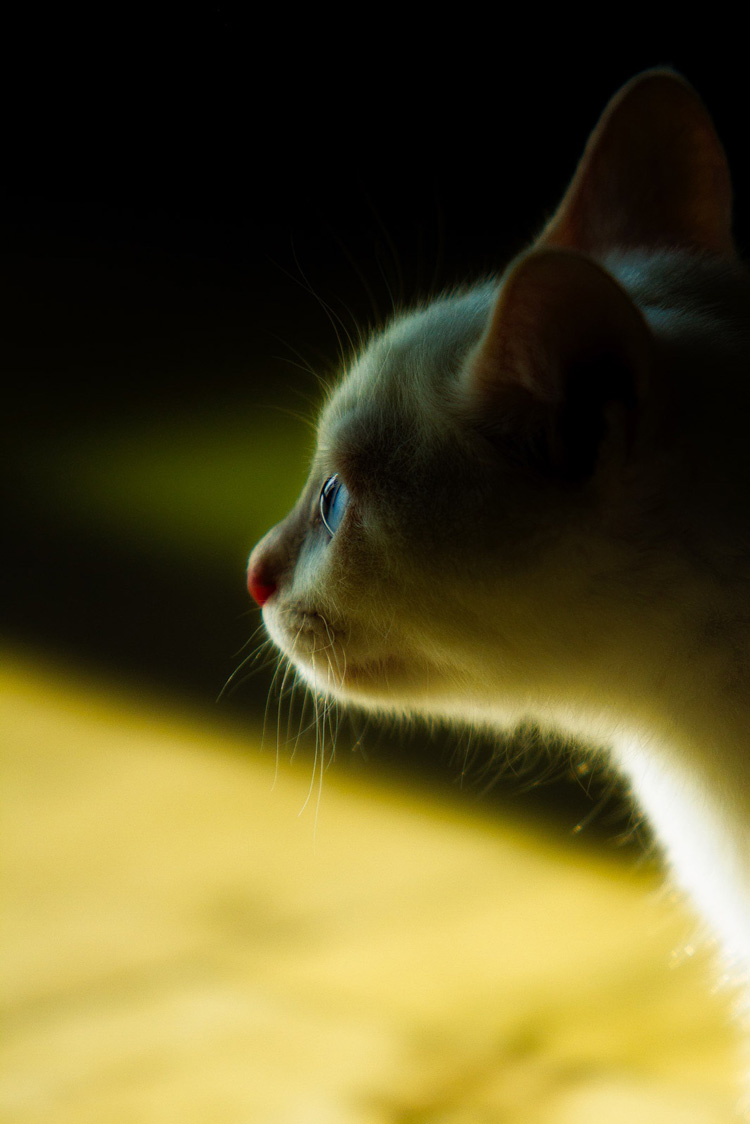
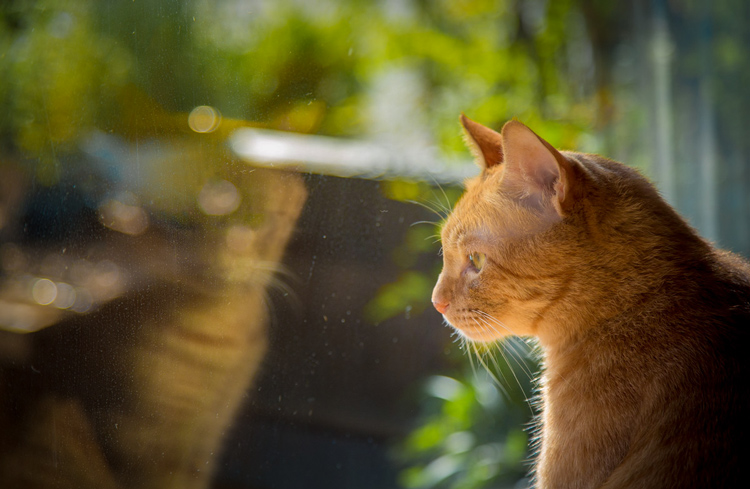
If you are photographing your dog, shooting wide open, and you focus on his snout rather than his eye, you will end up with a nice shot of a nose and not much else. So keep that in mind and try for the eyes. Unless of course you’re going for nose close-ups or detail shots.
If your camera has this feature, try and use the eye autofocus setting. This is a way to automatically lock focus on the eye but not all cameras will detect an animal’s eyes. Recent firmware updates to Sony cameras have enabled this if you have an A7iii or the A7Riii and are running the firmware version 3.0.
Composition
Over the years, I have tried many times to get those magazine quality shots. The thing that I have found that works, especially in the house, is to take a more relaxed approach. Nothing fancy and overly produced.
This is where your knowledge of your beloved pet comes into play. Are they a lazy cat or a majestic dog? This will dictate how you capture them in the frame. Use their personality.
For my cat, she is inquisitive but also loves to sleep. So if she looking out her favorite window, I will try to shot nice and close, focused more on her eyes.
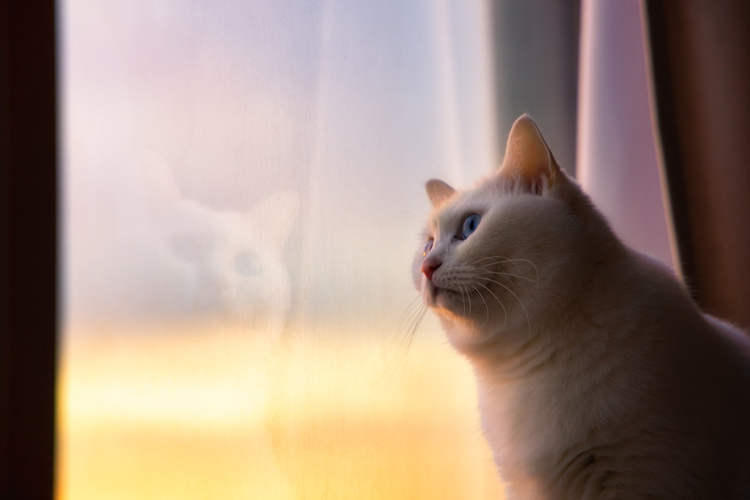
Again, this is all about how you capture the personality of your pet. Find places and themes that are comfortable for them rather than trying to shoehorn them into some sort of unnatural situation or pose.
Conclusion
In conclusion, take your time and have fun with this. Try to use natural light and easy poses that your pet does normally on their own.
Projects like this will teach you a lot and help kill some time while you are at home. Not to mention that you get to create some better photos of your beloved family pets.
Note from Darlene: If you want even more pet photography tips here is a video from a lady that specializes in it. I worked with Anabel when I was the editor of dPS. Check it out here:
Now it’s your turn! Go photograph your furballs, fur babies, or whatever you call your adorable pets and share the images with us in the comment area below.