This article is intended for beginner manual shooters who are not beginner photographers. This guide may benefit people who have been shooting in manual mode and still find things a bit tricky. It assumes knowledge of how one’s camera works and the relationship between the various exposure settings. It is not a highly technical article and does not address the histogram or other advanced exposure techniques.
Manual photography does not get a lot of attention on PL. Most subscribers like to shoot auto. Yet, there are some who feel drawn to manual mode and want to improve their skills in that method. This article is for them.
Exposure
When shooting manual, it is necessary to have a strong handle on your exposure settings. If you mess up any one of them, you can ruin your photo. Sometimes you can repair the damage in post-processing, but we all want to avoid the more serious mistakes.
ISO
ISO is the exposure setting that I always set first. When you first started as a manual shooter, ISO was mostly about what kind of light you would find at your shooting location. After a while, you found out that there is more to it than just the brightness of the light. It is also a tool for correcting exposure when other settings need a bit of help.
So what is a good way to look at ISO? Well, first you do start by checking out the ambient light. If we postulate a bright day, you would start with ISO 64, 100 or 200, depending on what your camera has to offer and how bright the day is. What does this do for you? It sets the sensor’s responsivity to light. Higher ISOs let you shoot in dimmer light, lower ISOs let you shoot in brighter light. In order to look at what else ISO can do, we need to first talk about the other exposure settings.
Aperture
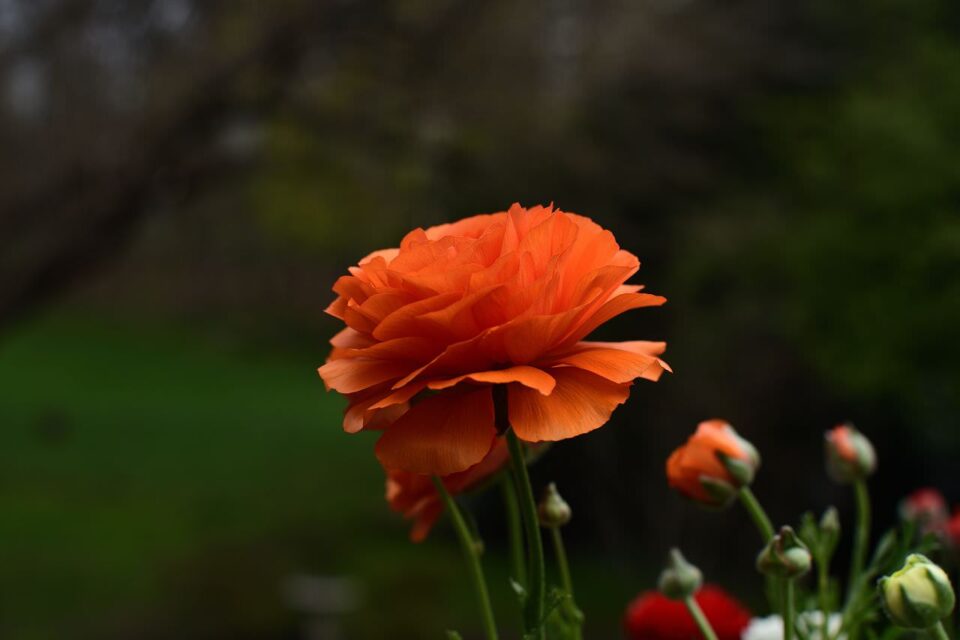
As you know, aperture determines the aesthetic look of your images, along with the depth of field. If you want a shallow depth of field, then you would choose a large aperture, say from f/1.2 through f/3.5, approximately. If you want somewhat more depth of field, you would choose middle apertures such as f/4 and f/5.6. For large depth of field, you would choose f/8 and higher f-number.
If you want soft bokeh, you would choose large apertures, and if you want sharp mountains in the distance you would choose a very small aperture. We all tend to develop favorite f/stops for various scenarios. Those preferences often change as we become experienced and our style evolves. But aperture affects everything, so it is a very important exposure setting. It can easily be the first setting you choose when you are setting up to shoot.
I just happen to start with ISO. There is no problem at all in using aperture as your initial setting. You would look at your subject, think a minute about how you want it to look, and choose an aperture accordingly. Just to mix things up a bit, let’s say you want your mountains to be soft in the background and you want the tumbleweed in your foreground to be sharp. Then you would choose a relatively open aperture, such as f/4, because you wouldn’t want your mountains to have any definition at all, which is what might happen with f/1.8, for example. It is important to remember that aperture is what lets the light into your camera. The size of the aperture regulates how much light it lets in.
Shutter Speed
Shutter speed regulates or controls the light that you have let in through your aperture. A very wide-open aperture with a very slow shutter speed can result in a blank white image. You already know why. Because you have let in too much light. So, usually with a wide-open aperture, you need a pretty fast shutter speed, and with a narrow aperture you need a slower shutter speed, or you will let in too little light and you will end up with a blank black image. Shutter speed is what gives your pictures sharpness or softness. It gives you detail on small objects. It stops motion, captures detail in moving objects, lets you photograph sharp stars or have star trails, will give you motion blur when shooting moving cars and will blur moving water. There is no end to the creativity that shutter speed can produce. It is an extremely important part of the exposure.
Advanced ISO
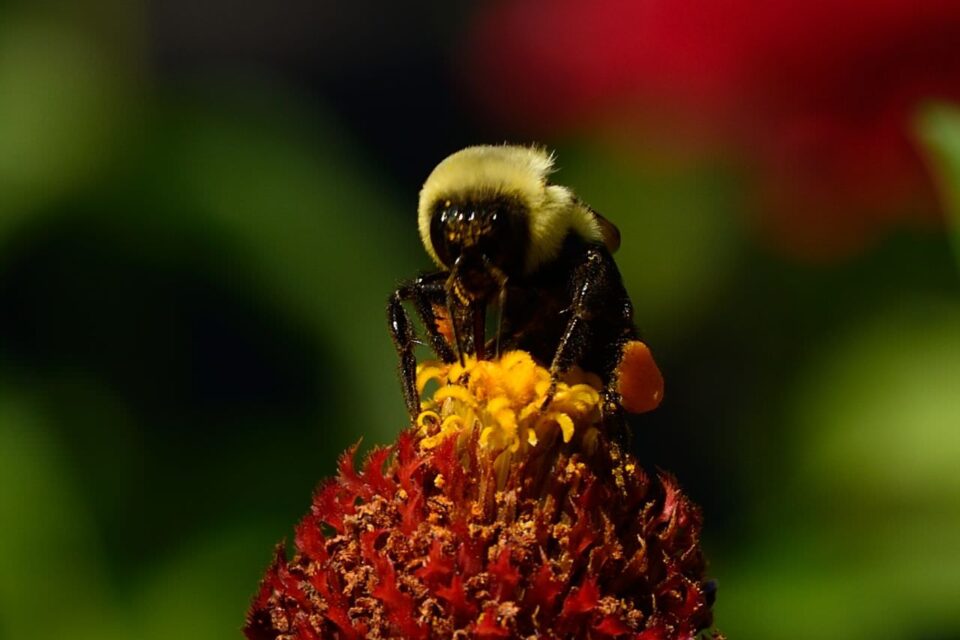
Now it is time to discuss what ISO has to do with all of this, besides setting your sensor’s responsivity to light. Let’s say you want to photograph a bug, and you want blurry bokeh for your background. So that it doesn’t become about lenses, macro photography or tripods, we’ll say it is a very big bug such as a bumblebee. You have already chosen a lens that will be able to capture a bug closeup. You will want a lot of detail on the bug. Also, in order to get your bokeh, you want a fairly large aperture. You may be using a zoom lens, which will affect how large an aperture you can choose. Now, let’s say it is a day with some but not a lot of sunlight and a few clouds.
You have chosen an aperture of f/3.5. But that aperture will not give you the detail on your bug that you want. If your aperture is that open, you’ll get a recognizable bumblebee, but you won’t get much detail, such as the hairs on its body, or the detail on its legs or antennae; in other words, you won’t get a really neat bug picture. This means you have to stop down your aperture to a larger f-number, such as f/8. But as you do that, your shutter speed drops to the point where even a slight movement causes your image to blur, either due to the bug moving or due to camera shake.
What do you do? You raise your ISO. You raise it quite a lot for the purpose of increasing the shutter speed.
Say you had set ISO 100. Well, you can put it up to ISO 400 or 800, just to start, and if the shutter speed is still not fast enough, you will need to raise it even higher. The higher ISO you choose will then allow you much higher shutter speeds that you can use to capture detail on the bumblebee. Why? Because it has increased your camera’s responsivity to light, and now you can let in less of it to achieve the good sharp exposure that the higher shutter speeds will provide. With fast shutter speed and a relatively small aperture, you will be able to capture much more of your bumblebee’s detail, without seeing any motion blur.
The point is that at a given aperture, raising your ISO higher than its base number can allow you to have higher recommended shutter speeds to obtain a good exposure. This is a very important and somewhat advanced aspect of exposure that will soon become second nature to you.
You are out shooting. Your picture comes out too dark. You don’t want to change your aperture. Your immediate reaction will be to change your ISO and try again. Your new shot now succeeds. After this technique becomes second nature, your creativity gets to step in and make you experiment. Your result will appear in post-processing. To verify your judgment, if you so choose, you can consult your histogram to confirm that you were within the range of good exposure when you took your picture.
Light and Blowout
You’ve heard of blown highlights? What are those? Have you noticed ugly white spots ruining your photo? What causes them? Well, they have to do with light. A sensor captures all the available light that gets through your lens based on the settings that you have chosen. The light hits a photovoltaic cell in your sensor called a pixel, generating voltage, and through an analog to digital converter creates digital data, and that data becomes your image. But if very bright light causes the voltage to exceed full saturation of the pixel sensor, then the resulting value is a white pixel without detail. When that maximum saturation happens to all the pixels in the same area, then the whole area is white, lacking any detail, and that white area is blown out. In your picture, those white areas are not recoverable in post-processing since there is no data in those pixels. The best you could hope to do in post is clone some color onto those spots, and that never works very well. So the ideal thing to do is learn not to get blowouts. The question becomes, how do we do that?
I must start by relaying a fact that is well-known in artistic circles. In art, all images are created by a combination of darks and lights. Dark colors against light colors create the shape you want to make. In photography, it is the same. If you shoot a black mountain, it is light that gives the mountain definition. If you shoot a white flower, it is shadows that give the petals some definition. It is shadows and light that will create the corner of a building or a feeling of depth in your picture. The contrast between lights and darks gives your picture its drama. Lights and darks are some of the most important parts of photography. You must learn to master them.
Too much shadow can ruin a picture. Too few highlights can ruin a picture. How? By robbing your photo of its shapes. Think of that black mountain with no lighter shades. It is a black blob. Think of that white flower with no shadows. It is a white blob. So, as you master composition in photography, you learn to see your darks and lights.
This is a sample of two copies of the same picture to illustrate the effects of shadow and light on an image:
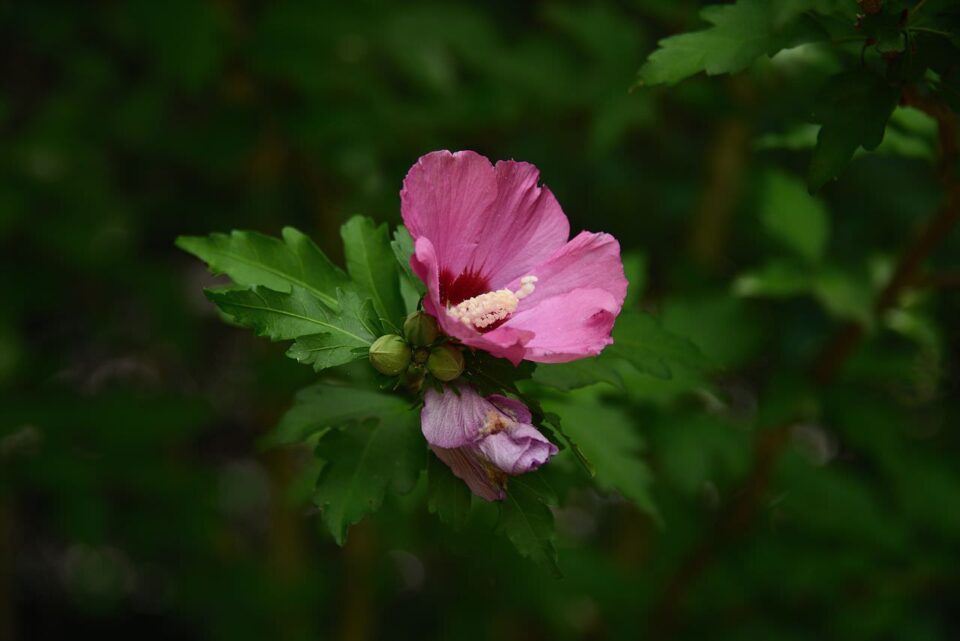
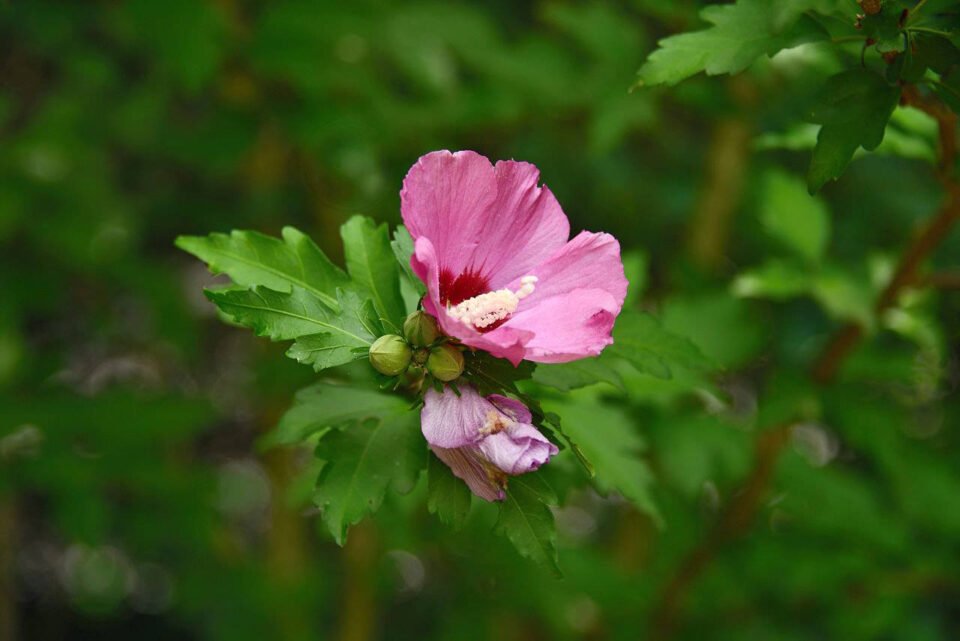
As you look through your viewfinder, when your eye is trained you will notice when there are points of light that are very bright and very unwelcome. One example is shooting a flower on a bush.
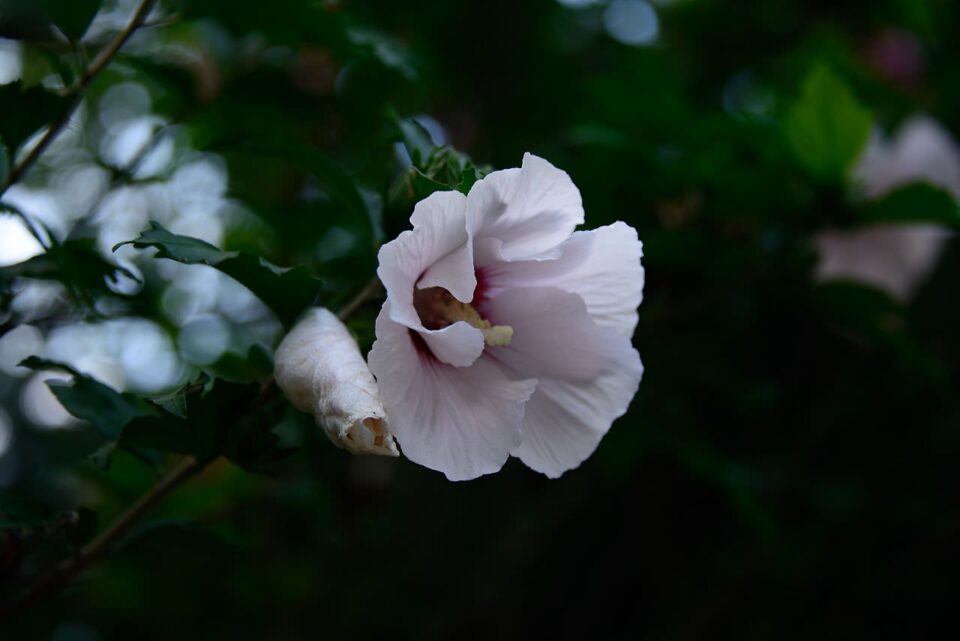
If the sun is behind the bush, your eye will be able to see many points of bright light come through between the leaves of the bush. After ruining loads of flower photos, you realize that you need to start to notice those bright points of light, because they result in blown-out images, as defined above.
Highlights are a good thing, and will make your flower look like a flower. Blowouts will make your picture look like you are a rube who doesn’t know what you are doing. One simple thing to do that can avoid blowouts is to shift your position. If you move a little to the right or left, you might be able to block some or all of the direct sunlight. Alternatively, you might find a different flower to photograph.
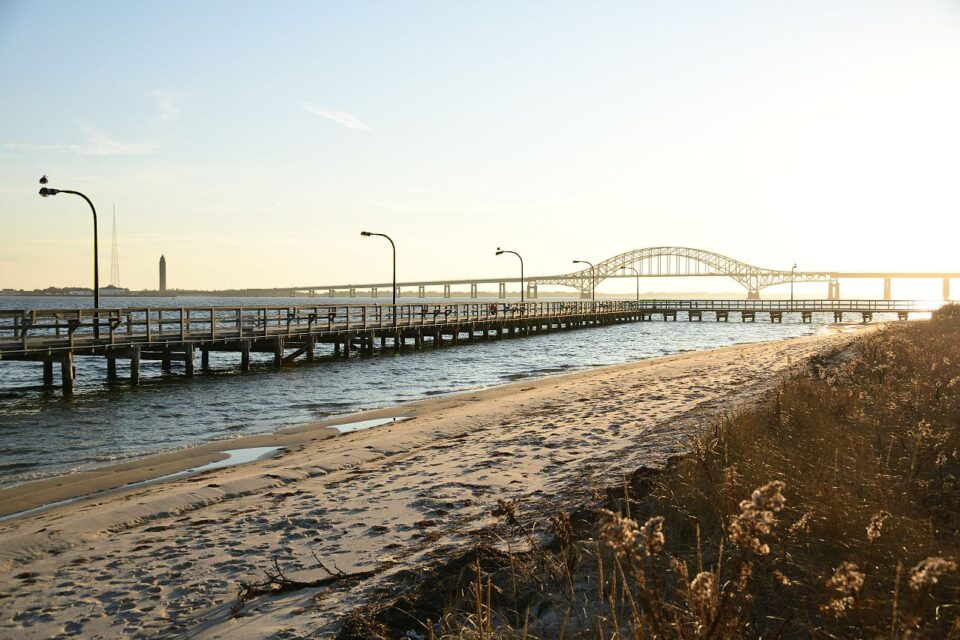
If you are shooting a landscape scene and decide you want to shoot towards the sun, you can end up with a totally blown out sky, or a horrible contrasty gray water at a beach. To avoid the situation, you must shift your lens a little so that you are not so directly shooting at the sun. Sometimes a few blown-out areas are an artistic choice. Other times, they just make a picture look bad. So in the end, blown-out areas of your photo can be controlled by the perspective you choose to shoot from.
Here are examples of blown out highlights, similar to those mentioned above:
Metering and Autofocus
Both metering and autofocus are the most subjective of our camera settings. They are also rather confusing. They are different, yet they work together. Metering assesses a certain area of your view, and sets the exposure parameters. Autofocus assesses a certain area of your view, and sets the in-focus parameters.
As it turns out, these two settings are highly subjective, and you find yourself preferring one or another of each method because they serve you best in the type of photography that you do. I myself use center-weight metering, in part because I don’t like the results I get with other methods. And yet, I do use other methods. When I am photographing a beach, I tend to use matrix metering, because it meters off the entire scene. For flowers, I use center-weight metering. I use center-weight to shoot birds and bugs as well. Its disadvantage is that it meters on the whole frame but puts its emphasis on the center of the frame. I have tried all the other methods but seldom use them. I like highlight metering, for example, and yet I don’t, as it changes the balance of darks and lights, and sometimes that makes a photo better and sometimes it makes the photo not look right to me. You see how subjective metering is.
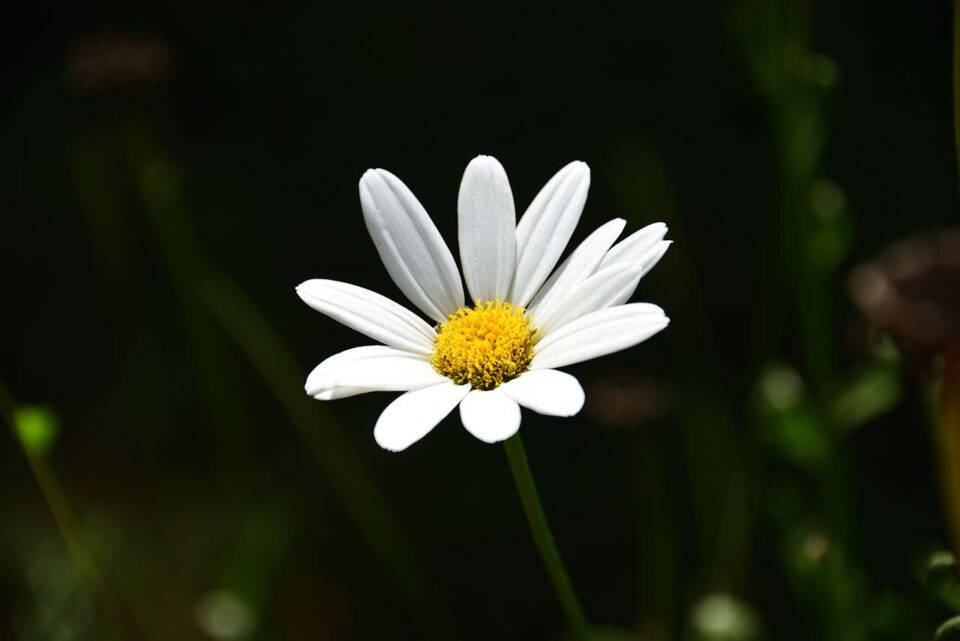
Autofocus comes in two wider categories. You have single-servo autofocus and continuous-servo autofocus. One takes its time to focus because the camera knows that you are shooting a single picture at a time. The other stays in a continuing focus mode because the camera knows that you are shooting multiple photos in succession and won’t have time to refocus for every picture.
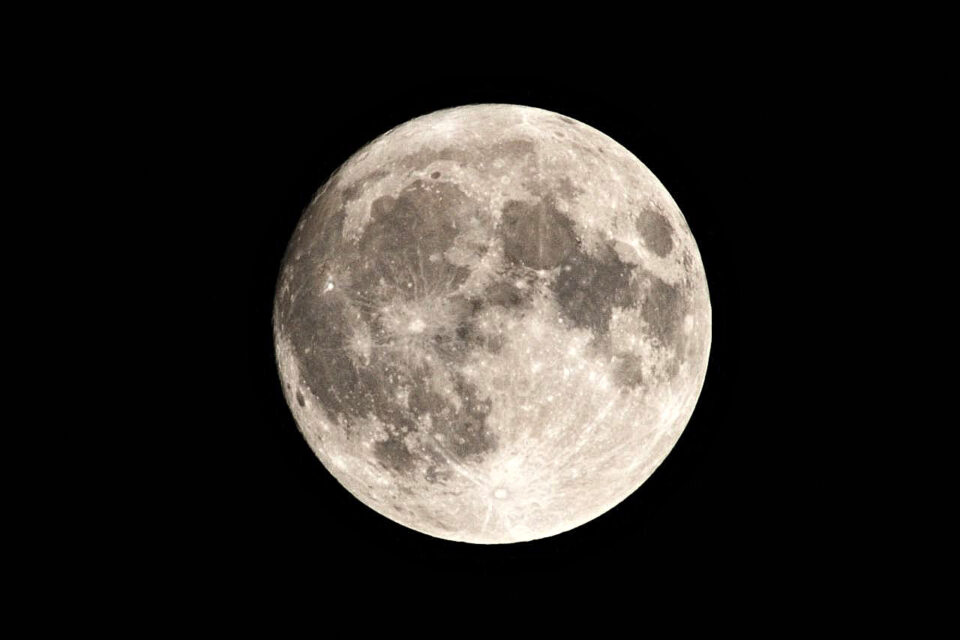
Within single-servo and continuous-servo, you have several more choices on how your camera will focus. In continuous-servo, you will get more choices, such as group area focus, face or eye recognition, 3D focus, auto, or dynamic area focus. Single-servo usually has more limited choices. I myself use single servo focus, except if I am shooting birds in flight or other moving objects. Then I change to continuous-servo. But for still photography, I found that my camera focuses better and my pictures are sharper when I give it the time to do a good job, which means single-servo.
How do you learn which metering and autofocus methods to set? Unfortunately, you only learn by experimenting. Every one of these methods has its advantages or disadvantages. Until I settled on the methods I use, I read every article I could find on the subject and then experimented.
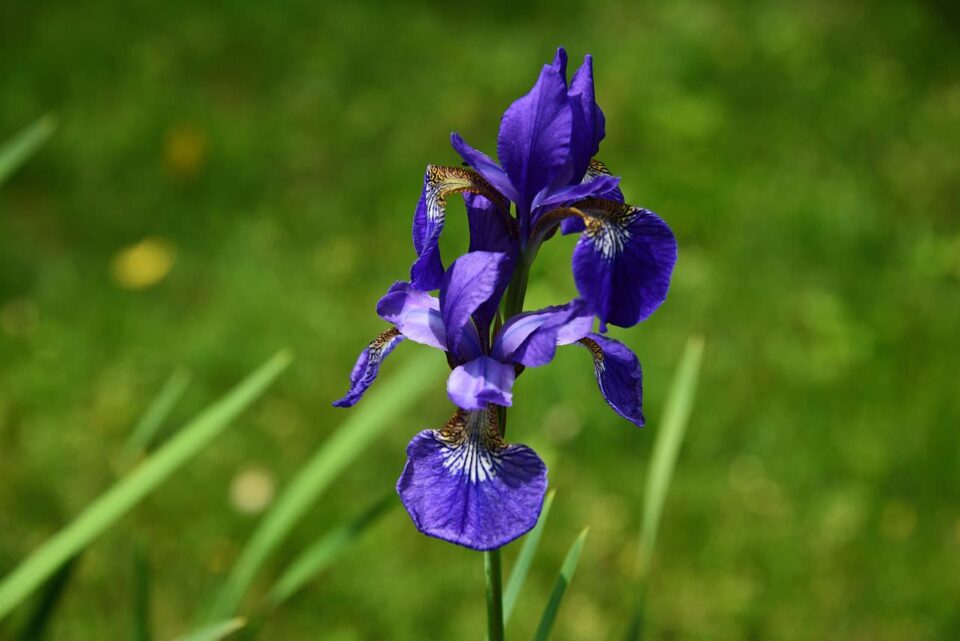
I found that generally, you change methods when you realize you don’t like the one you are using. Why wouldn’t you like a particular method? Because it affects your picture. Different metering may change the emphasis of darks and lights; it may affect your color; it may affect the depth of your shadows. Different focusing methods may affect what part of your subject is in focus, whether it is your subject or the background that are fully in focus, or even both. It can make the eye the sharpest feature in a person’s face. But it is important to do your experimenting and figure it out, and it is also important to be willing to change when you have different needs for your photo.
White Balance
White balance (WB) is confusing to beginning manual shooters. But there really is nothing to be afraid of. You just need to figure out how it works, and then it becomes easy. First, understand that the spectrum of light has many colors (think of the rainbow) to which temperatures have been assigned in degrees Kelvin.
White balance is your camera’s reaction to the color temperature of your scene. A sun-drenched scene will have a ‘warm’ color temperature. A snow scene will have a ‘cool’ color temperature. You need to balance these temperatures by setting your WB to be cooler in warm light and warmer in cool light. In other words, your WB is the opposite of a scene’s color temperature in order to balance it and bring it into a color range that our eye expects to see, or what they call neutral color temperature.
The color temperature scale goes from low to high, as in 1,000 to 10,000. The middle of the scale represents natural daylight, around 5500. The numbers below that are the warm or hot colors, and the numbers above that are the cool or cold colors. So a color temperature of 3,000 is a warm color and a color temperature of 8,000 is a cool color. White balance is exactly the opposite because its purpose is to balance those colors. So in WB, with 5500 as natural daylight, a WB of 3,000 is a cool WB, and a WB of 8,000 is a warm WB.
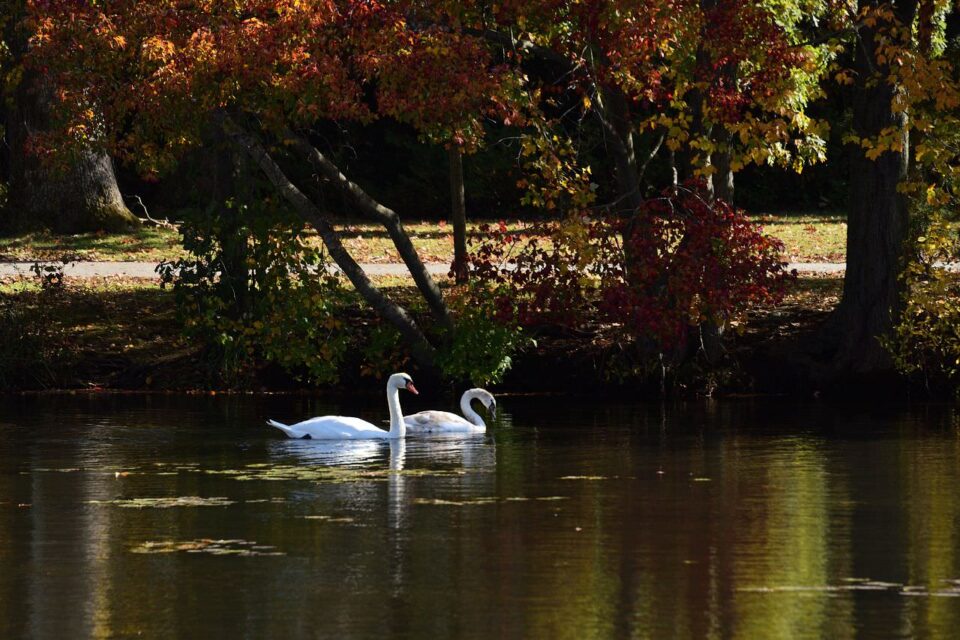
Since it is what sets the color tones of your photo, there is a great deal of personal preference in your WB settings. I like mine to closely reflect the scene in a realistic way. My favorite WB setting for outdoors is 5260. If you like a bluish or cooler cast to your photos, you would go down to 5000 or so.
If you like your browns and greens to be more pronounced with a warmer appearance, say in your landscapes, you would go up into the 6000’s. If you are shooting indoors, you need to reflect the color of the light source of the room that you are in. If, for example, you are shooting under incandescent lighting in a beige room at night, your picture at 5260 won’t look normal and everything, such as people’s skin tones, will look yellow until you change your WB to the 3000 range.
That is because the lighting will cause a high color temperature, and you need to cool it down with a low WB. If you are in a blue room in daylight with no artificial lighting, it kind of resembles outside daylight, so a midrange WB is fine, but if you turn on your incandescents, then the color changes, so beware and figure out your new WB. If you are under fluorescents, the color temperature is very cool, and with midrange settings, your subject will look sickly, so you need to warm up your WB.
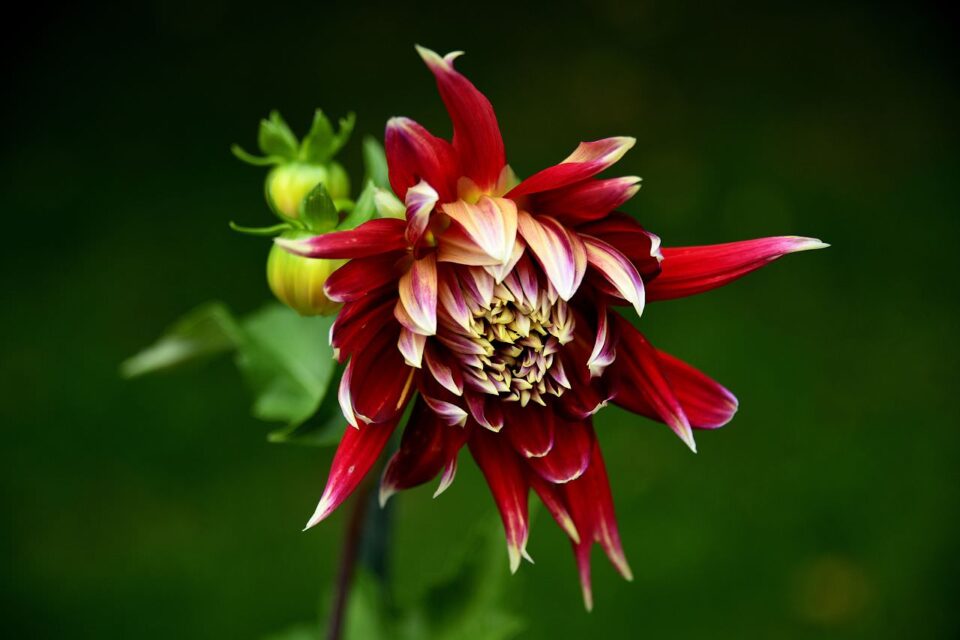
Again, my examples are somewhat arbitrary based on my own experiences. In reality, you need to experiment before your shoot and find the WB settings that reflect what you are seeing and also are to your taste. It is also important to know that you can change WB in post-processing to better reflect the way you want to see your image turn out. If you have shot what you think is a normal scene, but it came out too yellow or too blue or too anything, you can correct the color in post-processing as long as you shoot in RAW. This means that in-camera, WB is largely cosmetic. You set it so that your pictures look good to you in the camera’s monitor, and worry about how your picture ultimately looks in post-processing.

RAW vs JPG
Always shoot in RAW format. RAW allows you to post-process and fix mistakes or change your photo. You will then convert to JPEG format. If you shoot JPEG, then you have extremely limited options for changing your photo in any way, and pretty much no options to fix a mistake on an important photo. See the RAW vs JPEG article for more details.
Post Processing
Learn to post-process your images. There is no getting around it if you want to advance in photography. You see, it makes you a better photographer. If you don’t post-process, you don’t learn from your mistakes. If you aren’t willing to post-process, you can’t shoot in RAW and you will forever remain a limited photographer. For those who think that you should always just get it right without adjustments, you should know that the camera manufacturers built your camera expecting you to post-process. In other words, post-processing is part of a camera’s DNA. In digital photography, there is no such thing as always ‘getting it right in camera’. Digital is too complex for that. There are always adjustments to be made.
Final Thoughts
Many people wonder why they should bother with all these settings when the camera can do them just as well by shooting in auto mode. Well, good enough as far as it goes. But I think that having greater control over one’s settings can lead to far greater creativity than letting an algorithm control them because the algorithm’s only goal is the correct exposure.
Beyond correct exposure, it does not go. This to me limits the kind of photography you can do. Besides, manual shooting is a bit of a bug, and if you are bitten by this particular bug, you cannot go back from it. Other methods will no longer satisfy you if you have come to love manual photography. Some people will do partial auto, by setting aperture or shutter. The same thing applies. You have put the algorithm in the driver’s seat and must accept what it gives you. This to me is not logical. Why pay a ton of money for an expensive camera and then turn it into a point-and-shoot? I have no answer. But it behooves us all to remember, that taste is not subject to debate. We love what we love.
Some people feel intimidated by manual shooting. Others feel strongly about auto shooting. This is all very personal and subjective. There are good things about both methods. It is important to remember that Manual shooting is not a judgment on other methods. It is simply a preference that affects one’s enjoyment of the process of taking pictures.
Manual shooting is not easy at first. Eventually, it becomes second nature. Too often, people shy away from trying it because of its complexity. But that complexity can be broken down to guide you in your first steps in manual shooting. I wrote an article at PL that does just that for those who are interested. Once you are guided in your first efforts, you can take over from there and explore your options. In fact, several people asked me to go further than my introductory article, which is what kept the idea for this article in my mind. It took me a long time to decide to do it, but here it is. Those who tried manual two years ago are probably too experienced to benefit from this article now. But there will always be some who want some help, so I decided to go ahead and explore manual shooting a bit deeper. I hope that this article has been useful to people who are not yet comfortable or do not yet fully understand working in manual mode.
If anybody has suggestions or comments about their own manual experiences, they are welcome to put them below. For those who feel strongly that auto shooting is the superior method, they can write an essay of their own about auto mode, where I’m sure comments and experiences will be welcome. Comments about auto shooting are simply not within the parameters of this article, and should be made elsewhere.