Wide angle lenses are often used incorrectly or selected for the wrong reasons. Many beginners get a really nice wide lens, a 50mm lens (because someone said they should) and a longer zoom lens, then assume they have everything covered because they have focal lengths from 10mm (for a cropped or APS-C sensor camera) to 300mm. But the biggest mistake is not understanding how lenses work, and why you want each of those.
In this article we’re going to look at wide angle lenses. What they do, how to use them, and how to avoid the five most common mistakes beginners make using them.
The biggest mistake many beginner photographers make is simply from not understanding how lenses workClick To Tweet
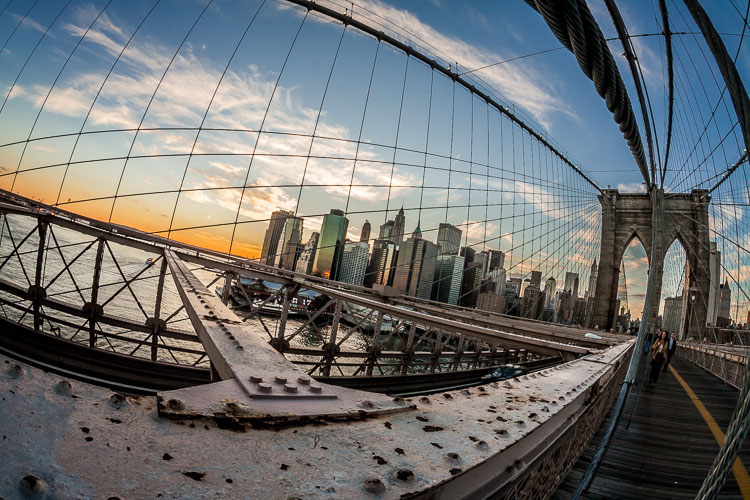
Are you making these mistakes with your wide angle lens?
- Everything in the image is equal distance from the lens
- Having no clear subject in the image
- Using a wide angle lens just to be able to fit more “stuff” in the image
- Taking unflattering photos of people
- Shooting wide for no reason
What is a wide angle lens?
Let’s start by defining what is wide angle anyway. Technically it is any lens that has a wider field of view than what the human eye sees.
Back in the days of film a 50mm lens was considered “normal” because it is closest to what you see with your eye normally. Now with digital it’s a bit more complicated – 50mm is considered normal for full frame cameras, which equates to about 35mm for APS-C or cropped sensors (to have the same field of view).
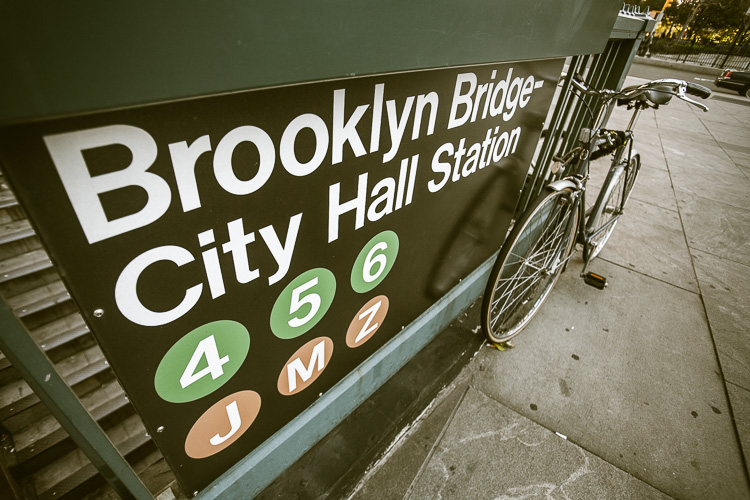
So anything wider than 50mm (full frame) or 35mm (APS-C) is considered a wide angle lens. The smaller the number for focal length, the wider it will be, such as; 15mm which is super wide (full frame) or 10mm (specialty lens made for APS-C cameras only).
If you go any wider than that it’s considered a fish-eye lens and the image becomes almost round or even a full circle.
What does a wide angle lens do?
Wide angle lenses distort things and enhance perspective.
What that means is that objects closer to the camera appear larger than ones farther away, even if they are the same size in reality.
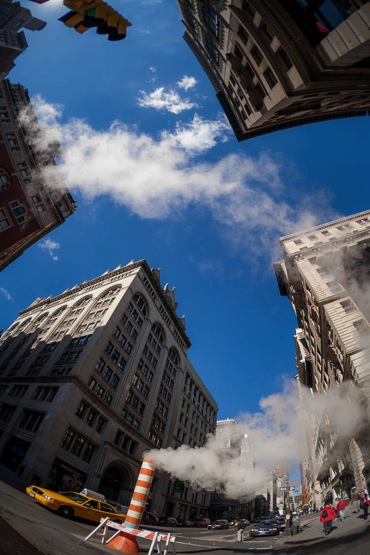
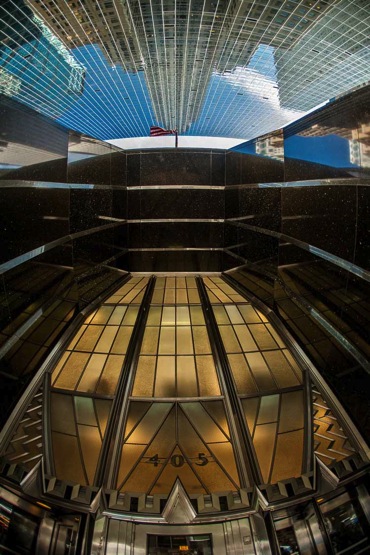
Look at the image of the subway sign above; notice how much larger the end closest to the camera appears compared to the end farther away. This is wide angle lens optics at work. Same with the image of the Brooklyn Bridge (top) and the buildings in the images below.
Any subject with straight lines will appear to converge faster than the eye perceives normally. Buildings come to a peak as you look up, railway tracks disappear into the distance quickly, and so on. Learn to use this to your advantage when shooting with a wide lens.
 |  |
Adding depth and a sense of inclusion also occurs when using a wide angle lens. You feel like you’re more part of the scene, in the image, than those shot with longer telephoto lenses.
Let’s compare the images below taken with a wide and long lens respectively.
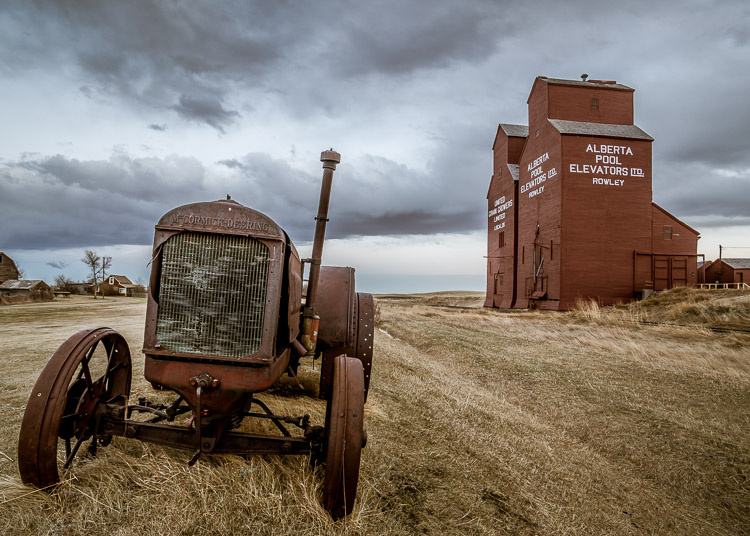
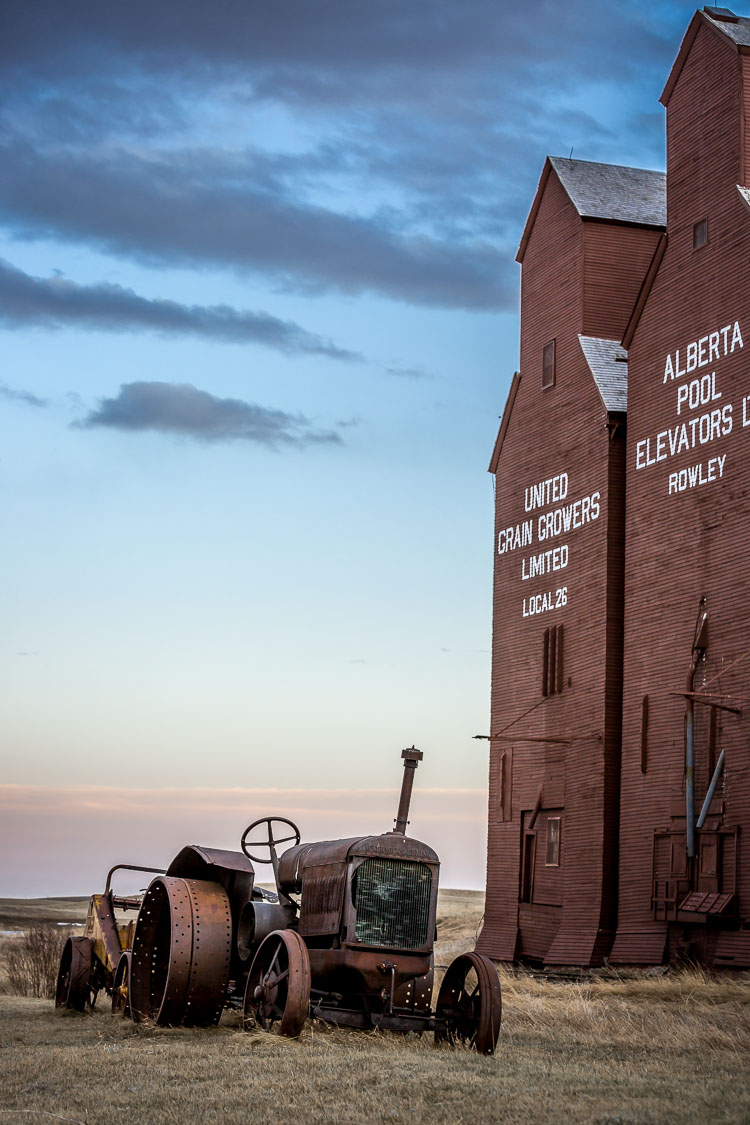
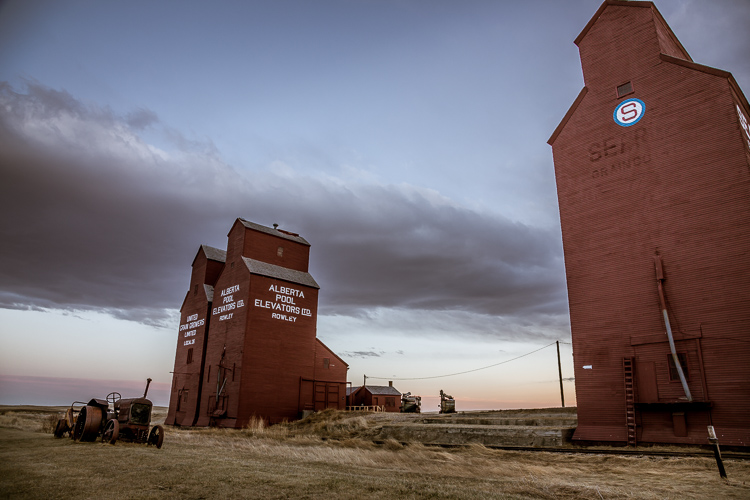
Look at the size of the tractor in the two images. Notice how large the tractor looks compared to the grain elevator. See how the size relationship has changed in the second image? The tractor did not move from one shot to the other, nor did the distance between them change. The only things that changed were the lens I used, and the subject to camera distance.
How do you use a wide angle correctly?
Knowing when and how to use a wide angle lens is the key to creating successful images that draw your viewers in, making photos that get the “wow” response you seek.
So how DO YOU get the WOW wide angle photos?
Lets get started!
5 Mistakes Beginners Make With Wide Angle Lenses
Let’s look at the five mistakes beginners make using a wide angle and how you can correct each of them for more powerful images.
- Everything in your image is equal distance from the lens
- Read the description of what a wide angle lens does (above) one more time. Notice that they are designed to distort and stretch perspective.
So to use a wide angle correctly, to its advantage, you need to have something close to the lens.
Really close!
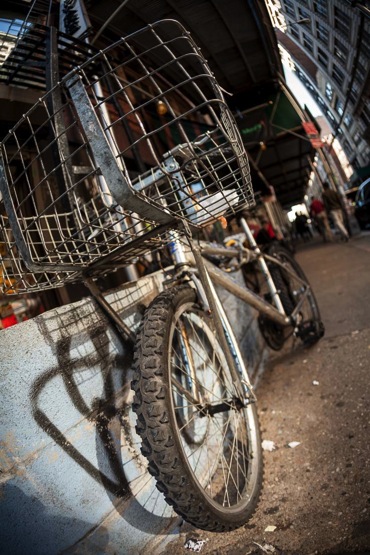
Most of my favorite wide angle shots were taken within inches of the subject; right in the action.
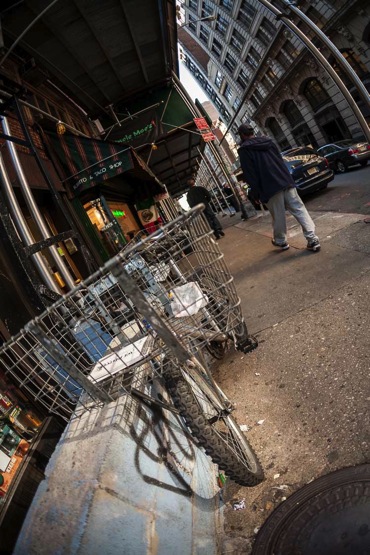
Now, look at the two images of the bike below. In the one on the left nothing really stands out in the image. By getting even closer the bike is made more of the focus in the image. I’m mere inches from the front tire in the second shot.
 |  |
That may seem intimidating, but you can’t be anonymous or invisible when you’re shooting wide.
In order to make your shots more interesting, have more depth and perspective – you have to get closer. Try and get a subject really close to your lens, something else a medium distance away, and the background even farther.
This will give your image layers of depth and make people want to look at it closer, to really explore what’s going on in your photographs.
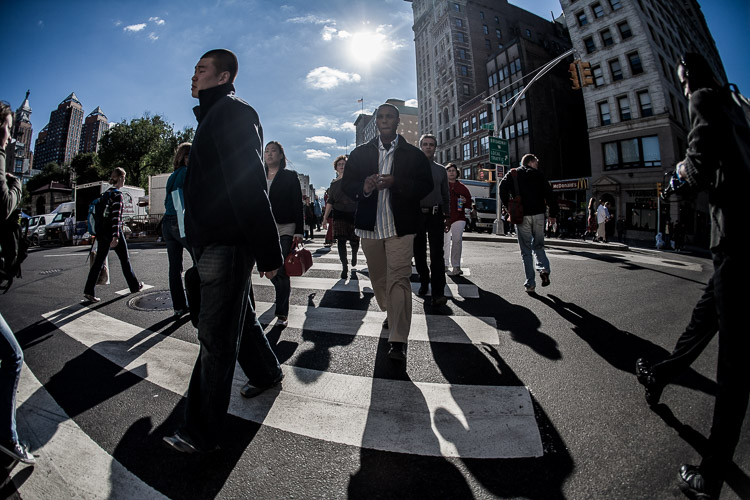
This image (above) was shot from the hip (literally) as I crossed the street in NYC. I wanted the feel of the people coming at me. The finished image was cropped and processed like this:
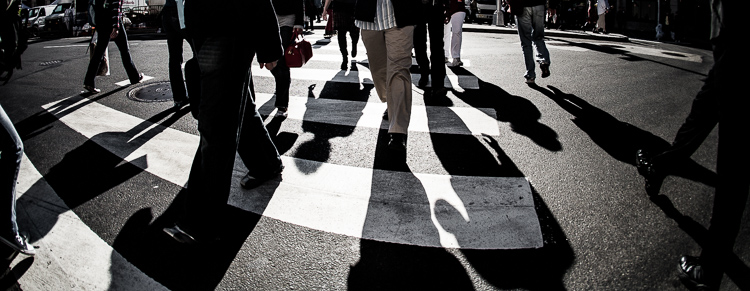
To me it says true New York City. Busy, bustling, center of activity – and the wide angle lenses perspective puts the viewer right in the middle of it. Can you feel the chaos?
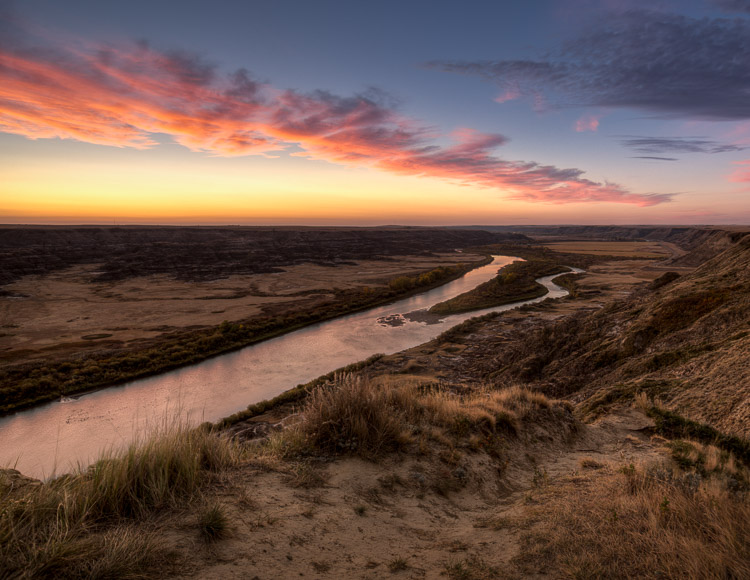
One more example:
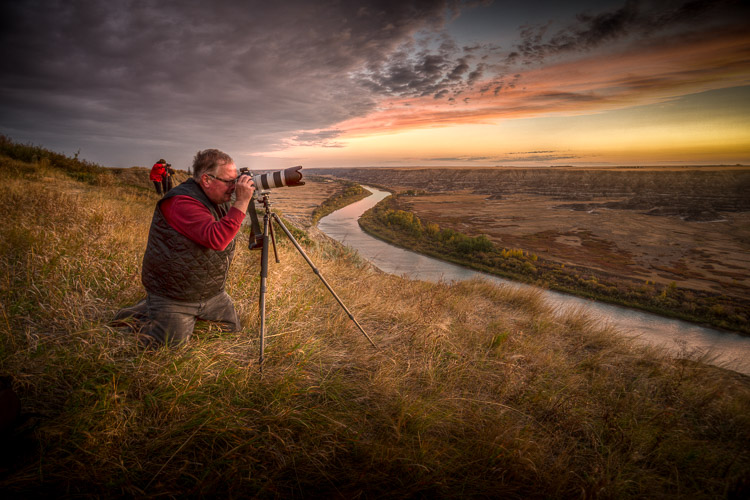
- No clear subject in the image
- This one is closely related to mistake #1 above. When everything is equal distance from the lens it all looks small and insignificant.
As soon as you get close enough to make the subject larger – it will start to stand out. So part of getting a clear subject is getting in tight.
In this example series I started off with a 17mm again and a super low camera angle (down on my elbows on the deck of the train trestle). I wanted to emphasize the perspective with the converging lines of the tracks.
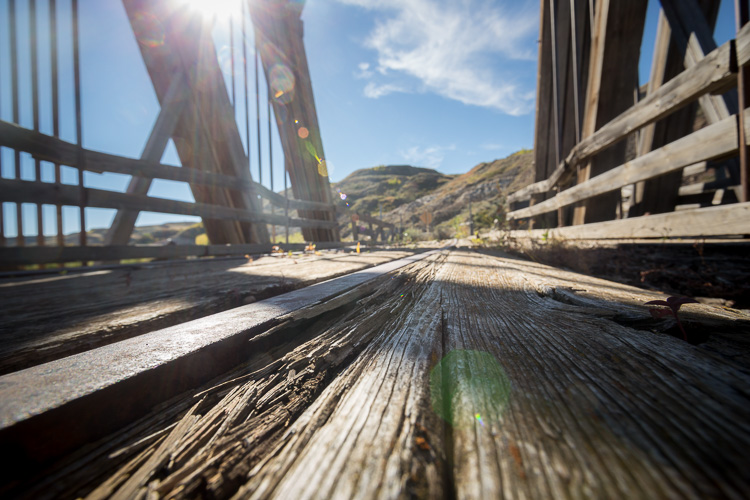
This first shot (above) wasn’t doing it for me, there is no clear subject for the viewer to land on. Then I found a nail sticking out and focused on that.
Again remember I’m literally inches from the nail to get this angle and viewpoint.
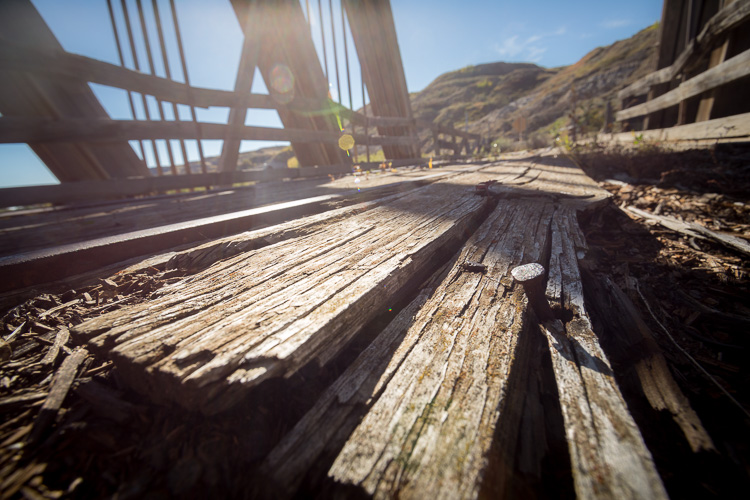
It’s better, but then I noticed a yellow leaf sticking out of the rotten boards. Even better it was backlit by the sun so it really stood out.
See how it becomes the focal point of the image?
Not just because it’s large in the frame, but it’s also off-centered, has dramatic light on it, and is a bright warm color that draws the eye. All things working in my favour.
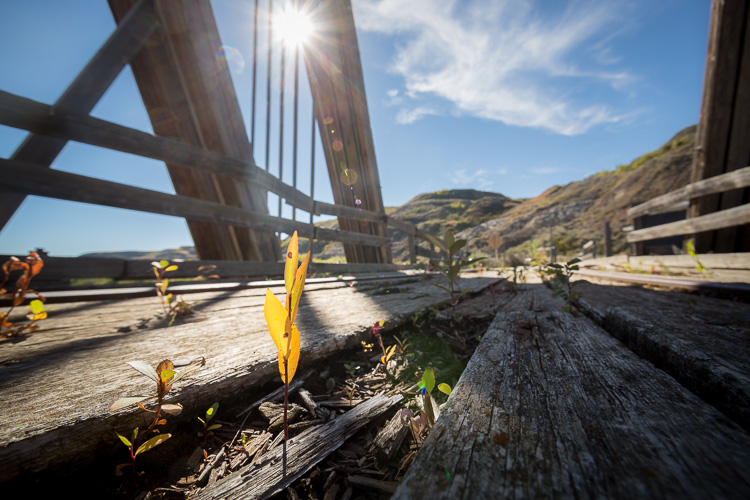
Please keep in mind this is how photographers shoot!
Even professionals do not take one shot and it’s perfect.
We take one, review it, look at our options, and if we decide it’s a worthwhile subject – take a few more until we get it just right.
Photography is a journey. Do not expect to get your best shot on the first image you take.
Work the scene, and shoot until it feels right. Composition is partly about rules and elements of composing, but also about your gut instinct and intuition. Get in touch with yours.
You also need to consider what story do you want to tell with your image.
Wide angle lenses are great at helping tell stories – remember they are inclusive.
Think about what you want the viewer to see in your image, where do you want their eyes to land.
Use all your senses to feel what’s going on around you as you take the photo – how can you relate that in your image?
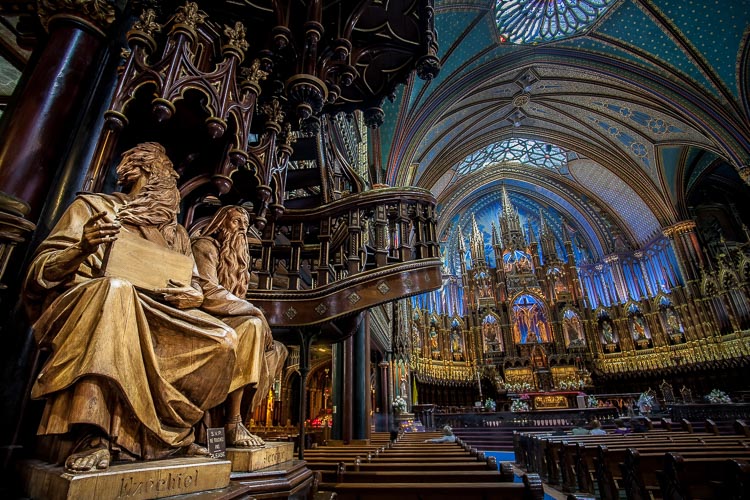
The image above is inside Notre Dame Basilica in Montreal.
I have many images of the altar shot straight on, but this is one of my favourites. I used a wide lens to put the focus on the statues and pulpit and less on the main altar.
The viewer’s eye goes to them because they are large in the frame; their gaze takes you into the church for more.
Lastly use good composition and lighting.
Put the subject off-center a little, it will add interest to your image. Make sure the subject has good light and that the background isn’t distracting.
Because you see so much going on behind the subject using a wide lens you need the background to complement the subject, add to the story – but not take your attention away too much. Composition a tricky balance3 tips to help you compose photos that don’t suck might be of help in that area.
- Mistake #3 – Trying to fit too much stuff in your image
- Notice how each mistake flows into the next? They are all mostly related. So if you can solve one issue you’re well on your way to taking better wide angle images.
I see this mistake a lot – trying to cram too much into the image.
Say you’re traveling and wander into a little market or small shop and find it interesting. So you decide to take out the wide angle and get the entire shop into one shot.
That may be a good record of what the shop looks like – but remember to use the tips above to make a stronger image.
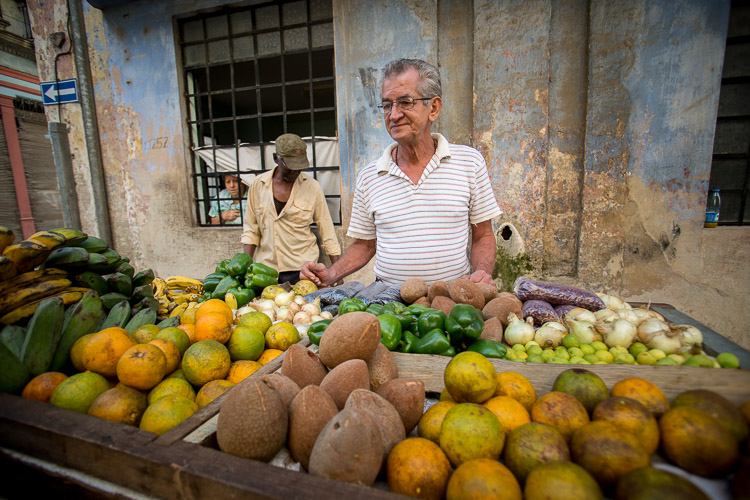
Get close to one object and make it a clearly defined subject.
Pick something interesting on the counter to focus on, letting the shop be the background, setting the scene. Maybe it could even be the shop keeper you decide to photograph (you might have to get permission first).
Whatever it is, pick one thing – not the entire room, or market, or wherever you are at the moment. The message will be diluted if you try and pack in too much stuff.
Simplify – simplify – simplify.
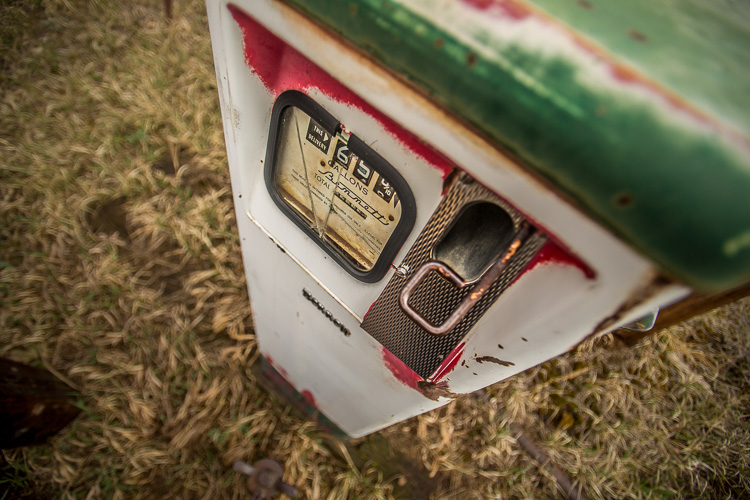
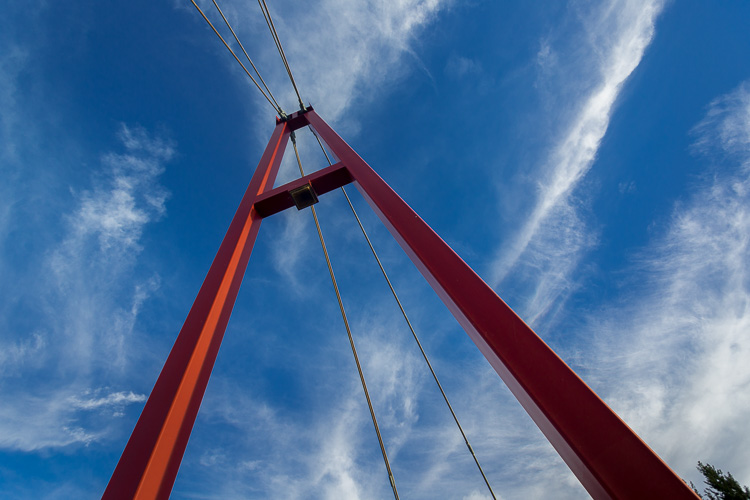
Often times in photography, less is more. Say more with less stuff in your images. See how simple, yet graphic, the images below are?
- Taking unflattering photos of people
- That leads us right to this next one, photos of people.
Little point and shoot cameras usually have fairly wide lenses and the people using them get right in your face to take your photo.
Is it the best photo of you ever? Probably not.
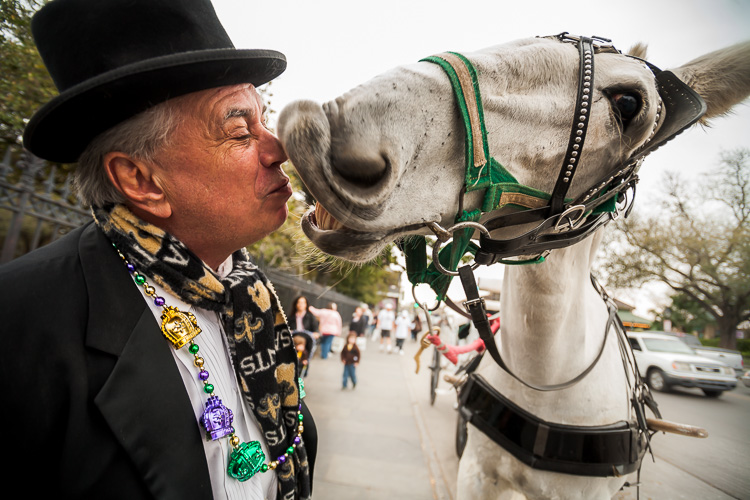
Why? Because wide angles distort things, remember? So your nose gets elongated, your jaw looks like it’s protruding, and your head looks ginormous! Sound familiar?
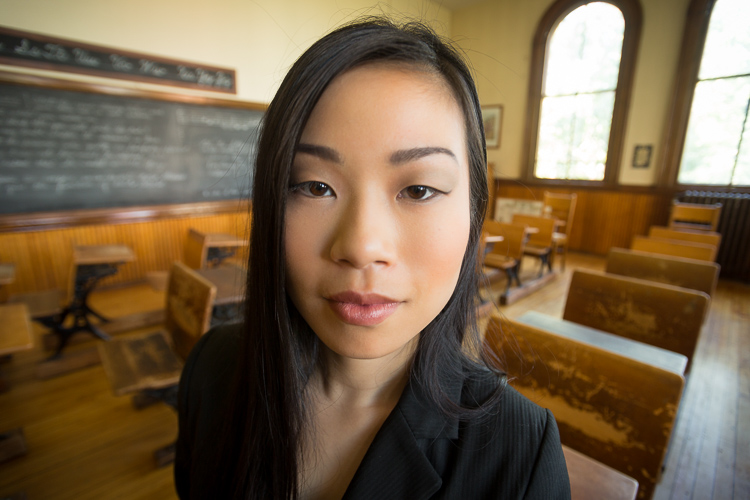
This is generally not a good look for most people. If you want to photograph a person and flatter them, simply do not use a wide angle lens, period. But that doesn’t mean you can use it for any people photography. You just need to understand the effect it will produce and use is wisely.
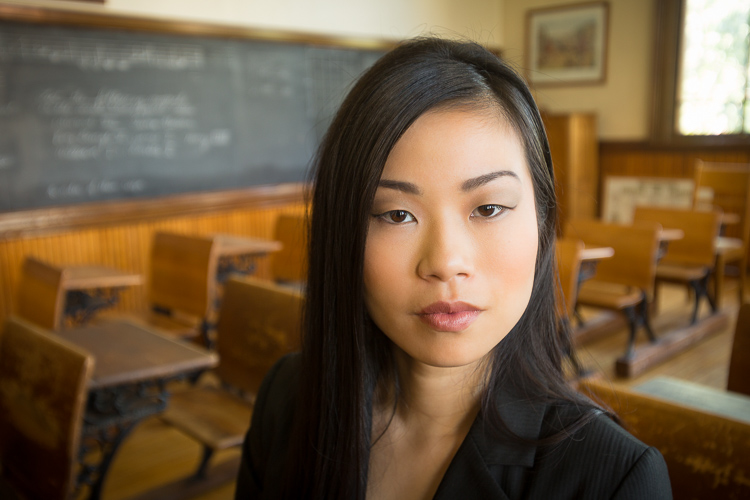
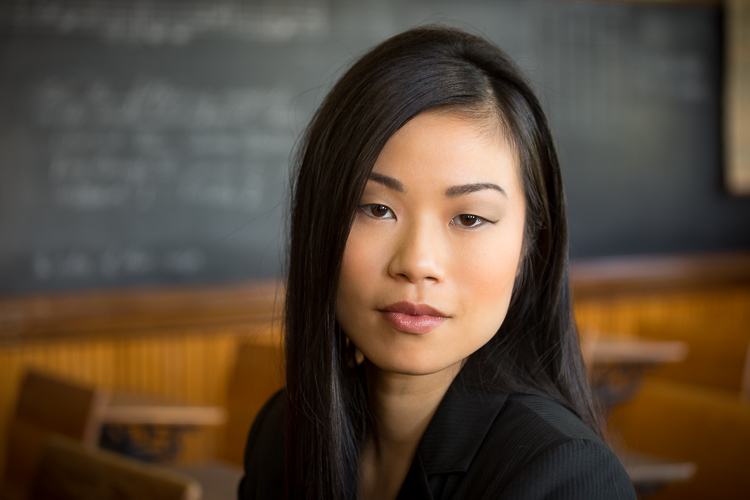

Use a wide lens to take photos of people that show their environment (think the shop keeper in the example above), add a sense of fun or even humour, or tell a story. But know it will likely not be flattering to the subject.
If your intent is to flatter them and make a nice portrait – chose a slightly longer than normal lens in the short telephoto range (85-135mm full frame, 60-90mm APS-C). If you want to learn more about taking portraits you can check out our online portrait photography class here.
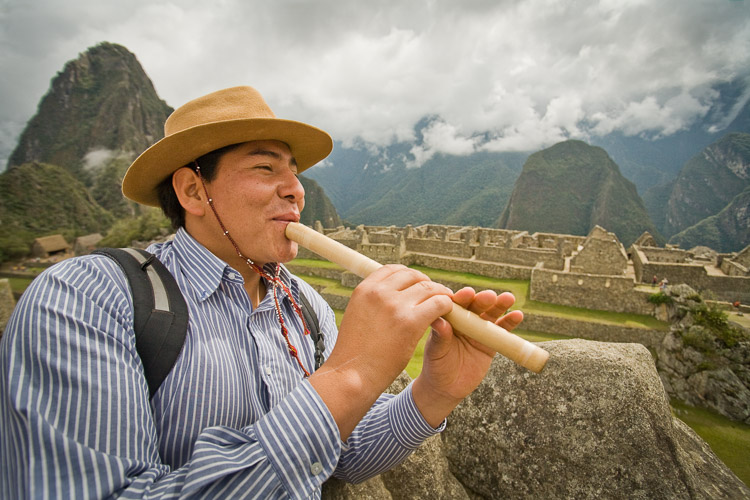
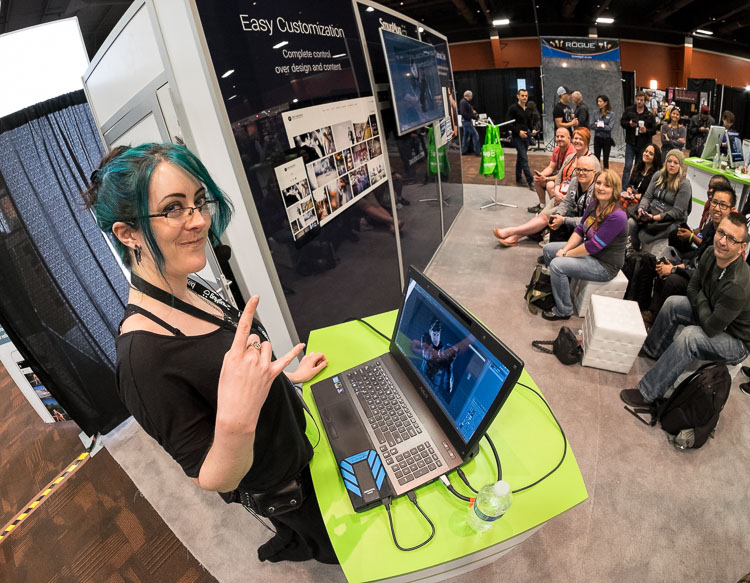
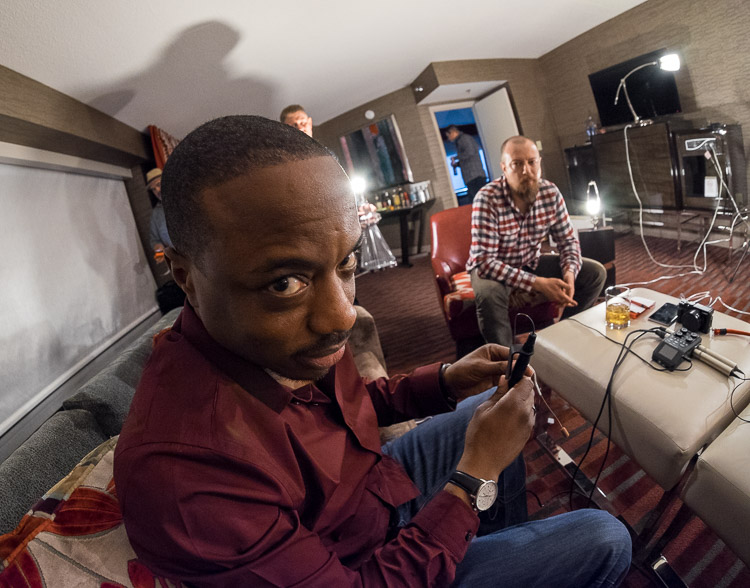
Kids are another subject that you can use a wide angle on and have some fun with. Let them explore and get close to the lens. It will adds a sense of playfulness and fun to your images.
Wide angle lens mistakes. I learned a ton from this article about how to use this lens properly.Click To Tweet
- Shooting wide just because
- The last mistake beginners make is to use a wide angle lens just because it’s cool, or funky, or different.
Often I see people get a new lens and that’s all they use for a while – which can be a good thing too – but they have no reason for doing so. The resulting images tend to reflect that lack of vision.
Or you shoot something wide because that’s the lens you had on at the time and you didn’t feel like changing it. Can you relate?
Success with a wide lens
Be more intentional when you photograph. Choose your lens based on the feeling or effect you want to add to your image. Consciously look for subjects that will look great shot with a wide lens, and follow the tips above.
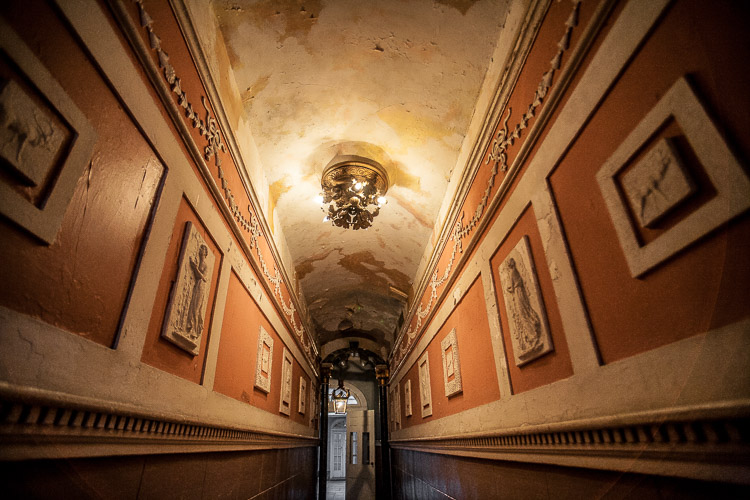
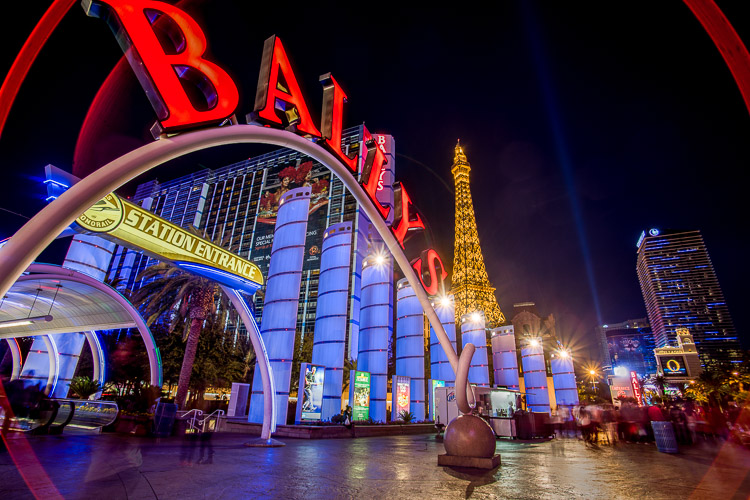
Get closer, have a well defined and clear subject, include less “stuff”, take wide angle people photos properly, and make conscious decisions about using your wide, or selecting another lens.
A wide angle lens is like any tool or gadget. You will have more success using it if you do so sparingly, and when appropriate. Now get out there and have some fun with it.
Wide-angle lens suggestions
If you’re in the market to buy a wide angle lens, here are a few suggestions for you.
Canon
Nikon
Pentax
Fuji
Sony
Olympus
Cheers,

Note from Darlene – for more on taking better images check out Mastering Lenses by Andrew S. Gibson.
I have the privilege of working with Andrew as a writer over at dPS, so I’m very familiar with his quality of writing, and his teaching skills. Being a good photographer, and being able to teach and explain things so others can understand are two different things. Andrew is good at both!
Mastering Lenses
Buying a new lens can be one of the most difficult choices you make as a photographer.
How do you know which lenses are a good buy if you can’t try them out beforehand? Why do some lenses cost so much and others so little? Should you buy a wide angle lens or a prime? Is that fisheye lens as good a deal as it seems?
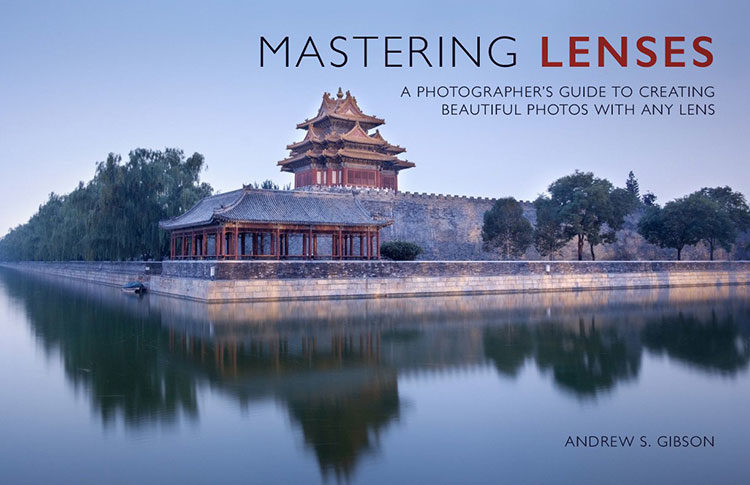
Mastering Lenses is a 151 page, 38,000 word book about creating beautiful photos with any lens.
Wide, zoom, fisheye or anything else.
Grab a copy of Mastering Lenses here.
 His newest eBook is a topic I get many request for here on Digital Photo Mentor:
Composition.
It’s the key to creating more interesting and engaging images.
Inside the book there are 147 pages covering many different compositional elements. He shows how to use them effectively and provides excellent image examples.
At a price of only $14 USD this is a great deal and could be a valuable resource for moving your photography forward.
Get Mastering Composition, a photographer’s guide to seeing here.
Password Unzip : Freepreset.net
The file is compressed using Zip or Rar format...please use Winrar to extract this file
If you found the link was error , please comment !!!