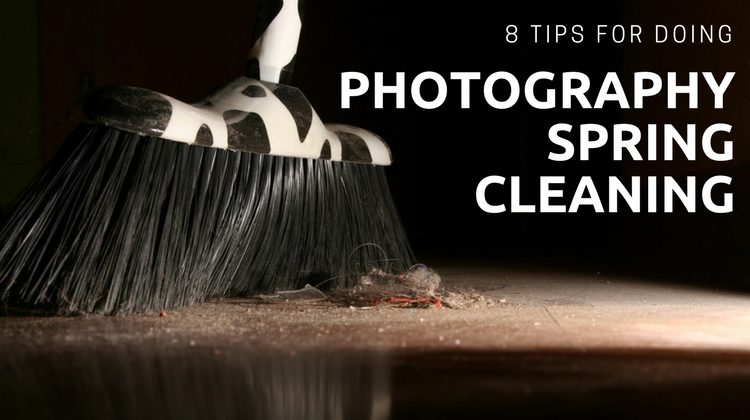
This is a common time of year to do an overhaul and a good spring cleaning, and it applies to photographers as well. Here are some tips to help you do some photography spring cleaning and get ready for the shooting season ahead.
In short, these are the things you will want to do:
- Clean the exterior of your camera bodies and lenses.
- Find and clean all your lens caps and filters.
- Clean your sensor (if you’re brave enough – it’s really not that hard or scary).
- Format your memory cards and check them over.
- Test all your batteries.
- Do an inventory of everything you own (it’s good to have a list for insurance purposes).
- Clean your tripod.
- Clean up your hard drive and back everything up.
1 – Clean the outside of your camera and lenses
First, using a rocket air blaster, blow off any visible dust and debris from the outside of your gear. Get any sand and dust out of the crevices. Make sure you do this with your camera body (s) and all your lenses.
NOTE: NEVER use canned air on your camera equipment! It can emit chemicals which are damaging to lens coatings and other parts of your gear. Only use a rocket air blower like the one mentioned above.
Next, get some of the gooey stuff that is used to clean computer keyboards – like this.
It’s really sticky and gets into little cracks that the air blower can’t access and get stuff out. Give the outside of your gear the once-over again using the goo.
Make sure your lens caps are on for this – do not put the sticky stuff directly on the glass.
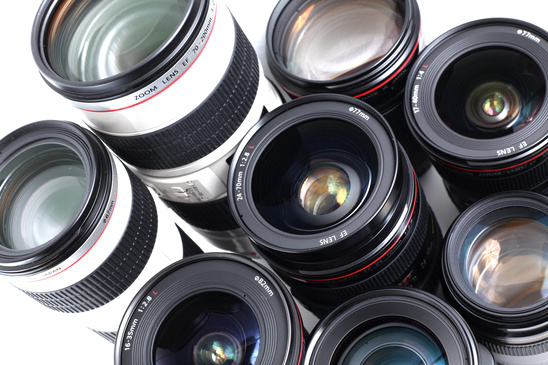
Finally, use a good micro-fiber lens cleaning cloth, a Lens Pen, or moistened lens cleaning wipes (like these by Zeiss) and clean every lens.
Make sure you do the front and back elements, checking for smudges, fingerprints and other things that might degrade your image quality. While you’re at it, clean the LCD screen on the back of your camera and the glass inside the eye-piece too.
2 – Find and clean all your lens caps and filters

Lens caps and filters have a way of getting lost or hiding in the depths of your camera bag. This is especially important if you have more than one bag!
Look through all your regular storage spots and find all your lens caps and filters. Follow the same steps for them as you did above.
Check them over, looking for any cracks or damage – and replace any that are compromised.
3 – Clean your camera sensor
This is where the faint of heart will leave us.
If you’re brave enough, it’s time to clean your camera’s imaging sensor. All the warnings the camera manufacturers might give you or the guys at the local camera store are really meant to deter you from doing it yourself because they want you to pay THEM to do it.
But it’s really not as hard or scary as you might think.
If you’re really not sure about it, get the camera store to do it for you but ask if you can watch so you can see how it’s done for next time.
All you need to do is to get yourself a sensor cleaning kit from Visible Dust or VSGO – they usually include a cleaning liquid and specially sized swabs.
Make sure you get the right size for your camera (check this chart to be sure):
Here is a good video from Adorama TV that will show you exactly how to execute this procedure.
The only thing I’ll add to that is that if you are shooting with a mirrorless camera – there is obviously no need to go through the steps to raise the mirror.
Just taking off your lens will expose your sensor.
He also mentioned a static charged brush – you can get those from VisibleDust as well. They’re a little on the pricey side but you only have to buy it once, as opposed to the swabs that are throw-away, so it’s an investment.
4 – Format and check your memory cards
While you have all your gear out, it’s a good time to go through all your memory cards as well.
Check the contacts to make sure they are clean (use your lens cleaning cloth gently if they are not) and avoid getting oils from your fingers on those areas. Look for signs of wear and tear or damage and replace any that look suspicious or have caused you issues in the past.
Then go through one by one and confirm that you have downloaded all the images from each card.
If not do that now, back up the images as well, and then do a “Format” to erase the card and reset it ready to shoot again.

NOTE: Always use the Format function of the camera, not “Delete All” or delete the images using your computer. The reason being that Format not only erases all the images it gets the card in its best condition, ready to receive new files. Deleting one at a time, or even Delete All can leave little bits of data on your card and cause issues like a card crash or worse.
Finally, make sure your cards are placed in a good case that will keep them protected and store them away.
I use the ThinkTank Pixel Pocket Rocket to store mine. The handy clip allows me to securely fasten to the inside of my bag or my belt loop.
5 – Test all your batteries
Next up are your camera batteries.
I’ve found that most camera batteries have a finite lifespan and eventually they seem to stop holding a charge. Now’s the time to charge up all of the batteries for your camera body and test them.
To see if they hold a charge do a test right after charging is complete, then again in 24 or 48 hours to see if they’ve drained. You do not want to have dead batteries in an important moment and miss a shot.
Throw out any that are duds and replace them with new ones.
Some good third-party batteries are available at places like Battdepot.com. I find many of those are better and last longer than the brand name ones.
6 – Do an inventory

While you have all your camera equipment out, it’s a good idea to take an inventory, literally. Make a list of all the items you own – or make a spreadsheet.
Take note of the make, model, and serial number if there is one for each item.
Remember to include things like filters, batteries, camera bags, tripods, memory cards, chargers, and every little accessory.
If you want to go the next level, also include the price you paid for each item (if you remember) and the how much it would cost you to replace it in the event it was lost, stolen or damaged. Use those numbers to get proper “replacement value” insurance for your gear (meaning if you have an older model that’s discontinued they would cover the cost of replacing it with the latest similar model).
NOTE: A little note about insuring your camera gear
Check with your home owner’s policy if your particular camera can be added as a floater or extension of your regular policy. Some cameras (such as a Canon 5D Mark III, or a Sony a9) are considered “pro-level” camera bodies and as such many insurance companies will not cover it under your home policy. The same goes for high-end lenses like the Canon L-series.
So call them to ask about your exact gear and if it’s not covered get a dedicated policy just for your camera equipment. By doing the inventory, you may also discover that the value of all your gear is a lot higher than you thought. Don’t make the mistake of assuming it’s covered – find out for sure, and get an adequate policy for replacement value if it’s not.
7 – Clean your tripod

Remember your tripod in your cleaning session.
It can hold a lot of dirt inside the hollow legs and get corroded by salt water if you’re near the sea. That can cause corrosion or the legs to slip when you most need them to be solid.
Take the leg sections apart and give them a good cleaning. Empty out any silt and dirt. Wipe down the outside and check for any missing parts.
Then finally, tighten all the bolts and connectors to make sure it’s nice and secure for its next usage. I have lost the hook that used to be under my center-column, check that one it’s sneaky and works itself loose!
8 – Clean up your hard drive and do backups
I’m guilty of not doing this myself and my Lightroom catalog and photos have become overgrown I’m afraid (she says sheepishly).
So in this case, do as I recommend, not as I do.
But if you take some time to go through and clean up your images, you could free up a lot of hard drive space and make your computer even function better/faster.
Start by getting rid of any duplicate images or working copies you don’t need anymore (like a large PSD file with layers if you have the finished image saved). Then delete all those rejects that you’ve marked with an X in Lightroom or however you do your image culling – you will never use them, why are you keeping them?!
I’m serious – delete them off the hard drive, not just out of Lightroom!
Organize any files and folders that are out of place, find any missing in Lightroom. Generally set up a system that makes the most sense to you, so that you can find any image in less than a minute without pulling out your hair.

Lastly, once your computer and files are streamlined and organized it’s time to make sure all your backups are up to date. If you don’t have any backups – NOW is the time to do so! Ideally, you want a storage system that looks something like this:
- Put original images files on Drive A. This could be the drive of your desktop computer or an external drive). I work exclusively on a laptop so NONE of my images files are stored on the drive inside it. My Drive A is an external 8tb drive, it contains ALL of my original image files.
- Make a copy of your original files to Drive B. This must be a drive that is different than Drive A – so ideally an external one which is solely for storing backups.
- Save a third copy in another location. This must be located off-site in a place that is different than the first two above. You could use another external hard drive and store it in a bank safe deposit box, at work, or at a friend’s house. Or you could use some sort of cloud backup like Backblaze (get their Cloud storage) or Amazon S3 (I use the latter).
Remember to also backup your Lightroom catalog (if you use LR you should be doing that once a week anyway!). While you’re in backup-mode, you might as well save all the images from your smartphone as well and back them up too.
Conclusion
I hope these tips have given you something to not only think about for your spring photography cleaning but take action on as well.
Making sure that your treasured camera gear is in good working condition is key to ensuring that your equipment lasts a long time, and taking the best quality images possible.
To help you out, I’ve saved a list of some of the items you might need to do your cleaning – you can find the list here. Let me know if I have missed anything.
Happy spring photography cleaning – now get out there and do some photography!
Cheers,