To help you make the most of the hiking season, let’s talk about 10 awesome tips to improve your hiking photography.
The sun is back, the snow has melted, and there are more places than ever to go hiking – it’s summer! After a long few months of being restricted by snowy mountains, the wait is over, and the hiking season has officially begun.
For photographers, the start of summer also means more places to go with your camera. More trails to explore, mountains to climb, and adventures to be had.
The trouble is that hiking with all your camera gear tends to pose a unique set of challenges.
So without further ado, let’s get on to 10 ideas to help you find the perfect shot, stay more organized, and still enjoy the adventure. These tips are a must for any hiking and photography fanatics!
#1 Focus on capturing the experience
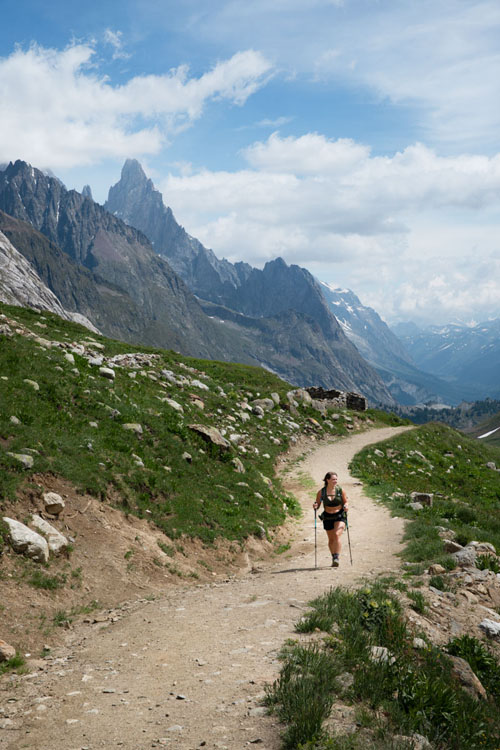
What’s the main reason people like to go hiking? For the view, of course! But too many people leave their camera packed away until they reach the top, only to snap a photo of the final lookout. Don’t let yourself get stuck in that bad habit!
When you leave your camera packed away for the majority of the hike, you miss countless photo opportunities. What about those moments of struggle grinding up a steep trail? Or that beautiful section with the perfect light?
When you stay in the mindset of “the best photos are at the top” you really limit your photography.
Some of the best candid moments are found during the actual hiking part of your adventure.
Remember, photography is a journey not a destination! – Darlene
Candid moments are perfect to showcase what it felt like to be there with your subject. Think of your camera as the extra person (aka your audience) in your group just tagging along for the ride. What would they want to see to make them feel like they’re part of the experience?
These shots don’t have to be all smiles and rainbows either. Even when the going gets tough, get your camera out and see what things you can capture. Those are the moments that will always more enjoyable to look back on later, compared to just the typical viewpoint photos.
#2 Bring a tripod to capture some self-portraits
Perhaps you love doing solo hiking trips. If that’s the case, bring a tripod on your hike so you can take some self-portraits!
Setting up your camera with a delayed shutter (use the 10-second timer) is the perfect way to play photographer and model at the same time. When you’re alone, self-portraits open up more possibilities as to what you can photograph.
Then you can never use this excuse, “This shot would be perfect if a person was standing right there.” With the help of a tripod, you can easily frame the shot exactly as you want, while also being in the photo.
#3 Use a holster for easy camera access
A camera holster or camera clip is one of the most useful photography accessories for hikers. These holsters clip onto your backpack strap and securely mount your camera in front of your chest.
This way, you can keep your hands free while still having quick access to your camera.
Nothing’s more annoying than seeing the perfect shot but having to unload half your backpack just to get to your gear. Using a camera holster completely solves this problem.
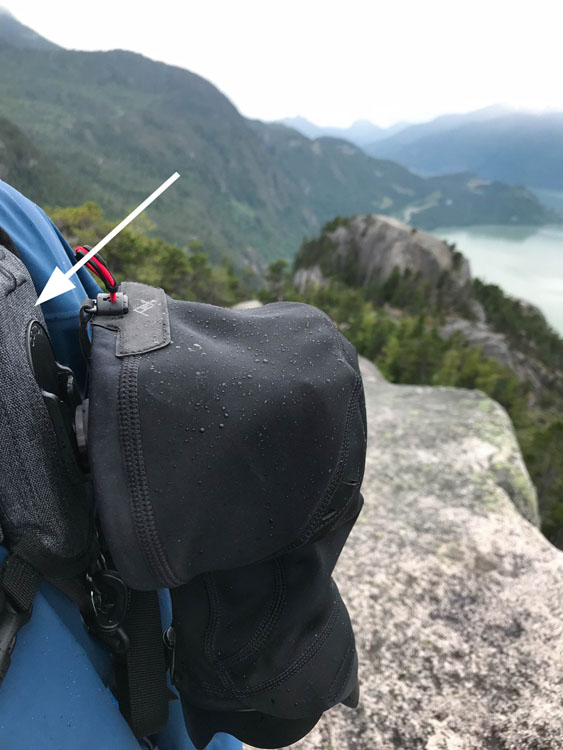
Two great options for camera holsters are the Cotton Carrier G3 Strapshot or the PeakDesign Capture Clip. Both are worthy candidates and will keep your camera secure no matter what terrain you face!
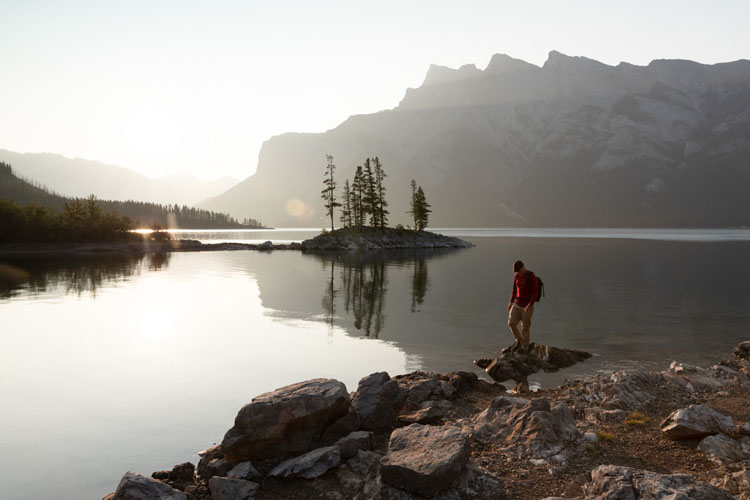
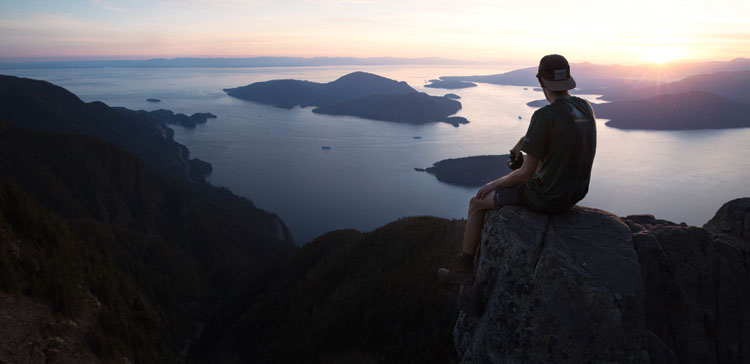
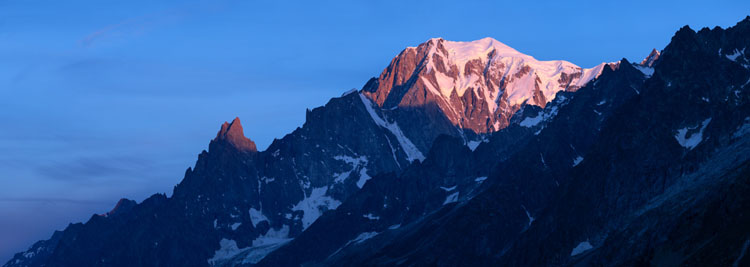
#4 Wait for golden hour whenever possible
If you want to put in all the work to hike somewhere, why not get the best light possible?
When you have the time, aim to arrive at the top just before golden hour. Nothing compares to a sunset or sunrise in the mountains, and it’s nearly impossible to get a bad photo at this time of the day.
To plan for golden hour, consider the recommended time to hike the trail versus your fitness level. Trail websites like AllTrails give relatively accurate time estimates for thousands of hiking trails near you. They’re a useful reference to work from if you aren’t sure where to look!
Next, find out when golden hour will take place. Remember, this occurs twice a day – the hour before sunset and just after sunrise. If you show up right at the time of sunset, you’ll have already missed the show!
Try using a free web app called The Photographer’s Ephemeris to get accurate information for golden hour at any location. Another great app is Photo Pills. It’s not free (under $10) but it does many things really well like sunset/sunrise times, when the Milky Way is visible, Moonrise, etc.
Just remember it will be dark heading down after taking photos at sunset. Be sure to pack a headlamp and stay safe.
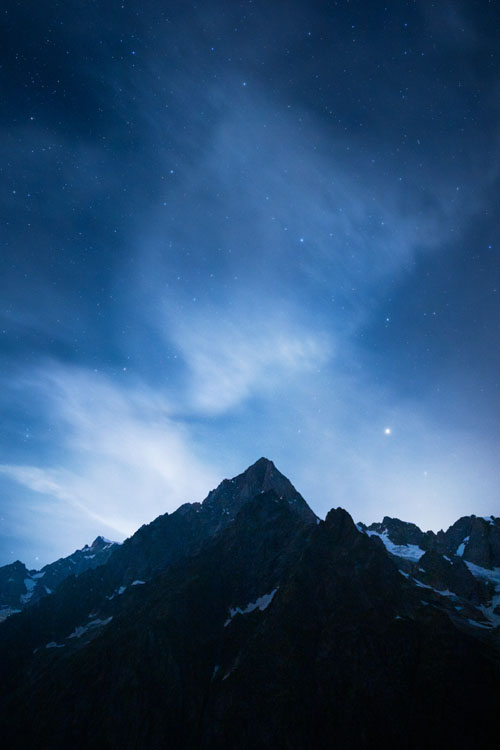
#5 Spend the night out
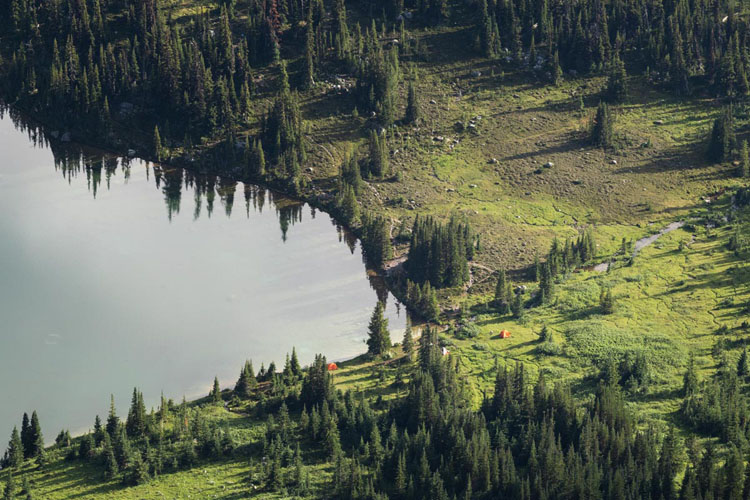
If you want to get the most bang for your buck, pack your bags and head out for the night. Camping in the backcountry provides a more memorable experience while offering more time for you to take photos.
Since you’re spending the night, you can see both the sunset and sunrise from an epic vista.
After you set up camp, grab your camera and explore around the area. Check out places you wouldn’t have the time or energy to do during a day hike. You’ll be amazed by how many hidden lookouts, viewpoints, and photo opportunities you’ll encounter.
Especially when you’re in an alpine area and don’t have trees and underbrush to deal with, the mountains are your playground. You can easily access just about anywhere you point.
There’s truly limitless potential when you spend a night out in the backcountry.
Remember to do some blue hour and night photography as well!
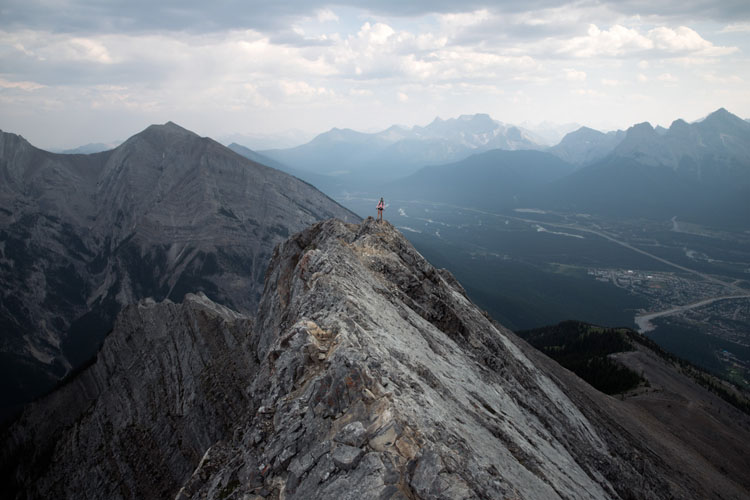
#6 Use a friend to show scale
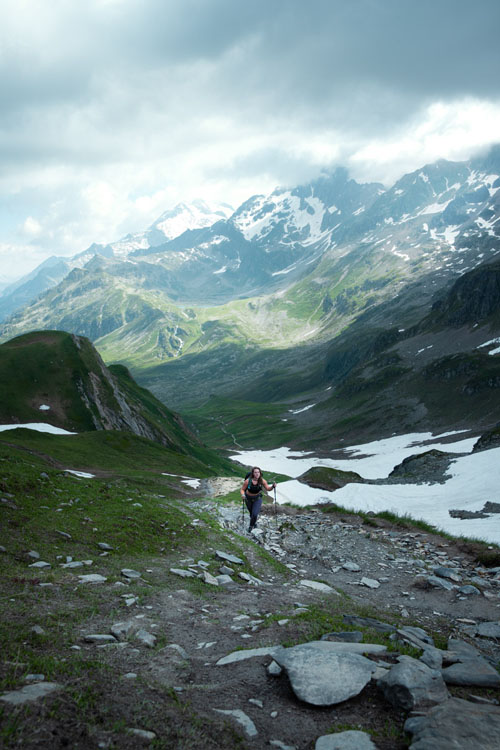
With hiking photography, it can be hard to showcase the same sense of scale you get in being there in real life.
So try adding a point of reference (a human) to help viewers of your images understand how massive are your surroundings.
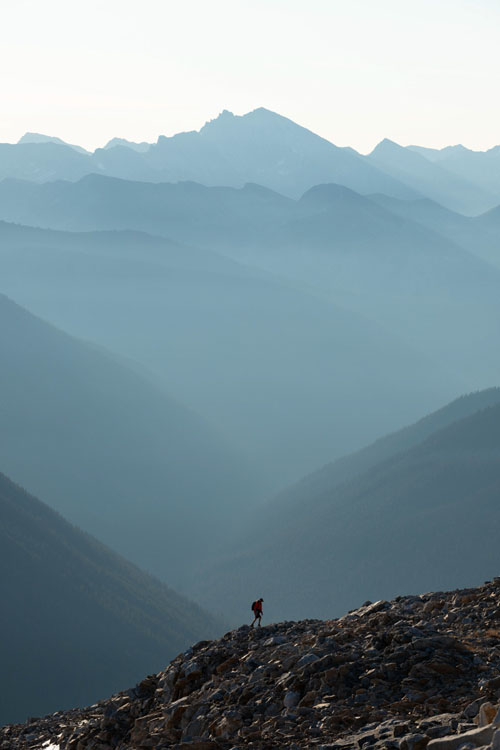
Using a friend for scale is the easiest way to show the size difference between you and the environment.
To make the most impact, get them to stand farther away from you whenever possible. Especially when using a longer focal length like 200mm, it makes the environment seem impossibly large.
Aim to place your human subjects against a light background (like a near silhouette), so it’s easy to spot them in the frame.
Rather than having the person blend in among the rocks, frame them against the sky, a body of water, or a distant faded mountain peak.

If that isn’t possible, get them to wear a bright color to make them stand out from the background in the scene.
Primary colors like red, yellow, or blue tend to work best to separate a hiker from most backgrounds.
#7 Be selective about the gear you bring
One of the unique challenges about hiking photography is that you have to carry a heavy load. Even if you have some high-end, ultralight hiking and overnight gear, your camera and lenses are still going to weigh the same as they always do.
And camera gear is NOT light!
So rather than packing every piece of camera gear you own, be selective about what you’re actually going to take.
You could bring that massive 400mm lens you love, but what are your legs going to think? Especially after hours of climbing up a steep trail?!
I’m willing to bet you’ll be ready to throw that lens off a cliff halfway through the hike.
Save your legs and energy levels by streamlining the camera gear you bring. Pick one lens to keep on your camera, plus one additional lens to balance out its weaknesses.
For example, you don’t want to pack two different wide-angle lenses. That’s because both lenses will capture the same types of photos. Instead, opt for a wide-angle and a telephoto to maximize your options during the hike.
Ultimately, try to consider what types of photos you hope to capture and what gear is required to take those shots.
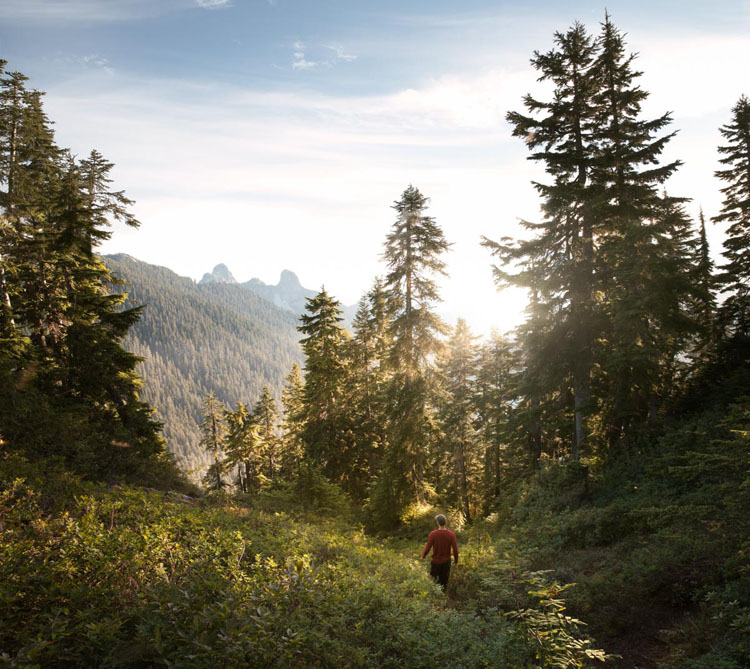
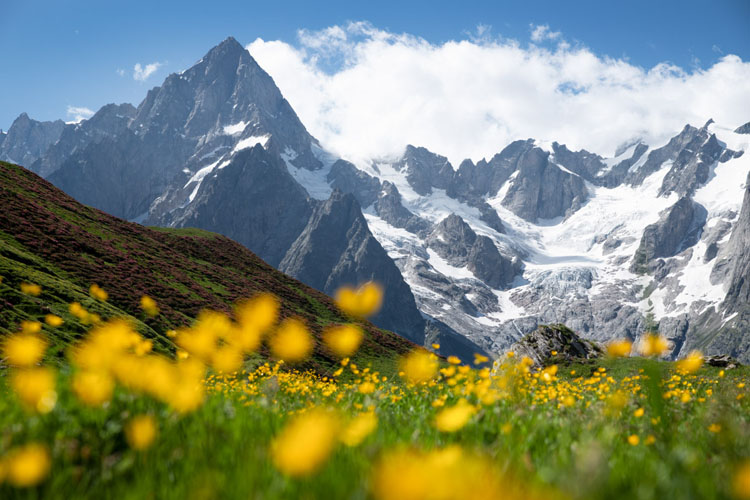
#8 Seek wildflowers whenever possible
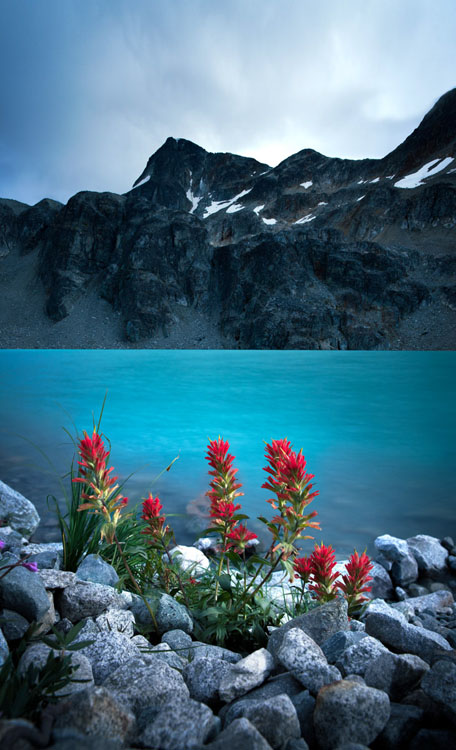
Wildflowers not only smell amazing, but they also add a lot of beauty to your hiking photos.
Whether you’re taking pictures of the flowers themselves, or incorporating them into a larger scene, they offer so much potential. Including flowers is an easy way to add a splash of color into any scene you come across while hiking.
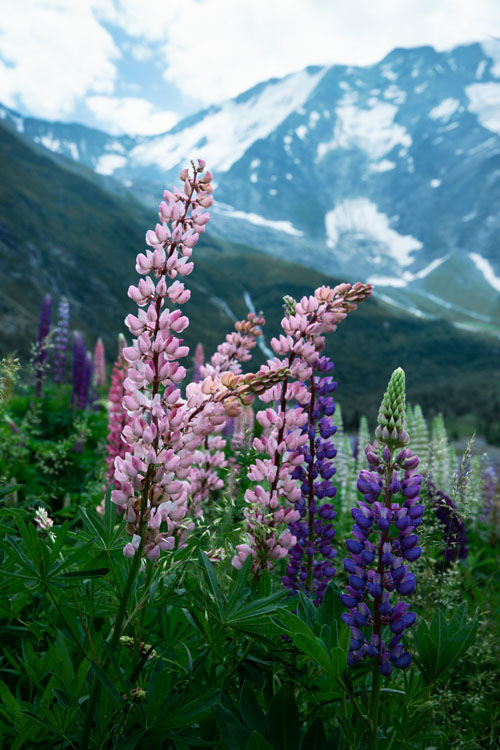
Wildflowers are usually found in meadows during early to mid-summer. Depending on the elevation and snow levels, this will vary.
There are so many varieties you can come across on a single hike, so you’ll never run out of new flowers to photograph!
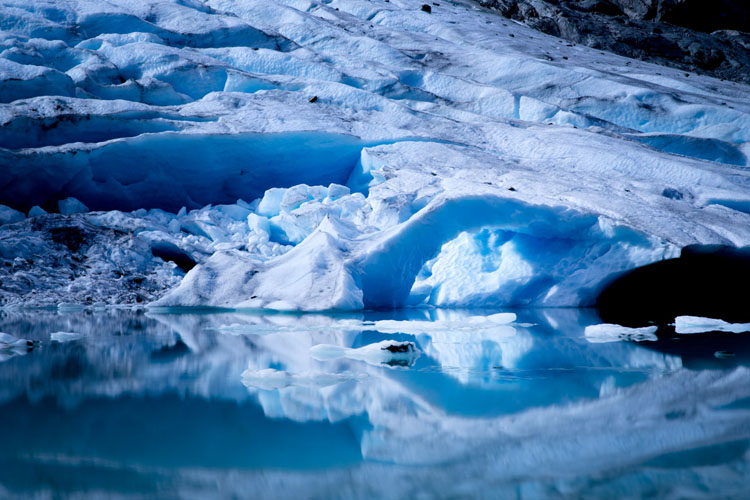
#9 Challenge yourself to go farther
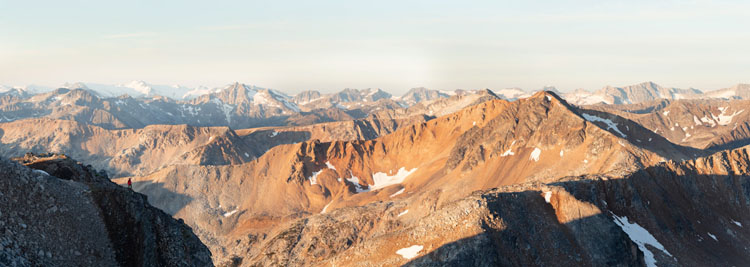
Here’s the reality – if you want to capture fantastic hiking photos, you need to put in the work.
You’ll rarely find a place on a 2-hour hike that hasn’t been photographed from every angle. If you want your hiking photography to stand out from the crowd, explore places most people have never been.
To find more unique places to hike, you’ll need to resort to a topographical map of the area. Topographical maps show you potential routes you could follow to get to new summits or alpine bowls.
You’ll be amazed at how many forest service roads are around to get you most of the way up too. You just need a 4×4 vehicle if you plan to drive them!
NOTE: Always tell someone where you’re going and ideally do not go alone. Put your personal safety first.
If finding brand new places isn’t for you, try going farther past well-traveled locations. Rather than stopping at an alpine lake, scramble up one of the nearby slopes to get a better vantage point.
Try anything you can do to find a different view, one that most people have never seen. Going further with your camera does take a lot more physical effort, but the results are always worth it.
#10 Enjoy the moment
There are tons of people who like to hike just for the gram (Instagram).
Rather than focusing on getting the perfect shot, enjoy your surroundings and try to be more present. It’s easy to become detached from the experience by only focusing on the next shot.
Try to think of hiking photography more organically than that.

As weird as it sounds, some of the best shots are found when you aren’t looking for them. When you are just enjoying an area for what it is, you’ll notice the little details.
It becomes a lot easier to find unique compositions that you may have otherwise overlooked. Rather than focusing solely on the view, see what other spots and angles make for beautiful images.
When you’re present and enjoying the hike for what it is, it’s much easier to notice the beauty in things that others may miss.


Conclusion
With these 10 tips to help improve your hiking photography, you’ll be well on your way to taking better photos on the trails.
If you’re willing to put in the effort, there are no limits to where your camera can take you in the mountains. Although your legs may be burning, the fantastic photos you come back with will always be worthwhile.
Where are you looking forward to hiking this summer? Let me know in the comments below!
Happy hiking,