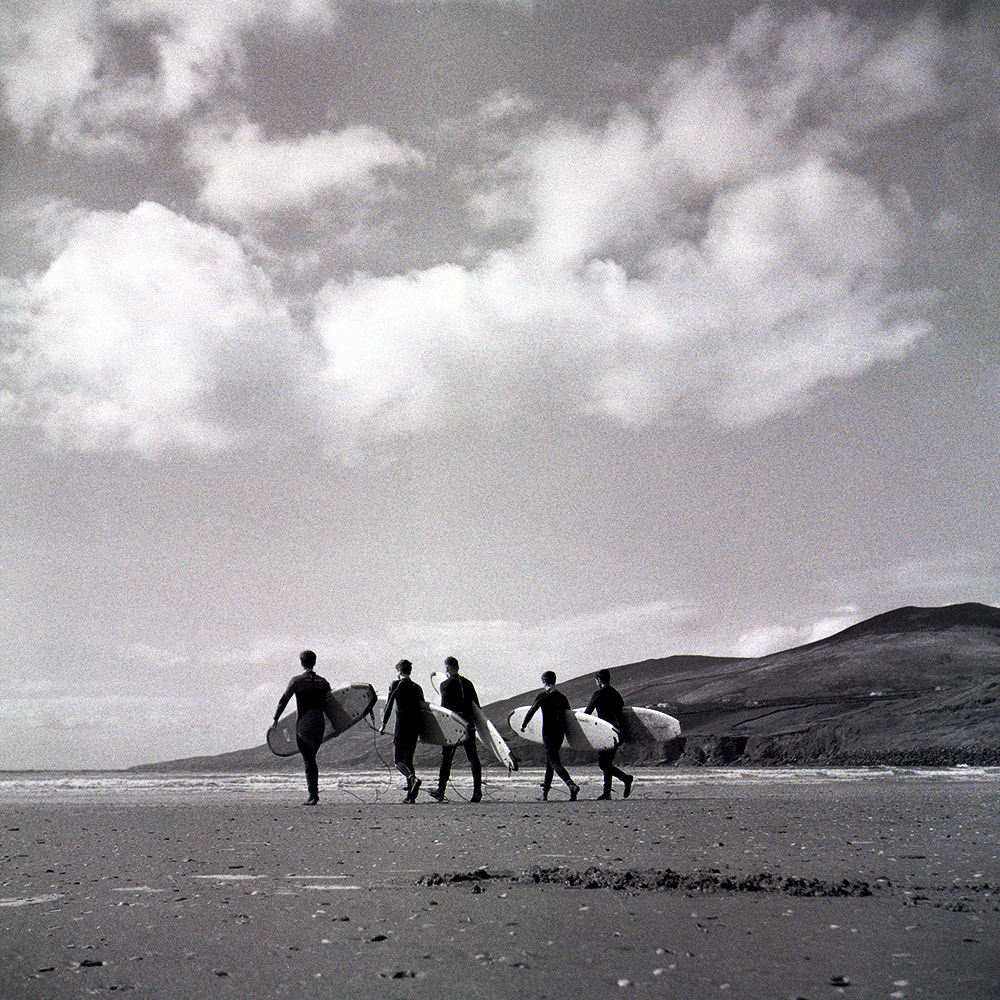
In 2008, Polaroid announced the end of film production within the company. But seemingly out of nowhere, an Austrian man named Florian “Doc” Kaps swooped in and bought the last remaining Polaroid production plant in the Netherlands for 180,000 Euros. His mission was to bring film back from the brink of death. He called it “The Impossible Project.”
More than a decade later, Kaps’ goal doesn’t seem so impossible after all. In the intervening years, the company has since introduced new film and cameras into the mainstream market. You probably know it by its current name: Polaroid Originals. As for Kaps himself, he’s moved on too, focusing his efforts on peel-apart film. This year, PDN named him as one of eight “Guardian Angels of Analog Photography.”
Film photography memorializes the past, but it also represents the future. As more companies roll out new analog tools, it’s becoming increasingly clear that film is timeless. The oldest surviving negative dates back to 1835. You can find the latest film photos on social media under popular hashtags like #FilmIsNotDead and #ShootFilmNotMegapixels. That’s quite a testament to the resilience of the medium.
In honor of the film revival, we’ve collected these quick tips for going analog.
Try as many film stocks as you can
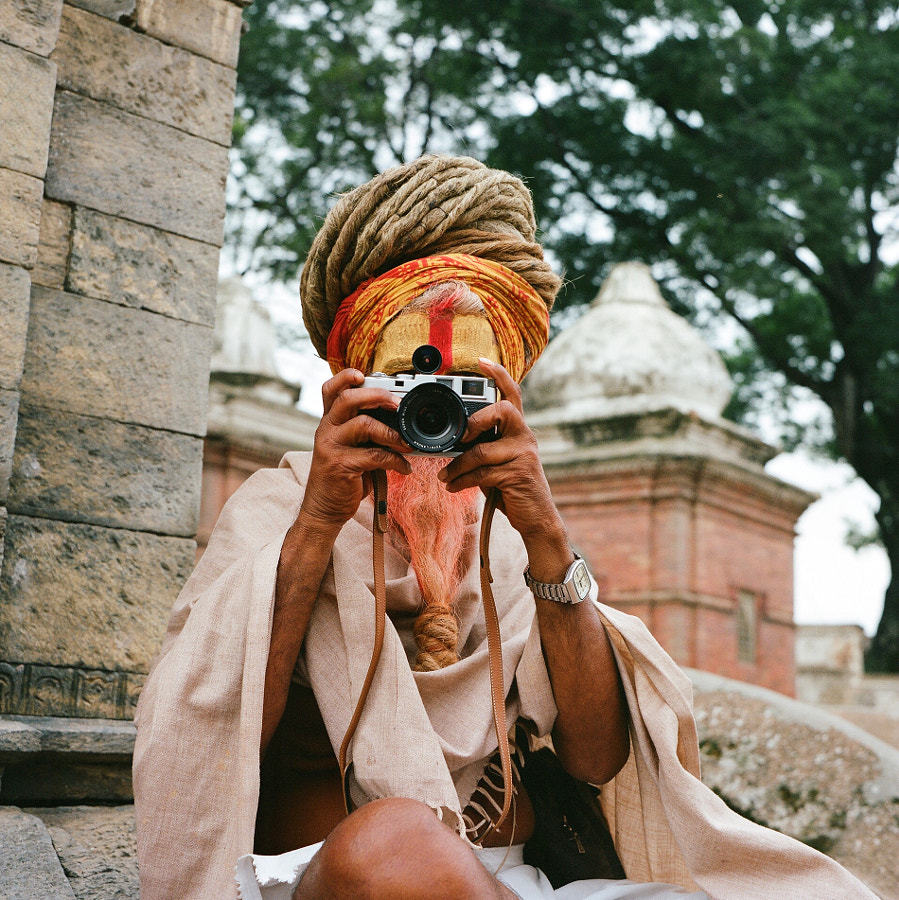
Getting started with film is a bit like walking into a candy store. Your choice of film will determine the colors, brightness, and the grain of your images. And the best way to learn is through trial and error.
Two years ago, TIME interviewed six legendary photographers and compiled a shortlist of the best film stocks out there, from 35mm monochrome options like Kodak Tri-X 400 to large-format film like Kodak Portra 160. For black and white, Ilford HP5+ 400 and Fomapan 400 might also be a good place to start, while Lomography Color 400 and Fuji Pro 400H are some solid color options as well.
Once you’ve sampled all the options, load up on your favorite, and get to know it like the back of your hand. Study how it performs under various conditions (harsh sunlight, overcast weather, interiors, and so on) and how you can make the most of it.
Start with cheap film and cameras
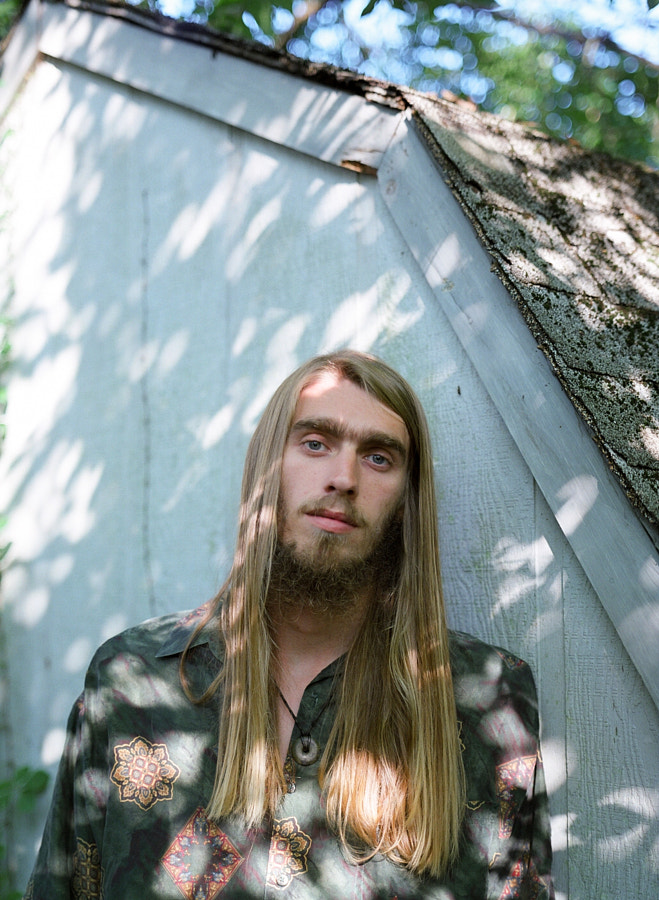
A “starter” film camera shouldn’t cost a fortune. Get your feet wet with a solid but affordable 35mm or 120mm camera. If you want to keep your options open, you might want to start with a rental or borrow a friend’s camera.
It might also be tempting to start with rare and expensive film stock, but this isn’t ideal for practicing. Save them for later, and choose something cheaper for learning and testing out different Settings.
Opt for a prime lens
For a manual 35mm film camera, the best place to start is a 35mm or 50mm lens. There are zoom lenses available, of course, but working with a fixed focal length will help you get your bearings. Prime lenses offer wider apertures, and they deliver better quality for your money. They’re simple to use, especially if you’re doing everything manually. If you need to zoom, just walk closer to your subject. It worked for Cartier-Bresson in the 1940s, and it still works today.
Expose for the shadows
If you’re used to shooting digital, you know to expose for the highlights. The opposite holds true for negative film—while it’s great at capturing those highlights, it sometimes struggles to preserve details in the shadows.
Underexposing can also result in thin negatives, which in turn produce grainy, flat prints. So err on the side of overexposing—unless you’re deliberately going for the dark, underexposed look, as Steve McCurry sometimes did while using Kodachrome.
Get a light meter
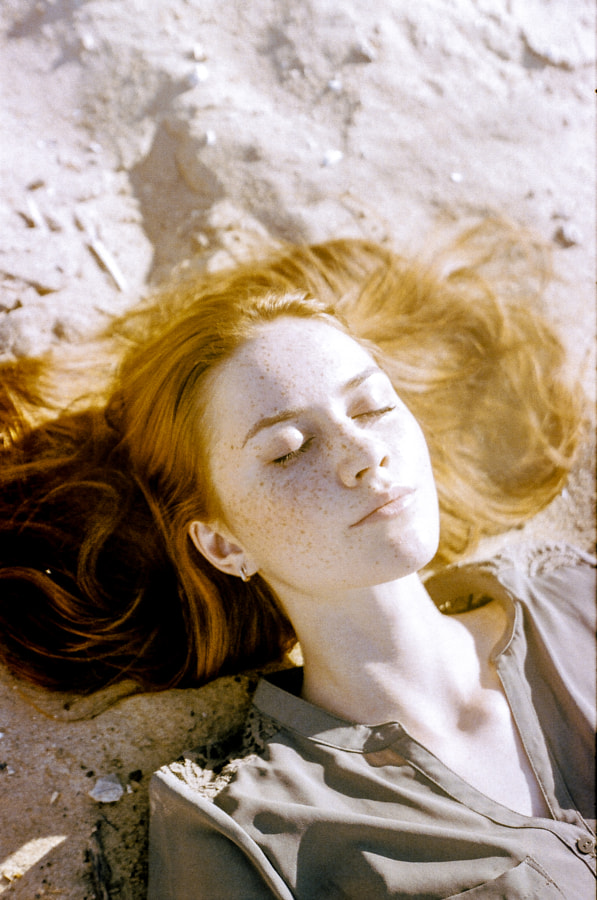
Newer film cameras often come with a built-in light meter, but if you’re interested in a classic, vintage camera, you’ll probably need to buy an external one or download a light meter app, such as Pocket Light Meter, on your phone.
If you forget your light meter at home, just use the “Sunny 16” rule. If you’re outdoors on a nice day, you generally get a good exposure by setting your aperture to f16 and your shutter speed to the inverse of your ISO (or the closest thing to it). For example, if you’re shooting with 100-speed film, your shutter speed would be either 1/100 or 1/125 of a second.
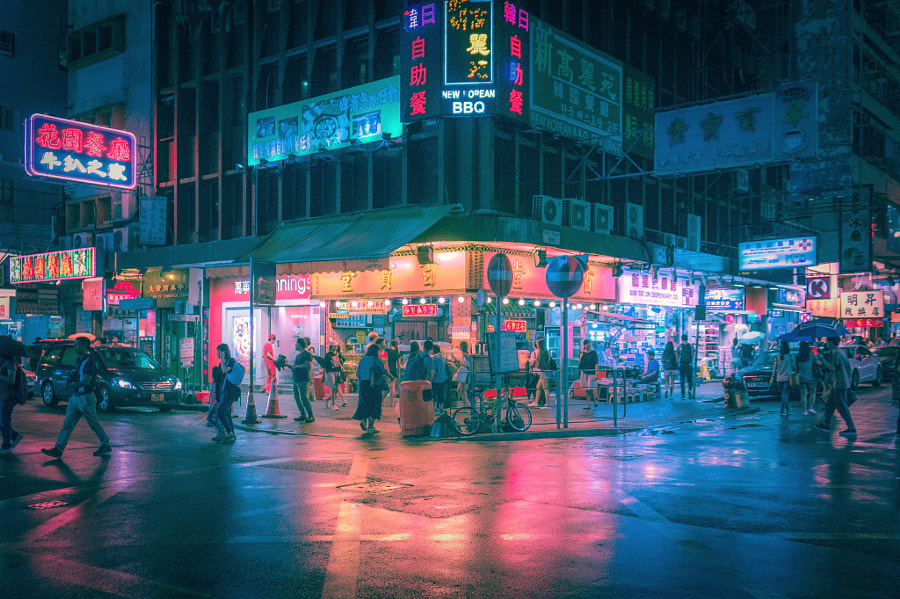
Keep records of your shots
With your first few rolls, remember to jot down your settings: aperture (f-number), shutter speed, and film speed (ISO). In most cases, that’s the only way you’ll be able to hold onto your metadata. If your photos are dark and underexposed, then you’ll know you need to experiment with a higher speed film, a slower shutter speed, or a wider aperture.
Photomemo is a nice paper option if you want a dedicated logbook, or you could go with an app like PhotoExif, which allows you to keep track using your phone.
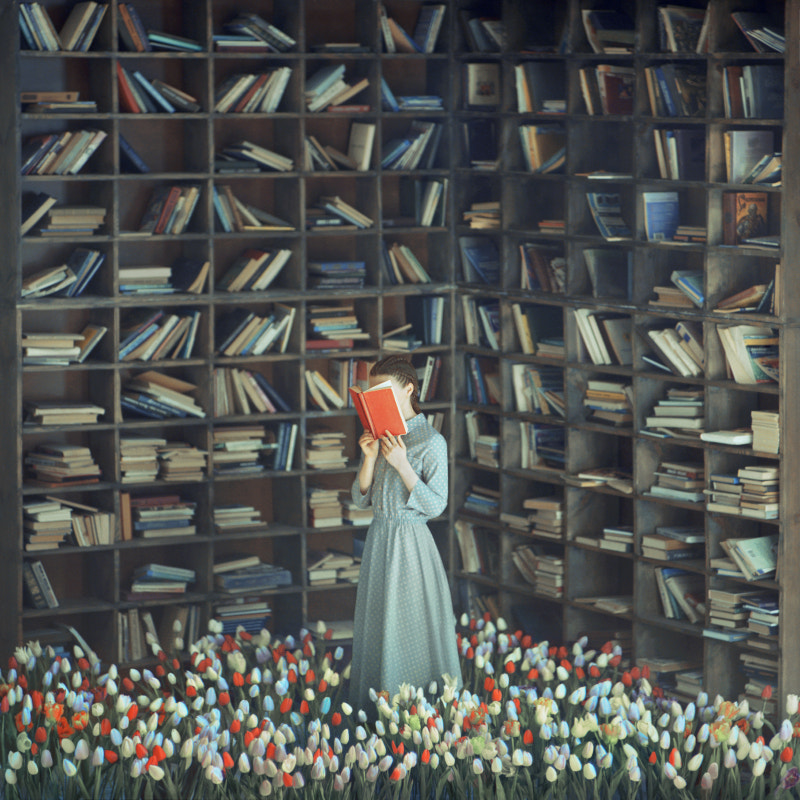
Give yourself an analog assignment
Any time you test out a new film stock, give yourself a project. Maybe you photograph a different pedestrian every day on your way to work, or you keep an eye out for classic vintage cars. The Photographer’s Playbook from Aperture has hundreds of fun assignments to help stretch your imagination, and some of them—like “photograph an object for every letter in the alphabet”—are perfect for practicing.
Your goal won’t necessarily be to create your best work but instead to see something through from start to finish. Giving up isn’t an option. When you’re done, print out your contact sheets and save them, along with your negatives. You’ll want to look back at them as time passes and you find your footing.
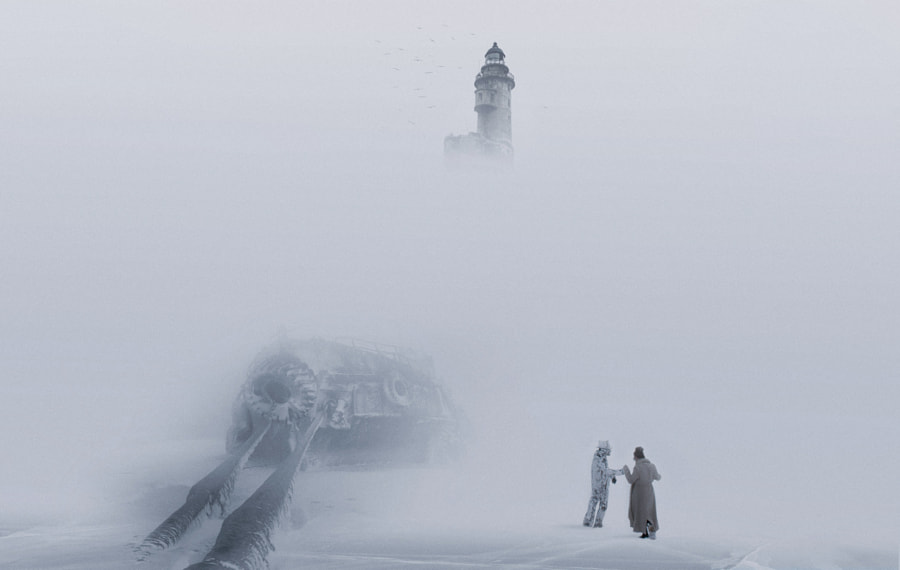
“Push” your film, but do it responsibly
In the majority of cases, your best bet is to set your camera’s ISO meter to the same speed you see on your box of film. But not always. For example, if you find yourself shooting in a dark nightclub with only 400-speed film, you can “push” it by setting your camera’s meter to ISO 1600. It works best with black and white film and has been used from time-to-time by some of the greatest in the genre, including Garry Winogrand.
Pushing your film will result in more grain and contrast, so use it sparingly. Pushed film needs to be developed for longer, so it’s important to remember each time you do it. If you’re not developing yourself, make a note to tell your lab (some might charge more, but it depends). Also, keep in mind that you don’t want to change your ISO mid-roll since it’ll all get developed at once.
Embrace your film accidents
“Most photographers have always had an almost superstitious confidence in the lucky accident,” Susan Sontag wrote in her 1977 book On Photography.
When it comes to film, something that seems like a “mistake” on the surface—like an unintentional light leak or even a mishap in the darkroom—could breathe new life into an otherwise ordinary image. If you happen to fall prey to one of these happy accidents, remember how it happened, and see if you can replicate it on purpose.
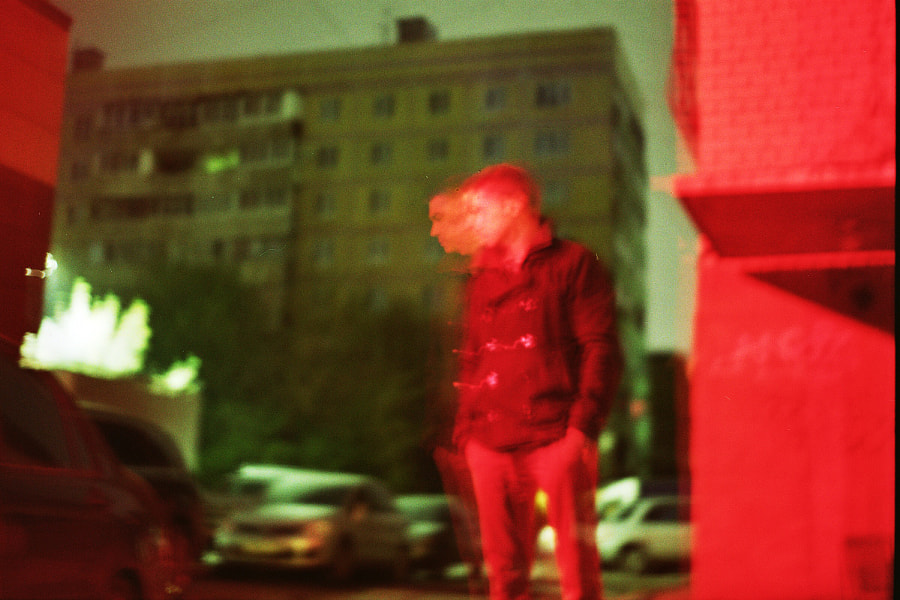
Hold onto your old or expired film
Conventional wisdom tells us to toss any expired film, but these days, it’s all the rage, with more than half a million photos tagged #expiredfilm on Instagram. “Expired Film Day” was established in 2015 and has taken place every year since. Using expired film can a serious gamble—especially if it hasn’t been stored properly—but that’s what makes it refreshing and fun.
Degraded film generally produces over-saturated colors and surreal, foggy effects, reminding us that photography is a tactile, material pursuit, vulnerable to flaws and strokes of luck. Just watch your ISO, as film loses sensitivity over time and its speed is likely to change from what it says on the box.
Hint: If you want to push even further into the experimental realm, you can soak your film (expired or not) in different solutions. Acidic liquids like orange juice or coffee produce the most dramatic results–but make sure to tell your lab if you’ve done anything crazy.
Process your film yourself
More than 75% of film users recently surveyed by the UK-based manufacturer Ilford say that they’ve processed their own film. It won’t always be feasible, but it’s something you should try at least once, especially if you’re shooting in black and white.
Film is about getting your hands dirty and understanding the chemistry, and B&H Photo has a great guide to help you get started at home. You’ll need a developing tank, some plastic reels, measuring cups or graduates, a thermometer, plus developer, fixer, and water.
Not on 500px yet? Sign up here to explore more impactful photography.
