They say the best camera is the one you have with you, and for most of us, that’s our cell phone. I know I don’t carry around my Fuji’s when I’m out running errands or having dinner. But I usually have my phone. So if I see an interesting subject, or something grabs my eye, I take a photo with my phone.
This article is a result of questions and requests I often get from people on my photography tours and workshops. The issue is mobile phone photography and how to take better images with this handy device.
So here are 12 quick tips, and links out to some other related articles that apply to ANY camera, that will help you improve your phone photography.
12 Mobile Phone Photography Tips
Here’s a summary of what I’m going to cover in this article:
- Get closer – do NOT use the built-in zoom
- Use a pro camera app
- Find good light
- Hold the phone steady or use a tripod
- Turn off the flash
- Turn off HDR
- Adjust the exposure
- Use a fun app to process your images
- Clean the lenses
- Use the rule of thirds and follow good composition
- Watch the background
- Set the focus yourself
Now, let’s look at each of these one at a time.
NOTE: All the images in this article were taken with my Samsung S7 Android phone and processed with Snapseed on the phone unless stated otherwise.
#1 – Get closer – do NOT zoom
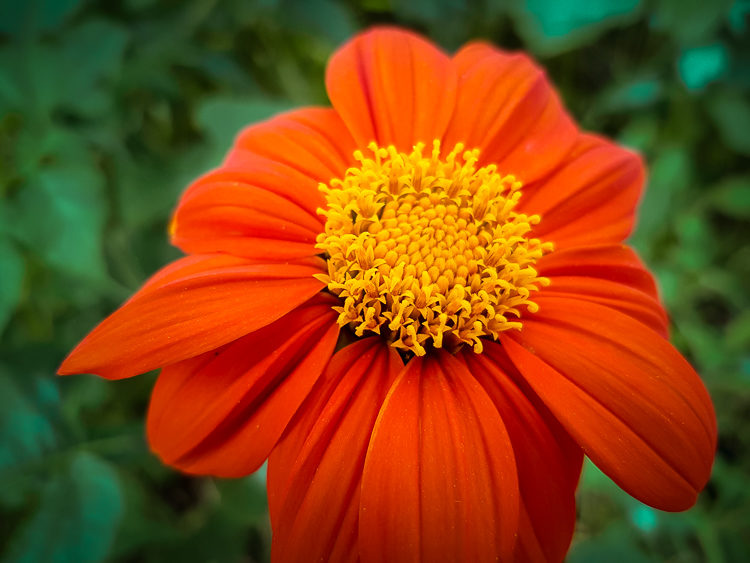
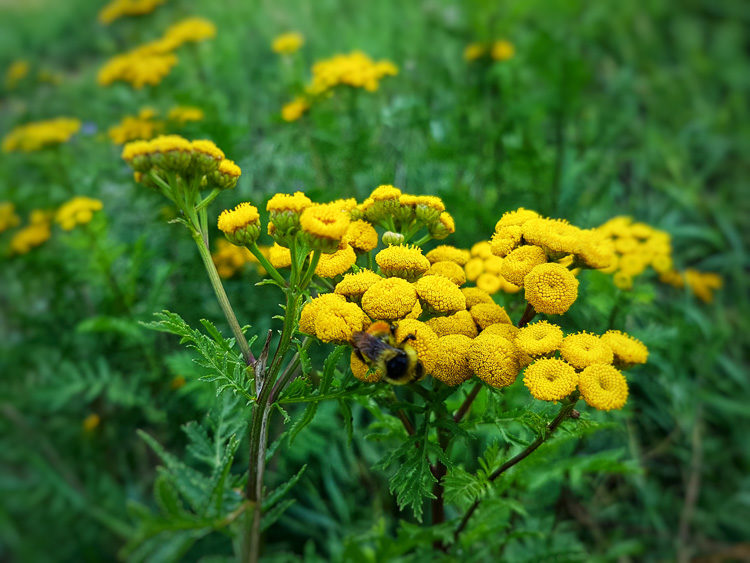
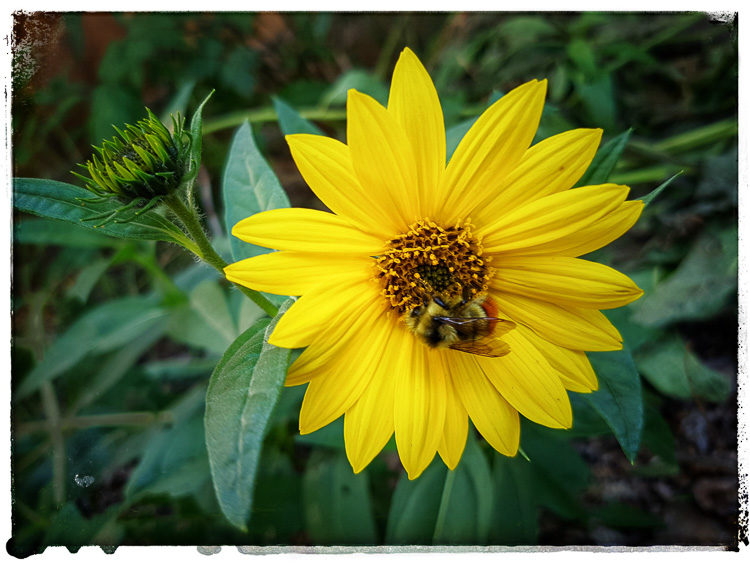
This is a two-part tip but they both happen simultaneously. The biggest thing you can do for better mobile phone photography is to get closer to your subject without using the built-in zoom. So that means you’ll need to move your butt! I also talk about getting close in order to simplify your image. Less is more!
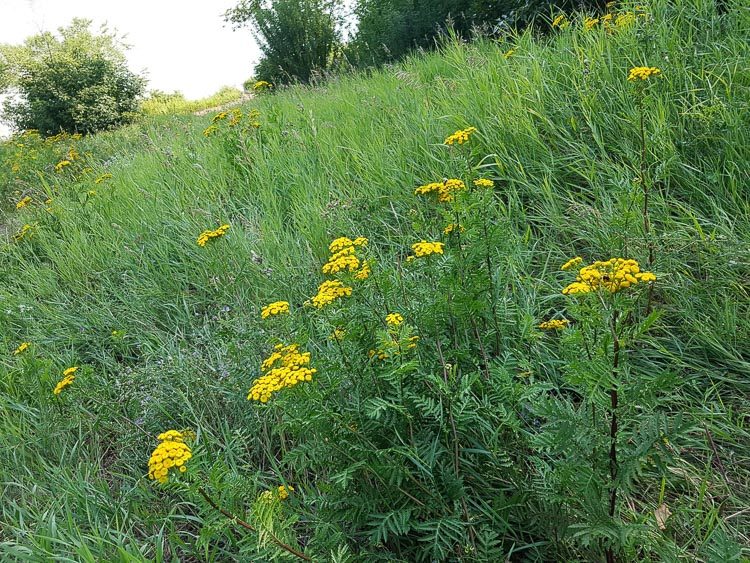
Get up off your chair and physically move closer to the subject. So many phone shots I see are just too far away and the subject is lost. This is due in part to the phone having a fairly wide-angle lens. For more on this topic, go read this article as all the tips apply to mobile phone photography as well: 5 Mistakes Beginners Make Using a Wide Angle Lens and How to Avoid Them.
The reason you don’t want to use the zoom on the camera is that the image quality will suffer greatly. That’s fine for a snapshot of your cat sleeping in a funny spot, but when you want to create better images avoid using the zoom.
#2 – Use a Pro Camera app
Some mobile phones have a built-in Pro function for the camera. I have a Samsung S7 and this option is easily accessed with a quick left swipe when the camera is opened. If your phone doesn’t have this feature, look for an app that is compatible with that model.
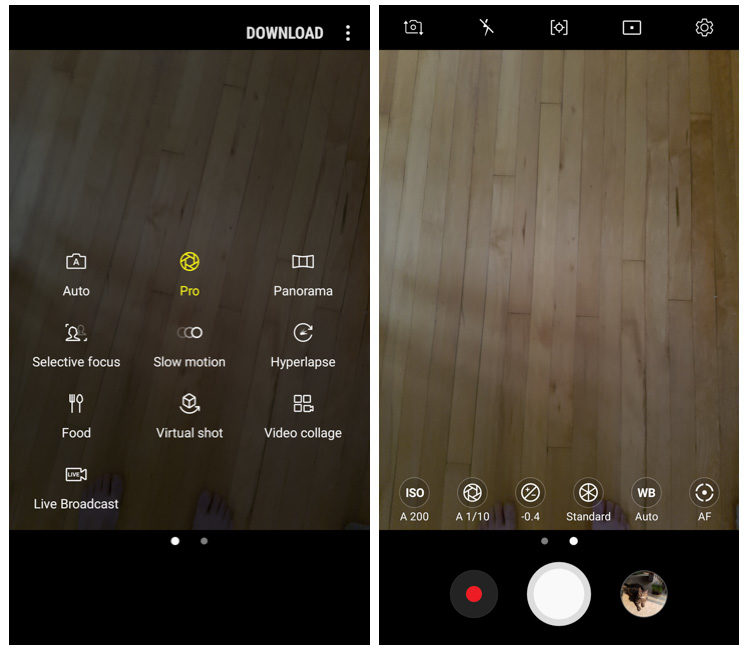
What you want is an app that will allow you to make choices for your camera settings just as you would with a DSLR; such as selecting the aperture, white balance, and exposure compensation. Check the reviews and ratings and try a few out until you find one that you like.
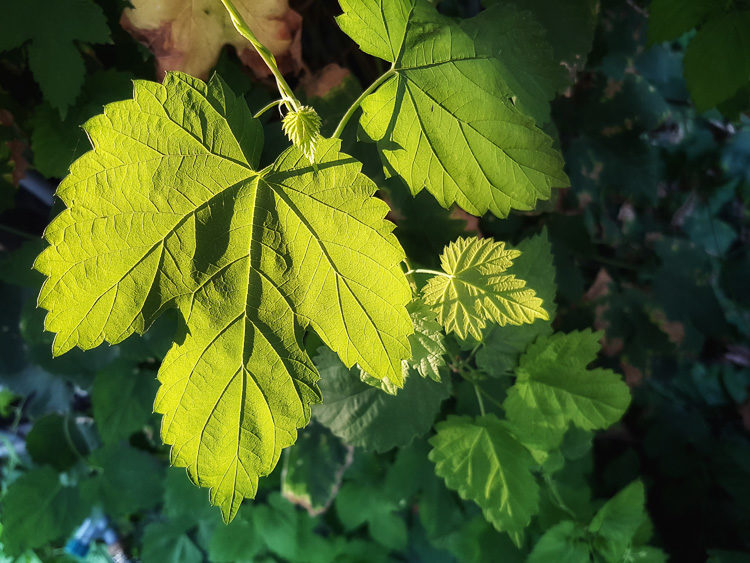
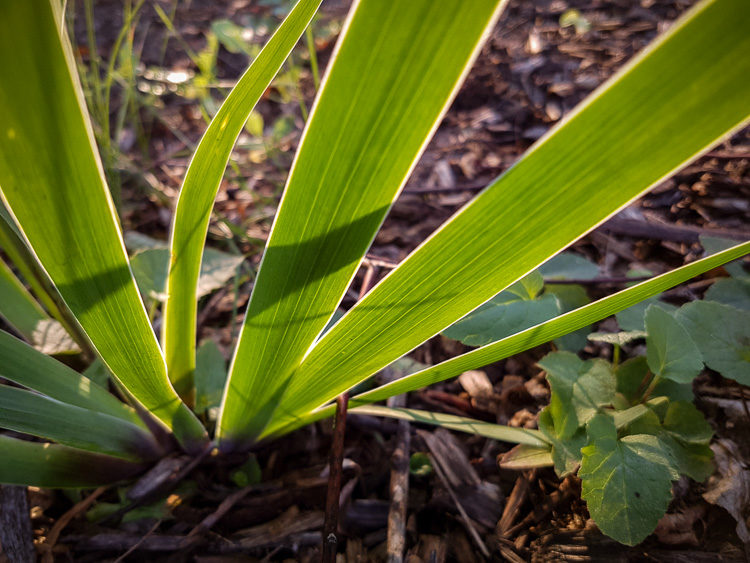
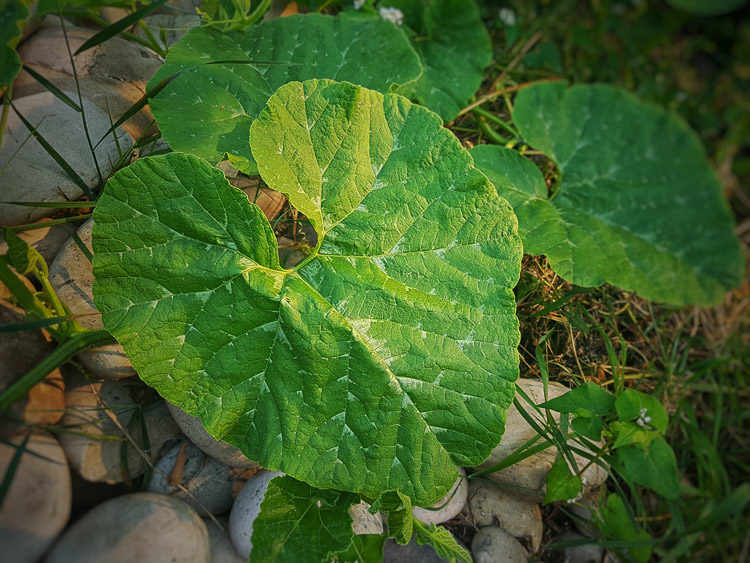
#3 – Find good light
If you’ve been reading my articles here for any length of time you know I’m passionate about good light. But what is that and how do you use it for your phone photography? Here are a few simple ideas to get you started.
First, try backlighting your subject. This will give you a dynamic look to the image with either a sunny outline around your subject, or create a silhouette.
Read these articles for more tips:
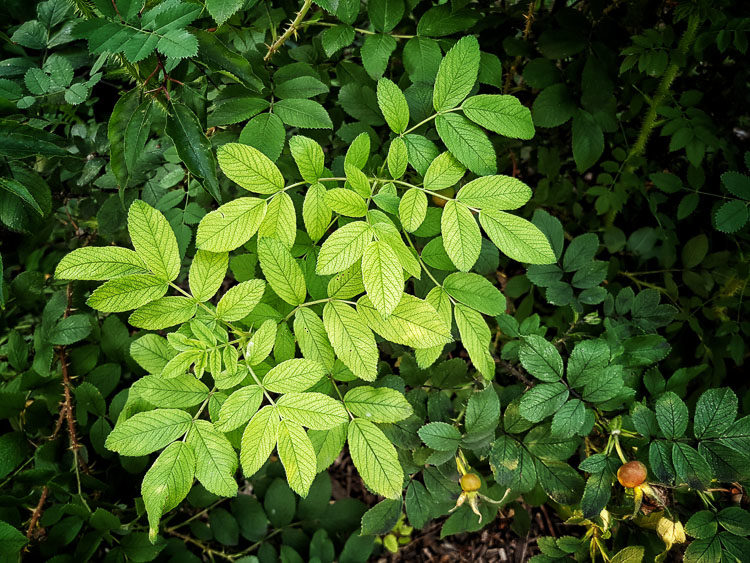
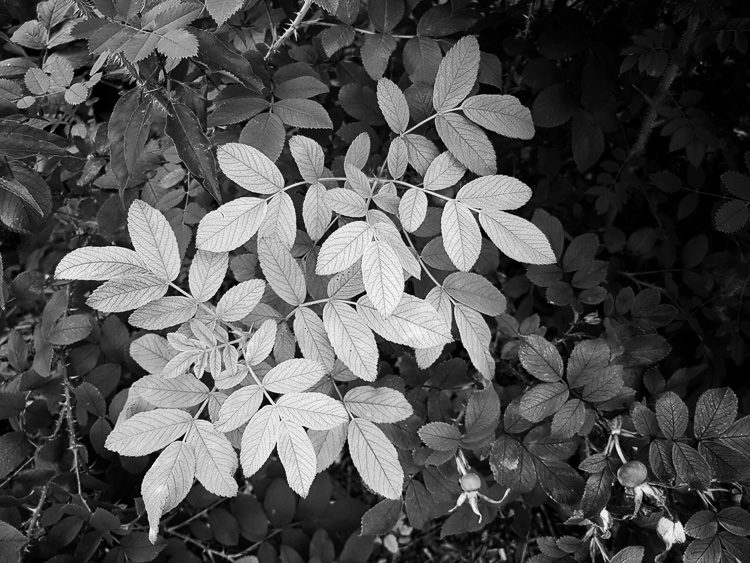
Second, look for side lighting or cross light on your subject. Light coming from the side at an angle will bring out any texture in the subject and add depth and dimension to your images. It’s one thing for the subject to have texture, it’s another for you to highlight it and make it stand out in the image. Soft flat light will make even the bumpiest, gnarliest tree bark seem 2-dimensional.
Finally, use 5 Tips for Using Shadows to Create Dramatic Imagesshadows to your advantage. Don’t try and eliminate them or shoot shadowless images, that just leaves the image looking and feeling flat. Instead, work with the shadows.
#4 – Turn off the flash
This one is closely related to the point above. Any time light comes directly from the camera angle it flattens out the features and any texture in the subject. This is what creates red-eye and that deer in the headlights look which is undesirable. Tthe same is true of your built-in flash on your regular big camera too by the way!
The size of the light source also matters, and the smaller it is the harsher and less interesting the lighting will be. So using the flash on your phone is almost never a good idea. If you need more light carry a small flashlight or ask a friend to use the light on their phone to add light to the scene – from the side!
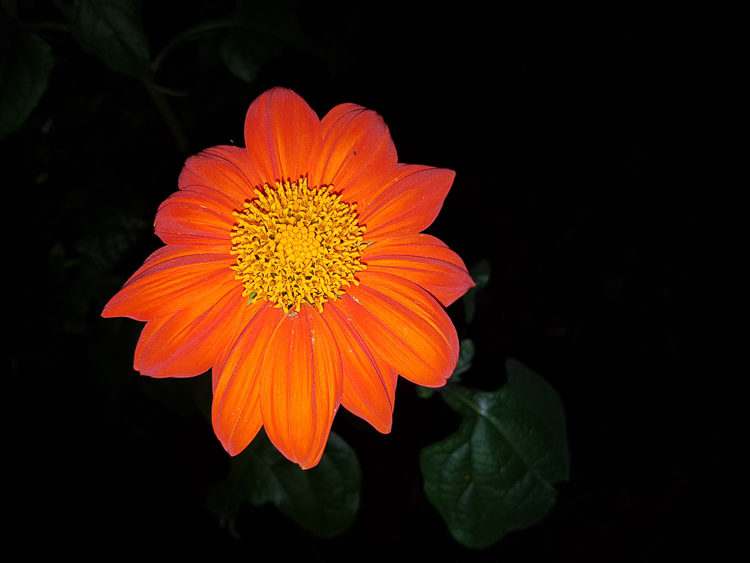
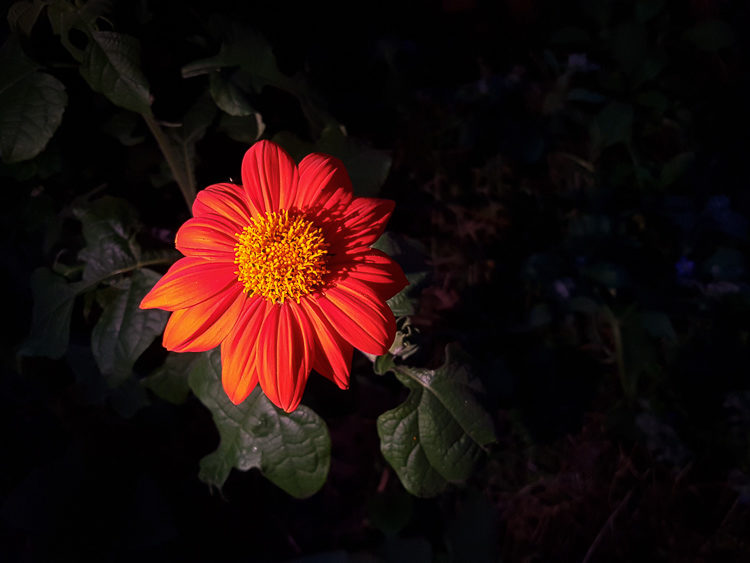
So turn off the flash and only use it when you have no other options. But you’ll have to realize and accept that the photo will probably not be a work of art though.
Here’s another example of with and without flash.
#5 – Hold the phone steady or use a tripod
One big issue with many mobile phone images is they are blurry. That is most often due to not holding it steady enough during the shot. So get a tripod or device that will help you hold the phone steady. If you don’t have one make sure you brace your elbows on something as you shoot to try and minimize any camera shake.
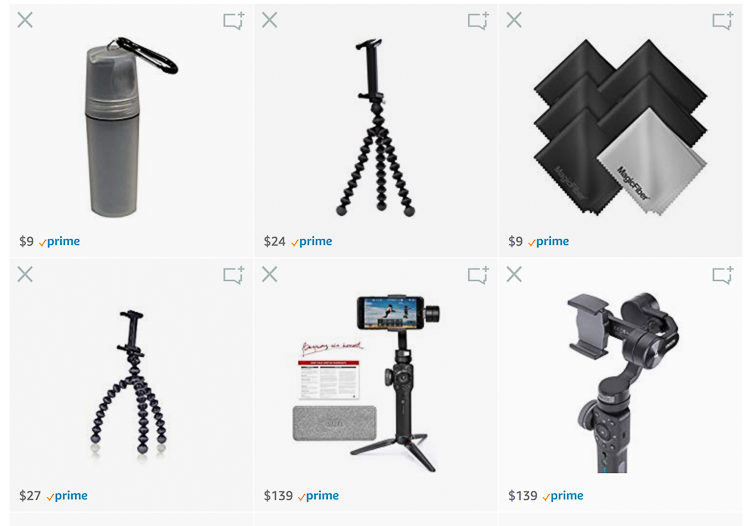
The tripod you have for your main camera will be overkill for a phone so look for one that’s smaller and made for mobile devices like a Gorillapod or Smooth Q (also good for really steady videos!). I’ve put together a list of items for mobile phone photography that you might find helpful, you can find it here.
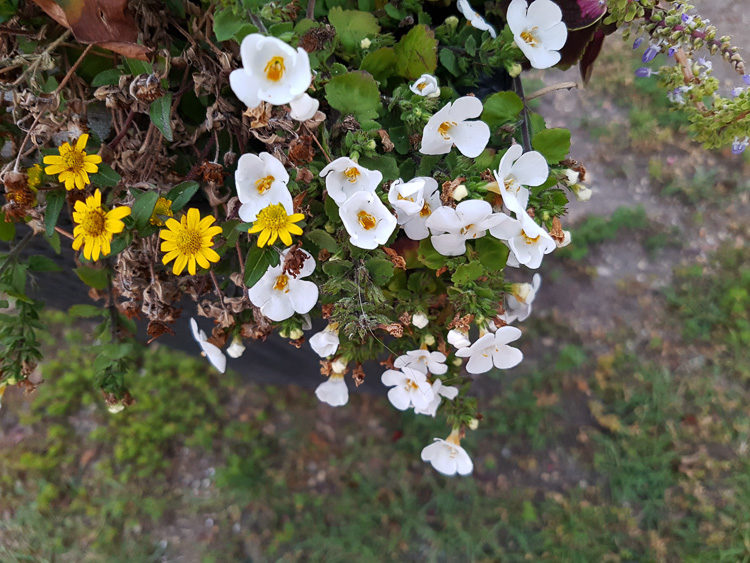
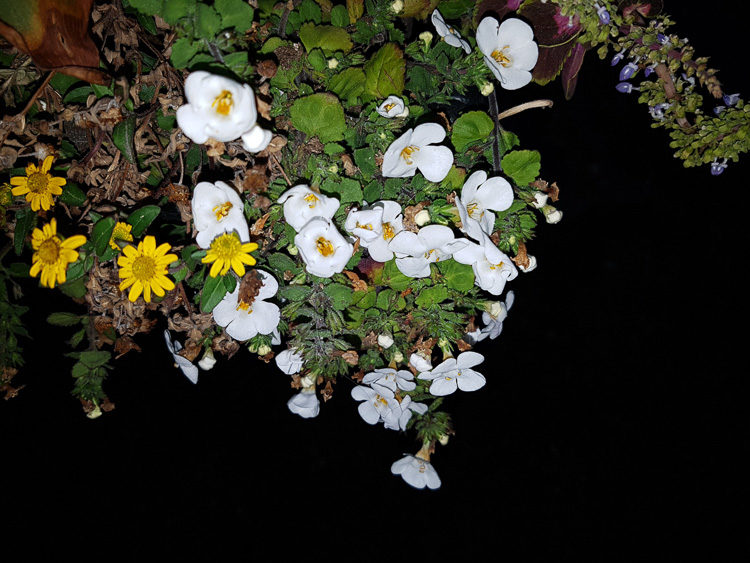
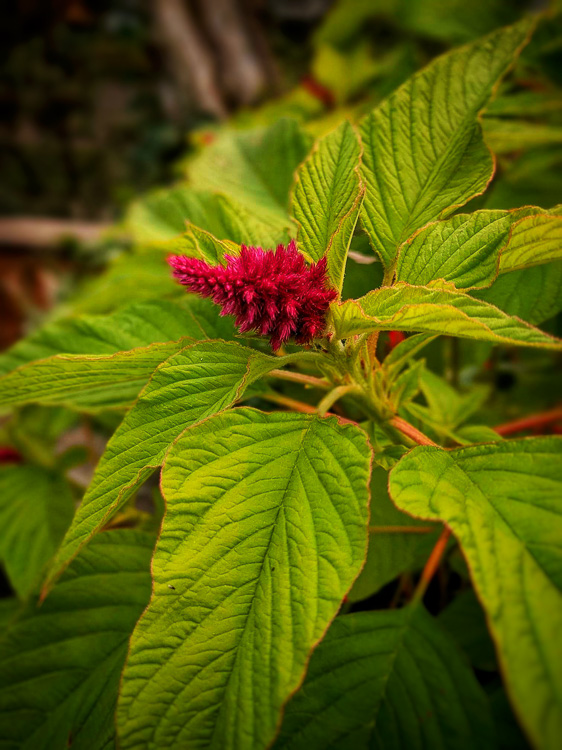
#6 – Turn off the HDR setting
Some cameras offer an HDR setting. Turn it off! Or at the very least, use it very sparingly. You do not need it about 90% of the time. If you follow tips #2 and #3 above you will be taking photos with better lighting and you shouldn’t need this, especially for shots of people. I find that results are hit and miss with it and some cameras do it better than others.
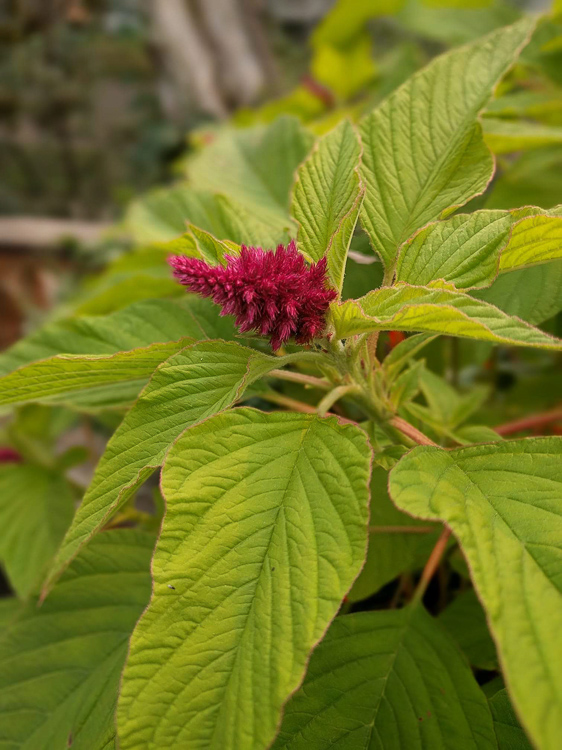
Where I would use HDR is when you’re shooting in a high contrast scenario and you want a bit more detail in the shadows and highlights. But what I suggest doing is shooting two different images; one using the HDR function and one without. Then that will give you more options later at the processing step (see tip #8 below).
OR avoid shooting in contrasty lighting. Come back later in the evening for the blue hour or shoot in the shade if those are options for you. The point here is, choose your battles. I took the images above while we were out for a walk in the afternoon. If I wanted to do a really good job of this shot I’d come back at sunset, but in this situation, using the HDR mode is appropriate.


#7 – Adjust the exposure
This tip follows #2 above. If you’re using a pro camera app it should allow you to set the exposure compensation, and darken or lighten the image as you’re shooting. Some cameras will let you do this even with the auto mode. Mine does by touching the screen and adjusting a light slider up or down.
So just like your DSLR or mirrorless camera, you take control of the exposure and look of your image this way. If you want to make a light and airy image then brighten it. But if you want dark and moody, lower the exposure. The choice is yours, not the camera’s.
#8 – Process your images
Image processing is a discussion that often comes up in regards to all photography. Is it right to process them? That is a long debate but my viewpoint is that you should IF you want to. But having said that, I highly recommend it!
If you aren’t currently processing your big camera images, why not start with your mobile photography? It’s super simple and you can’t mess anything up. Just go get my favorite photography app (Snapseed) for either Android or for iPhone.

I personally find it a lot of fun to play with my images using Snapseed. It’s a great way to pass the time if you’re traveling somewhere (when you’re not driving!) or even while standing in line at the grocery store. Get creative and try all the filters out to see what they do. Playing around like this is a great way to find your own style too and see what you like and dislike in terms of the look for your images.
With my Fuji cameras I can even download a JPG of any image I want and pull it into Snapseed, so it also allows me to edit and post some of my regular camera images to social media right away. I often do that when I’m on the road. If your camera has wifi and an app, you probably can do this too!
#9 – Clean the lens
I can’t count how many times I’ve told friends, family, and total strangers to clean the lens on the phone. This is a handheld device, your fingers and fingerprints will be all over it. It’s exposed to daily grit and grime and possibly even spills or being set down in a puddle of coffee on the table.
Having a dirty lens will degrade your image significantly and cause it to be blurry. It can even cause a lens flare or make the whole photo look foggy. Do this test to check your camera.
Take an image with a bright light in the shot, like the sun, a street light or a lamp in your house. If the image looks blurry and hazy – then you need to clean the lens! Use a microfiber cloth as you would for your regular lenses and take care not to scratch it. Remember to do the same for the front-facing camera as well so your selfies are tack sharp!
#10 – Use the rule of thirds and good composition
Just because you’re shooting with a phone doesn’t mean all the rules of composition go out the window. They apply here as well and having a strong composition will go a long way to elevating your mobile phone photography.
Read these articles for more composition ideas and tips:
#11 – Watch the background
This tip ties in with the last one as it is part of the composition as well. When you’re taking a photo don’t forget to look at the background. I find with cell phones it’s too easy to shoot too fast and not put enough thought into the image before pressing the button.
So slow down, take your time, take a shot and review the image. Pay special attention to the background. Is there anything distracting in it that you could eliminate by getting closer or adjusting your camera angle?
Look at the edges of the frame and do the same thing. Is there anything sticking out or poking into the frame that doesn’t need to be there? If so, then get rid of it! Move closer or reposition yourself and take another shot.
#12 – Focus
Lastly, select the focal point yourself. Depending on your phone and model, you may have the option of touching the screen where you want the camera to focus. If you do have that feature, use it! Don’t let the camera choose where to focus because it may get it wrong.
If manual focus is an option (it is in my Pro Camera app) you can try that as well. But it’s tricky to tell when anything is in focus. I personally don’t use it for phone photography. I just tap onscreen where I want it to be sharp.

Conclusion
Whew, I did say these were quick tips right? I can’t help myself, I get into explaining and get wordy. Bottom line, I hope you find these tips useful and get out there and try them out.
So go grab Snapseed and install it on your phone now. If there are any other photo editing apps that look neat, give them a try as well. Tell us about them in the comments if you find any good ones, and share your images too!
Doing mobile phone photography is a great way to play around and experiment. Test out different lighting scenarios, try various filters and processing looks and see what fits for you. Remember, photography is a journey, not a destination. Whether you get there by DSLR, mirrorless camera or smartphone enjoy the trip!
Cheers,