With warmer weather on the horizon (for those of us in the Northern Hemisphere at least), it’s a great time to start thinking about how to photograph the ocean. The ocean is my personal favorite landscape subject, but anyone who has taken their camera along to the beach knows that capturing the sea can be trickier that it might appear. Today we are going to look at 15 tips for photographing the ocean so that you can come home from your next beach adventure with amazing photographs.
Protecting Your Gear at the Ocean
Before you even get started taking seascape pictures, it’s essential to think about how you are going to protect your camera. Sand, salt water, and wind are a brutal combination and can easily damage your valuable gear. Planning ahead can go a long way towards protecting your camera. Use weather sealed gear whenever you are able to, or use a rain cover to protect against mist and water. Make sure your camera bag is waterproof and keep it zipped when you aren’t actively retrieving things from it.
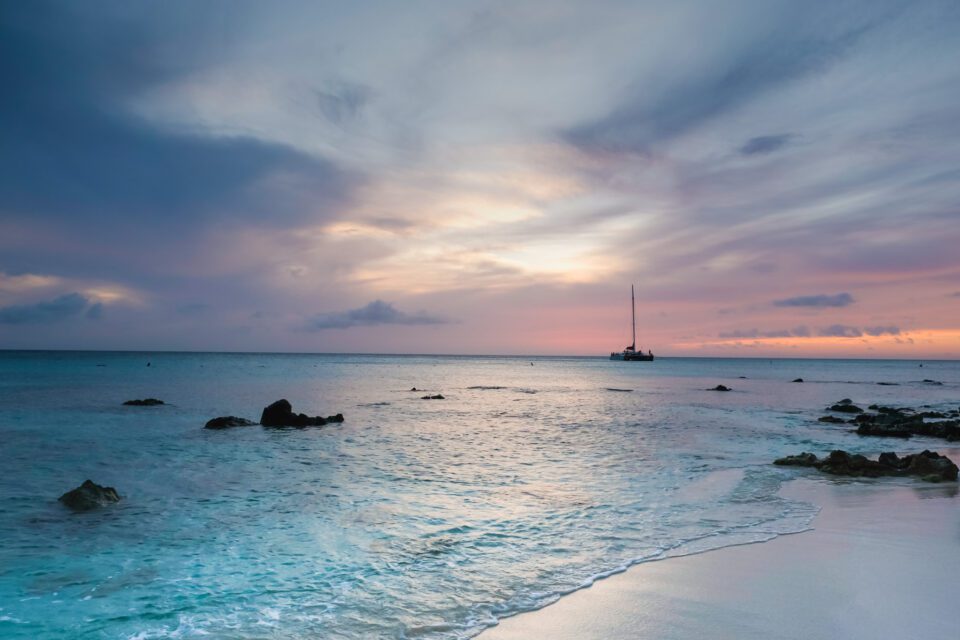
1. Keep your camera dry
The ocean is never predictable. Even when you think you are far enough away from the water to stay dry, a rogue wave can come along and drench you and your camera, so plan ahead. I was photographing along the coast of Big Sur one morning, and after spending about 45 minutes in the same (dry!) spot photographing the sunrise, a random wave came out of nowhere and drenched both me and my camera from head to toe! Fortunately, everything was weather sealed, so the damage was limited to my having to wear wet clothes to breakfast that morning, but it could have easily been worse.
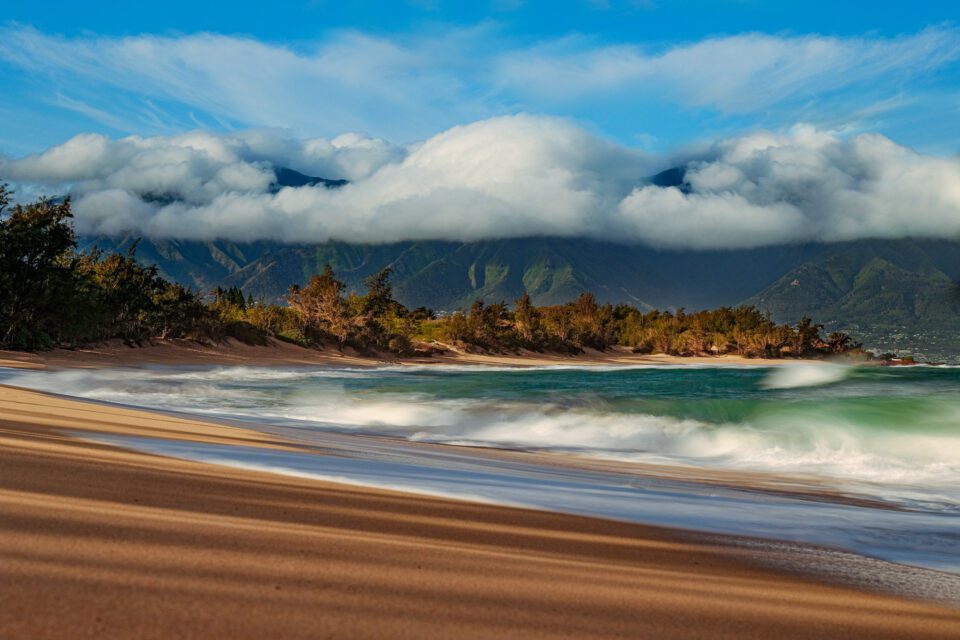
2. Protect your camera from sand
If water isn’t enough of a danger, photographing near the ocean often introduces sand as well. Sand can easily do as much or more damage than water. Even just a grain or two of sand can damage your camera sensor or shutter mechanism. Plan ahead and consider using a zoom lens (preferably internal zoom) to cover your desired focal lengths without changing lenses. If you do need to change lenses, make sure to dust all the sand off of the outside of your gear before taking off the lens, and changes lenses only in a sheltered spot.
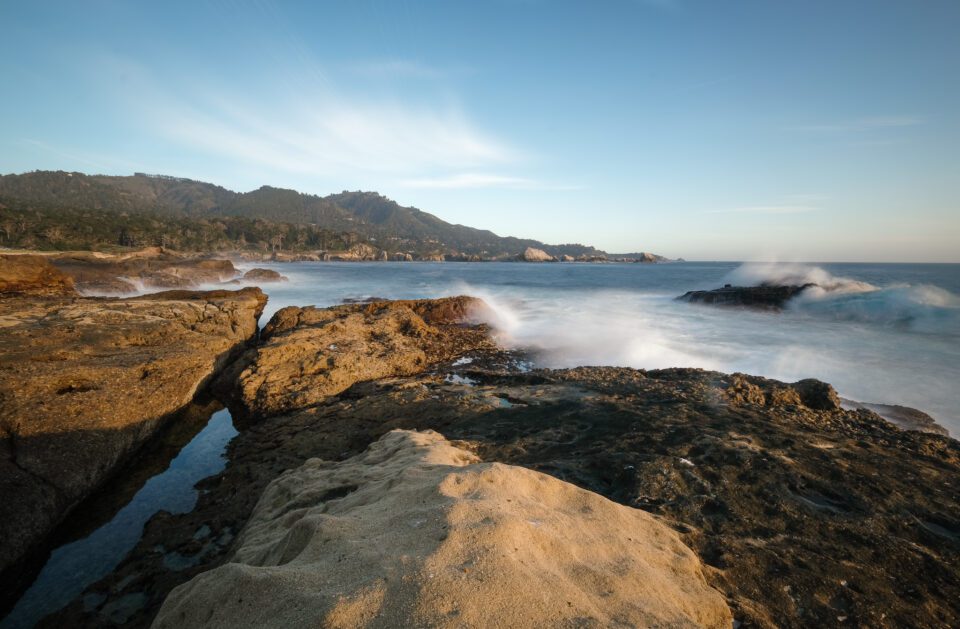
3. Clean everything at the end of the day
After a day of photographing at the beach, it is essential to remove all the sand from your gear. You can use a clean rag and a rocket blower to remove sand before taking the lens off a camera. Make sure there is no sand in your camera bag, and if your tripod has been sitting in the sand and salt water, you’ll want to take it apart, rinse it with fresh water, and let it dry.
Lighting Tips for Ocean Photography
For most of the Americas, the sun rises over the Atlantic ocean and sets over the Pacific. There are exceptions to this, though: the Gulf coast of Florida, for example, as well as islands that allow you to photograph from different directions. And while most people think of ocean photography in terms of east and west, there are locations, most commonly found on islands, that give you a fantastic view of the water while facing to the north or south. No matter which direction you are facing, there are good images to be had, as long as you know how to mange the light that is in front of your lens. The following tips should help.
4. Photograph early and late
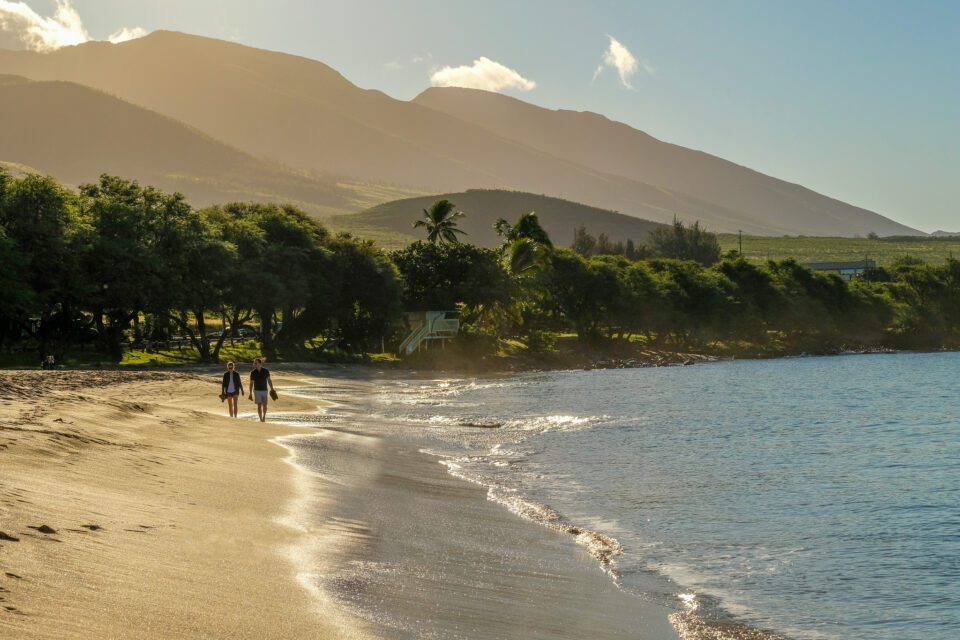
Regardless of which ocean you are photographing and which direction you are facing, one thing you’ll find in common is very harsh light during mid-day. In most places, sandy beaches or rocky coasts aren’t known for providing any sort of shelter from the harsh overhead sun. When the sun is directly above, it bounces off the water, leaving specular highlights, hard shadows and conditions that are just not good for photographing. There are a few exceptions, but for the most part, ocean photography is best done for the hour or two surrounding sunrise in the morning and the hour or two surrounding sunset in the evening. While sunrise in the east and sunset over west facing water gives you the traditional sun fading over the horizon image, don’t neglect to photograph while the sun is at your back as well. And the good news for those of us trying to capture some ocean photographs while on vacation, is that you can easily slip out for photographs twice a day and spend the best lounging hours on the beach without worrying about the images you are missing!
5. Wait for bad weather
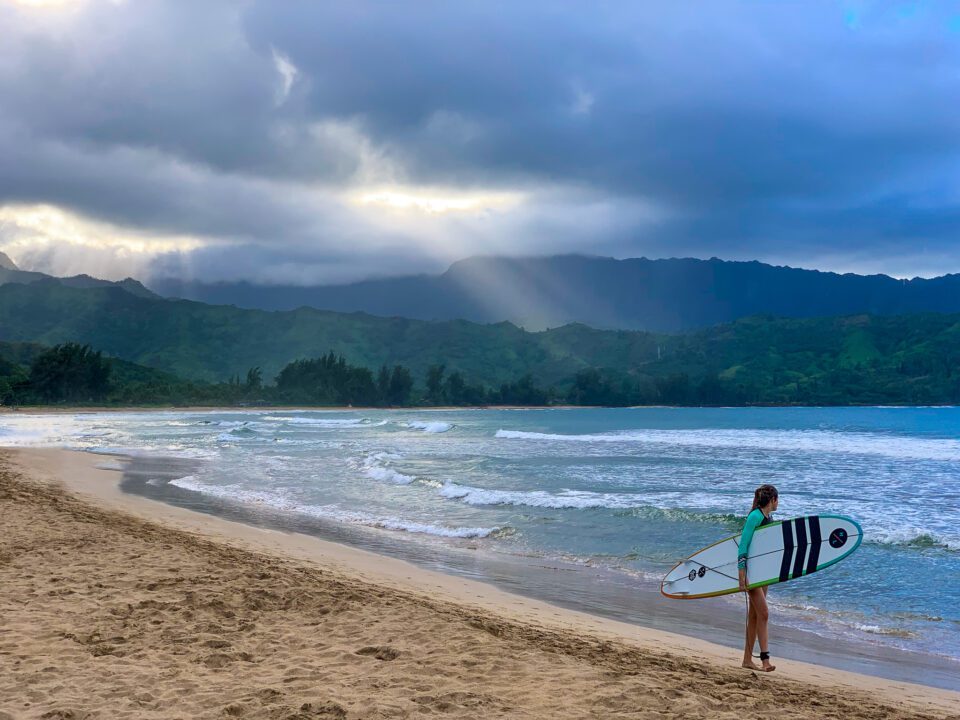
While most people go to the beach hoping for bright, sunny, cloudless skies, the occasional rain shower or storm can make for great lighting conditions for photographs. Instead of packing up your camera gear at the first signs of bad weather, have your camera ready, because the light immediately following a storm can be some of the best. This is also one of the few times that photographing the ocean mid-day still works. The clouds from the storm soften the light, and you often get sun rays and even rainbows as the light starts to emerge from the clouds following a storm. You can also photograph the growing clouds as a storm starts to roll in across the ocean, but for safety reasons, it should go without saying that you want to be off the beach during the storm itself.
6. Be careful not to underexpose
Most of us rely on our camera’s meter to get well exposed images, but the camera meter isn’t quite as smart as many of us assume it to be. The meter inside your camera has no idea what exposure you want, and it usually aims for a “medium” exposure even in advanced metering modes like matrix or evaluative. But most ocean scenes, especially those with white sand and bright blue water, are quite a bit brighter than that middle gray, so your camera is likely going to underexpose your scene. We run into the same problem when photographing snow. Generally speaking, you will want to expose your scene to be about a stop brighter than the camera meter thinks it should be, but be sure to check your exposure with your histogram, too. Despite the risk of underexposure, all those specular highlights can also make it easy to capture an exposure that is too bright, blowing out the white tips of the waves in your images (i.e., making them so bright that there is no detail). Take care not to go too far in either direction.
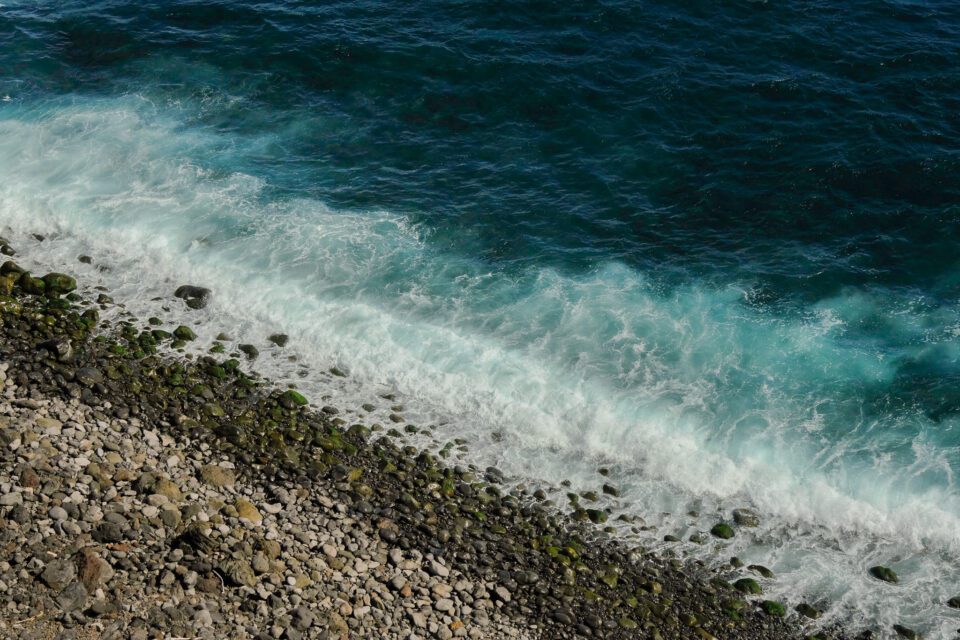
7. Consider excluding the sun from your frame
Whenever the sun is in your photograph – a common sight in seascape photography at sunrise and sunset – you often experience extreme dynamic range. Dynamic range is the difference in brightness between the darkest and lightest portions of your image. If the dynamic range is wider than your camera can handle, you won’t be able to capture adequate details in both the highlights and the shadows of the image.
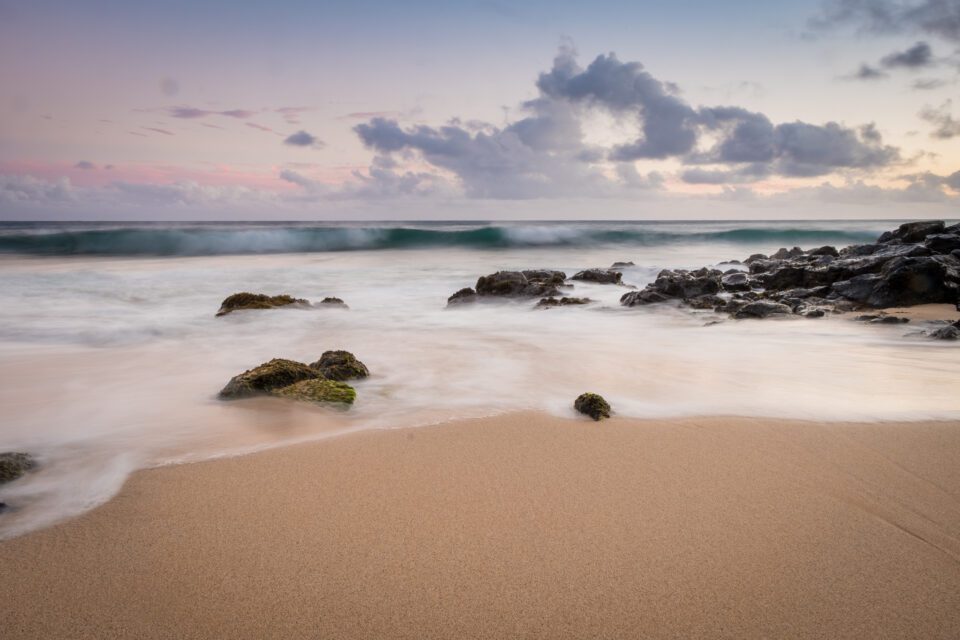
The sun is so bright that including it in your frame is a surefire way to run into an issues with dynamic range. Photographing with your back to the sun (or with the sun to the side if you are fortunate enough to be on a north or south facing beach) can make for easier exposures and softer light. But if you are going for the classic orange-pink sunset or sunrise sky, you can try shifting your frame to not actually include the sun. Sometimes shifting just a little to the left or to the right and excluding the actual sun is enough to fix the problem while still leaving all of the fabulous colors in the sky you are looking for. The same is true of shooting just before sunrise or just after sunset.
8. Photograph in RAW
With the strong light and large dynamic range common to ocean photography, it is especially important that you photograph in RAW format. RAW captures much more information than a JPEG file and will give you the ability to recover shadow or highlight detail that would be lost in a JPEG image. While it’s important to try to get your exposure as correct as possible in camera and minimize the recovery you’ll need later, photographing in RAW can give you the extra dynamic range you need to get a properly exposed final image.
9. Create silhouettes
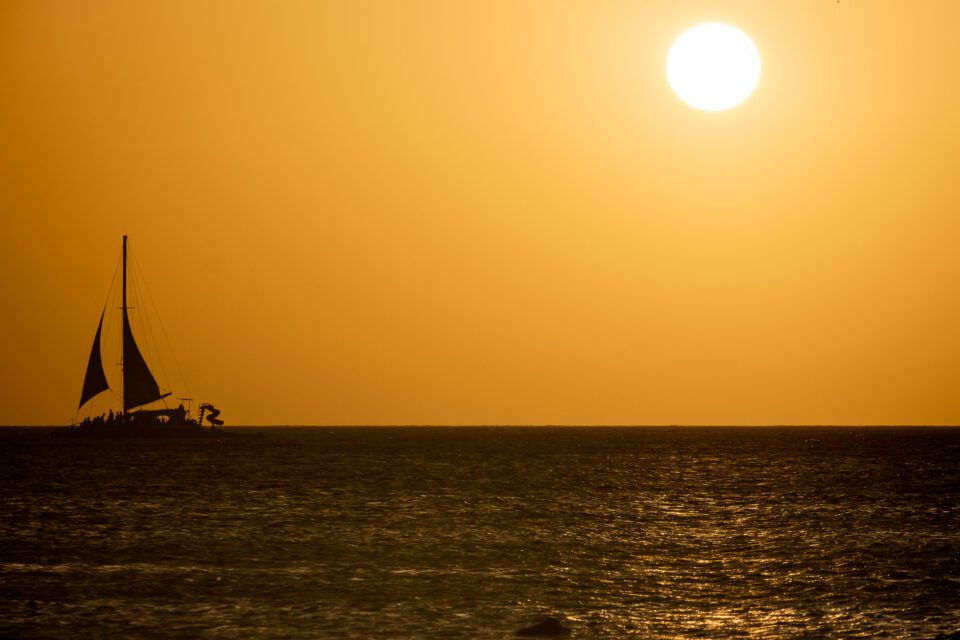
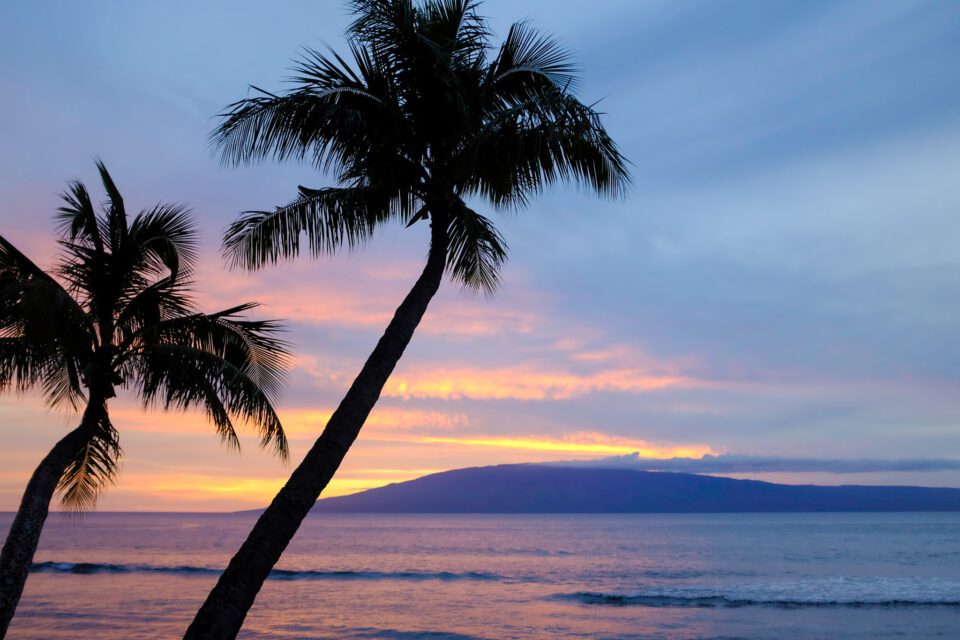
Another way of dealing with the large dynamic range of sunset/sunrise images is to expose so that the sky and water are properly exposed and allow your foreground and other elements to simply go dark, creating silhouettes. This works best with simple scenes and shapes that are easily recognizable like sailboats, palm trees, and even people. To create silhouettes, make sure that your sky is properly exposed. You can use your camera’s spot metering mode to tell the camera to meter for the sky, or you can simply meter for the entire scene and underexpose by a stop or two, until the sky is properly exposed and the shadowed elements are a nice, deep black.
Choosing a Shutter Speed for Seascapes
When it comes to photographing the ocean, few camera settings will have a larger impact on your image than your choice of shutter speed. Photographing at long shutter speeds allows you to get some amazing motion on the water, turning receding water into streaks or rendering waves as a hazy mist over the ocean’s surface. But don’t ignore the possibility of using faster exposures, either. Especially when photographing waves or water crashing along the shoreline, the splash effect that is created using fast shutter speeds can lead to really interesting images.
10. Use a slow shutter speed…
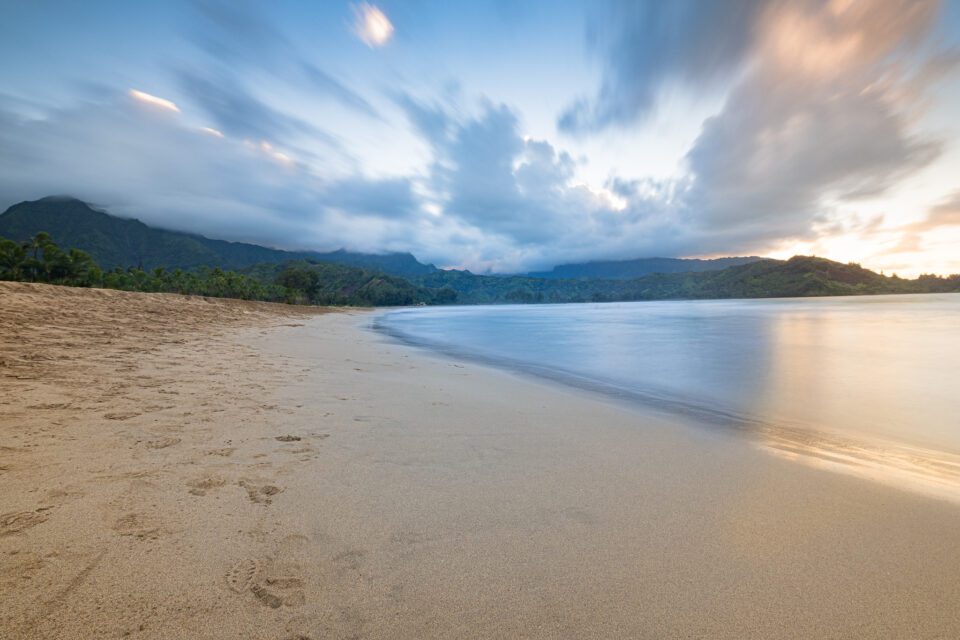
The ocean can be really interesting when photographed at slow shutter speeds, creating a blurred effect in the water. The precise look of your image depends not just on your shutter speed, but also the amount of water moving along the shore. For example, small waves along an inlet are very different than the massive waves of Maui’s north coast or the water crashing along the shore at Big Sur. With the right settings, you can aim for anything from a gentle blurring effect to completely smoothing the water into a misty fog. You will also get very different effects making your long exposure when the water is coming towards you versus when it is receding, so make sure to experiment with both your shutter length and your timing.
As with any long exposure photography, a good, solid tripod is essential for long exposure photography. Also, as a result of the sun reflecting off of the water and the sand, the ocean tends to be very brightly lit throughout the day. Even around sunrise and sunset, you will likely need a Neutral Density filter if you want to use shutter speeds of multiple seconds or multiple minutes long. A Neutral Density (ND) filter is essentially just a darkening filter; it cuts down on the amount of light entering your camera, which allows you to use a longer shutter speed while still getting a correct exposure.
11. Or try a fast shutter speed
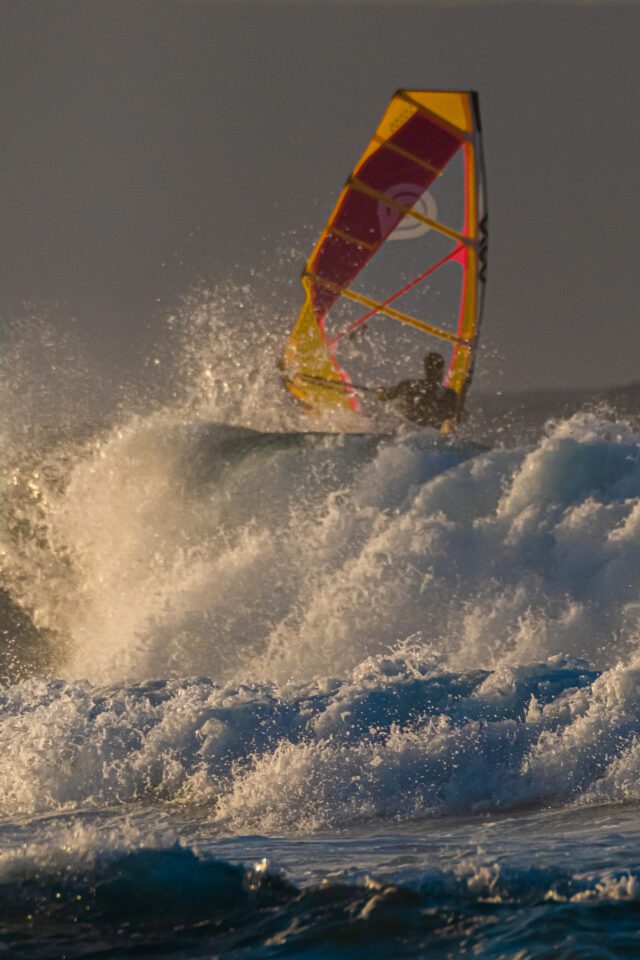
While water is often photographed at slow shutter speeds for seascape photography, it’s also worth experimenting with faster shutter speeds as well. Waves crashing along a rocky shore can be photographed with a fast shutter speed to “freeze” the action and capture the splash. Don’t overlook the opportunity to photograph water sports as well. A fast shutter speed will freeze the action of the athlete and the power of the waves which can make for some very dynamic images.
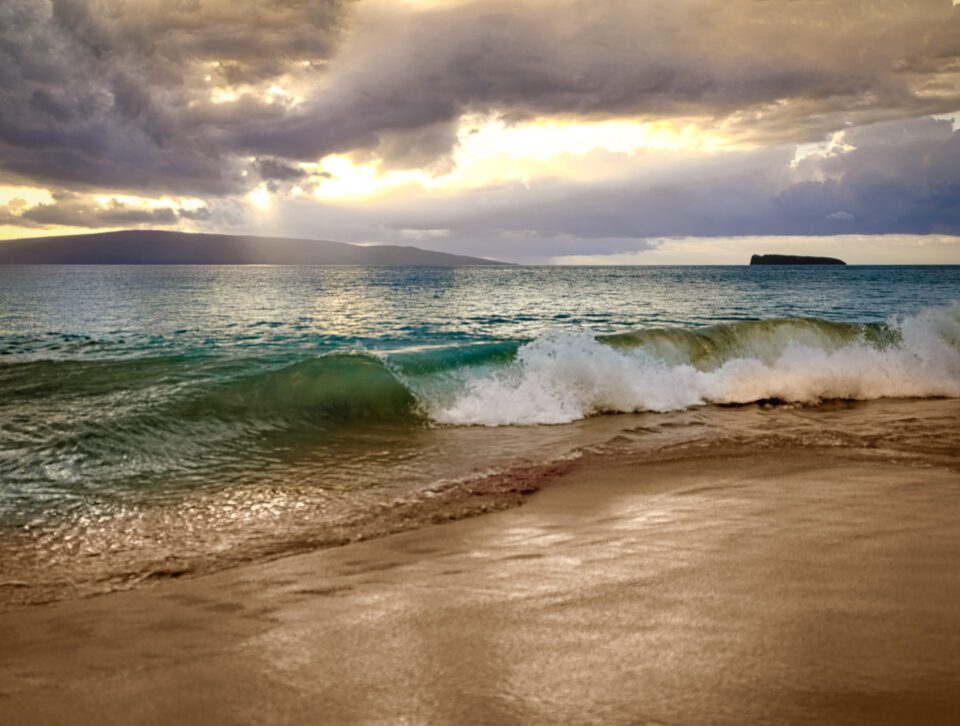
When photographing the waves themselves, consider photographing from the side and using a faster shutter speed to capture the curl of the water as it crests. At first glance, one might assume that to photograph waves from the side, you need to be out in the water, but that’s not always the case. If you look around, you’ll often find rocky outcroppings, jetties, or even the angle of the land itself that can allow you to capture the side of a wave, especially with a longer lens.
Composing ocean images
While metering and getting the light right can be tricky, it’s often composing ocean images that photographers find most difficult. For starters, you almost always have the horizon to deal with, and it’s often a straight line across the frame. Then, depending on the shoreline, you may not have much to use as a foreground, and you are left trying to fit a powerful, dynamic scene that literally stretches as far as you can see, into a single frame. The following tips should make things a bit easier.
12. Pay close attention to the horizon
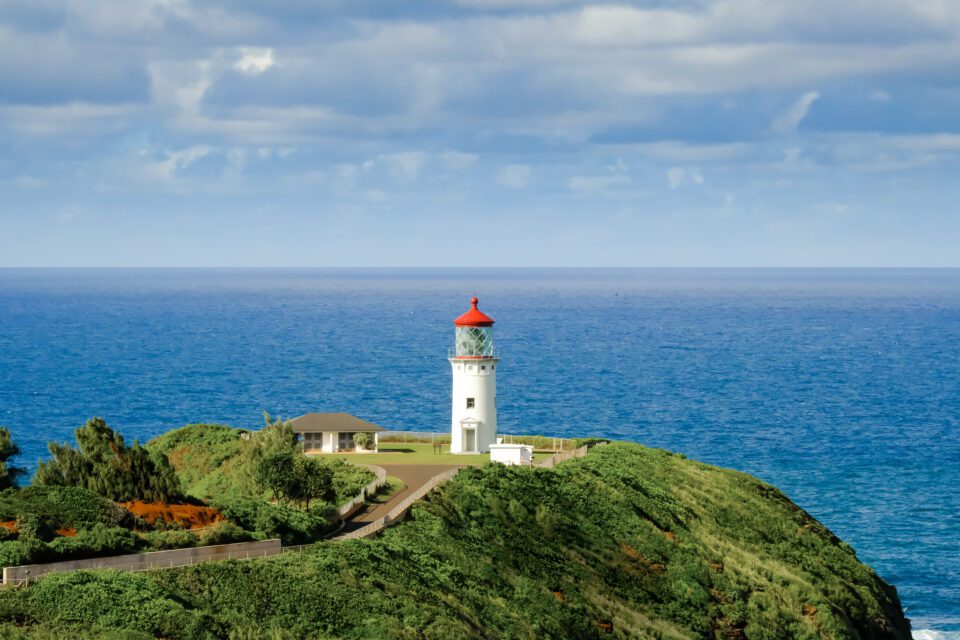
Most of the time, the first decision you have to make when composing your ocean scene is where to place the horizon. Newer photographers often place their horizon right across the center, while those familiar with the rule of thirds are often torn between placing it across the lower or upper third. But these are not the only options, and it’s also possible to take good seascape photos where the horizon is near the very top or bottom of the frame – or somewhere between the center and thirds marks – if it works best for the image at hand.
The easiest way to decide where to put the horizon is to consider what your image is about. Are you photographing the ocean or the sky? Either is a legitimate choice, but whichever your photograph is about should make up the larger portion of your image. Most of the time, if the horizon is directly across the center, then your sky and water will compete for the viewers’ attention – sometimes leading to a photo with less direction. Simply asking yourself what is more important in this scene – sky or water – will give you a much clearer idea of where to place the horizon. It’s also worth mentioning that it is essential to get the horizon level (or at least perceptually level) in the frame. A tilted horizon will make your image appear “wrong” even if the rest of the image is great.
13. Include foreground elements
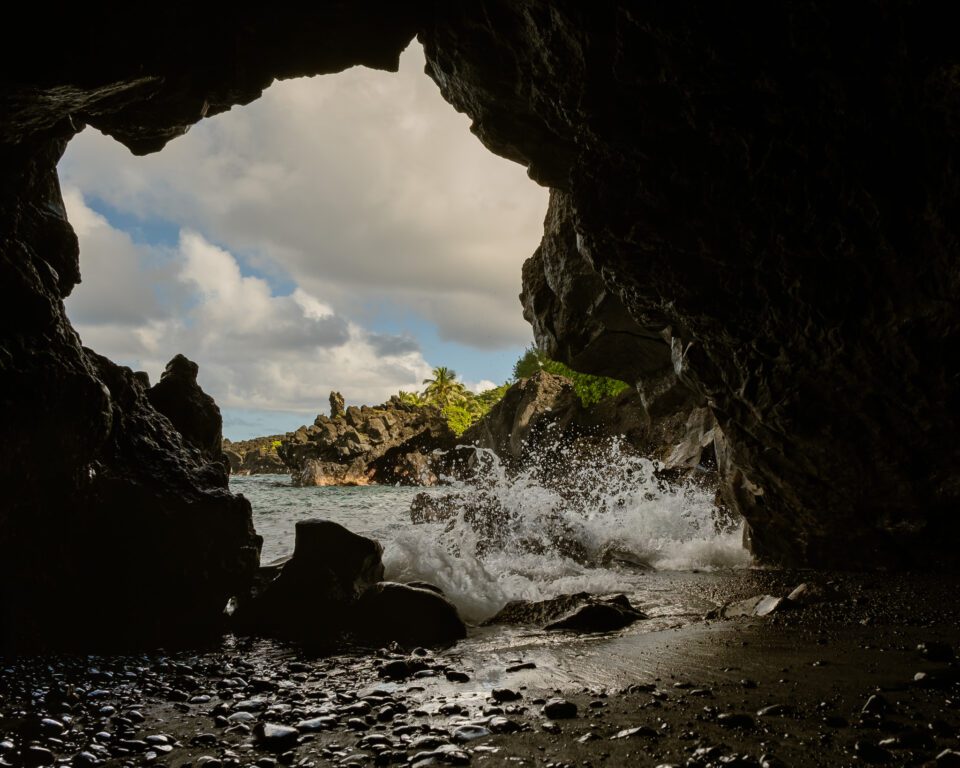
As with other forms of landscape photography, a strong foreground can do wonders for your seascape images, drawing the viewer into the scene and giving your image more interest. When you think about walking up to the ocean and photographing it head-on at standard eye height, you can probably see how the resulting image could lack depth and direction. Instead, consider getting low and letting sand patterns, shells, or rocks dominate the foreground. Foliage, sand dunes, and palm trees are options as well. You can get low and close and let the waves serve as foreground to the larger ocean and sky beyond. Get creative, and try to think of your image in terms of foreground, middle ground, and background. If you do, you often will end up with much stronger compositions.
14. Photograph up the coastline
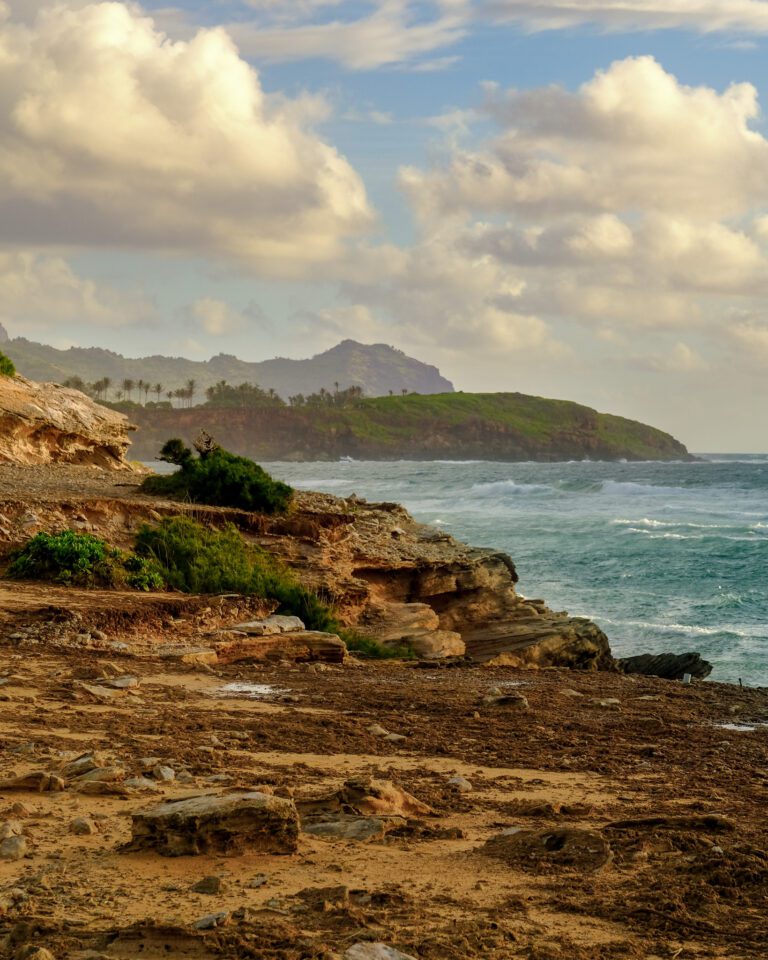
One of the simplest ways to add depth to your composition is to position yourself so that you are shooting along the coastline instead of straight toward the ocean. Turning your camera 90 degrees adds instant depth to your image and can open up a lot of new compositional possibilities. Although it’s true that, in busy beach areas, photographing along the coast can introduce a lot of “people clutter” into your image, this still works well very early in the morning, before most beachgoers are out yet. And for non-commercial beach areas, rocky coasts, or more secluded areas, it’s even easier.
15. Capture the details
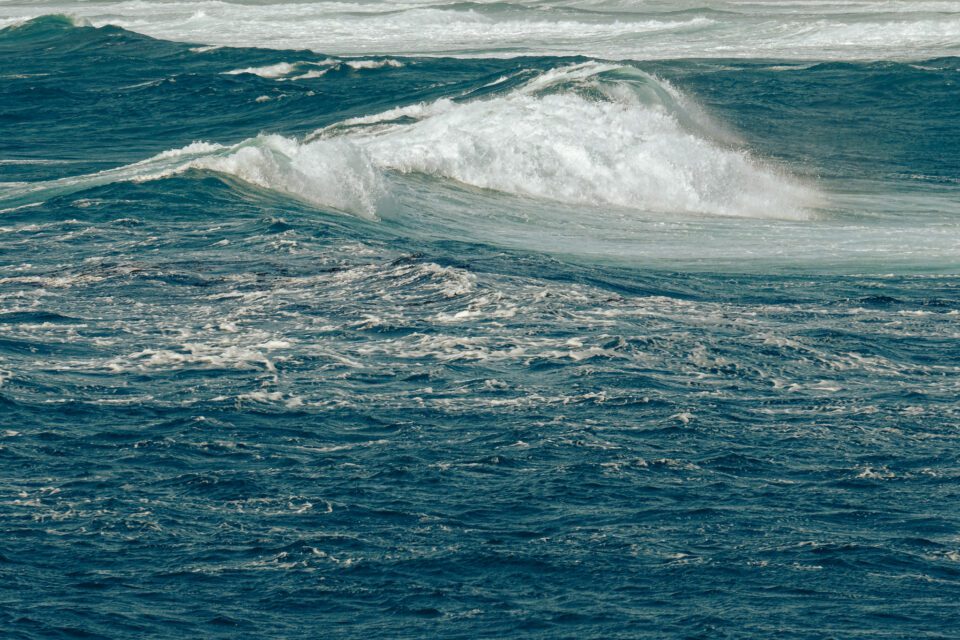
The ocean is immense, and as such, most people immediately gravitate towards photographing it with a wide angle lens. But focusing on the details can make for some interesting images as well. Because you will never capture the entirety of the ocean in one frame, instead of trying to capture as much as possible, consider seeing just how much you can crop and still tell your story. Sometimes a closeup of a wave, the water lapping against the sand, or a macro shot of shells and rocks tells the viewer more about what you are experiencing than a wider scene ever could.
Conclusion
Standing at the ocean is a sensory experience in the best of ways. The fresh sea air, hot sun, rough sand, loud waves, and warm breeze all combine into an experience that is very difficult to capture in a two dimensional image. But photographing the ocean is immensely satisfying, and once you know how to handle the extreme conditions (both physical conditions and lighting conditions), and you start looking at how to build a stronger composition, you will be sure to come home with some great ocean images. Feel free to share your own best ocean photography tips and your favorite seascape photography locations in the comments!