The 2 Lil’ Owls – On Cloud Nine – is a beautiful collection for anyone working in Lightroom/ACR! This set is very versatile with a stunning range that will transform your images into the photos you always wanted to create. This set is perfect for you if you enjoy doing anything from portraits and weddings in natural light to fine art photography. These presets are 100% adjustable! *Due to the nature of this product, there are no returns/refunds available on digital downloads. Once you make your purchase – your download are immediately available under your Account tab.
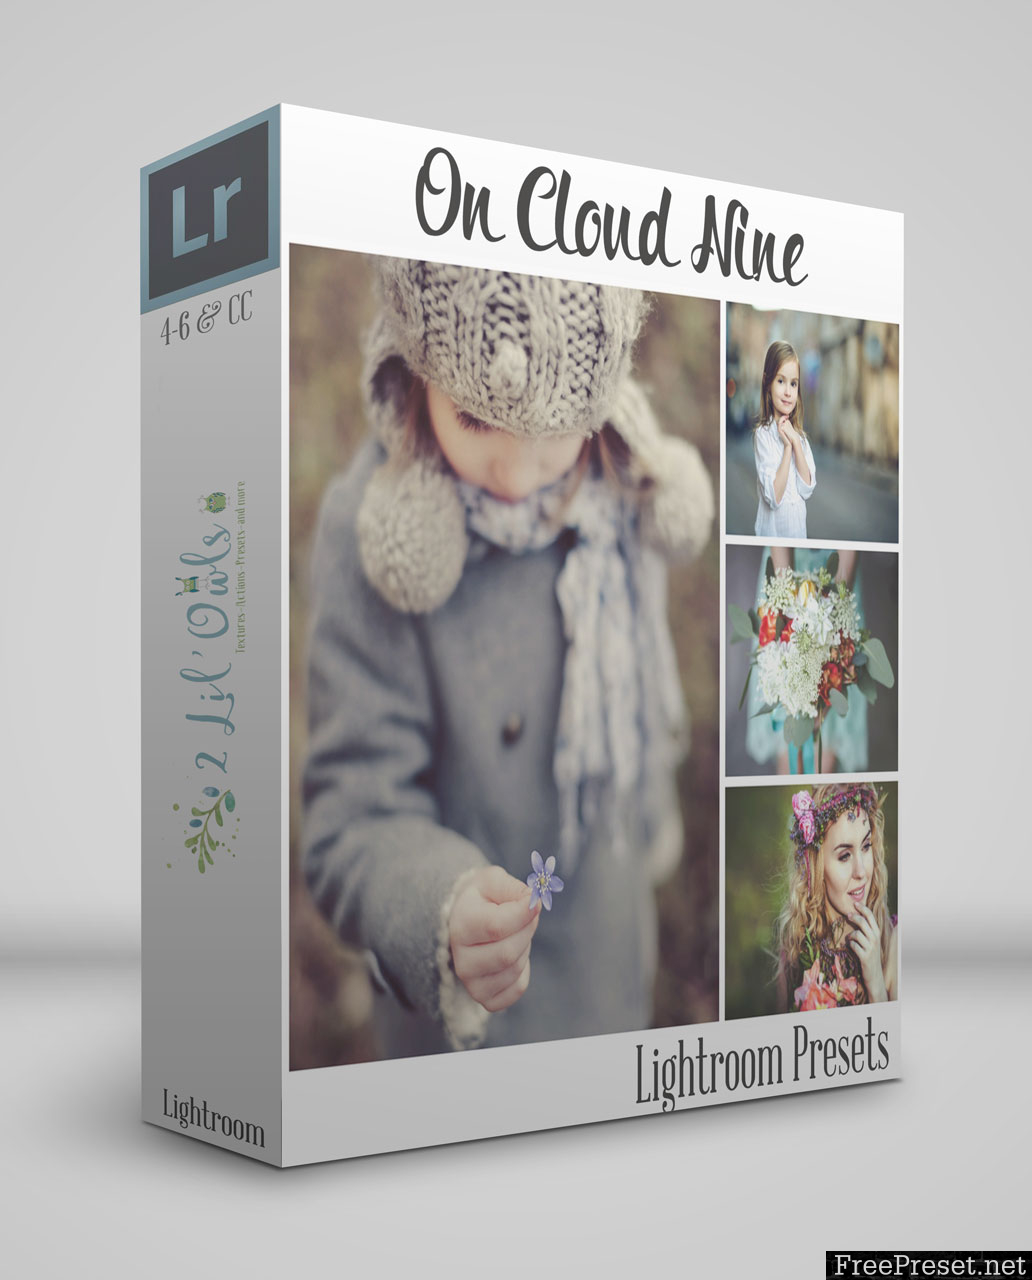



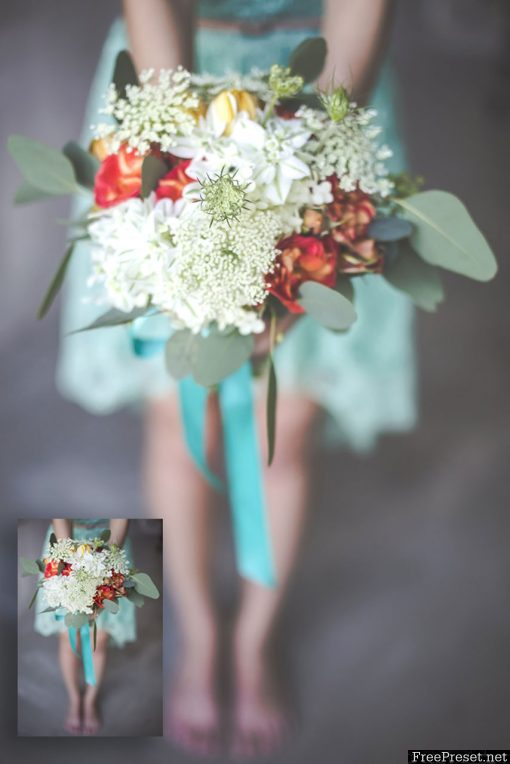


 These preset collections are super versatile. They do not make any adjustments to the exposure of your photo – so you can set your exposure line and then apply your presets without resetting your exposure. Most collections also do not reset your white balance unless it is an artistic enhancement needed for Preset. (If you are working in an older version of Photoshop – skip down to the 4th video on using the ACR presets prior to 2018)
How to install your Lightroom Presets:
Mac:
1- Once you download your product you will have a zip file. In the zip file, you will find the .lrtemplate extension files.
2- Open Lightroom
3- Choose Lightroom and then choose Preferences
4- You will have a window open and you will see several tabs at the top. You want to select the preset tab.
5- Click on “show Lightroom presets folder” button
6- You will have a new window pop up. Select the “Develop Presets” folder and copy the .lrtemplate files you downloaded into this folder. It is recommended you copy the presets rather than move them from their original file.
7- Restart Lightroom and you are set. You can now find your new presets in the preset section in Lightroom.
Windows:
1- Once you download your product you will have a zip file. In the zip file you will find the .lrtemplate extension files.
2- Open Lightroom
3- Choose Edit and then choose Preferences
4- You will have a window open and you will see several tabs at the top. You want to select the preset tab.
5- Click on “show Lightroom presets folder” button
6- You will have a new window pop up. Select the “Develop presets” folder and copy the .lrtemplate files you downloaded into this folder. It is recommended you copy the presets rather then move them from their original file.
7- Restart Lightroom and you are set. You can now find your new presets in the preset section in Lightroom.
Note: These instructions are posted here as a courtesy to you. Adobe is coming out with new versions of its products all the time. The version you have may vary slightly from the versions these instructions were created from. If that is the case – simply follow the instructions from Adobe to install the presets
How to install the Adobe Camera Raw Presets:
1- Once you download your product you will have a zip file. In the zip file, you will find the .xmp extension files.
2 – Locate your Adobe folder on your hard drive
On Mac, this folder is: ~/Library/Application Support/Adobe/
On Windows: C:\ProgramData\Adobe\
3 – Locate the Camera Raw folder in your Adobe folder
4 – Locate the “Settings” folder inside the Camera Raw folder
5 – Paste the presets in this folder
**If you are working on a Windows machine and cannot find the files listed – you will need to google how to unhide the files on your machine for whichever version of Windows you are working on. For some reason, Windows hides half your files from you!
Password Unzip : Freepreset.net
The file is compressed using Zip or Rar format...please use Winrar to extract this file
If you found the link was error , please comment !!!
Is this the right file?