Textures are valuable design resources that can be used as backgrounds to your work or pasted in as overlays to add distressed tones. Anyone with a camera can collect texture resources, with even the latest smart phone cameras being more than capable of capturing high resolution details. It takes more than just a click of the shutter button to capture a great texture though, the most usable textures are the result of some Photoshop editing. In today’s post I share 3 important tips that will help transform your standard images into better textures resources.
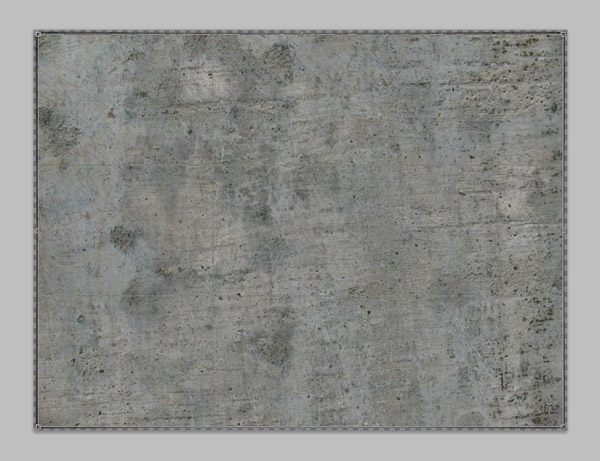
One common problem with camera sourced textures is the variation in tone across the image. This issue causes some serious restrictions on how the texture can be used. Any time you overlay the texture onto your work the difference in tone will also be applied to your design, and it totally rules out its use for any kind of 3D modelling.
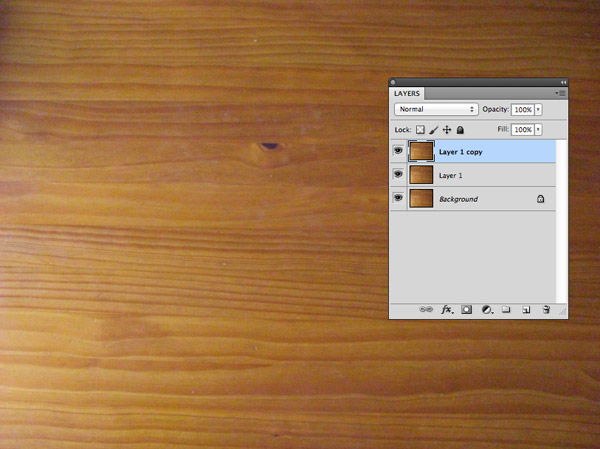
Open up your texture image in Photoshop and duplicate the background layer twice using the CMD+J shortcut.
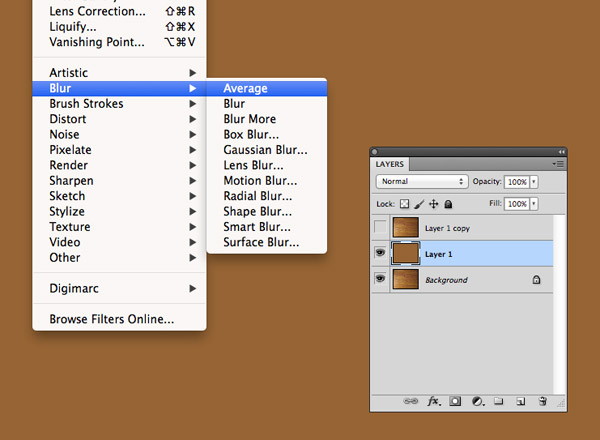
Select the first duplicate (the middle layer) and go to Filter > Blur > Average.
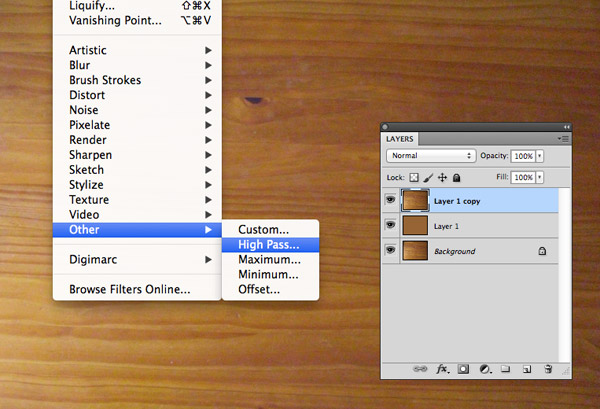
Click on the second duplicate (the top layer) then go to Filter > Other > High Pass. Max out the slider to the full 250px.
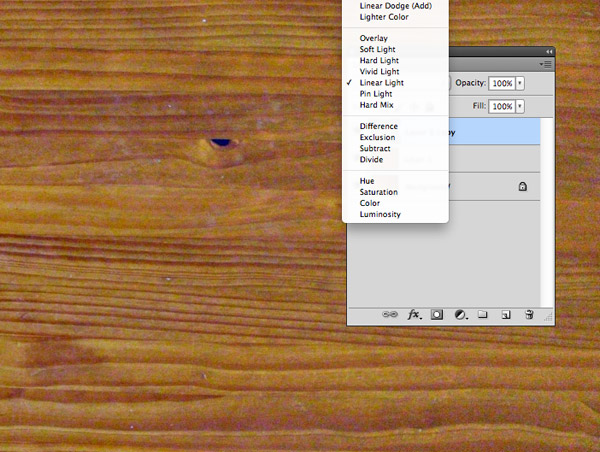
Change the blending mode of the High Pass layer to Linear Light to allow the tones to interact with the blurred layer.
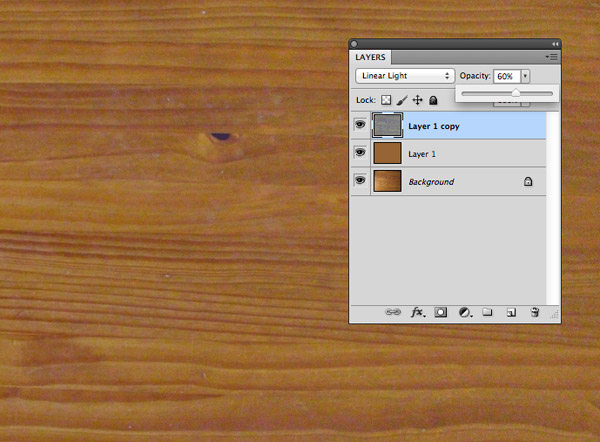
The result will likely be way too high in contrast, so reduce the opacity of the layer until the texture matches the tones of the original.
These simple steps totally flatten out your texture file which opens it up to so many more uses. Depending on the nature of the texture, it might need some Levels or Saturation adjustments to bring back some of the contrast that has been lost.
Unless you’re working with expensive camera equipment where you can select the perfect lens for capturing textures, your images will probably be affected by lens distortion which gives the photo a subtle fisheye effect. This distortion isn’t always noticeable until you compare the same image before and after this little adjustment.
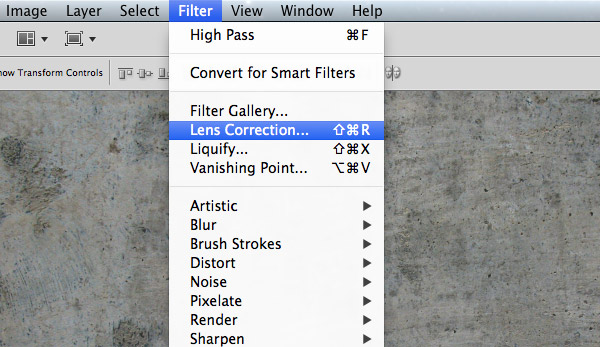
Select the Lens Correction option from the Filter menu in Photoshop. This will open up the Lens Correction options window.
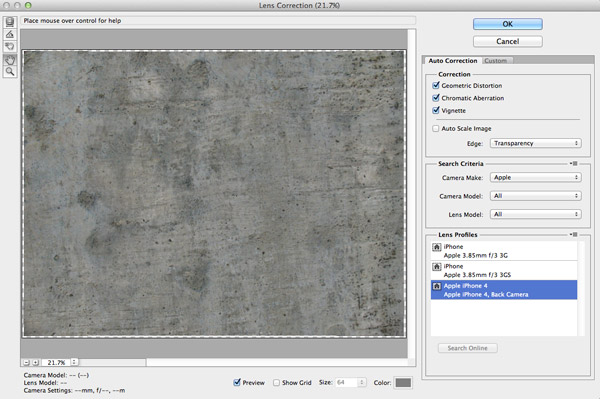
There’s already a series of presets for most camera models saved within the Lens Correction tool. Select one that closes matches your camera, or head to the Adobe Lens Profile Creator to create a perfect match. Otherwise, the Custom option allows you to manually adjust everything from Geometric Distortion to Horizontal & Vertical Perspective.
The Lens Correction tool will be set to Auto Scale by default, but scaling up an image will affect its quality. For best results select Transparent edges and manually Crop the corrected image to size afterwards.
The difference between a lens corrected texture and the original is minimal, but the change is certainly noticeable when the two are compared. This fix is most suited to images that might contain horizontal or vertical lines that are warped by the fisheye effect caused by the camera lens.
Textures that include wood grain, bricks or anything with a linear pattern will always benefit from being straightened out. I used to do this manually by dragging out a guide and carefully rotating the image until I learned this simple trick.
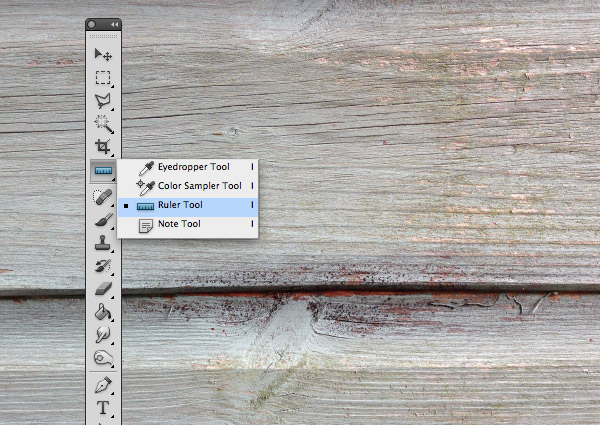
Select the Ruler tool from the Photoshop toolbar. This little thing is hidden away in the same category as the Eyedropper.
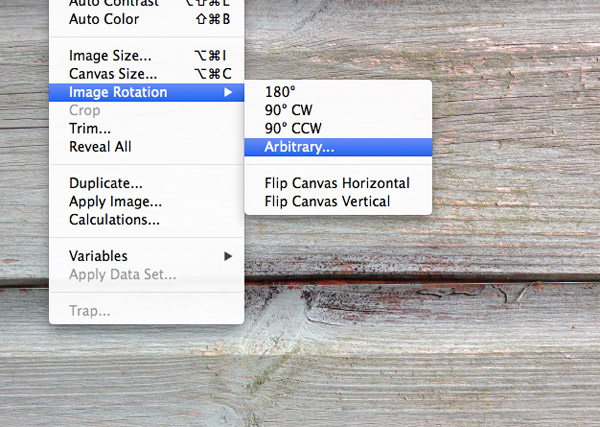
Draw a line across your image with the Ruler, following any natural lines that the image should be aligned to. Next, go to Image > Image Rotation > Arbitrary.
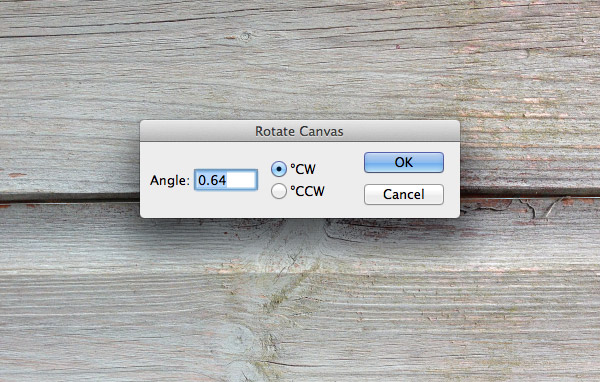
The required rotation angle will magically be set thanks to the line we drew with the Ruler tool. Just hit OK to apply it.

The newly rotated image will need cropping to remove the transparent edges that are created as a side effect of the rotation. Grab the Crop tool and exclude these areas from the selection.
Straightening up a texture will mean the overall image file is a little smaller in size because of the cropping, but at least it will give peace of mind to all the OCD Designers out there.