Not everyone is into doing portrait photography. I get it, I wasn’t once upon a time either. I much preferred photographing stationary objects that I didn’t have to talk to, and they also had infinite patience while I set up the shot.
But then something happened.
I had to do some people photography for my first job and I found that I actually liked it!
The big benefit of photographing people is that they appreciate the photos and often get emotional when they see their images. So it is a lot more rewarding.
A plate of food never once thanked me profusely and hugged me for making it look good.
Portrait photography can also be very intimidating, it is complicated and complex, and is often challenging. But many times the things most worth doing aren’t always easy, right?
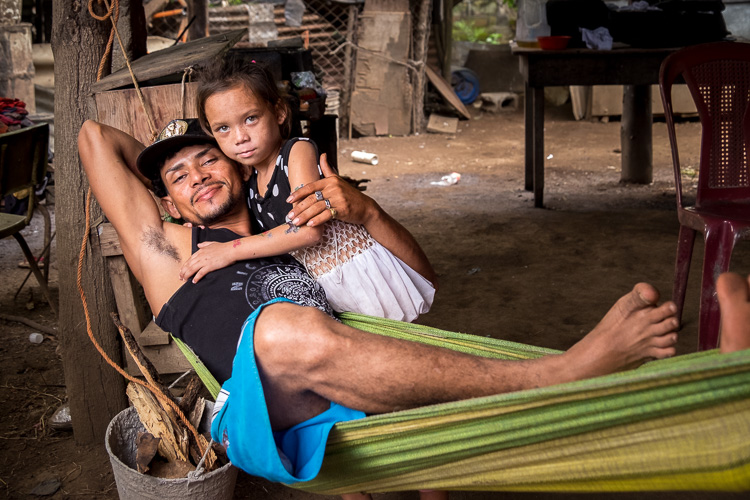
So even if you have no intention of ever doing portraits, I’m going to show you a few reasons why you might want to consider learning about it, to help improve all your photography.
Five benefits of learning portrait photography
- If you can learn portrait lighting it will help you get a handle on better lighting for all your images.
- Understanding light is also the key to correct exposures. Portrait lighting concepts like lighting ratio, high key, and low key apply to other genres as well.
- Also, a good understanding of light will also help with street photography, travel photos, shooting events, candid shots and more.
- You will become a better, more well-rounded photography, better equipped and able to handle any situation.
- It will prepare you for when your friends ask, “You have a nice camera, can you take our family photo?”
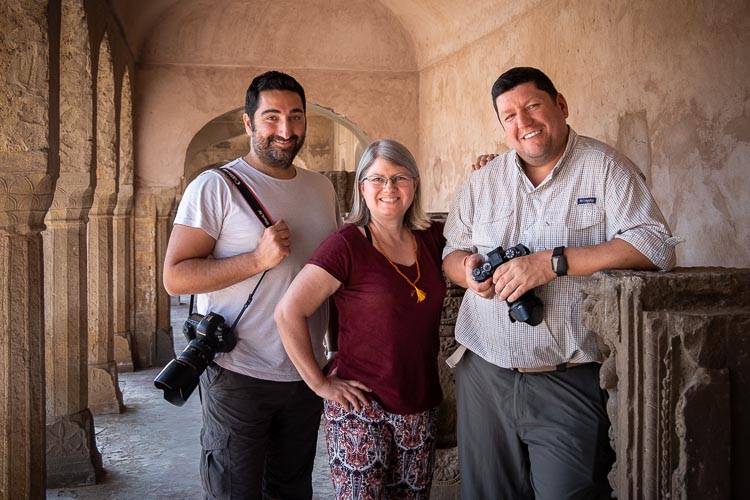
#1 – Portrait photography is all about understanding light
This is not likely the first time you’ve heard that light is really important in photography. If you’ve been reading my articles for a while you’ll have heard me say it – light is everything.
In fact, we’ve had two monthly challenges designed to help you learn about it:
The contests on those challenges are completed now, but feel free to go do them again any time and share your images in the comment area.
So it goes without saying that light is the most important aspect of photography you need to learn.
To take that a step further, if you can get a handle on using light for people photography it will give you a good solid foundation to work with and grow from there.
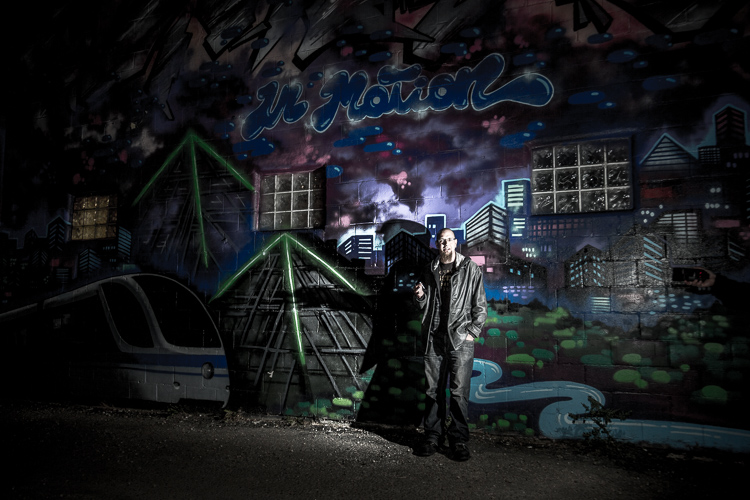
In order to make great portraits, you need to understand the basics of light including the three properties:
- Quality of light
- Direction of light
- Color of light
So by taking some time to learn about portrait lighting, you can then apply those principals to all the other photography you do as well.
For example
To create a portrait that has depth, dimension, and shows the shape of the person’s face in a flattering manner you need to have soft light from the side (usually 30-45 degrees from the camera).
You also not only want to have some shadows you need them – because without shadows the subject looks flat and lifeless.
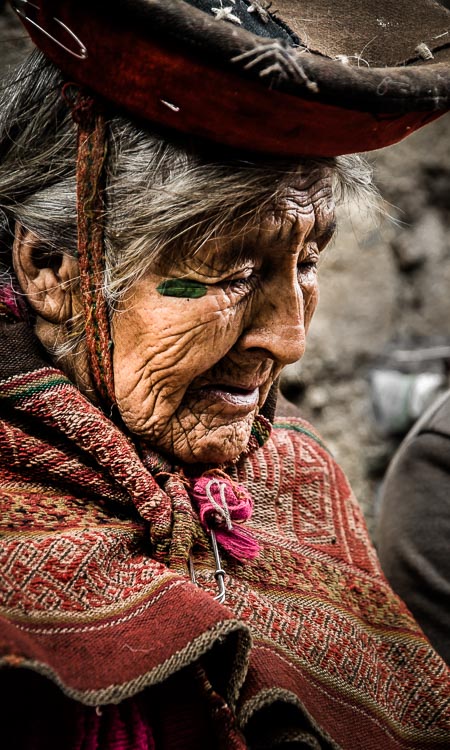
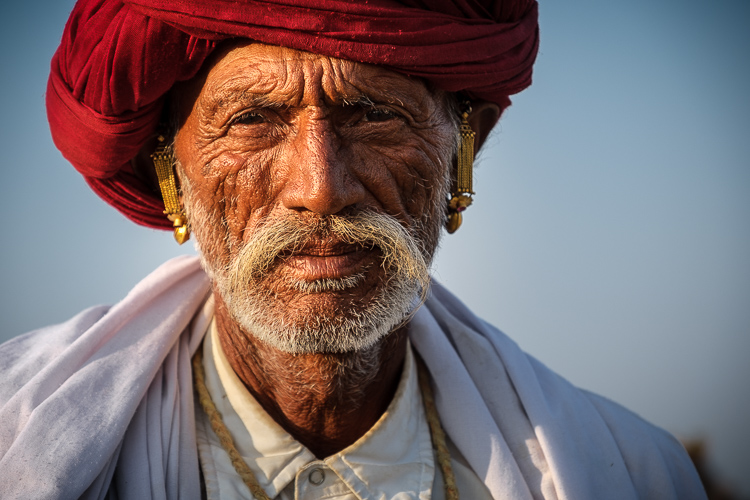
Now apply that to a flower photo or a landscape.
The same applies!
Look at these images of pumpkins that I created for a recent challenge (playing with light).
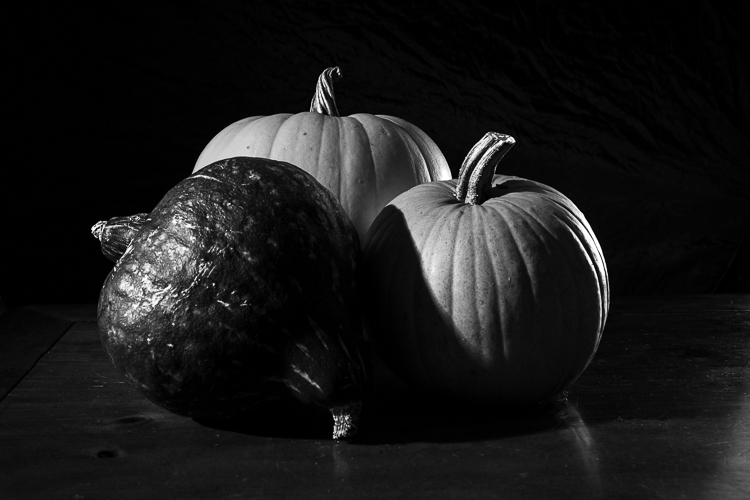
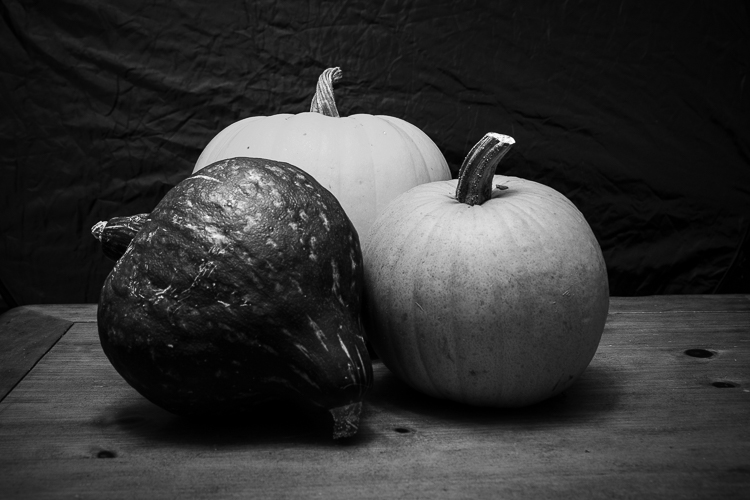
#2 – Understanding light is the key to getting the correct exposure
That may sound odd to you but I often get questions about why a certain part of a photo is under or overexposed, and how to fix it.
The answer is all about controlling the contrast of your scene which is something portrait photographers have to master.
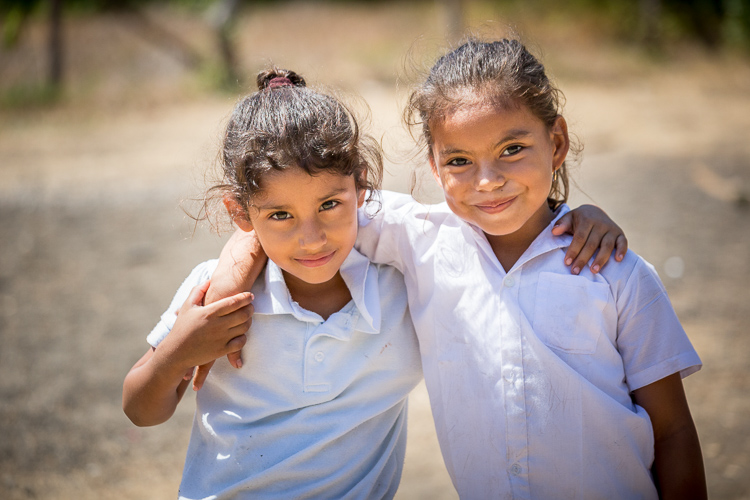
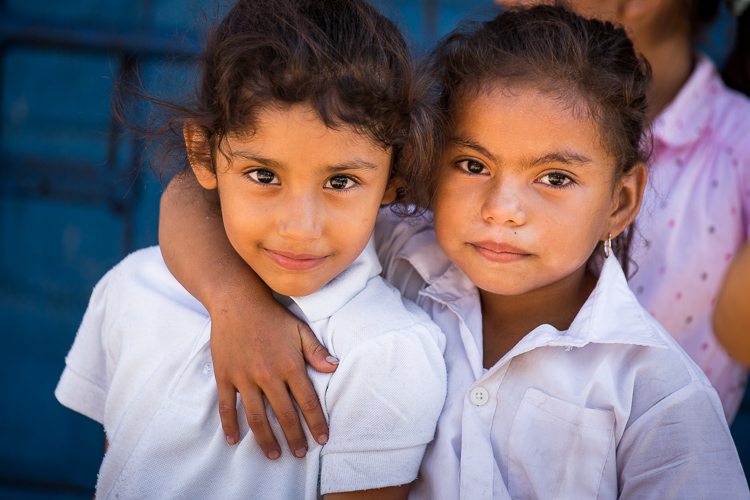
To create flattering portraits you need to get your subject out of the harsh sun (hard lighting) and into the shade (soft lighting) first of all. Then you need to watch the background as well because if it’s in direct sunlight it will be way brighter than the subject and will be blown out (overexposed with no detail).
Look at the images of the two girls below as examples.
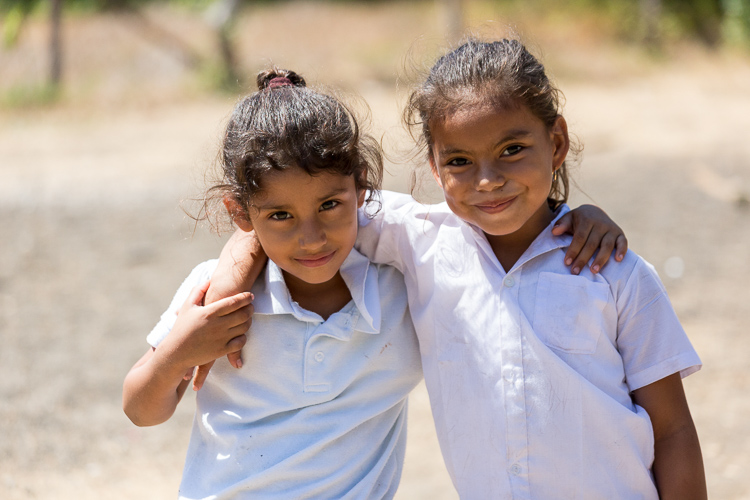
Once again the same applies to any kind of photography you want to do!
Find a lovely flower in front of a grand mountain scene or valley behind it?
If the flower is in the shade and the valley is in the sun, you’re going to have issues capturing detail in both regardless of your exposure.
Expose for the flower and the background will be too bright. Expose for the background and the flower will be too dark.
The opposite is also true. Pick a subject in the bright sun and a shaded background will result in a black void background or overly white subject.
The only way to keep detail in both is to shoot bracketed exposures and make it into an HDR image. But that is not the best way to handle it!
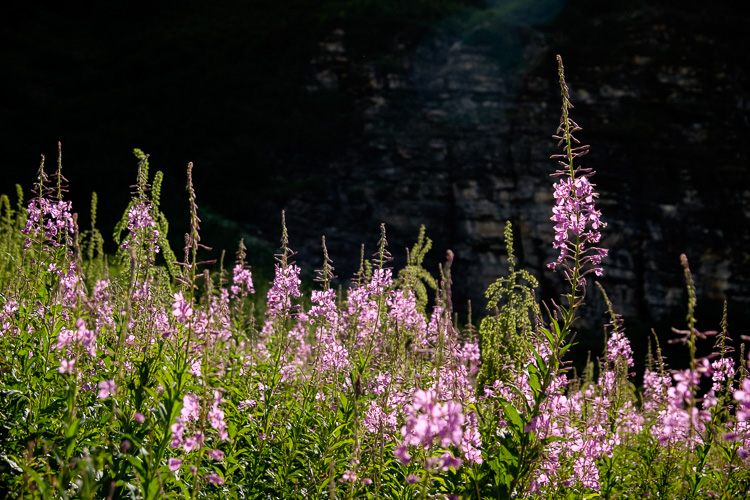
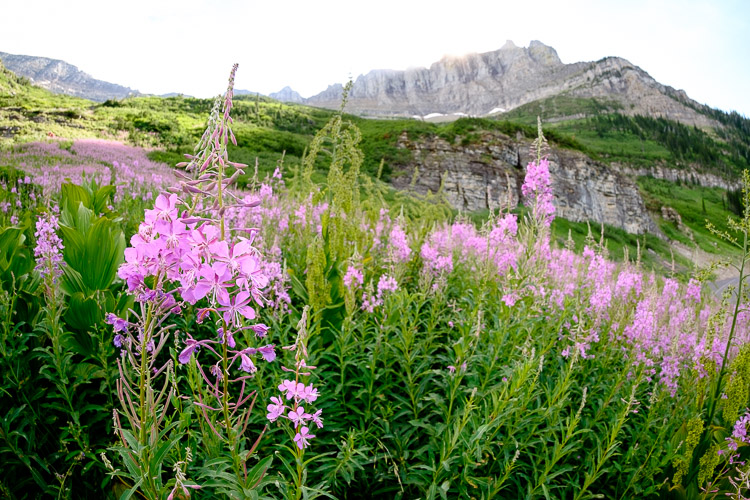
But if you use some portrait lighting tips and keep the subject and background evenly lit, you’ll be on the right track. Take it a step farther and go back and photograph that little flower at sunset or dusk when the light is not as harsh, and you’ll be in business.
HINT: Portrait photographers’ favorite time to shoot is about an hour before sunset (or an hour after sunrise). Likewise, the best landscape photographers are often up at the crack of dawn or shooting late into the evening. Coincidence? I think not!
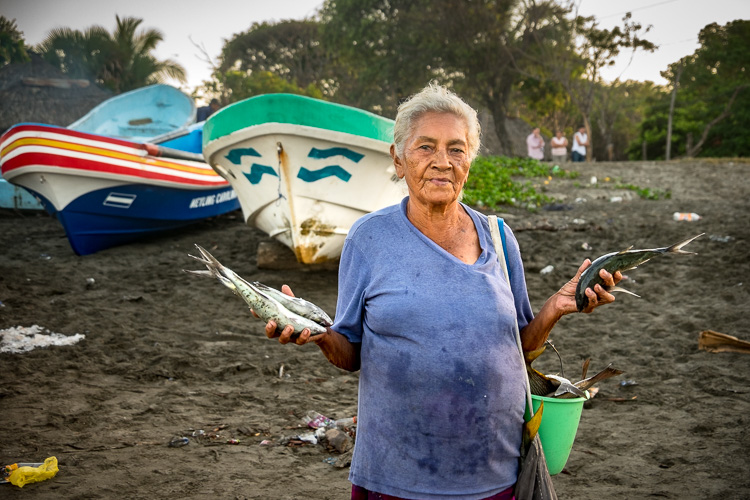
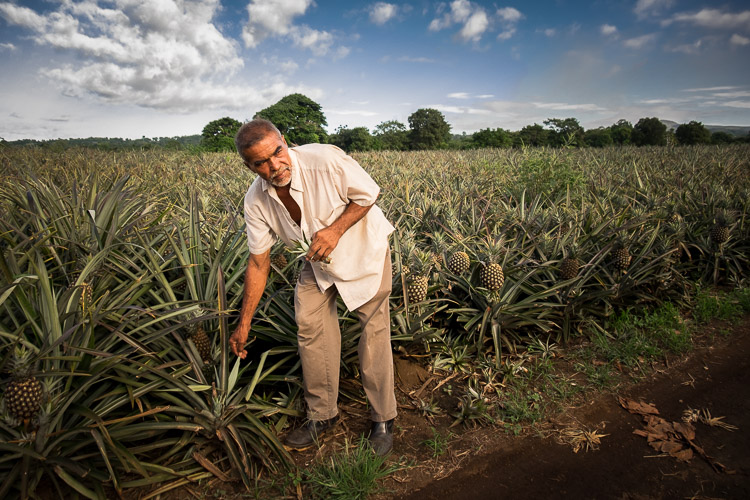
The reason this will help you with your exposure is by handling (by avoiding it) contrasty lighting.
Lower the contrast of the scene so your camera can capture all the details and your exposures will be much better every time.
Even if you can’t go back and shoot at sunset or sunrise, you can still compose your shots to make sure the lighting is more consistent back to front. Just get out of the sun, like this!
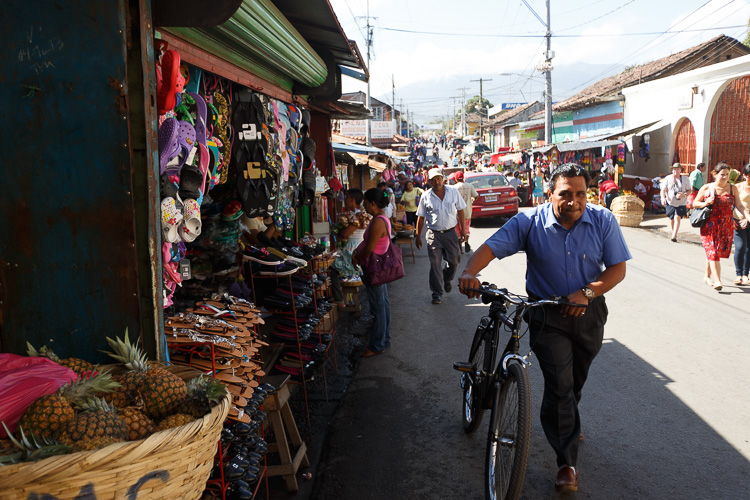
Notice how contrasty the scene above is with one side in bright sun and the other side in shadow.
Attempting to take photos of the entire street, or a person or subject that is partly in the sun and partly in the shade, will be an exercise in frustration. Likewise, once again you’ll need to do some major photo editing to pull out details.
Here’s the alternative method.
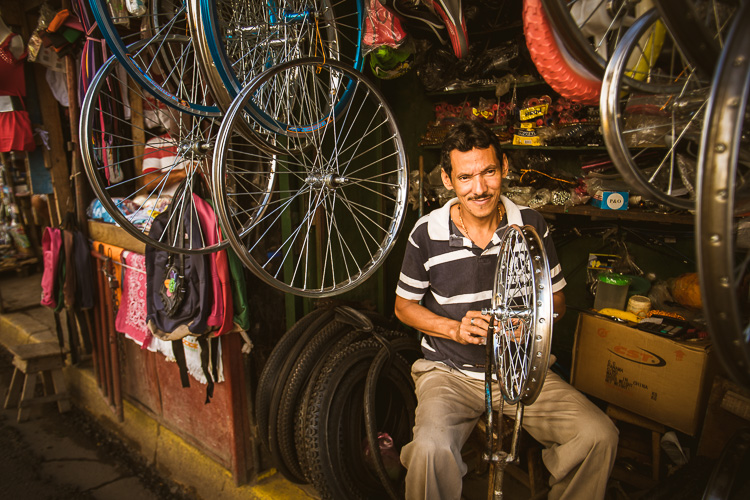
Get out of the sun and find interesting subjects in the shade, like this man.
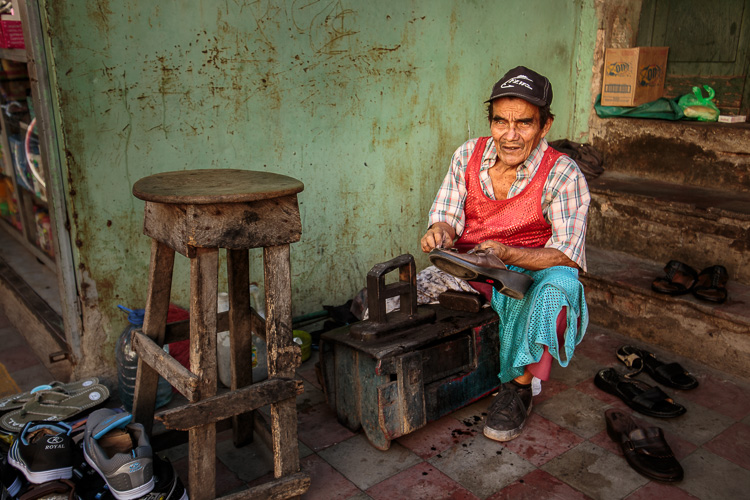
Here are two more images made on the same street.
See, it is possible to shoot at high noon and get good images. You just have to be more selective with your camera angles and subject positioning.

#3 – It will help you do better photography of all kinds
Even if you don’t do ever want to do formal, posed portraits, a good understanding of light will help you do better photography of all kinds.
Your street photography, travel photos, event coverage, live performance shots, candids of family and friends at parties and holidays, and more can all be enhanced by learning to take portraits.
There are many skills that a portrait photographer must learn besides lighting and exposure that will help you improve your photos overall.
Here are just a few of them:
- Interacting with or directing people (building rapport).
- Arranging or posing a group of people.
- Flash – knowing when to use it, why, and how.
- Having an efficient workflow and photo editing system.
- How to edit or retouch faces (remove blemishes, keep it natural looking).
- How to use a reflector properly to fill in shadows.
- How to see light and find good light (and images) in any situation.
- Knowing when to press the shutter button to capture the best expressions and moments.
- How to use the equipment you have to its full capacity (portrait photographers would all like a better, more expensive lens but can’t all afford that so they work with what they have).
- How to handle stressful situations delicately.
- Have patience! Read this: Do You Wait for the Decisive Moment or do You Spray and Pray?
NOTE: The doors on our Portrait Fundamentals course are currently closed. If you want to join the waiting list to be notified when the doors open again, fill in the form below! You’ll also get a free PDF, “How to Find Good Light for Portraits at Midday” and be enrolled in our 8 week mini email course on portrait photography free of charge.
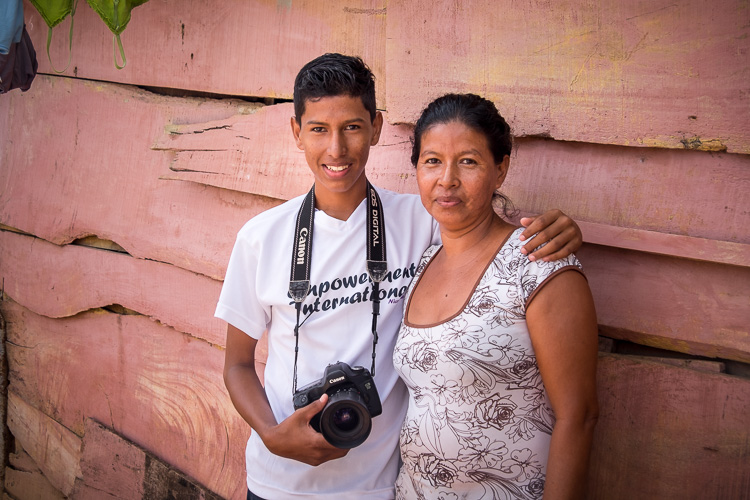
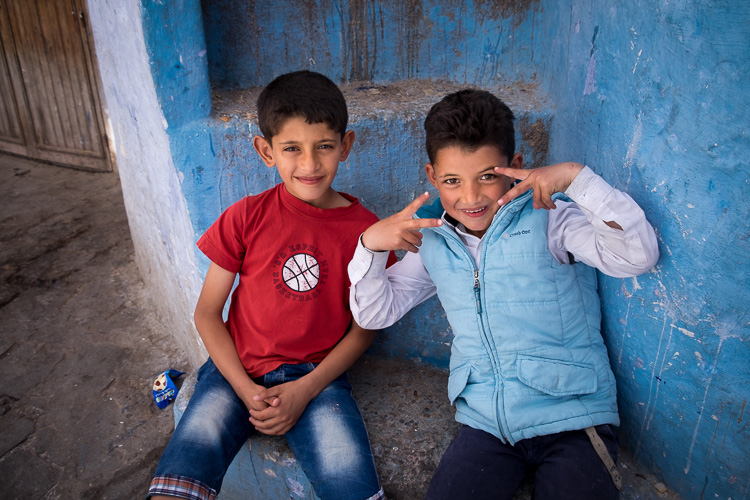
Let’s look at a few examples where my skills as a portrait photographer came in handy.
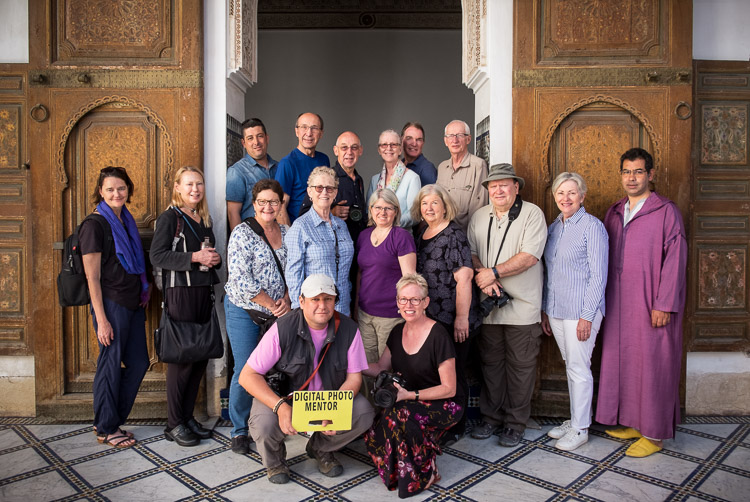
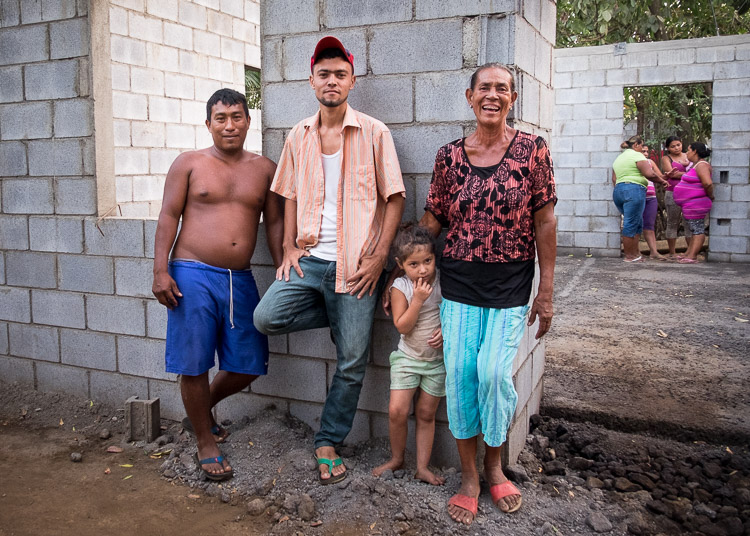
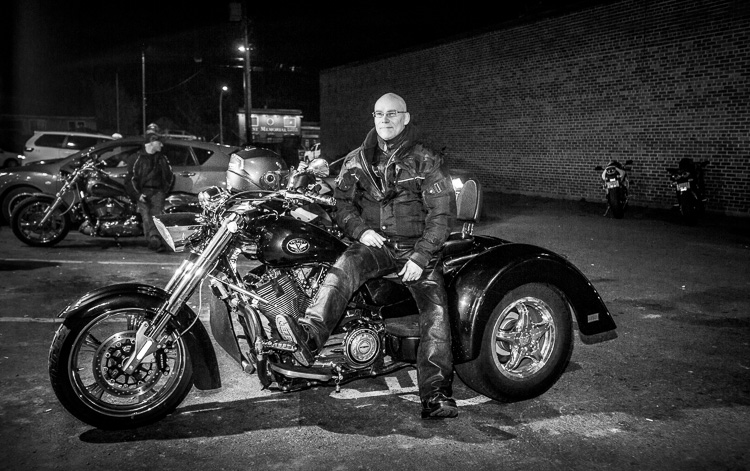
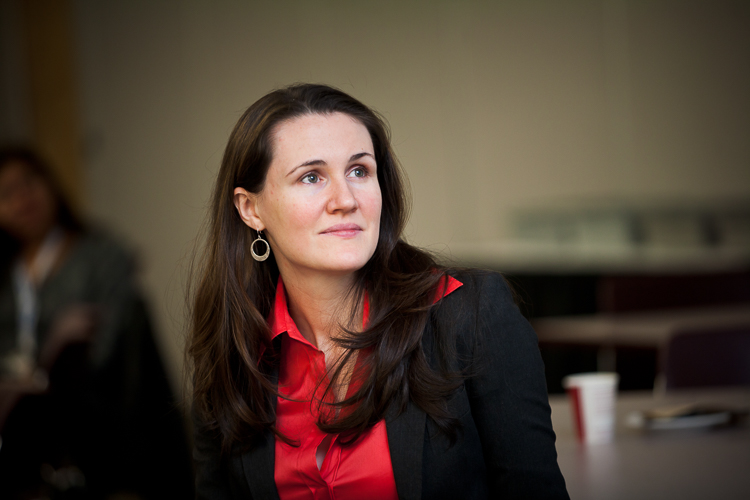
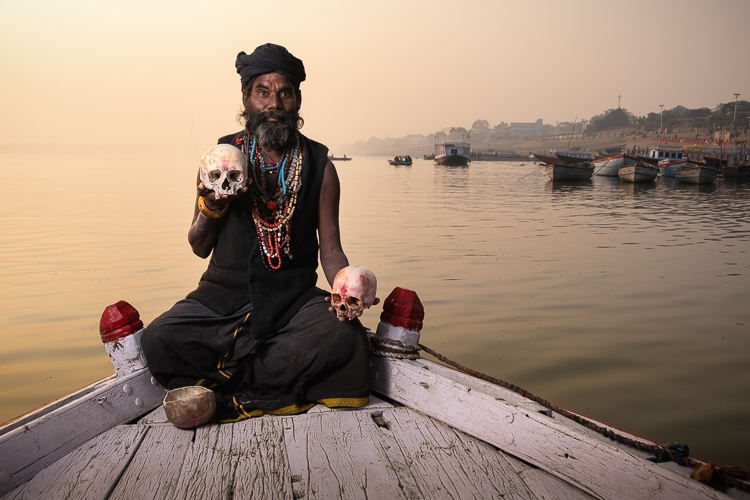
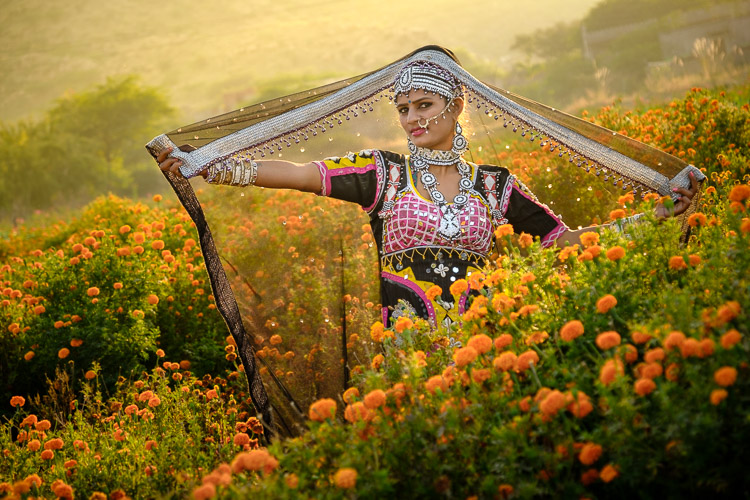
Knowing how to use flash and reflectors are good skills to have in your toolbox!
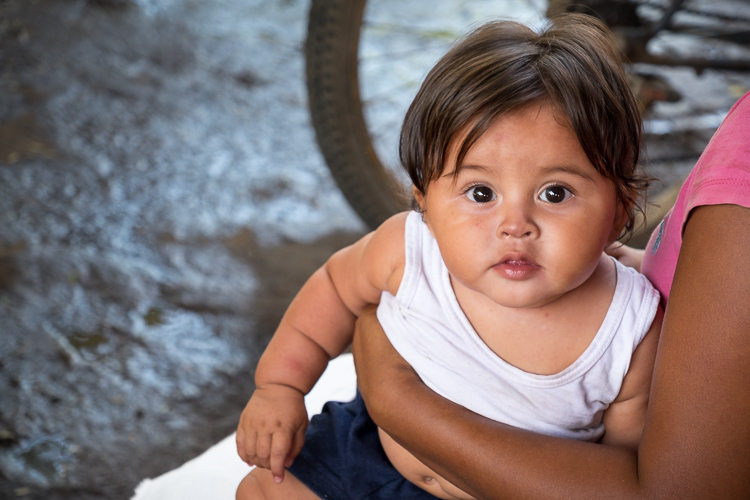
Being ready and capturing the best expressions are both parts of a portrait photographer’s skill set.
#4 – You’ll be better equipped to handle any photographic situation
Learning how to do portrait photography will help you be a better and more well-rounded photographer, able to handle any situation.
This is especially true if you ever decide to tackle shooting a wedding. Weddings are super stressful events where you have to shoot for hours on end, under often difficult conditions (lighting, personalities, limited time, etc.).
So basically, if you can handle doing a portrait or a wedding (I don’t recommend it, and I’ve done over 250 of them!) you can handle most anything!
There are a lot of moving parts to create a portrait and getting it all to come together takes some skill.
It doesn’t happen overnight, and it takes practice.
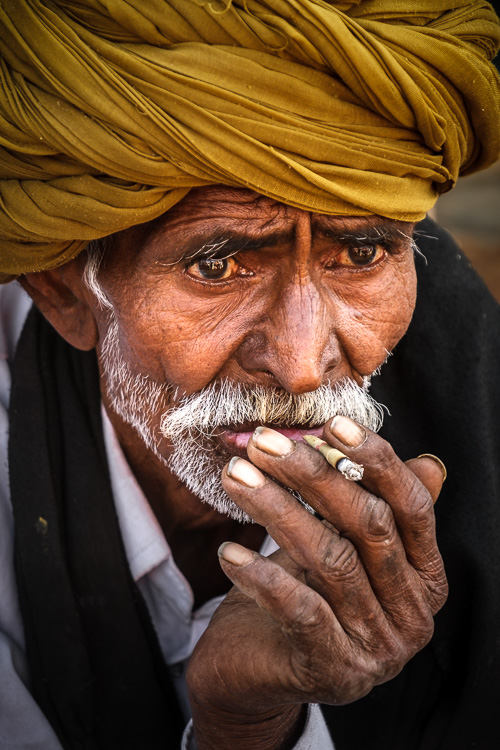
Consider that all of these elements need to be handled well to make a good portrait:
- Scouting and finding a good location for the photo session.
- Going at the right time of day.
- Making sure you have all the right gear packed, batteries are charged, and memory cards are ready to go.
- Knowing what lens to use to make the most flattering photos of your model or subject.
- What ISO, aperture and shutter speed will you use for the optimal exposure and look you want?
- Will you use a tripod and/or a shutter release (remote trigger)?
- Is the light hard or soft that is falling on the subject? How about the background?
- Is the background working or does it distract from the subject (red flowers)?
- Are there any objects in the scene that need to be removed (tree branch, garbage, trash can, cars, etc.)?
- Posing the subject. How will they stand or sit? How should they place their hands (they will ask), turn their head, put their feet/legs?
- What clothing will they wear (they will ask you for advice on that)?
- Will you need to add light with a reflector or flash?
- How will you get your model to make a good expression?
Once you get all that organized then you actually have to do the photo session, which may last 15-90 minutes.
If you’re dealing with a toddler it could be over in 10 minutes, or it could take 30 just to get them to stop being shy.
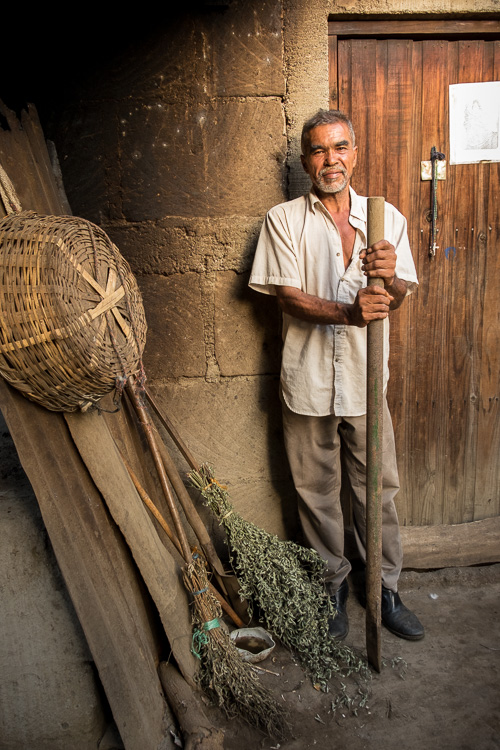
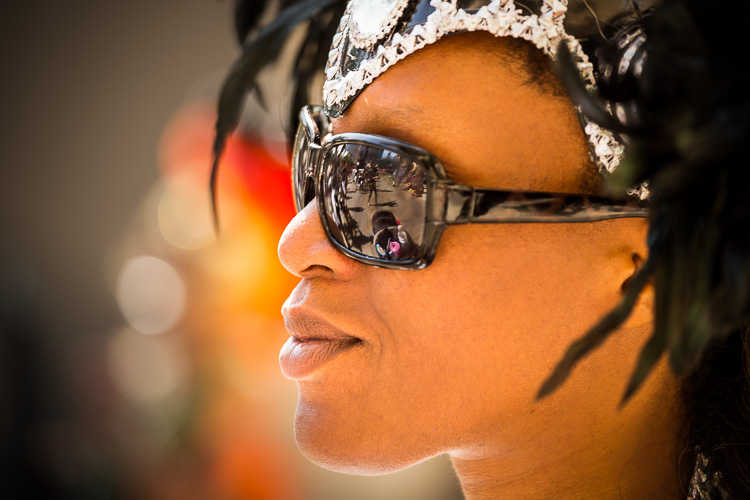
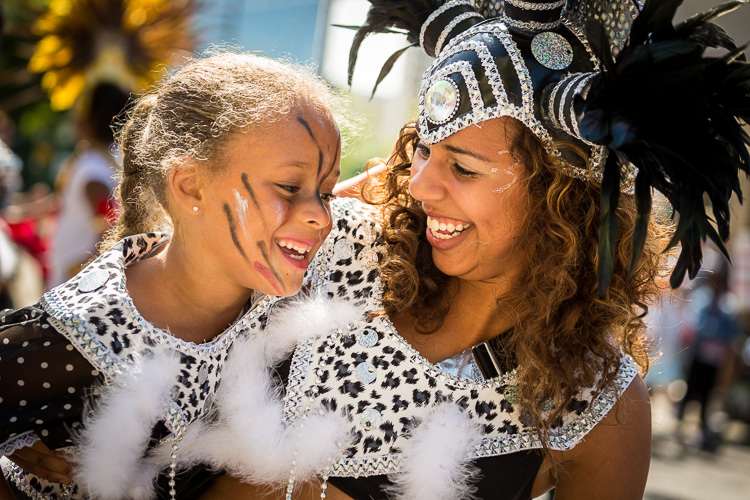
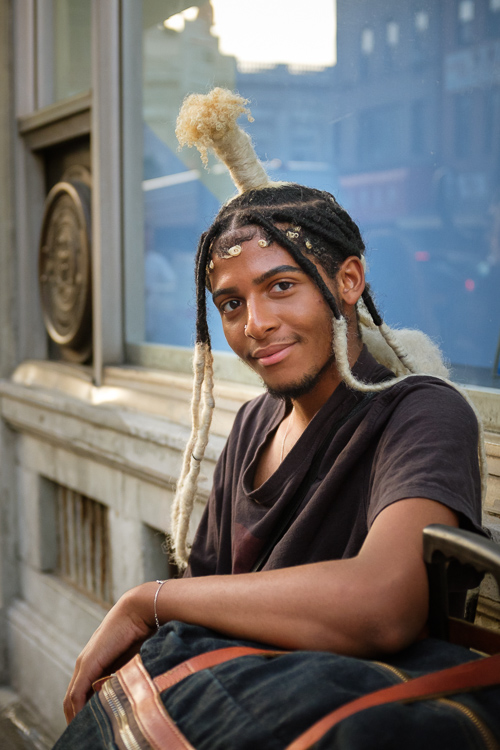
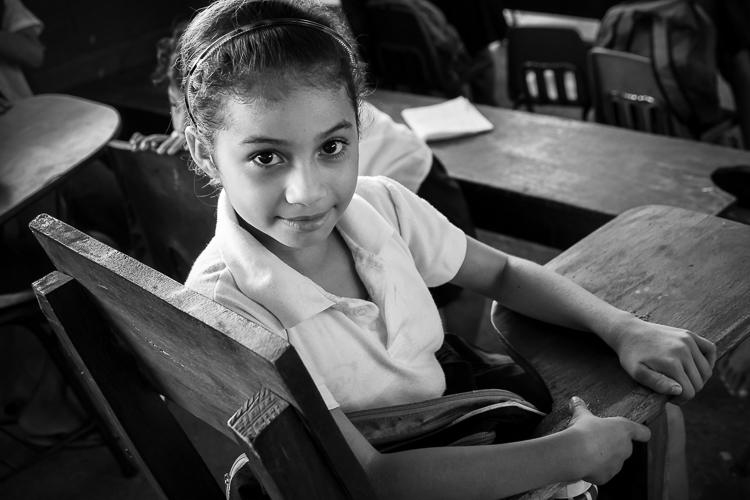
So learning to master all that comes in really handy, no matter what kind of photography you’re doing. And patience and people skills are never bad things to have either!
#5 – You’ll be able to take photos of family and friends
“Hey you have a really nice camera, can you take a family photo for us?”
Have you been asked that question yet? If not, sooner or later you will likely be asked to photograph someone you know.
Whether it be a family photo for your best friend, your co-worker’s new Facebook profile pic, or even just photographing your own kids or grandkids – by learning some portrait photography skills you’ll be ready and able to do it when the time comes.
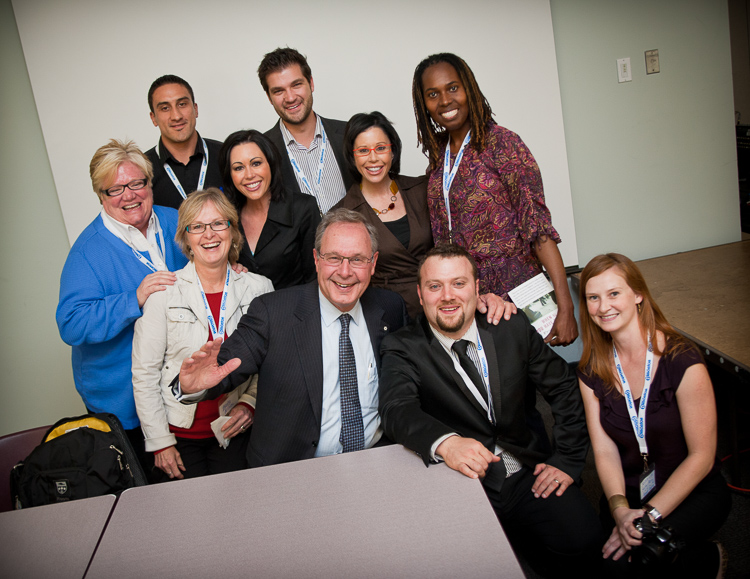

I don’t know why it happens, but as soon as you get a DSLR (or even a mirrorless camera) many people will see you as a professional photographer.
You may not feel like one, or feel you are ready or up to the task, but they make the assumption that a good camera is all that’s needed to take good photos.
So why would you say no when they ask, right? Wrong!
You know there’s a lot more to it than just a nice camera, but they don’t. And if you pick up some portrait photography skills along the way you’ll be better able to say YES when they ask, help out a friend/family member and create some images you’ll be proud to share.
That doesn’t mean you have to hang out a shingle and open a studio.
It just means that you’ll be ready if and when the time comes (and it will come, trust me) and you’ll be up for the challenge.
Conclusion
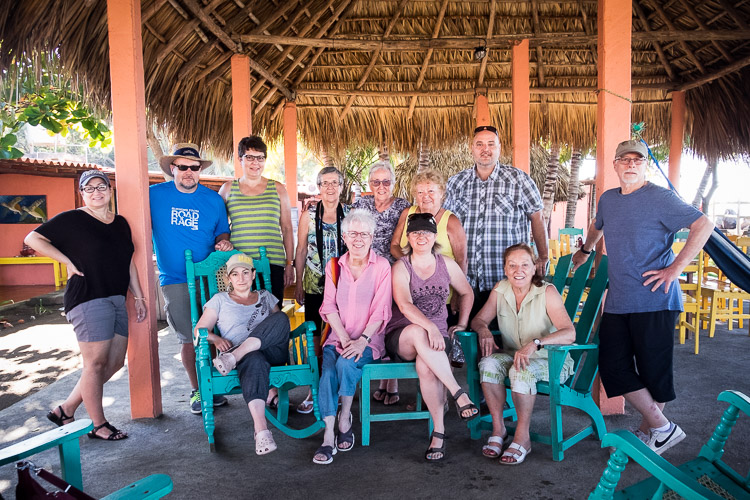
I hope these examples have shown you the benefit of learning about portrait photography.
Even if you do not like people photography, you can take the skills you learn and apply them to any genre you do enjoy.
Please share in the comments below of anything you have learned about taking portraits that you have been able to use in other situations. I’d love to hear about how you’ve applied it or if you are inspired to give it a go.
Cheers,
Doors Open!
NOTE: We cover a lot of this stuff in more greater depth in our Portrait Fundamentals online course. The doors are open for the course, but for a limited time only.
Make sure you don’t miss the early-bird pricing.
Save up to 25% off the regular price