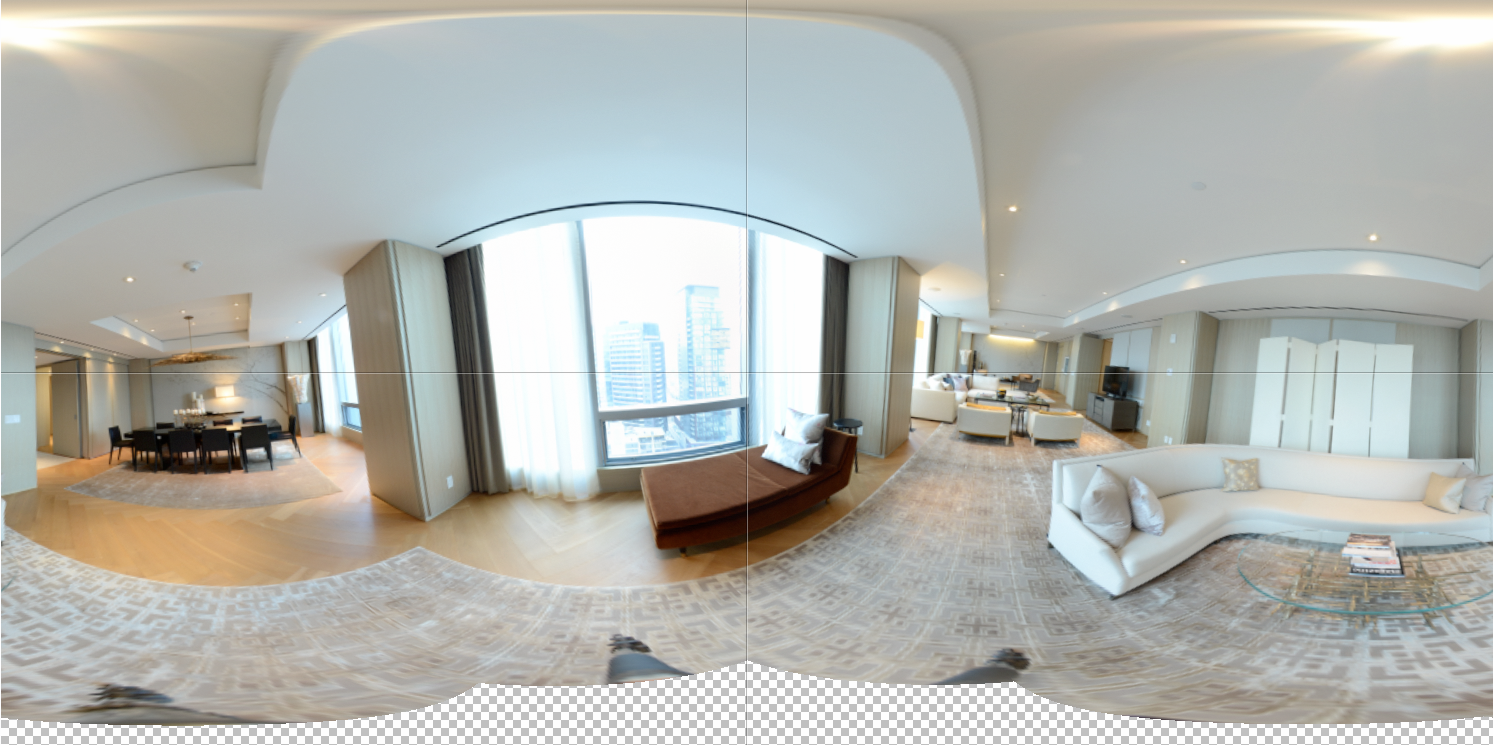
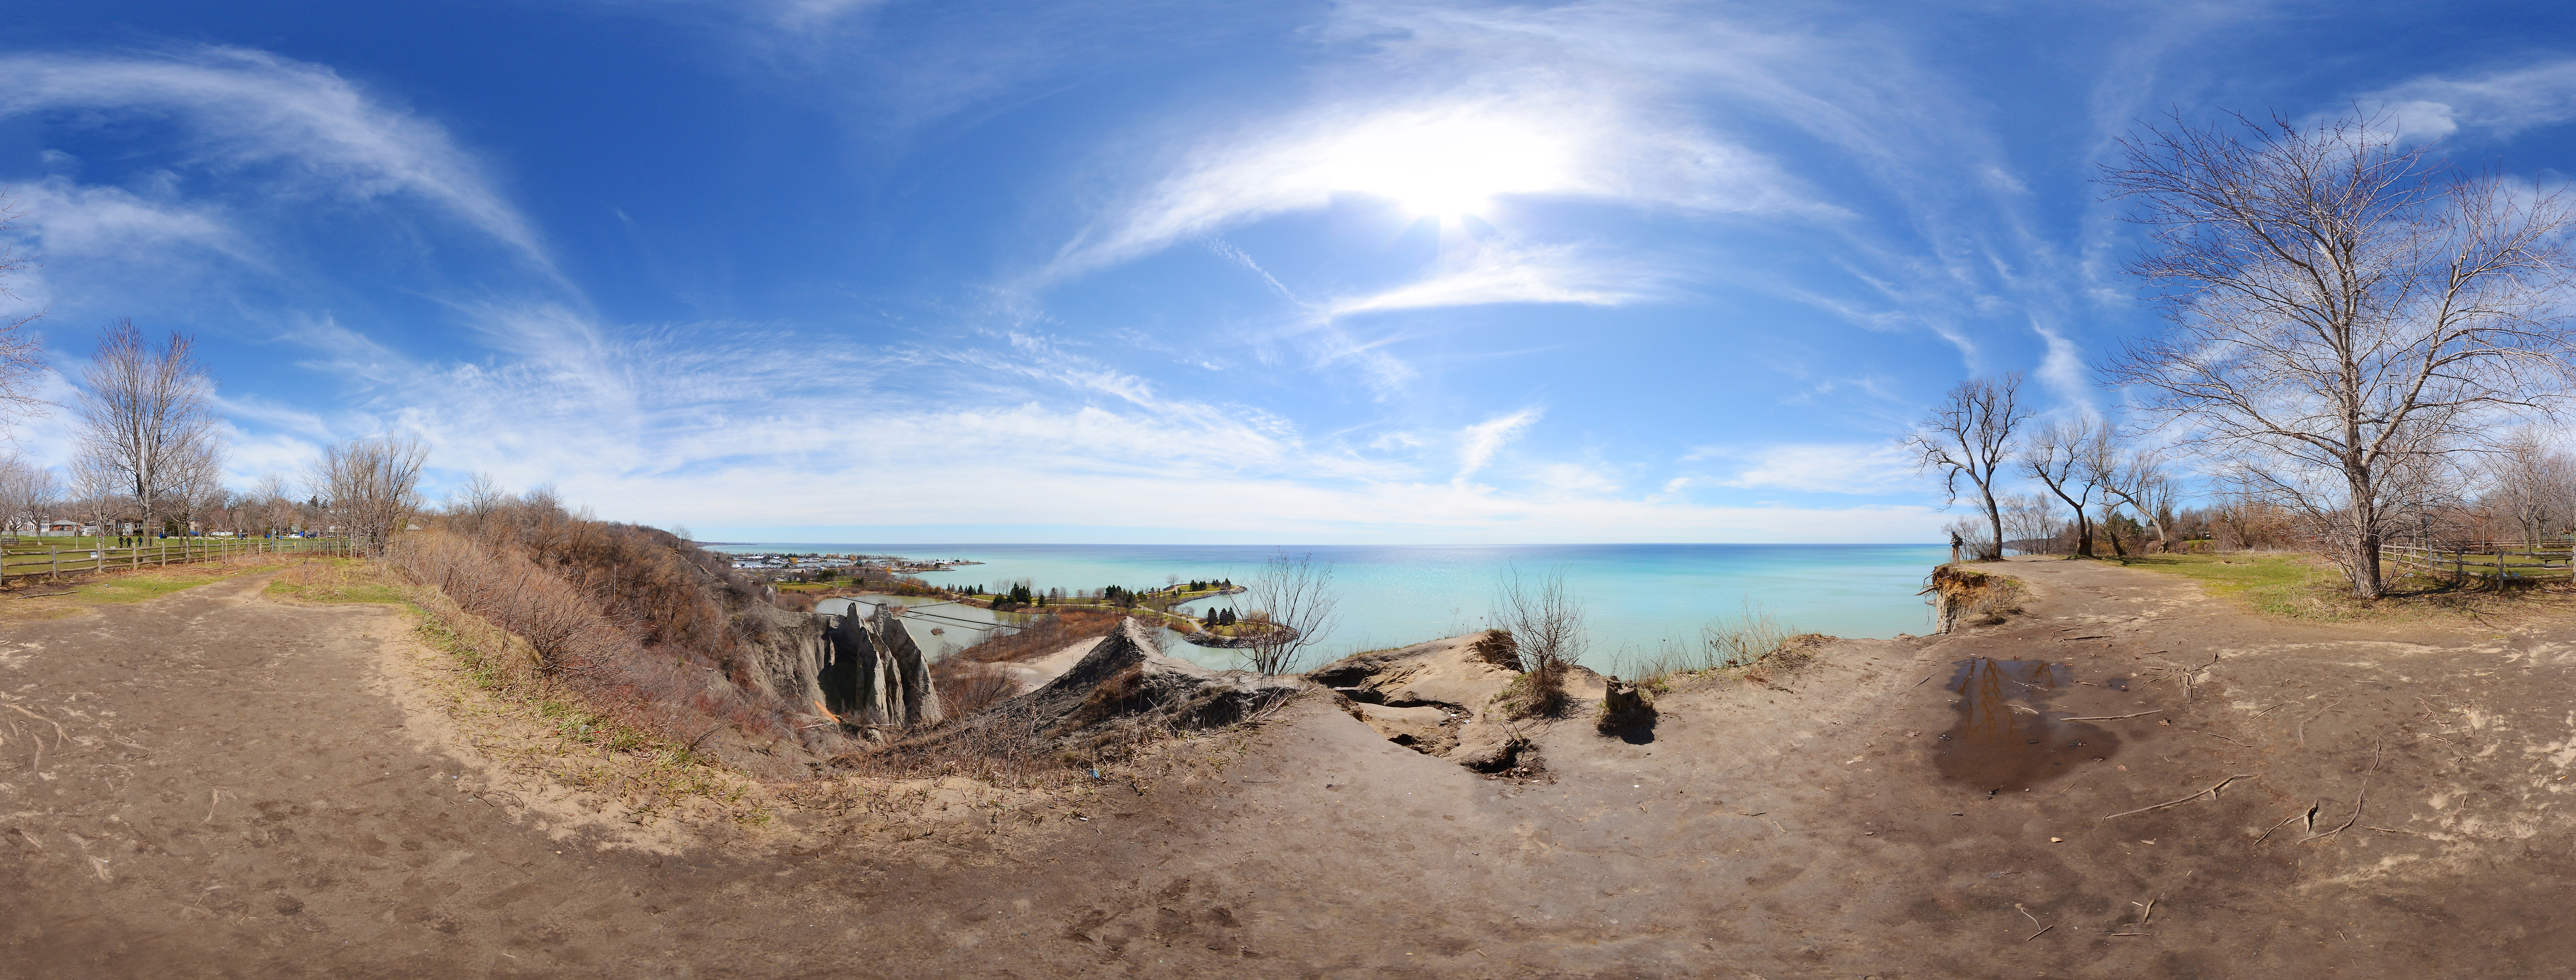
So, you’ve read 360° Photography 101: How To Get Started and you’re ready to start experimenting with 360° photography. Let’s make sure you’re off to a great start: avoid these five common mistakes that many 360° photographers make.
1. Not levelling the tripod properly
Levelling the tripod correctly is one of the most important steps to ensure that your 360° photo turns out well. An unlevelled tripod can lead to a very warped stitched image, as you can see in the example below. It can also result in the inability to stitch the image at all, as parts of the image may not align from one shot to the next. Most VR heads, such as the Nodal Ninja Ultimate R10 7.5° Tilt, have a built-in level for this very reason. So, do yourself a favour and take a few minutes to ensure the tripod is perfectly level before you start shooting.

2. Rotating the VR head in the wrong direction
It might not be obvious at first, but there is a wrong way and a right way to rotate the VR head. When you attach the VR head to your tripod, it threads on in a clockwise direction. This is important to note, because it means that rotating the head counterclockwise while shooting could result in it unscrewing. If you don’t notice this happening, it can cause your images to be misaligned and cause stitching difficulties. Play it safe and always rotate clockwise!


3. Having a large empty section
Photographers are used to looking at the subject matter from one angle, but with 360° photography, you need to consider what is on all sides of the camera. It’s important to avoid having interesting subject matter on only one side of the 360°, and then having a large span of boring, empty space on the other.
4. Moving an object between shots
Once you begin shooting the 360°, you don’t want anything to change or move in the shot. As an example, if one of your angles captures a chair facing the camera straight-on, but halfway through shooting the 360, you decide the chair would look better on an angle and you move it, the chair might not align in other angles as you complete the rotation. This can cause stitching errors or ghosting, and could ruin the 360°. A good rule of thumb is to start over from the beginning if anything changes after you start shooting the 360°, just to be safe.
5. Using Auto camera settings
Again, you don’t want anything to change while you are shooting a 360°. This includes camera settings. You may be shooting with Manual exposure settings, but what about the focus and white balance? These are commonly overlooked. The focus and WB can vary greatly as you rotate the camera around in a circle, so if these settings are not consistent you will not get a seamless look to the 360°. You may see the edges of where one shot connects with another, or where one image has a warm white balance and the other has a cool tone.
So, to sum it up, when shooting 360° photos: level your tripod perfectly, rotate the head clockwise, surround yourself with interesting content on all sides, and don’t allow make any changes to your subject matter mid-shot.

Main photo: Dave Fitzsimmons