One of the things I’m constantly asked by my photography students is how to make more interesting and better photographs. Today we’ll take a look at five ways you can do that, some you may have heard before, and some that may surprise you because they seem to have nothing to do with photography, but they have everything to do with life! I may push some buttons with this article, but I push to help you move through the gunk and grow as a photographer and as a person.
Read on if you dare!
ONE – to create more interesting images, you have to first BE more interesting
What do I mean by that, you may ask? Well, have you even been to a party where everyone seems to gravitate towards the same person? Perhaps it’s their persona, or what they are wearing. It’s possible their cologne is alluring. Or perhaps it’s because they are talking about something interesting! Maybe they’ve been to an exotic place and are recounting their stories of adventure. You get to live a little vicariously through them, right?
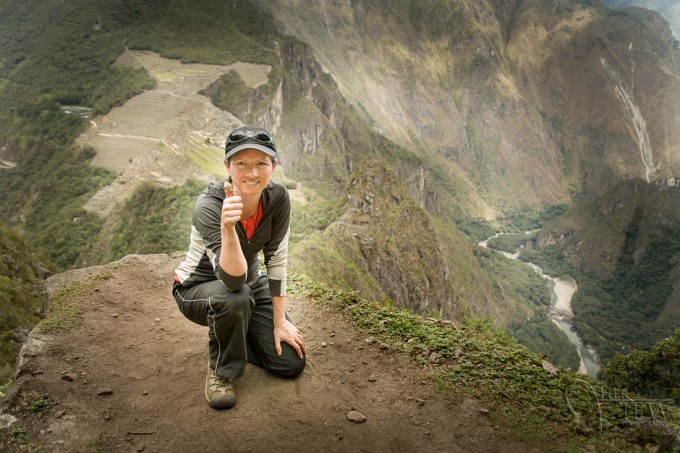
On the other end of that scale is the guy or gal at work that only ever talks about what they watched on TV last night, or complains about everything and whines all the time. Even worse – maybe that person is you!? Take a good look in the mirror and ask yourself some tough questions:
- What do I bring to the table?
- Am I the fascinating person at the party, or a listener?
- Do I live life to the fullest or do I watch it on TV?
- If I were to die tomorrow will I be satisfied with the life I’ve led?
If you are not happy with your answers, what are you going to do about it? I can give you two ways that I know of to enhance your life and make it richer.
First, travel to somewhere you’ve never been. Somewhere exotic and perhaps slightly outside your comfort zone. Second, give back. Volunteer your time and give something back to those less fortunate. Even better, combine the two!
If travel to a far off land isn’t an option right now, volunteering certainly could be. Just about everywhere, someone, or some agency, needs help. By seeing another perspective on the world you will be expanding your context. Then when you next pick up a camera you can’t help but see the world differently.
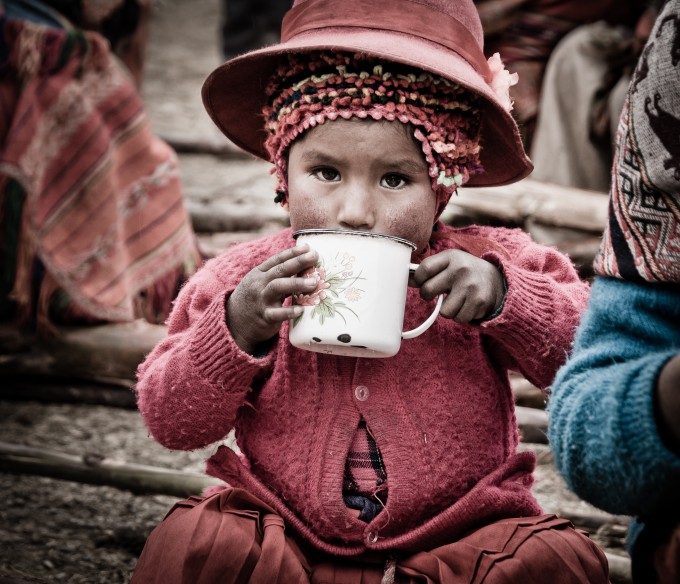

To see more images of Peru, see some of my part articles on my journey to Peru or check out my Blurb book Visions of Peru.
Click here to see more images from the Bissell Centre’s New Years Dinner 2012.
TWO – create better composition, by working the scene.
You may have heard of the Rule of Thirds, I’m not going to go into that in detail here, as I consider it more of a guideline and starting point anyway. The basic premise is to place your subject somewhere in the frame other than smack dab in the center. Having said that, there are times when a central composition just works. So is there a better way to approach composition? Sure there is, I like to called it, walk around the subject, or work the scene.
If something catches your eye enough to stop and take one photo of it, give that subject a bit more time and develop it. Literally walk around the scene, 360 degrees if possible. Look at all the angles and how the lighting changes from each direction. Change your angle of view, take a high overhead angle, then get low down and look at it from that view. Switch lenses and see how a wide angle changes the scene and perspective, versus a longer lens. Shoot a full shot of the whole scene, then try little close-up of bits of it, almost macro even. Wait for the light to change, or cars or pedestrians to go by, or even enter the scene.
Creating multiple images of a scene is not considered a bad thing, in fact it’s part of the photographic process that even professionals go through!”
I often get asked to help my students improve their ratio of keepers to trash. What I say about that is that sure you can get better technically so that your images are more often in focus, and exposed how you want them. But there will always be a higher number of images that get dumped on the cutting room floor, than there are keepers. That is true of almost every photographer I know (and I know a lot of them). I personally probably keep about 1 or 2 out of every 10 images as my favorites. On a trip to Turkey last year I took over 1600 images, 200 or so of which I processed and kept.
The following series of images were taken in Bonaventure Cemetery in Savannah, Georgia. The even headstones are on the military section, with men that died in various wars. I found the evenness of the rows and the uniformity of the headstones interesting. Then I noticed a small pebble on top of one, possible left by a bird or a child. That is what initially attracted my attention but as I worked the scene and took a few more images, I took a different approach. Which image is the best? That’s up to individual opinion. But I would not have gotten the ones at the end had I stopped at one shot and moved on. The point is to explore and see what you notice after your first attraction to the scene.


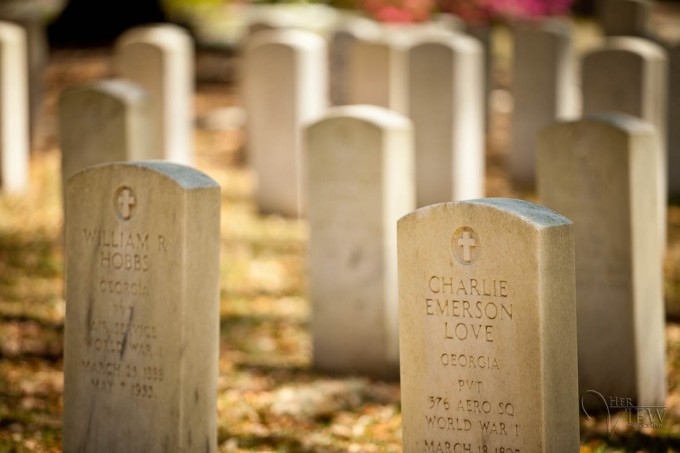
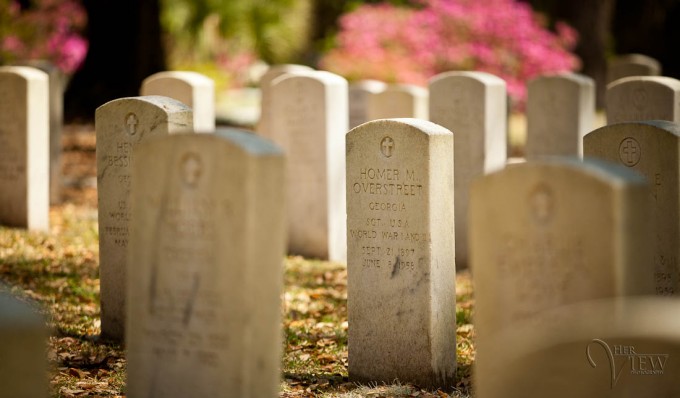


So please use the huge benefit of shooting digitally, that you can keep shooting for free until you run out of memory. Experiment, and try things, that is how you will improve. By clicking one frame and moving on, you may be missing the potential of something better if you linger a bit and work the scene a little more.
THREE – simply shoot more often!
Another thing I tell my students is the more you are out photographing and working on your images, the faster your work will improve. Think of it like traveling to a foreign country where you don’t know the language. You either need to take a really good translator on your Smartphone, or learn the language pretty darn fast just to get by. If you sit at home and decide to take a Spanish class, that might happen once a week. But do you practice speaking it with anyone else in between classes, likely not (I know cause I’ve done this too). BUT if you head off to Costa Rica, or to some remote village in Nicaragua where there is no English spoken, your learning advances much quicker because you’re immersed in it.
You will learn anything faster, the more fully you immerse yourself in it. Photography daily and you will see how your images benefit.
The same is true with photography, or anything else you want to learn, for that matter. Bringing your camera out once a month and you’ve likely forgotten how to use some of the settings since last time you used it. Getting out once a week is better, and of course if you carry your camera with you all the time is going to give you the fastest learning curve.
“How do I photograph every day, I don’t have time for that”
Pish tosh! The average North American watches 4 hours of TV a day! But we don’t have time to exercise, eat properly or do the things we say we really want to do. One way to do this daily is to get a small point and shoot camera, or use your iPhone or Smartphone. Make it easy to take at least one or two photos per day. You don’t necessarily need all your fancy lenses, photography is more about learning to SEE and less about the gear. Learn to photograph with your eyes first, your camera second.
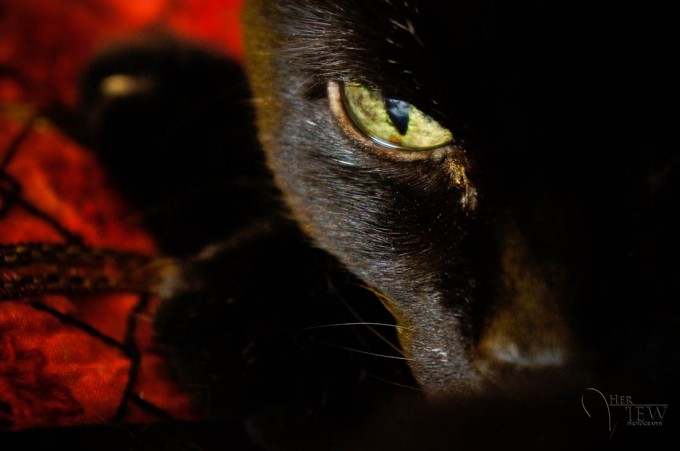
The images below were taken with a little Sony NEX I borrowed to try out. These were taken in my own house, without ever having to take off my slippers! You don’t have to make it into a big deal. There are fascinating things right under you nose, just use the two things above your nose to find them!

Get some support, join some groups
Find a friend that also likes photography and encourage each other. Join a photo walk, or MeetUp group. Or commit to a 365 project (one photo a day for a year) or a 52 project (one a week for a year). Take a class or travel workshop. What other ways can you immerse yourself and vault your learning to the next level that much faster?
FOUR – ask the question “why?” before you press the button
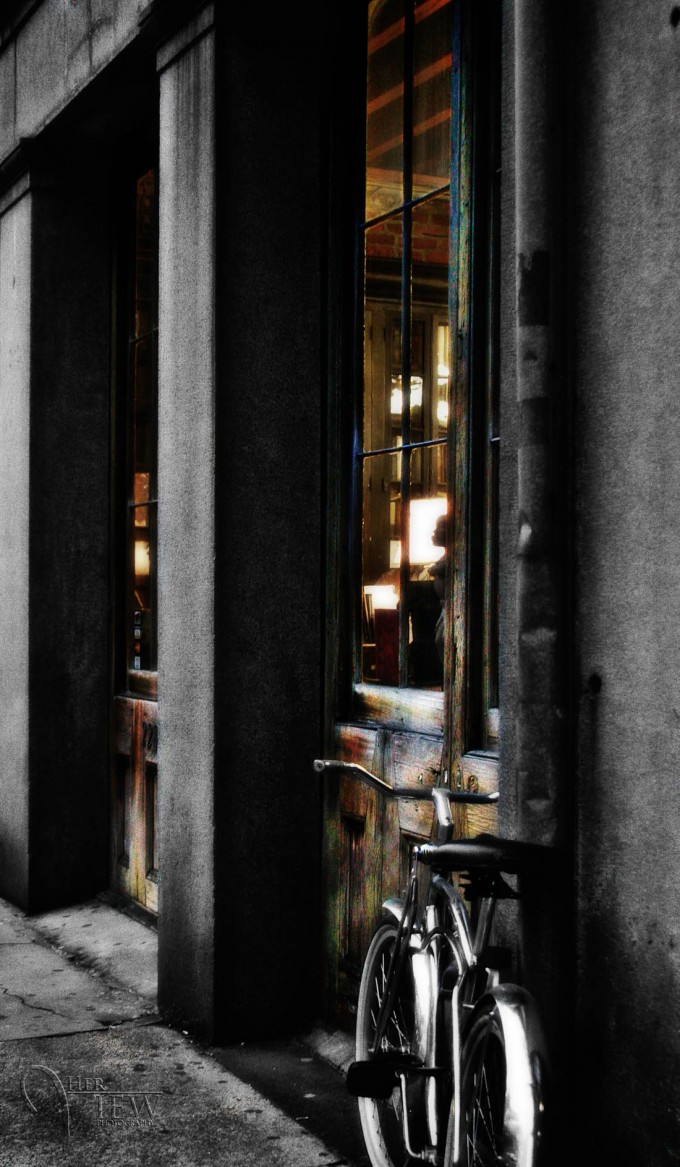
Think about what it is you want the viewer to “get” from seeing your image. Think beyond the obvious like “I saw a neat tree” to things less tangible. What did you feel, hear, and smell when you took the photograph? What emotions were present? How do you want the viewer to feel when they look at the image?
Now, look at the shot you just took. Does it do that? If not, dig deeper. A pretty sunset isn’t just about nice colors in the sky. We feel a certain way as we look at that sunset, and we want to convey that feeling to others with our image. That’s why we take it. Images are also meant to be shared. Whether you admit it or not, you do want to share your images. Many new photographers are shy to do so, but deep down, you know you take the images and feel a certain pride in them and you desperately want someone else to see what you saw. To “get” it. To “get” you!
We all want someone to “get” us, using our photography is one way we show ourselves to the world. What is it you want to say with your images?
Am I hitting close to home now? Yes?! How do I know – cause I’ve been there, that’s how! In fact, I’m still there. I still get a good feeling with someone finds a story in my image. I’ve moved past the place of “cool shot” being enough for me, I want to take people to a deeper place than that with my photography. When they make up stories about my images, sometimes wildly incorrect, but hugely imaginative – that’s when I feel deeply satisfied. I know I’ve drawn them in so deep they FELT something.
FIVE – get closer!
This one is simple. The biggest rookie mistake I see over and over again is simply including too much in the photograph. What you choose to include in the photograph is important, but sometimes what you choose to exclude is even more important.
Do you need all that foreground in front of the subject? Maybe not. Does all the stuff around it add to or take away from your message? Did you get right to the heart of the subject or dance around it?
If in doubt – see #2 above and take a few more shots to work the scene, but get in closer. Then, get even closer yet. Get so close that you feel like it’s a bit squished. Call it bracket cropping if you will (I think I just made up a new term, perhaps I should trademark it). You can always use the delete button later (look at them on computer though not your camera screen) but you can’t go back and get more shots once you’ve left the scene.
I just have one phrase for you – get closer and KISS.
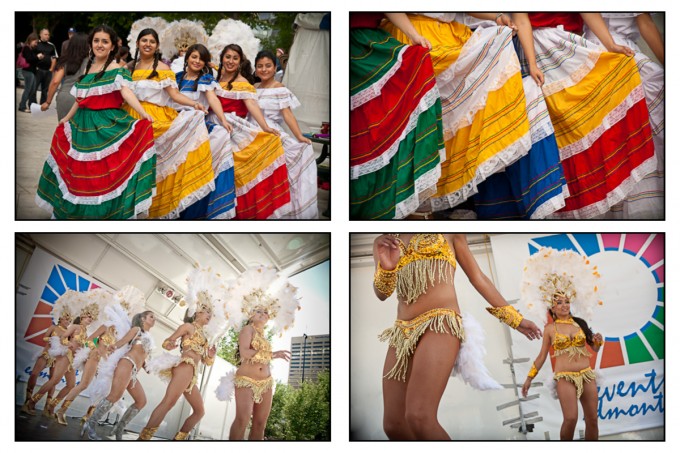
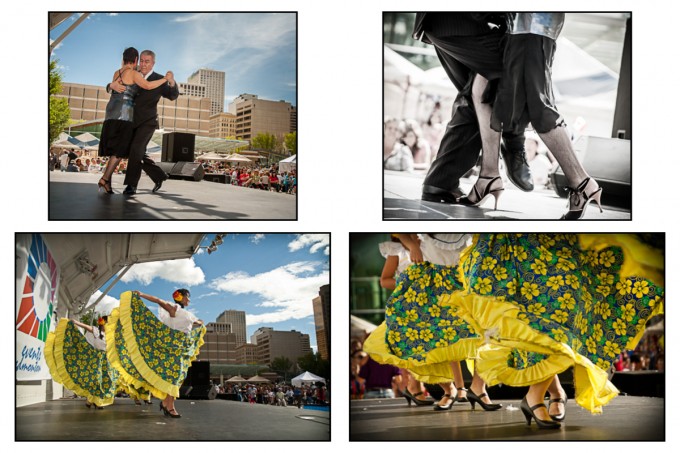
The following are images taken at a Latin festival for the organizer to feature the dancers. Notice how I took some wide shots, but I personally much prefer the tighter images, in close, just showing the feet or parts of the overall scene. Do I need to see the tango dancers bodies to know they are doing the tango? NO! If you’ve ever seen it, you know by the inter tangled legs that’s exactly what is happening in the second image. Which images have more impact and pull you in to the story?
Summary
Let’s recap. So to create more interesting photographs you just need to:
- BE more interesting
- Work the scene
- Shoot more often
- Ask “why?”
- Get closer
Sounds simple right? It really isn’t that hard. I personally think we make it harder than we need to. We think we aren’t creative enough, or good enough, or have enough time – so we don’t even try. If you want to change all that, if you’re managed to stay with me this far, take it to the next level and follow the action steps below.
Action steps
First get my FREE ebook 10 Challenges to Improve your Photography, without buying more gear! Simply subscribe to my updates and newsletter and you will get immediate access to download the PDF and get started. What are you waiting for, it’s free!
Next get out there doing some photography. Find a Meetup.com group in your area, join a photowalk, or create a 365 or 52 week project for yourself. Whatever it is – just get going!
Take it a step further and really take a leap – decide to go somewhere and buy a plane ticket to somewhere new and exotic, or contact a local charity to go volunteer your time with them. I promise you, either of those two things will expand your world and you can’t help but grow as a person and as a photographer.
Share your experiences and comments below. Do you have any other tips you’d like to add? Have you tried any of these things, what were your results?
Cheers,