Capturing incredible landscape photos can be a struggle.
But did you know that there are a few landscape photography secrets…
…that will have you shooting like the pros in no time?
In this article, I’m going to share with you 6 secrets for gorgeous landscape photos. You’ll come away with the ability to capture amazing shots–no matter your current skill level.
Sound good?
Let’s dive right in.
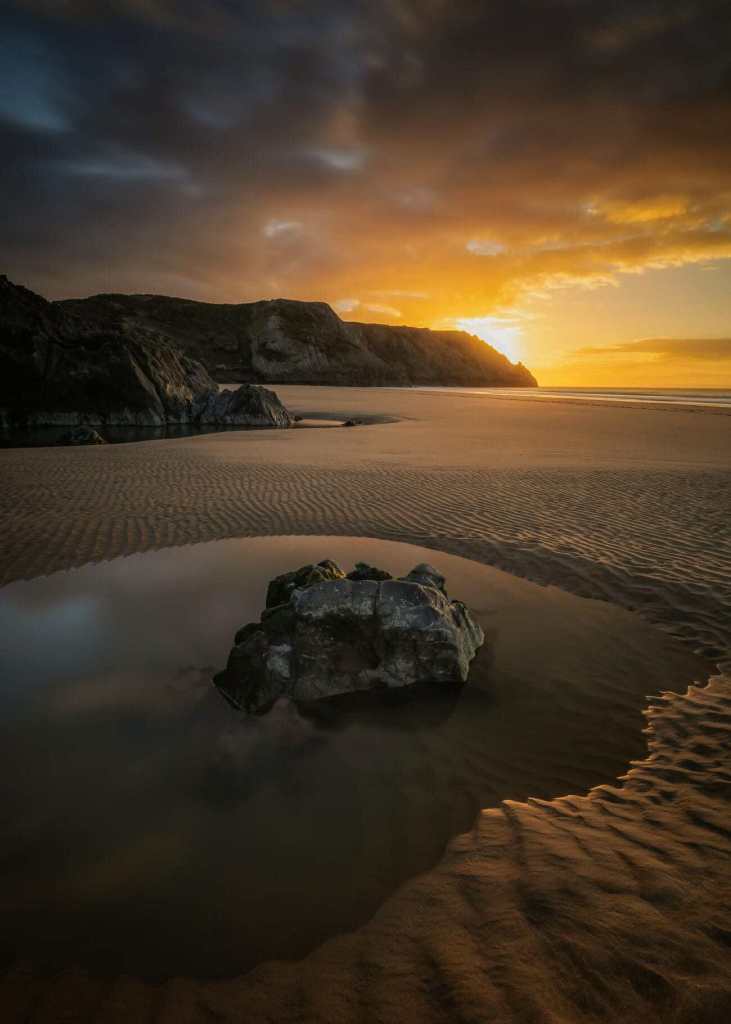
1. Shoot During the Golden Hours for Amazing Light
If you want to capture incredible landscape photos…
…then you need incredible light.
And the best light?
It’s found during the ‘golden hours.’
The golden hours are the short period during the beginning and end of the day–when the sun is low on the horizon.
(The hour after sunrise and the hour before sunset.)
The warm light during the golden hours can change an ordinary vista into something extraordinary.
One of the first things you can do to improve your landscape photography?
Spend time shooting during these golden hours.
Try to avoid shooting in the middle of the day when the sun is high in the sky and casts long, harsh shadows. Images taken during the middle of the day are difficult to capture and process.
Whereas the soft golden light of sunset/sunrise…
…will give your landscape photography an immediate boost.
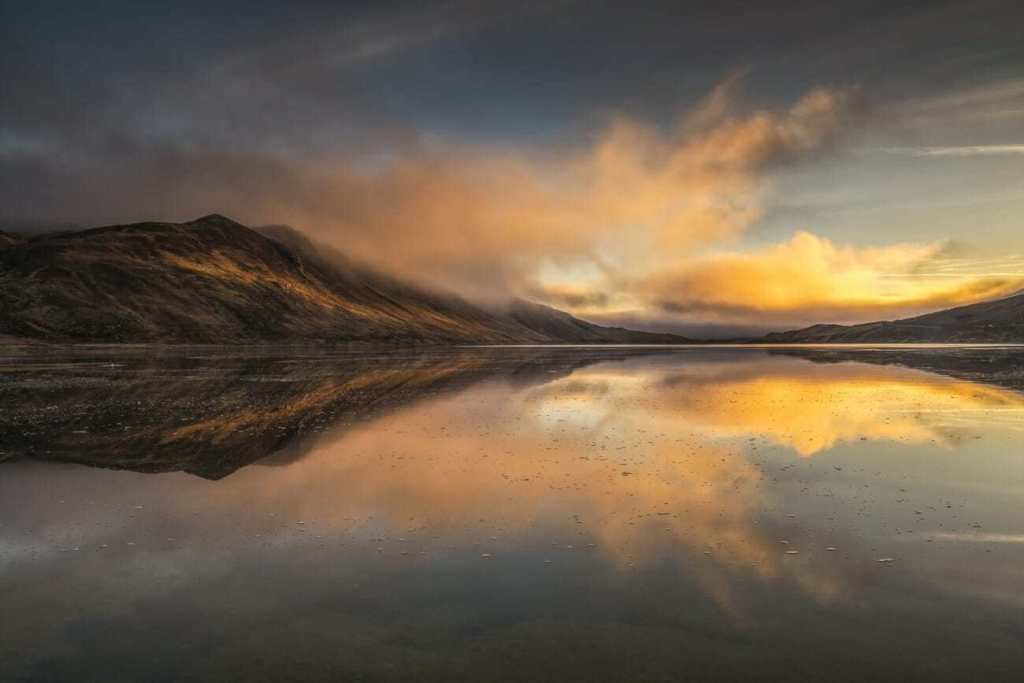
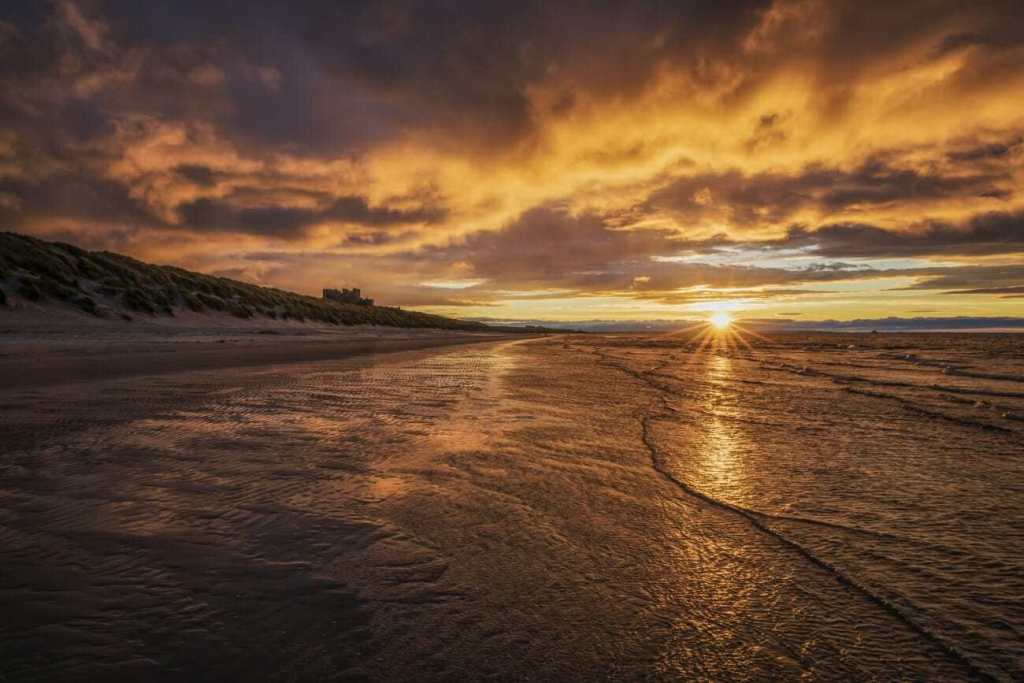
2. Photograph the Sunrise and Sunset for Gorgeous Colors
Do you want to capture brilliant,
Then shoot at sunrise and sunset.
Check the skies a few hours prior to your photoshoot. Take note of the cloud cover. If the sky is partially (but not completely) covered by clouds, that’s a good sign the sky will look incredible.
The problem with shooting dramatic sunrises and sunsets, however…
…is that such conditions involve massive dynamic range.
That is, there’s a huge difference between the brightest parts of the sunset and the darkest parts of the foreground. And your camera will struggle to cope with it.
Which brings me to my next tip:
3. Invest in Landscape Photography Filters for Perfect Exposures
Cameras are good at dealing with differences between light and dark in a scene.
But sunrise and sunset?
They’re often a bit too much to handle.
The bright yellows and whites of the sun get overexposed (blown out), while the dark parts of the foreground get underexposed (and lack detail).
This is where filters come in handy.
Because some filters are designed to darken the top half of the
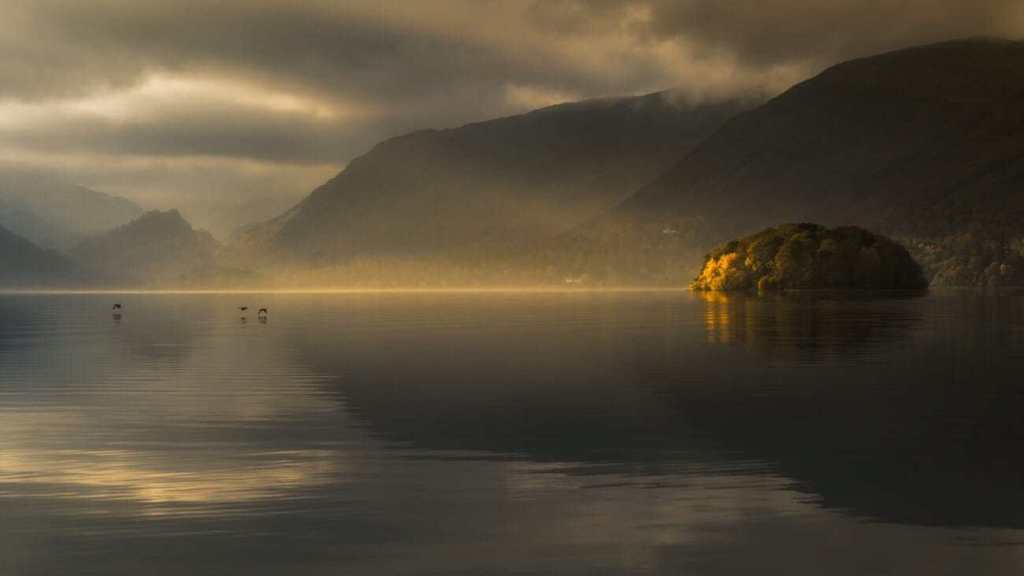
A graduated ND filter enables you to expose for the darker foreground while maintaining the highlights in the sky. This immediately gives you more control over an image–and saves you from extensive work in post-production.
Another filter that I use regularly is a circular polarizer. A circular polarizer can reduce glare on water, darken skies, and increase the impact of colors within an image.
Finally, you should also consider purchasing a 10-stop neutral-density filter.
You see, ND filters are essentially a dark piece of glass that sits in front of your lens and acts as a barrier between the lens and the light.
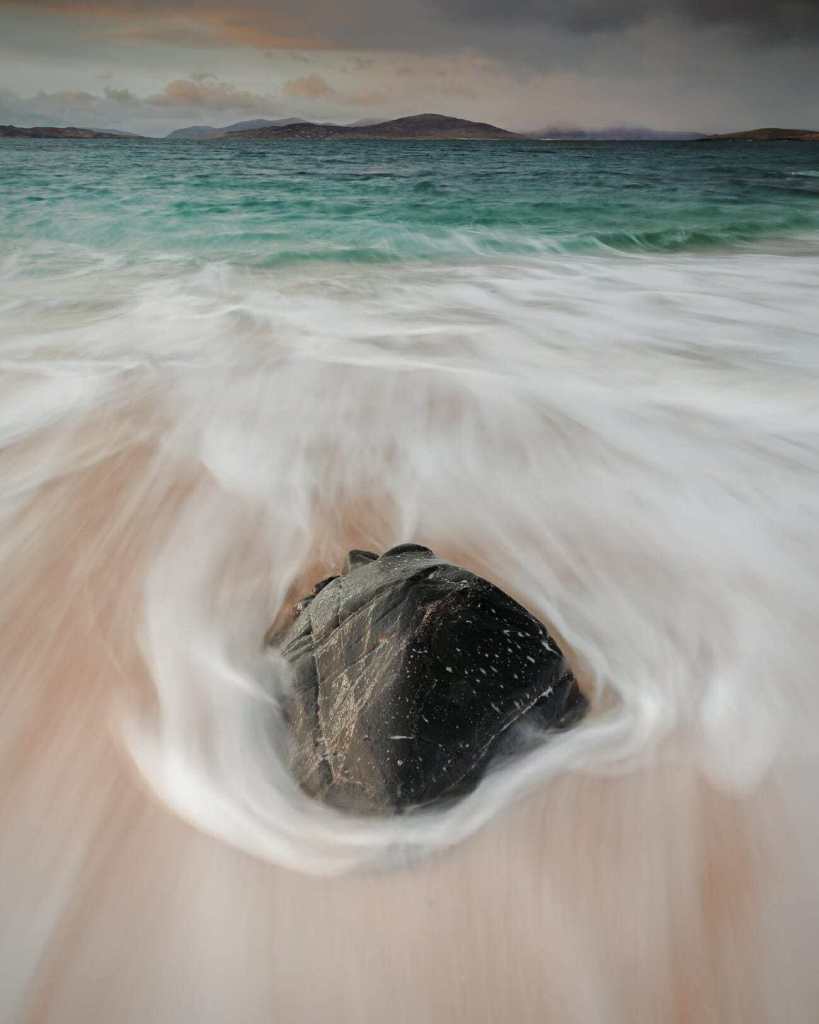
This allows you to lengthen the shutter speed–while keeping the aperture constant.
This is especially useful if you wish to capture the landscape in motion (for instance, during a seascape or a waterfall shoot).
However, shooting moving water with a neutral density filter requires another piece of kit, one that is essential for landscape photography…
4. Invest in a Good Tripod for Tack-Sharp Landscape Photography
Here’s a common mistake beginning landscape photographers make:
They invest a large amount of money in the good camera and lens…
…but they forget to purchase one of the most essential tools of all: a rock-solid tripod.
Now, I’m a firm believer that investing in a good tripod will have a positive impact on your work.
Why?
Amazing photos can easily be ruined by a shaky tripod (or a no tripod at all). Your tripod needs to keep your camera still–whether you’re capturing a long exposure or producing a 10-image panorama.
Knowing you have a trusty tripod–even in the most brutal of conditions–is invaluable.
So purchase a tripod.
And make sure it’s good quality.
This will free you up to make the most of the light and scenery.
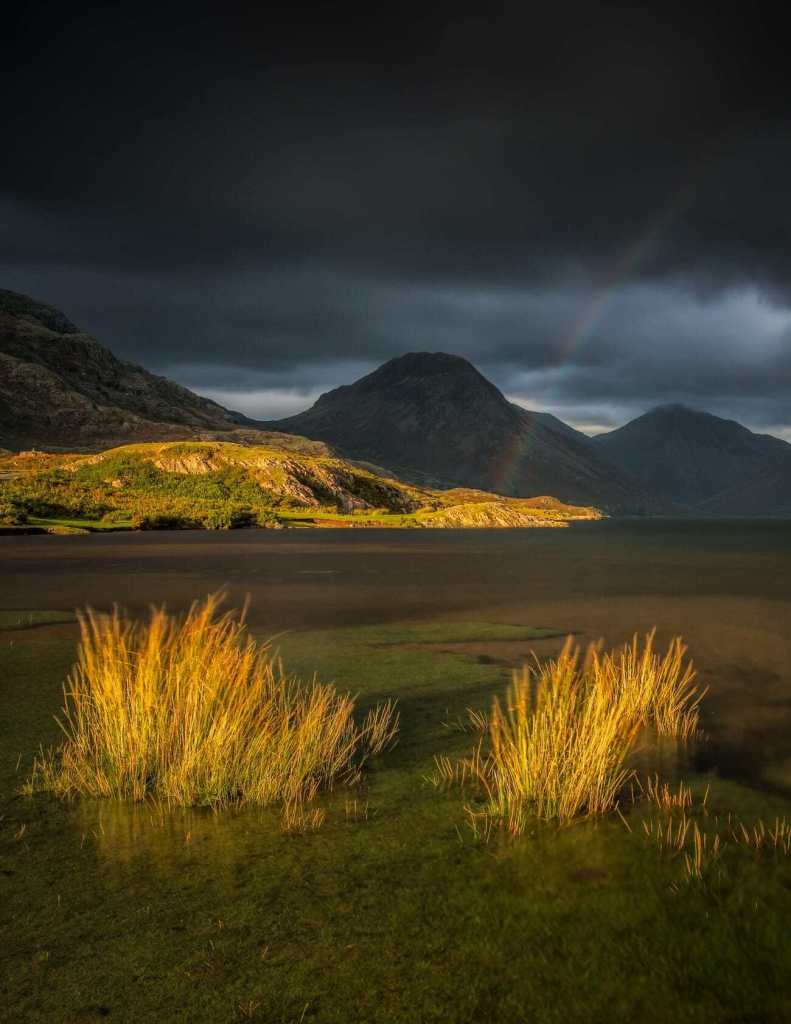
5. Create a Compelling Composition for the Best Photos
Here’s a fact:
One of the most important aspects of landscape photography?
Composition.
You have to carefully consider how you arrange the elements in your landscape photos. And you have to carefully consider what to include–and what to leave out.
If you use an ultra-wide lens, don’t get caught in the trap of including everything you see. Instead, be selective.
To make your images impactful, look for something to include in the foreground. A rock, some vegetation, or a river are all great options.
If you can’t find a compelling foreground, then consider switching lenses. Take a tighter shot of the scene. One where you emphasize a particularly gorgeous feature of the landscape.
That’s how you’ll capture amazing landscape compositions.
6. Experiment With Different Shooting Modes for Incredible Landscape Photography
Beginner landscape photographers often stick to ‘Auto’ mode–where the camera makes all the decisions.
But if you stick to ‘Auto’ mode?
You’re going to struggle.
Because ‘Auto’ means that the camera controls every aspect of the photo, such as the aperture and shutter speed. That means you aren’t really in control of how the image will turn out.
Instead, take control of your camera!
To do this, there are two shooting modes that I suggest you use:
The first is
For most wide-angle landscape photography captures, you want your image to be pin-sharp–from the front to the back of the frame. This calls for an aperture of f8 to f13.
So switch on Aperture Priority mode, and dial in the aperture you need. Your camera will do the rest!
The other mode that I suggest you use?
Manual mode.
This gives you control over everything. It can be very useful if you’re photographing scenes that are tough to expose.
Now,
That’s why I recommend starting with Aperture Priority until you feel comfortable. Then you can start to experiment with Manual mode.
It can result in incredible landscape photography.
Capture Gorgeous Landscape Photography: Next Steps
Now you know how to capture stunning landscape photos.
You know how to carefully compose your photos.
You know to find the best light.
And you know what equipment to buy.
The next step?
Get out and start shooting!
Some amazing opportunities await.
Download FREE Photography Lighting Cheat Sheet
Subscribe and get a free downloadable photography lighting cheat sheet