Photo by Pixabay / Pexels License
Most landscape photographers are self-taught. They may have read books, watched videos, or used other resources to help along the way, but most have no formal training or education related to photography. When I did a series of interviews with accomplished landscape and nature photographers, I always asked if they had any formal training. About 90% of them said they had no formal training.
Landscape photography is definitely a skill that you can learn and master on your own, but it takes a lot of trial and error. In this article, we’ll take a look at some of the common challenges that new nature photographers face, as well as how to overcome these challenges.
1. Technical Overwhelm
If you’re reading photography books or online tutorials, it’s pretty easy to become overwhelmed with the technical details. Things like how to photograph in manual mode, understanding the exposure triangle, and knowing where to focus, can get overwhelming if you are trying to learn everything at once. And if you are trying to learn the specific functions of your camera and how it works, that can add even more.
How to Overcome it: Although photographing in manual mode gives you the most control and flexibility, don’t feel like you need to start with manual mode as a beginner. Aperture priority mode is an excellent choice in most situations, and it’s much easier to grasp as a new photographer.
Don’t feel like you need to learn everything at once. Focus on small, consistent improvements. As you comprehend one thing, add something else.
Understanding composition is a good place to start, because it’s relevant regardless of whether you are photographing in manual mode, aperture priority, shutter priority, auto, or any other mode.
→ Related reading: 8 Ways to Improve the Composition of Your Landscape Photos
2. Moving Too Fast
One of the biggest problems for many new photographers is that they tend to move too quickly. This is probably the result of the mentality of a traveler or tourist who is quickly taking snapshots and moving on to the next thing.
If you want to get the most out of your work, you’ll need to slow down and take your time. Don’t quickly fire away at any subject of interest. Take the time to walk around the scene and find the best views and most interesting compositions. This can make a huge difference in your work.
You also want to take your time after you’ve captured the photo. Check it on the LCD screen and make sure it looks good. If not, change something and try again. Be sure that you’ve got the photo to your satisfaction before moving on.
How to overcome it: I’m not a patient person, so moving too fast is something that I constantly have to fight. Here are a few things that I’ve found to help:
- Use a tripod. Working with a tripod forces you to slow down and really think about your composition (plus it helps with the sharpness of your photos).
- Don’t pack your schedule. When you are planning your outings, leave yourself plenty of time at each location. Don’t try to pack too much into a short period of time or you will always be rushed.
- Photograph by yourself or with others who are ok going slow. When I’m traveling with my family, I usually take my camera with me. But with two young kids, there is no chance to slow down and take my time. I get far better results when I am out on my own. On family vacations, that usually means getting up before sunrise and getting out on my own while everyone else is still sleeping or just waking up. If you do photograph with someone else, another photographer who is ok with a slow pace is a good companion.
Be sure that you are taking the time to stop and enjoy the scenery. If you’re constantly focused on taking photos, you may find that you didn’t even get a chance to really appreciate the beauty in front of you.
3. Composition Rules
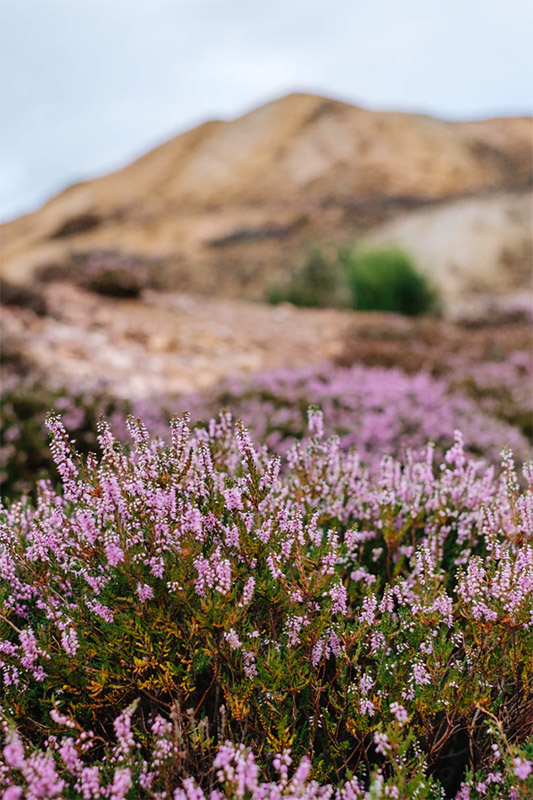
Photo by Felix Mooneeram / Unsplash License
There are so many different composition rules that it can be overwhelming. As a new photographer, it’s hard to think about so many different things at one time, and the end result is that nothing really sticks with you.
How to overcome it: When you’re getting started, just pick one or two simple composition rules that you can keep in mind, and don’t even think about the other rules for now.
The rule of thirds is a great one to start with, because it’s very general and can be applicable in a wide variety of situations.
Another good rule to keep in mind as a beginner is to find foreground interest. Again, this is something that can impact a high percentage of your photos.
Keep these two rules in mind and you’ll be off to a good start. Once you have a good grasp of those rules, you can add in some others.
4. Dealing with Lighting
Lighting is a critical aspect of landscape photography, but you may feel like you’re dealing with poor lighting conditions most of the time.
How to overcome it: Planning is the best way to improve the lighting conditions that you’re working with. Many new landscape photographers tend to take photos when it’s convenient, and that often leads to challenging light conditions.
If you’re on vacation with your family and you want to capture beautiful photos of the Grand Canyon, you’ll probably need to adjust the schedule. Tourists are usually out at the middle of the day, when the sunlight can be harsh and not ideal for photography. Much better light is available at the golden hour or blue hour, before or after sunrise and sunset. If you want to get photos in the best lighting, you’ll need to plan your schedule accordingly instead of just taking photos whenever you happen to be out.
Planning can also help by being aware of the weather conditions. Different weather conditions are ideal for photographing different subjects. For example, an overcast or rainy day may not be considered good weather by most people, but if you want to photograph waterfalls or streams in a forest, this weather could give you the best conditions.
→ Related reading: Photographing Landscapes in All Weather
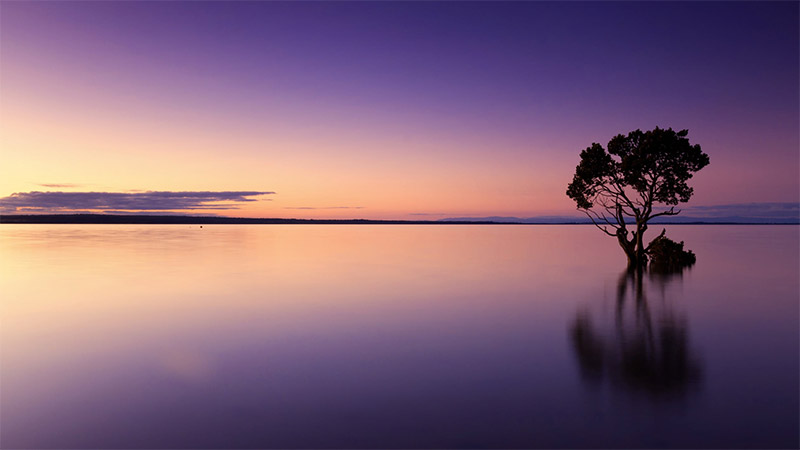
5. Dynamic Range
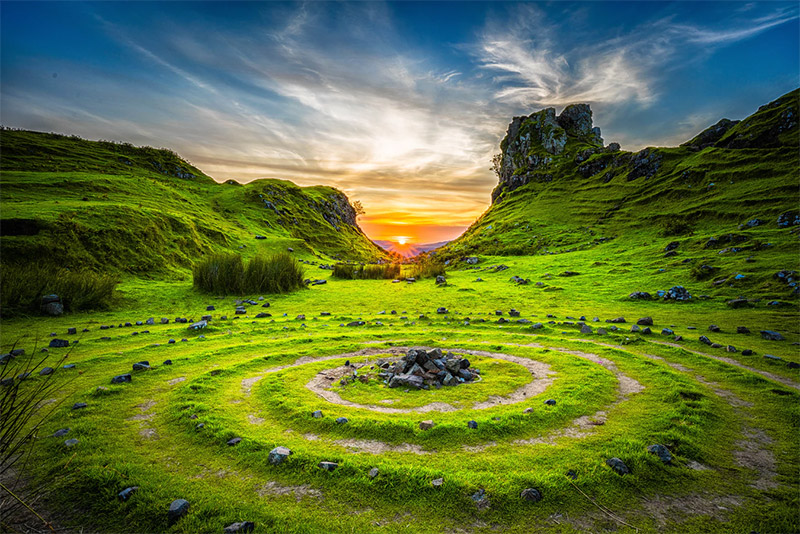
Photo by Robert Lukeman / Unsplash License
One of the most common problems with landscape photography involves dark shadows and/or blown out highlights. Although modern cameras are getting much better at dealing with a wide dynamic range (dark areas and light areas in the same scene), no camera is able to capture the scene quite the way the human eye would see it.
If you’re photographing a sunset, you may find that you’re either blowing out the highlights in the sky or getting black shadows, with no way to capture the full dynamic range of the scene.
How to overcome it: First, software like Lightroom makes it possible to improve your photos by adjusting the highlights, shadows, whites, and blacks. Lightening the shadows and bring some detail back to the highlights can make a huge difference. You can even use presets like HDR Hero to quickly improve the look of your photos.
Another option in post processing is to use software to merge or blend multiple bracketed photos of the same scene. Lightroom has HDR capability, or you can use dedicated software like Aurora HDR.
The challenge of dynamic range can also be addressed when you are taking the photo. A graduated neutral density filter will help to balance out the exposure by darkening one part of the scene. For example, you can use a GND filter to darken a the sky at sunset, and prevent the highlights from getting blown out.
6. Finding Places to Photograph
When you’re looking to work on your landscape photography skills, one of the first questions that comes to mind is “Where can I go to take photos?” Maybe you live in an area that is surrounded by natural beauty everywhere you look and this isn’t a problem for you. But for many people, knowing where to go can be a challenge.
How to overcome: The first step to overcoming this problem is to understand that you don’t need to be at an epic location in order to come away with great photos. You can simply head to a local park and work on improving your skills there.
Here at Loaded Landscapes, we have a huge collection of resources for the purpose of helping photographers like you. We have a comprehensive list of the best places to photograph in every state, every Canadian province and territory, and each of the countries in the United Kingdom. You can use these guides and the maps on the pages to find locations near you.
Although our resource guides are extremely helpful, if you’re looking for even more places to photograph, you can do some research on your own. Message boards and forums can be great places to find recommendations. You can even search Flickr for landscape photos in your state, town, or county and read the descriptions or check the GPS coordinates (if available) to see where they were taken.
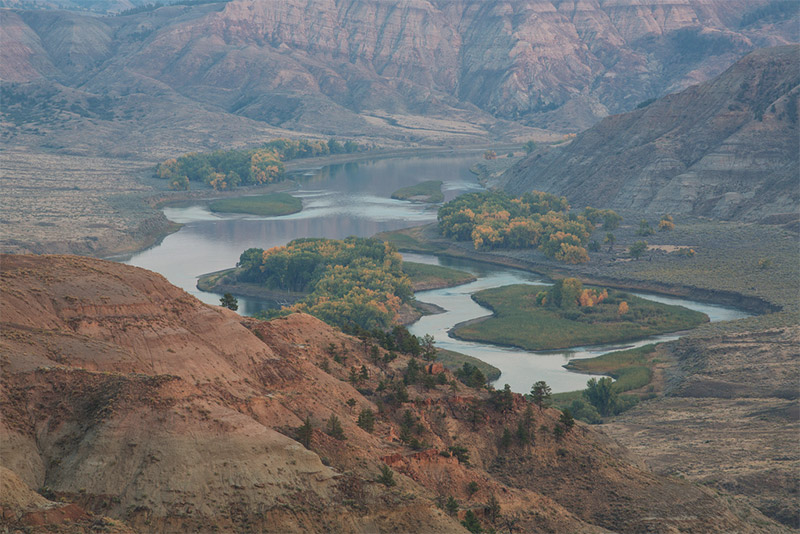
Upper Missouri River Breaks National Monument by Bob Wicks / CC BY 2.0
7. Post Processing
Post processing is another aspect of photography that can be overwhelming at first. Software like Photoshop and Lightroom can be intimidating, so many new photographers either don’t use it at all, or they don’t know how to use it to get the best results.
How to overcome it: Lightroom has a smaller learning curve than Photoshop, so I recommend using Lightroom (it’s also incredibly powerful). There are basically two ways that you can start using Lightroom effectively, even without much experience:
- Use Presets – Lightroom presets will help you to get the look that you want without the need to master Lightroom on your own. Our Landscape Legend is the most comprehensive collection of Lightroom presets created specifically for landscapes and nature photos. Thousands of new photographers have used Landscape Legend to get results that they love.
- Get Training – Of course, you can improve your own knowledge and skill with Lightroom to get better results with your photos. Our video course Lightroom for Landscapes walks you through everything you need to know in order to effectively process your own nature photos.
Now that you are aware of some of the common challenges and ways to overcome them, you should be able to see more consistent progress and get past the beginner stage very quickly. Best of luck with your photography!
Photo License links: Unsplash, Pexels, CC BY 2.0