Everyone’s list of Lightroom tricks and shortcuts is a bit different and when I started to compile mine I wasn’t 100% sure what they were exactly. It’s funny how you don’t even realize you’re using these handy timesavers as they become second nature when you apply them within your editing workflow.
In this 6-minute video, I review my list of 7 essential Lightroom tricks that I use on a daily basis. These are placed in order of importance simply based off of how often I use them. Some of these are widely known and others I don’t hear discussed very often – hopefully you aren’t familiar with all of them and you’re able to pick up a couple new ones that you can apply to your editing process moving forward.
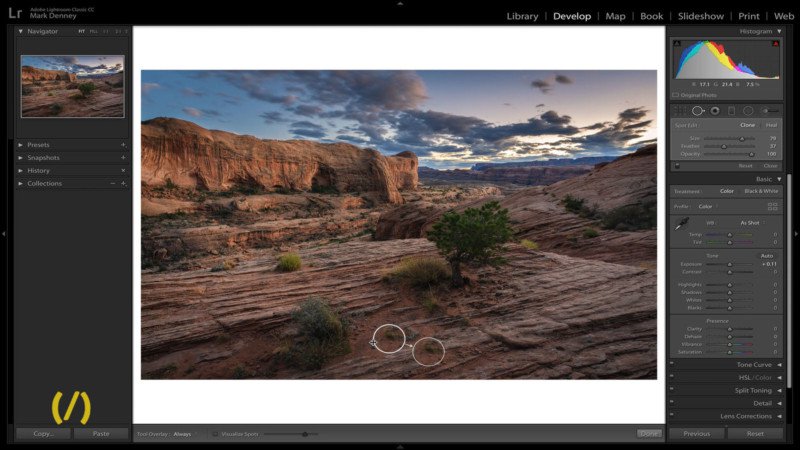
7. Spot Removal Reselect

How often does Lightroom auto select an inaccurate area of your image to use as the basis for the spot removal tool? Happens to me all the time and if it happens to you, just hit the forward slash key ‘/‘. This will tell Lightroom to make another selection – you can keep doing this until you’re happy with the selection.
6. Increase Your Feather
Simply holding down the Shift key while simultaneously hitting either of the bracket (‘[‘ or ‘]‘) keys, this will increase or decrease the size of the feather of your local adjustments brush. A super simple trick, but insanely useful!
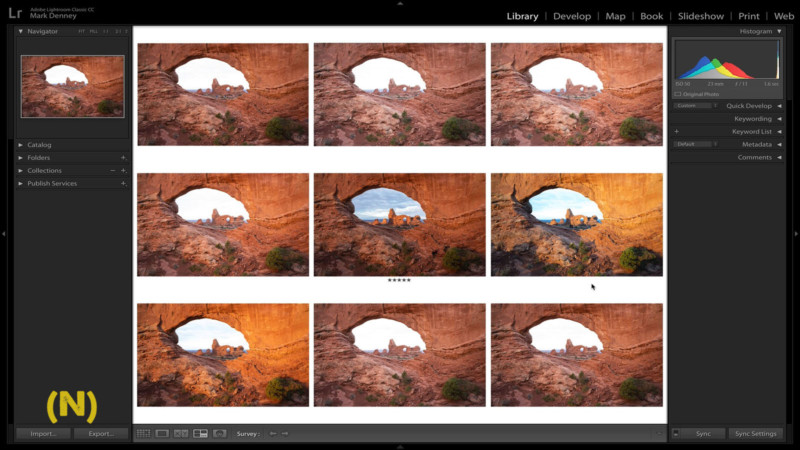
5. Survey Mode

This is a great tip for landscape photography when you have many images that look seemingly identical: while in the library module, if you highlight say 9 images and select the ‘N‘ key this will bring up the survey mode. This is a great way to figure out which one if the keeper!
4. Shift Double-Click Slider
Not sure what the name of this trick is so I just made one up. While in the develop module, if you hold down the Shift key and double-click the sliders within the basic panel, Lightroom will automatically set that particular slider to what the “auto” setting should be. This is a great way to get an idea on one certain slider as opposed to hitting the actual auto button which will set all sliders to the “auto” setting.
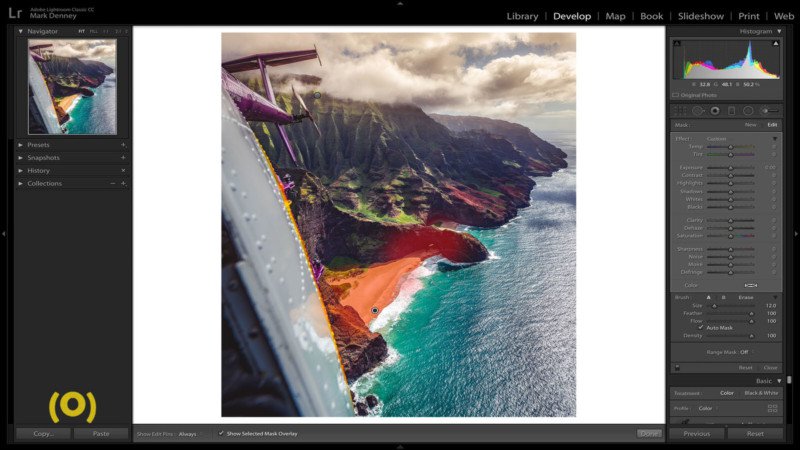
3. Show Selected Mask Overlay

Not sure why Lightroom decided to make the “Show Selected Mask Overlay” checkbook so small, but if it drives you bananas trying to click this every time you want to see the mask you’ve applied, just hit the shortcut key ‘O‘.
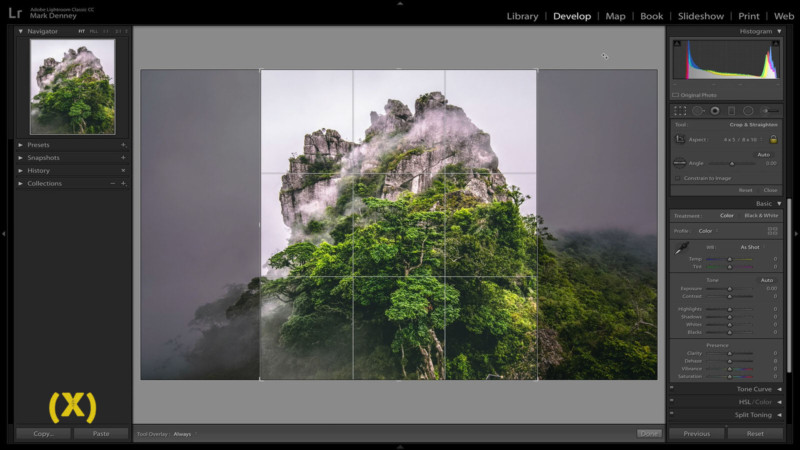
2. Instagram Crop Shortcut

If you have an image in a landscape orientation and you want to crop it to the 4×5 aspect ratio for Instagram you’ll notice that 4×5 for landscape orientation is different than 4×5 for portrait orientation which is what Instagram prefers. I quick way to make this adjustment is to use the shortcut key ‘X‘.
1. Before & After Key
This is a fairly popular trick and it’s one that I use many times throughout my day. While in the develop module on a particular image you can select the backslash key ‘‘ to show you what your image looked before any edits were applied.
Like I said earlier, I hope you weren’t familiar with all of these tricks and shortcuts and you were able to walk away with at least a few new ones that you can apply to your post processing workflow moving forward.
P.S. If you enjoyed this video and article, you can find more by subscribing to my YouTube channel.
About the author: Mark Denney is a landscape photographer based in North Carolina. The opinions expressed in this article are solely those of the author. You can find more of his work on his website, Facebook, Twitter, and Instagram.