It’s spring in the Northern Hemisphere – finally! So it’s time to dust off your camera and get out and do some spring photography. As you get going for the season, here are 7 tips to help you improve your images and take better photos.
The seven tips for better spring photography
- Add some “flare” to your images (a sun flare that is)
- Get closer and narrow in on one subject.
- Watch the background.
- Look for the light.
- Get down low.
- Try something new and different.
- Get up early or shoot until late.
Now let’s delve into each one a bit deeper.
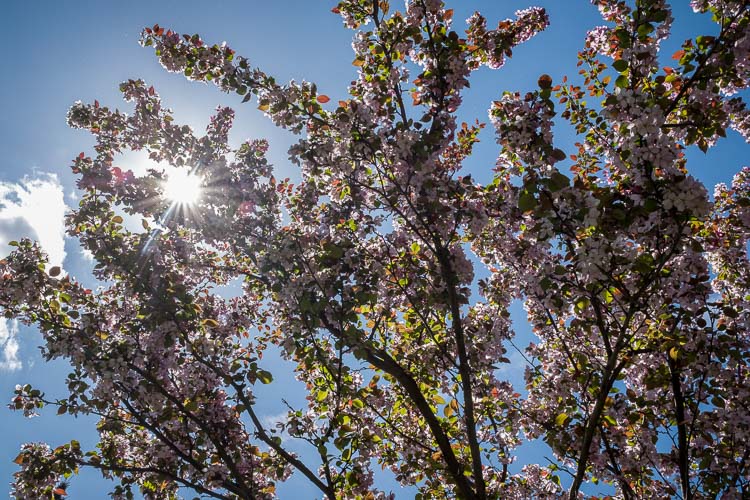
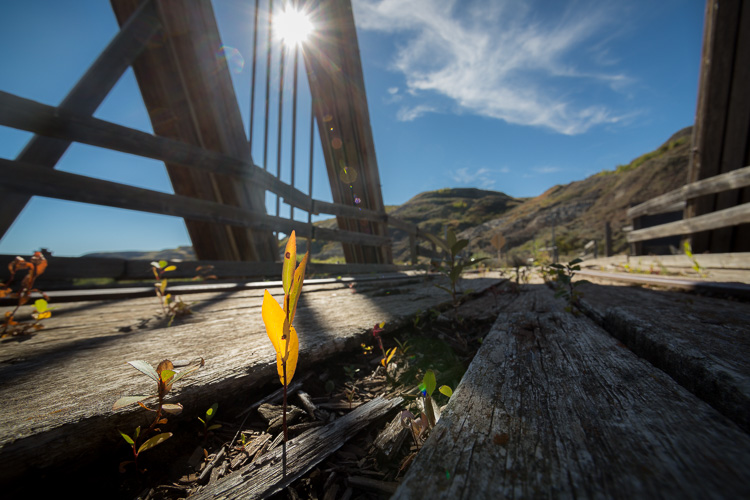
#1 – Add some flare to your images
In this case, I mean literally.
Usually, you don’t want to have any flare in your images, but adding a sun flare intentionally can add a nice mood to your image. It can help make it feel light, airy and bright – like spring.
I wrote some tips on how to do this here: How to Create Sun Flares for Effect In-Camera

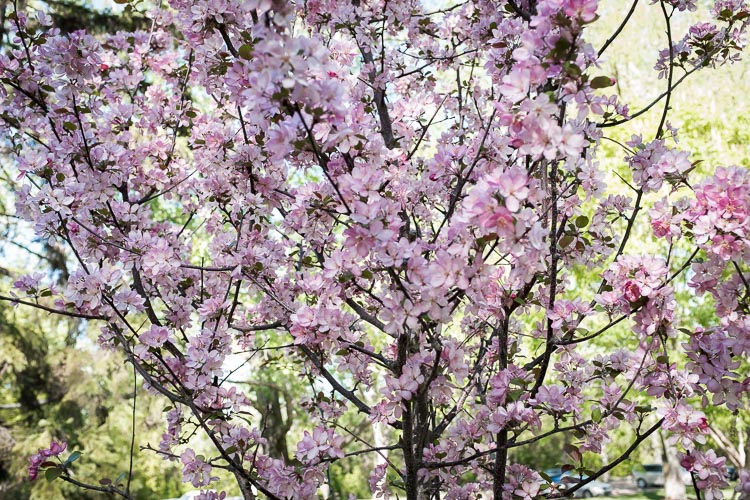
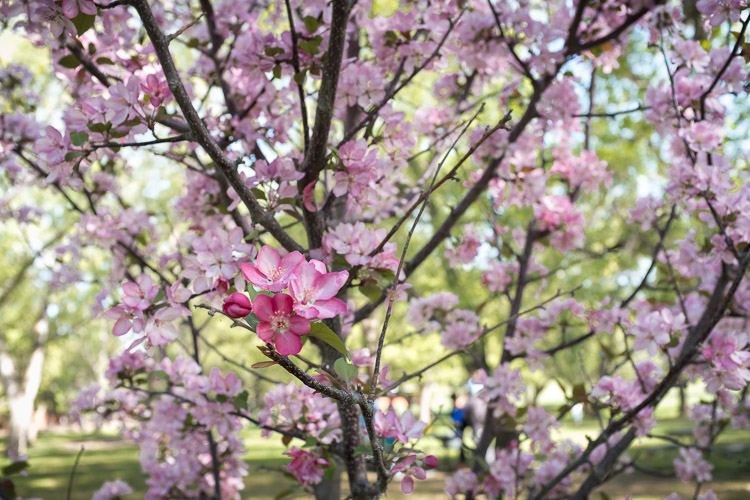
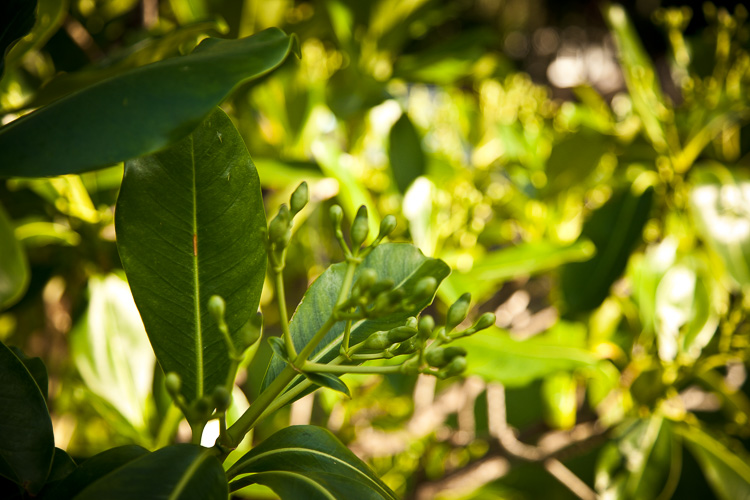
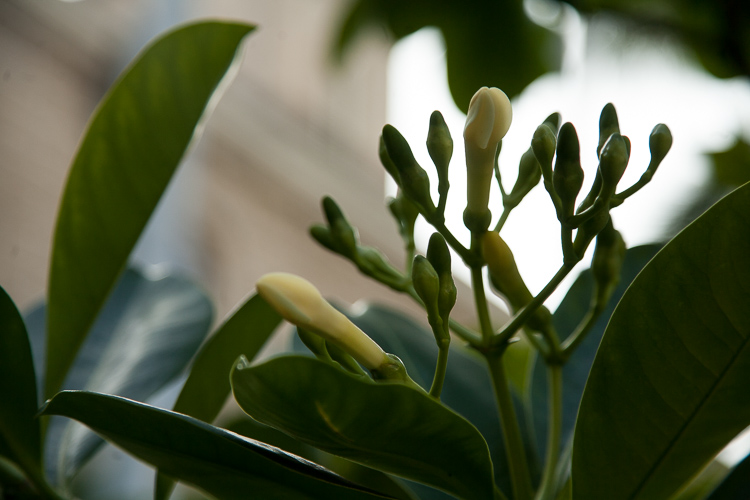
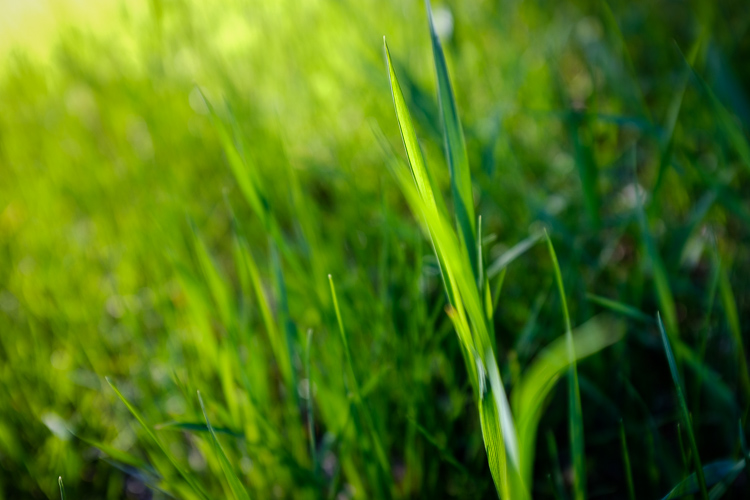
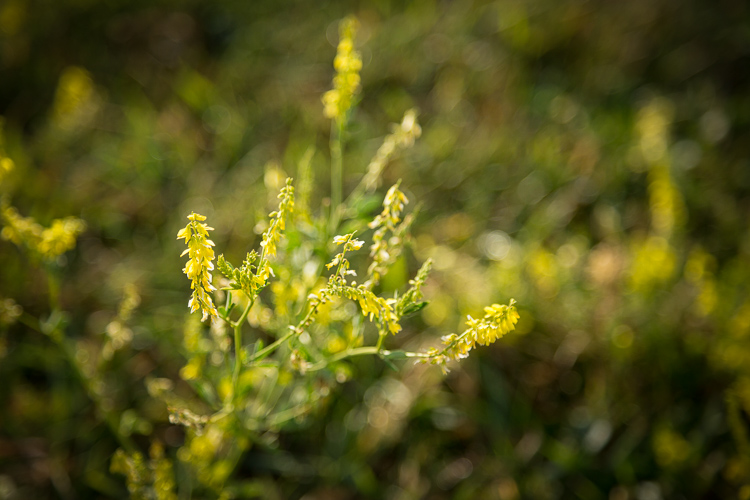
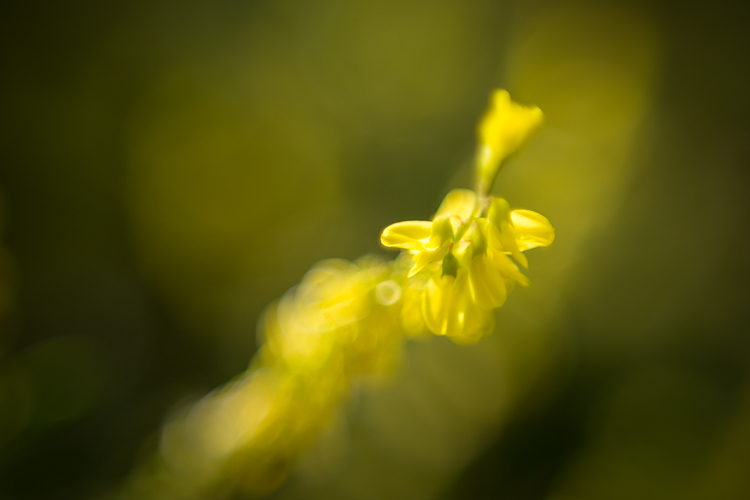
#2 – Get closer and pick one subject
One of the most common beginner mistakes is putting too much stuff into the image.
If you have read my e-book, 10 Photography Challenges (Get it for free by subscribing), you will know one of the things I preach a lot is getting closer to the subject.
So take a shot, and review it carefully.
Look at the edges of the image – is there anything that’s distracting or not necessary for the shot? If so, get closer and crop it out in camera. Review again. Is there a clear subject now?
Look at the image from your prospective viewer’s perspective.
If they see the image for the first time will the subject really jump out? Or do they have to hunt for it? If there’s hunting involved – well you know what to do. Get closer yet!
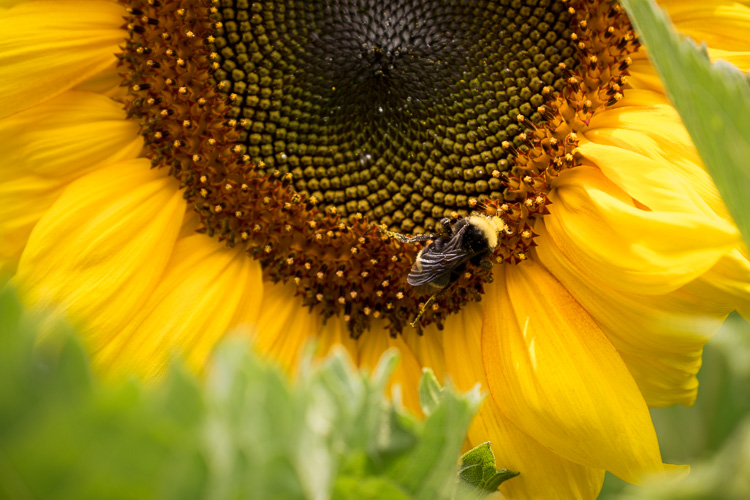
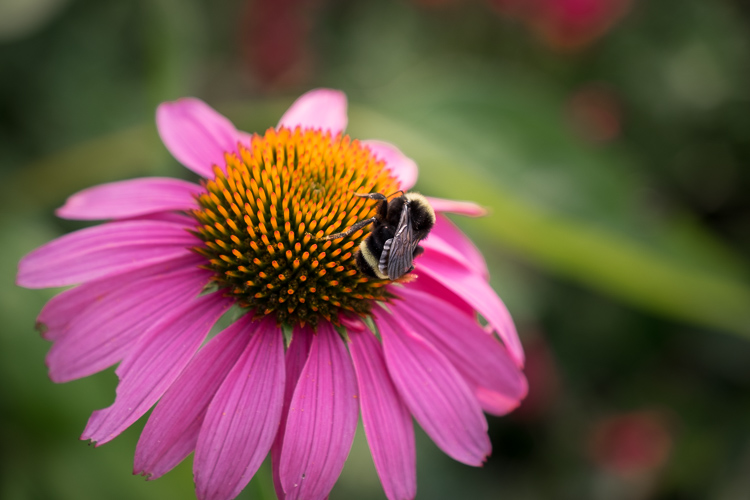
Here are a few examples:
Okay, are you starting to get the idea?
But let’s take the image above and go one step further. This time not changing the distance but isolating the subject even more by changing the aperture to blur out the background.
The image above was shot at f/11, watch what happens next.
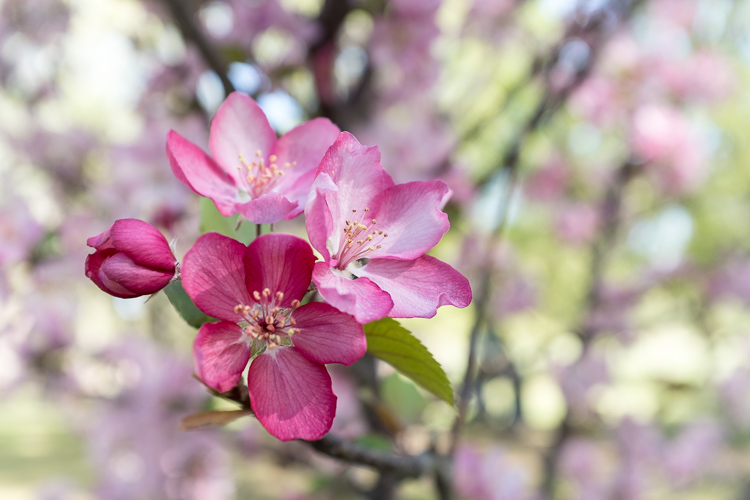
None of the images have been altered in post-processing, they’ve only had basic adjustments for contrast and sharpness done. See what a difference getting closer, and the camera settings you choose make?
If you want to practice this tip, try this challenge: Simplify – June Photography Challenge
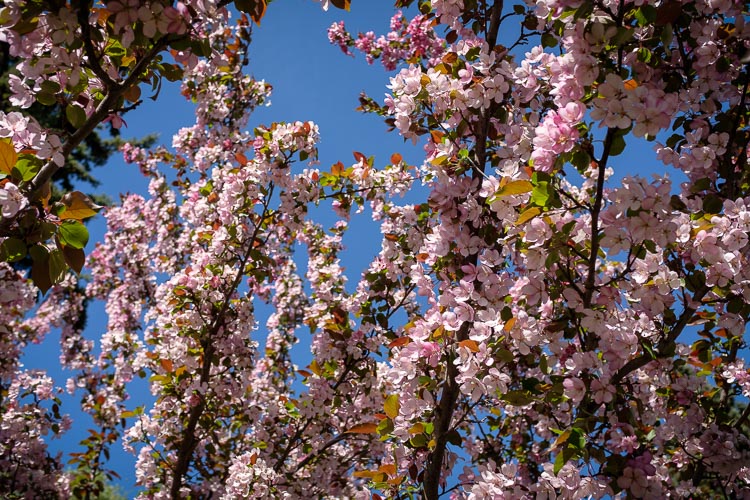
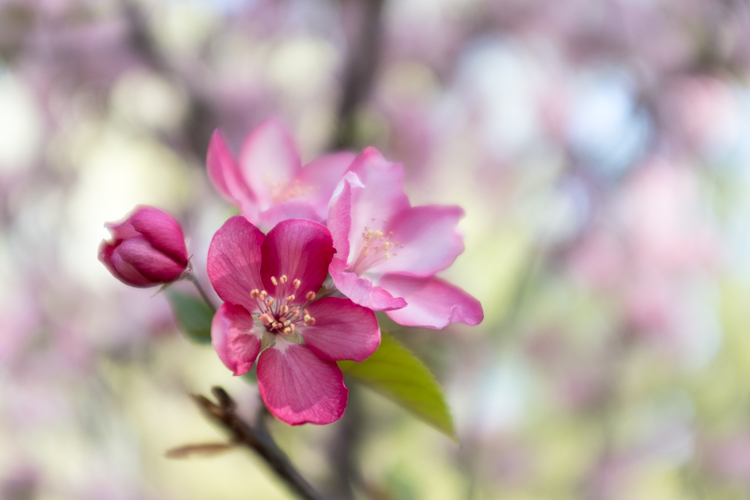
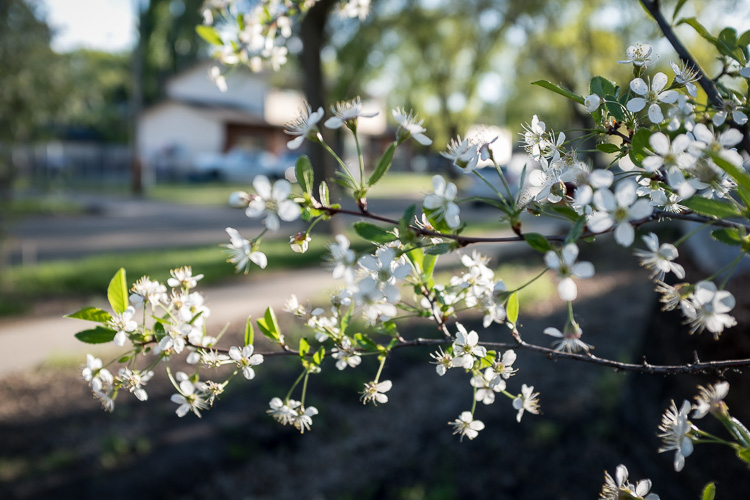
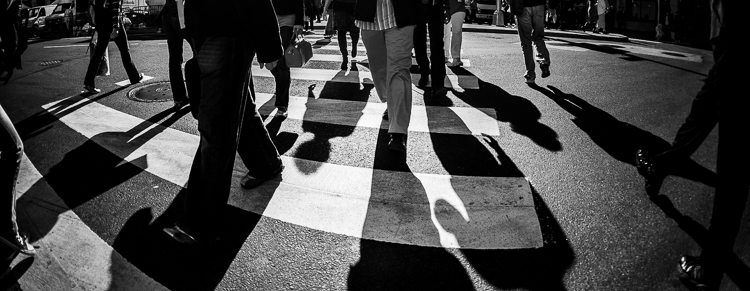
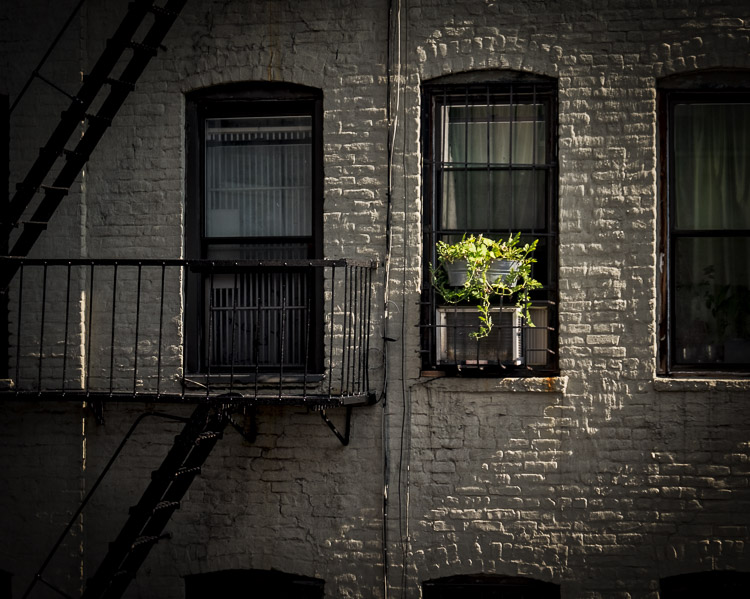
#3 – Watch the background
The tip above leads right into the next one which is to watch the background. In the example images above you can see what a difference getting closer, and choosing your aperture carefully make to the image. You learned to look at the edges of the frame, now let’s consider the entire background.
Which direction you point your camera, and the background you choose for your subject can make or break your image. There are four things that will draw the viewer’s attention. These are things you do NOT want in the background:
- Overly bright spots or areas.
- Brightly colored objects.
- High contrast.
- Things which are in sharp focus.
Here’s an example:
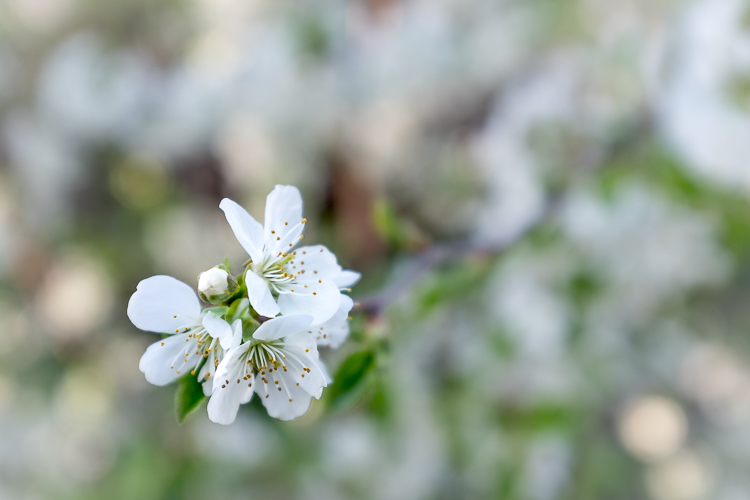
Change your position if necessary
Once you find an interesting subject, work the scene a little.
Take a few shots, try different angles and camera settings.
You may need to actually move your feet too! So look at that background and if it’s not adding anything to your image, it may be taking away from the subject.


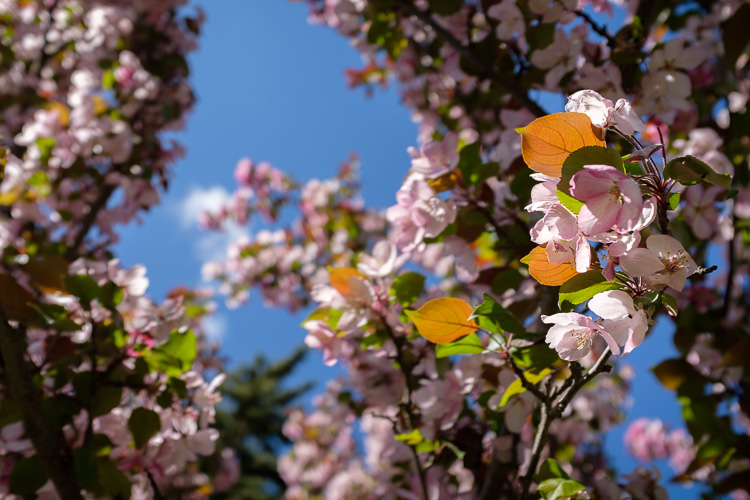
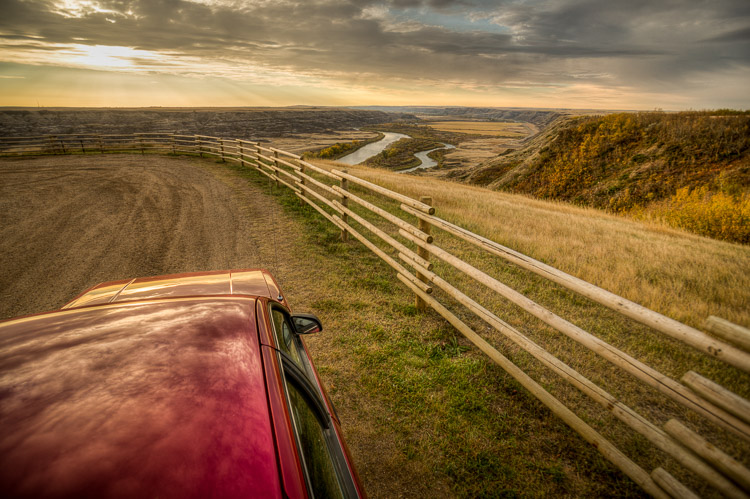
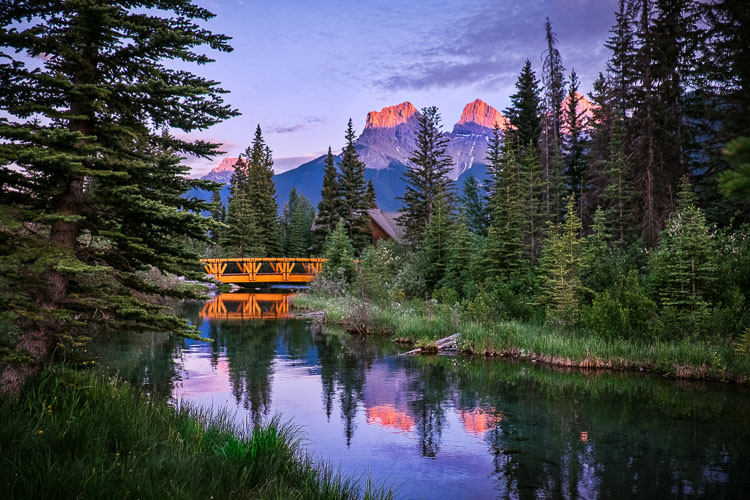
#4 – Look for the light
I’ve said it before, but it is worth repeating.
Light is everything in photography!
We have a few articles about light here on DPM so I’ll let you read those and leave you with more of an inspiration here. I want you to start putting light first on your list of most important things to look for when you’re shooting.
Think about light as THE subject and make sure it not only works with the subject but flatters it and tells the story you want to tell.
If you want more drama in your images – include more shadows. If you want a soft delicate feeling in your image, choose soft light.
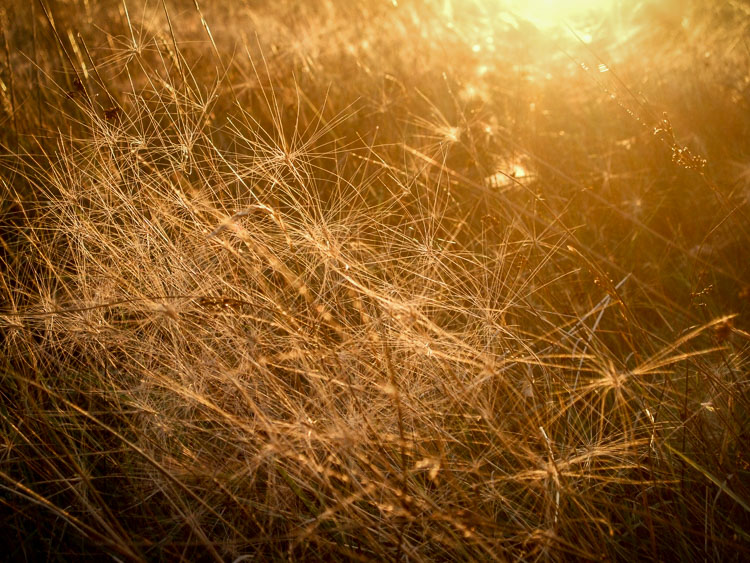
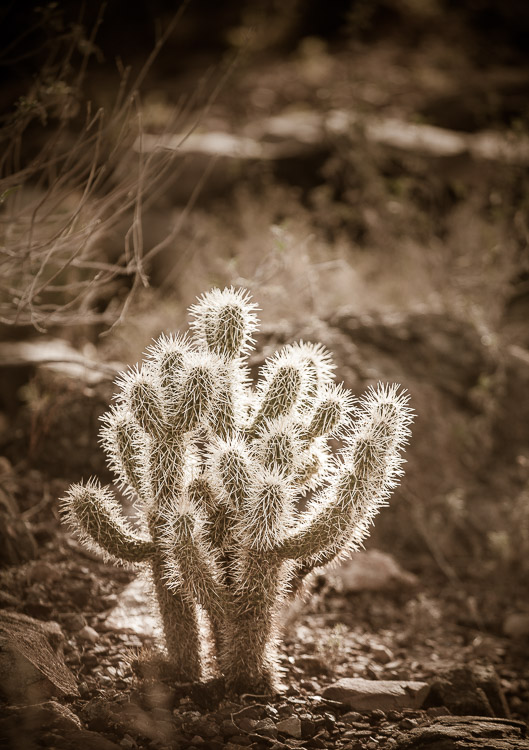
Look for side lighting for enhancing the texture in your scene, or backlighting to make a silhouette or highlight the subject.
Fear not the shadows!
Read this for more tips on this: 5 Tips for Using Shadows to Create Dramatic Images
Find and enhance texture with side light
Just finding a subject with good texture isn’t enough to have it translate into a good photograph. The lighting must be right. So to enhance the texture of a rough subject, always look for light coming across the subject from the side, just skipping across the surface.
Read this for more tips: How to Create Texture in your Photographs
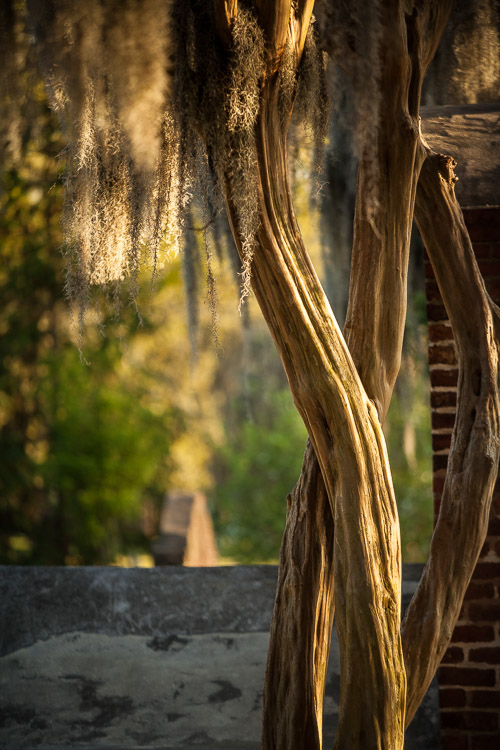
Backlighting
Many subjects look great when the light is coming from behind (backlight) or through them. A good example of that is plants and flowers. They look fantastic backlit, always glowy. Backlighting is also needed for creating a silhouette.
Read for more on that topic: Silhouette Photography Tips – 3 Keys to Great Photos


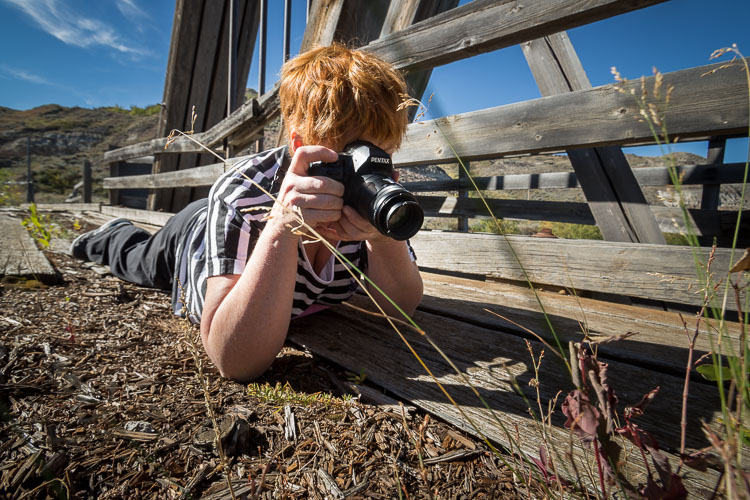
#5 – Get down
Okay, it’s time for you to get down, and I don’t mean to boogie!
I’m talking about changing your perspective and literally getting down on the ground.
By choosing a camera angle that is different than how most people see the world, which is from their eye level, your images will start to stand out from the crowd.
The average person with a cell phone doesn’t crawl around on the ground to get photos. So if you’re willing to do that which is a bit uncomfortable, you can take your photography up a notch above those folks.
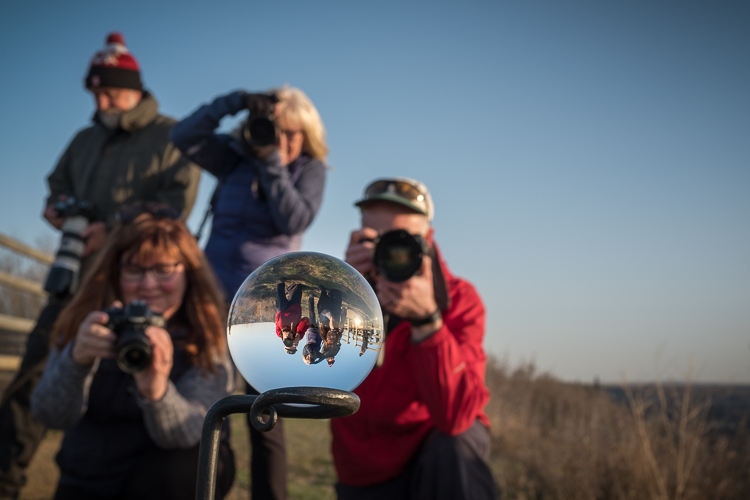
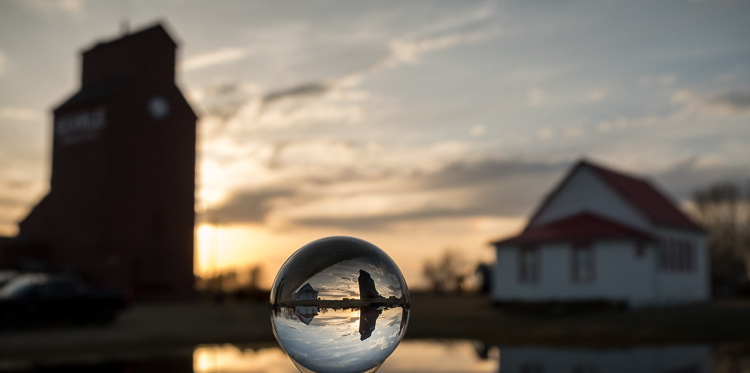
#6 – Try something new for you
This time of year is a great opportunity to learn a new technique, get a new lens, try a new post-processing idea, etc. So for your spring photography, I urge you to get outside of your normal methods and try something different.
Some ideas:
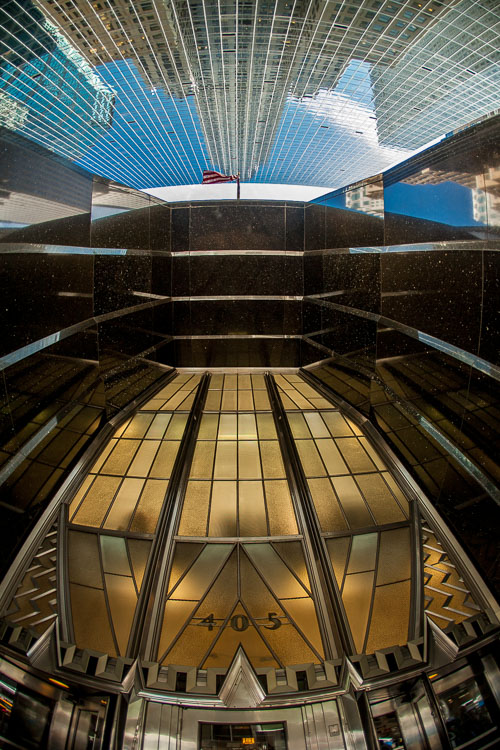
Fish-eye lens
A fish-eye lens is one that has a super-wide angle of view, almost a circle. You have to be careful not to get your own hands and feet in your shots, that’s how wide it is.
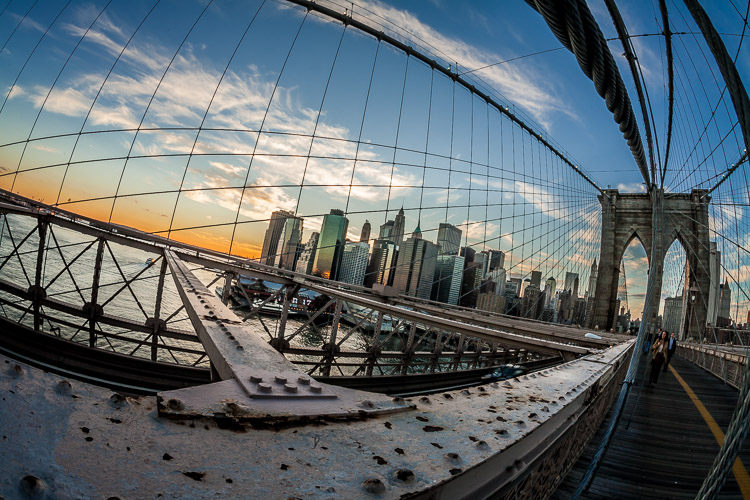
Even if you never buy one, look into renting one for a day from your local camera store or one that rents gear in a city you plan to visit. I did that in NYC years ago and how have an 8mm fish-eye for my Fuji camera (there’s a version for Canon and 4 Thirds cameras available as well). I don’t use it a lot, but it can really create unique images.
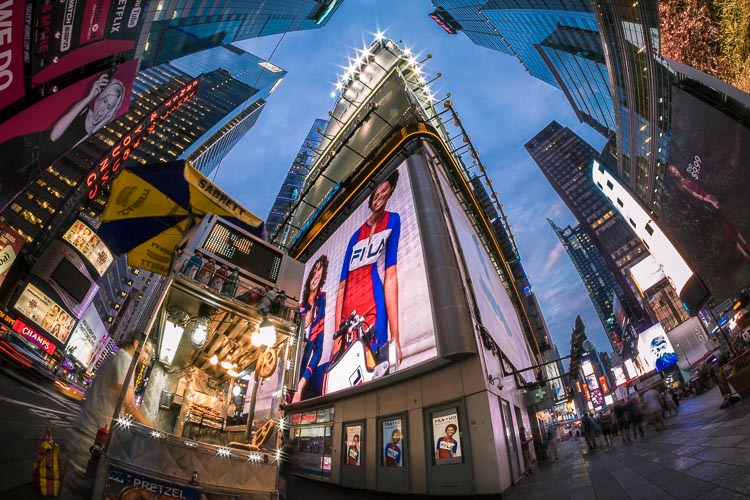
Remember to follow my tips: 5 Mistakes Beginners Make Using a Wide Angle Lens and How to Avoid Them
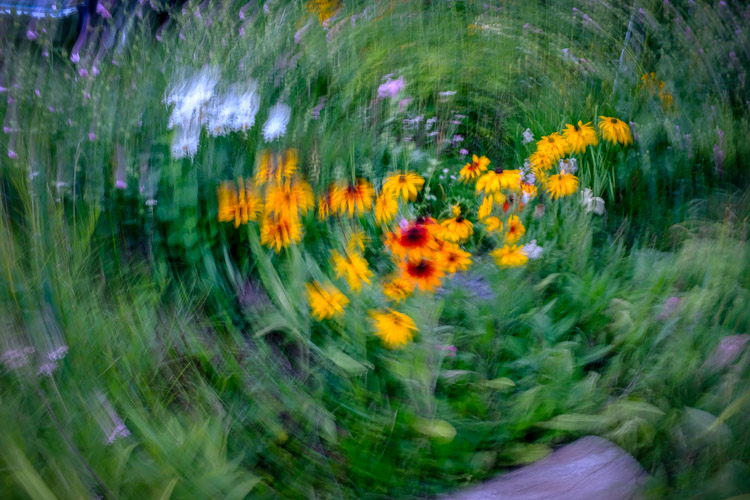
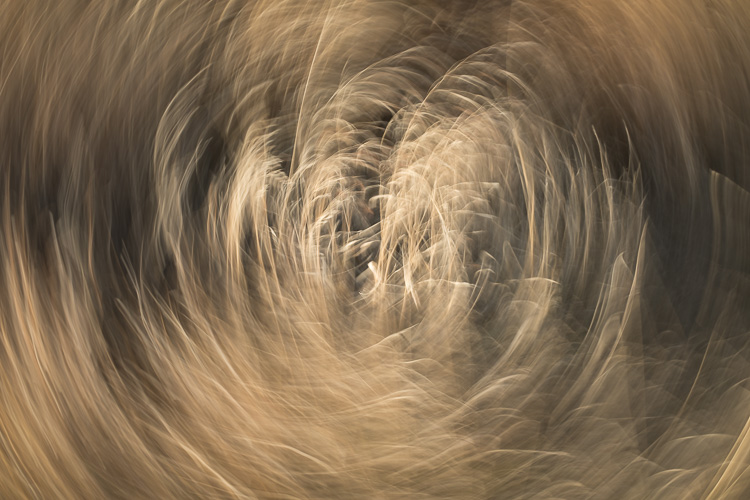
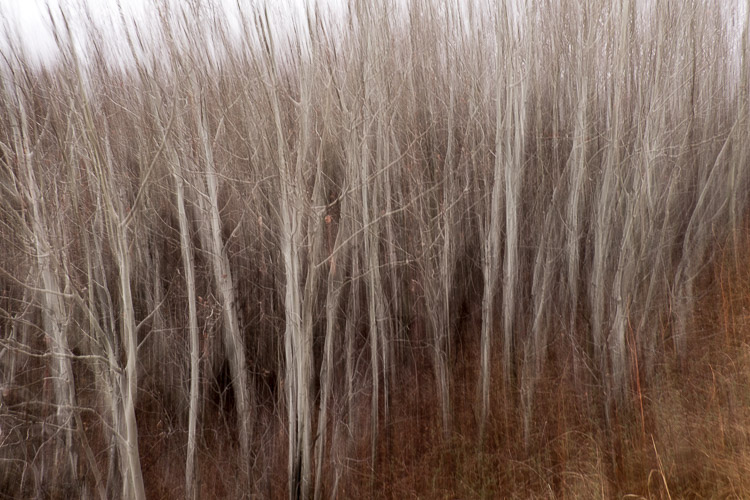
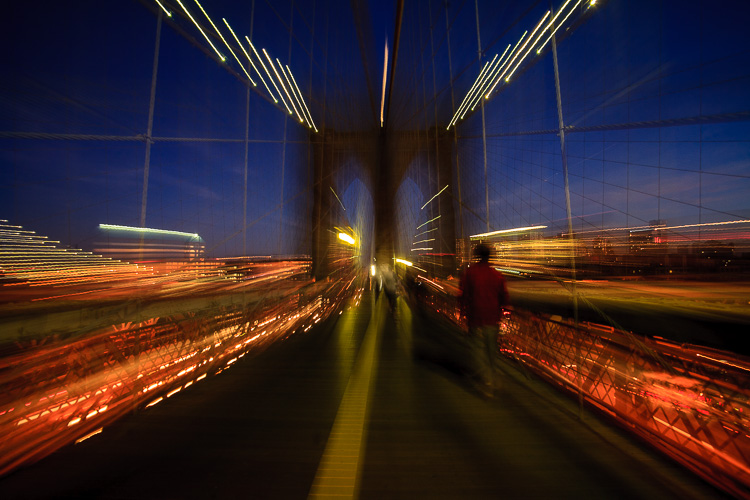
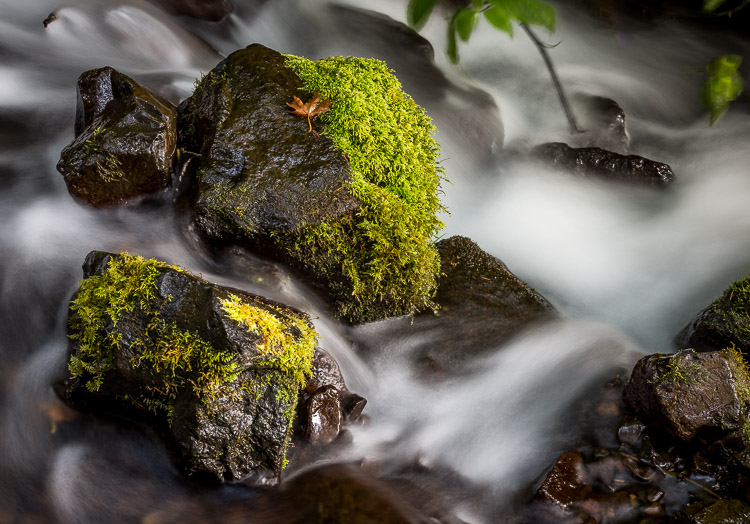
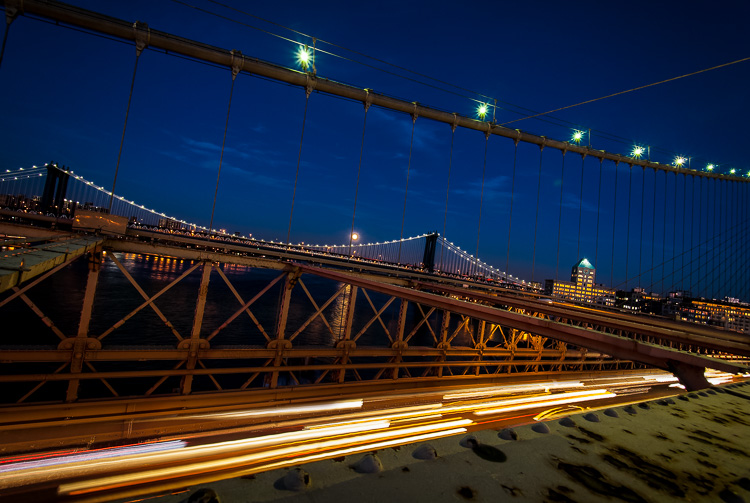
Use camera movement to create blur
It’s a myth that your images always have to be tack sharp. That’s usually the case for most of the photography you’ll do, but sometimes it pays to break the rules. Using intentional camera movements, and/or long exposures to blur your image can create some really neat and interesting abstract images. Try it!
Read this and try the exercise: Create an Abstract Image Using Intentional Blur – Photo Challenge or try this: How to do a Zoom Burst Special Effect with Your Camera
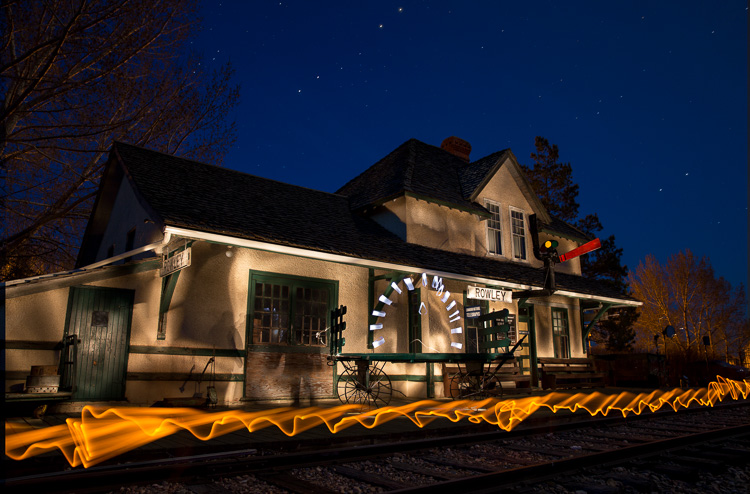
Other new techniques
Here are some other techniques and things you can try out.

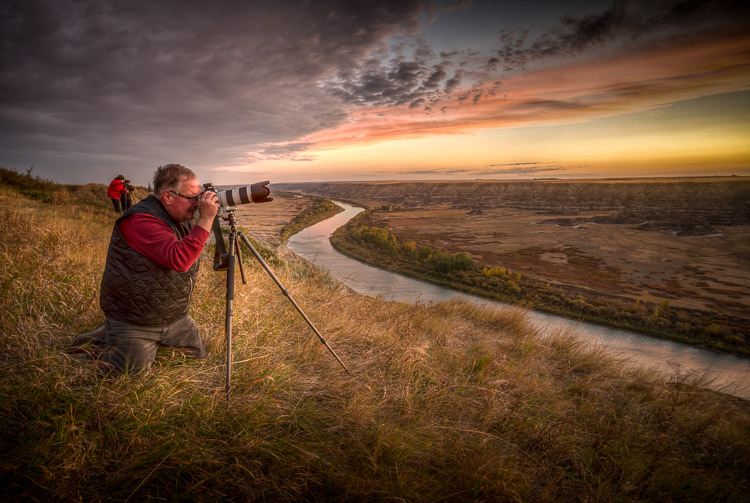
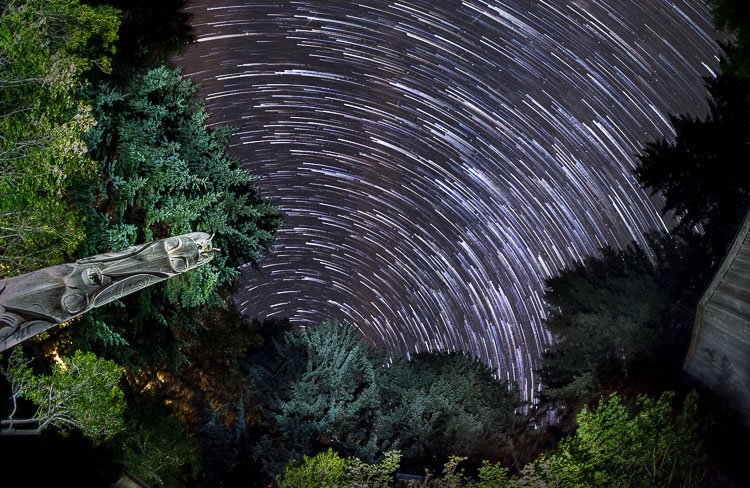
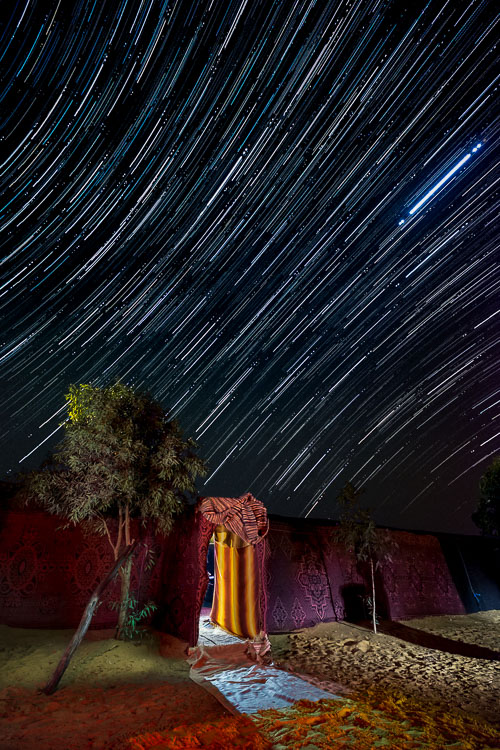
#7 – Get up early or shoot until late
My final tip for you for better spring photography is simple. Skip sleep and get out and shoot at the edges of the day at sunrise and sunset. But don’t stop there, keep shooting into Blue Hour and on into the night as well!
This is yet another way to set yourself apart from the masses. Most people won’t go the extra mile or do what’s uncomfortable or hard. So if you’re willing to get out of your nice warm bed to shoot the sunrise, or pack a chair and thermos of hot chocolate to shoot star trails at night – you’ll automatically level up!
Read these DPM articles for more tips for shooting at all hours:

Conclusion and bonus tip
I hope I’ve given you some food for thought for your spring photography. But don’t just stop there. Continue learning and expanding your horizons throughout the year.
I’ll leave you with this final bonus tip – don’t stop shooting just because the weather is bad! Sometimes you can get the best photos in the worst conditions.


Now it’s your turn to get out and put these spring photography tips into practice. What are you waiting for? Get going!
Cheers,