Shutter speed is one of the most important settings to know as a photographer. It doesn’t get any more fundamental than this. To be specific, shutter speed is the length of time your camera sensor (or film) is exposed to light — essentially, how long your camera spends taking a photo. As simple as this sounds, though, shutter speed has an enormous influence on how your images appear. In this article, I will cover seven of the most important tips to understand shutter speed and pick the best possible settings for your photos.
1) Understand how Shutter Speed Relates to Exposure
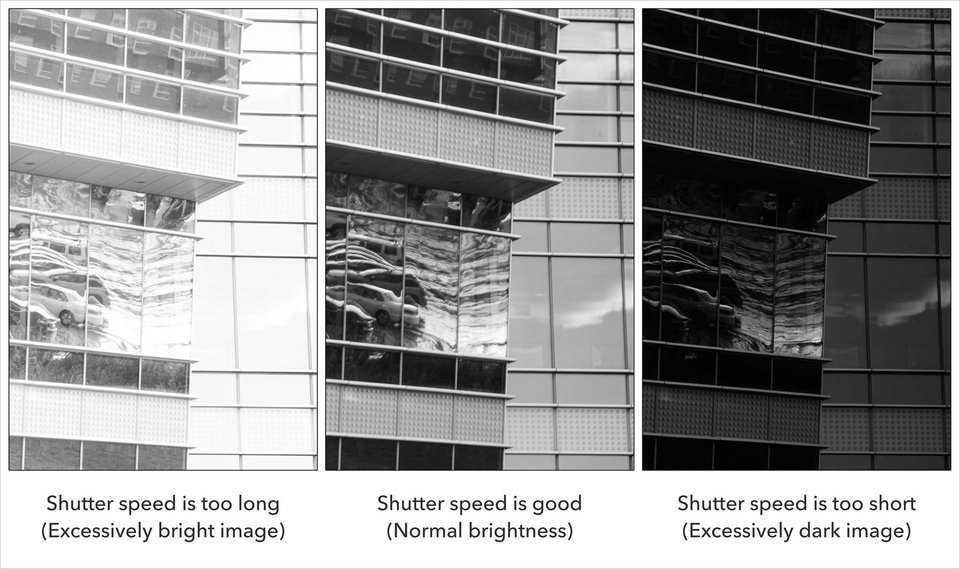
The biggest, most obvious thing that shutter speed does is make your photos brighter or darker.
Shutter speed affects exposure. It physically changes the amount of light you capture.
You can think of this like going outside in a rainstorm. If you only have to dash out for a few seconds, you’ll be fine — but if you’re out for several minutes, you’ll be drenched.
That’s not too different from what happens in photography. A long shutter speed — exposing your sensor to light for a significant length of time — means that your photo will be brighter. A short shutter speed means that you capture much less light, since your sensor isn’t exposed for very long.
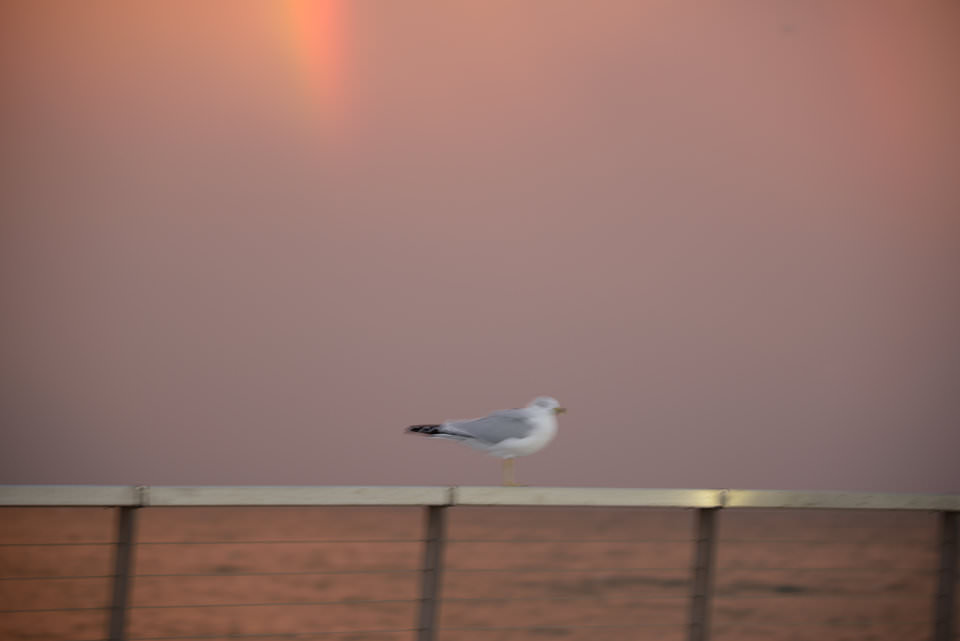
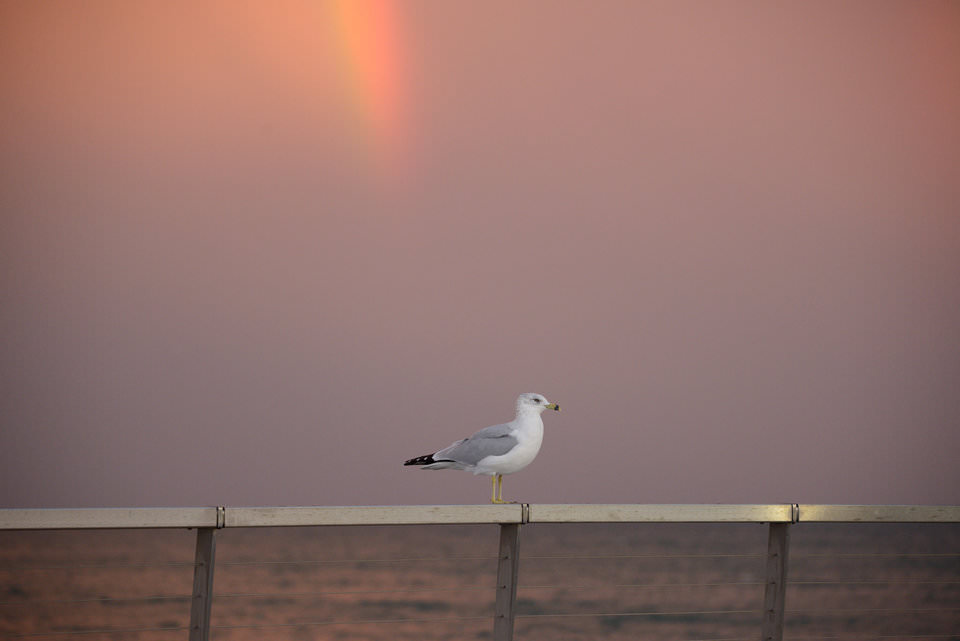
This should make sense. The brightness of a photo depends upon how long your camera sensor sees the world. Here’s a quick example:
2) Memorize the Definition of Shutter Speed
Why do we call it shutter speed?
It’s simple, really. A physical “shutter curtain” sits in front of your camera sensor, blocking the path of light. When you take a photo, the shutter curtain moves out of the way and allows light to hit your camera sensor.
How long does the light hit each spot on your camera sensor? That’s the shutter speed.
So, the technical definition of shutter speed is: The length of time your camera sensor (or film) is exposed to light.
3) Find Your Range of Available Shutter Speeds
Every camera has a range of shutter speeds that it actually lets you set. For example, your camera might be able to capture exposures from 1/4000 second to 30 seconds.
To set this, you have to be in manual mode or shutter-priority mode (denoted as “S” or “Tv” on most cameras). It’s not something you can access from Auto — in Auto, your camera picks the shutter speed without your input.
If you want a brighter photo, use a longer shutter speed. It doesn’t have to be all the way to 30 seconds, either. Even something like 1/100 second or 1/25 second works well most of the time, and will give you a bright enough photo.
Here are some common cameras on the market and the range of shutter speeds they allow:
- Nikon D850: 1/8000 second to 30 seconds
- Canon 5D Mark IV: 1/8000 to 30 seconds
- Sony A7R III: 1/8000 to 30 seconds
- Nikon D3400: 1/4000 to 30 seconds
- Canon Rebel T6: 1/4000 to 30 seconds
- Sony A6000: 1/4000 to 30 seconds
Those ranges are pretty typical. And, to be frank, you’ll rarely want or need anything more. Even cameras with 1/4000 to 30 seconds are enough for most purposes.
Also, you can’t just pick any value within that range. As fun as that could be, there’s no practical reason for cameras to allow oddball shutter speeds like 1/7878 second, or 1/99 second.
Instead, you can adjust shutter speed in third-stop increments, and sometimes half-stop increments, depending upon the camera. For example, on many cameras, you can set a shutter speed of 1 second, 1.3 seconds, 1.6 seconds, and 2 seconds. (This is just as a tiny sample out of the entire range, too.)
You let in twice as much light when your shutter speed is twice as long.
4) Don’t Rule Out Any Exposure Times
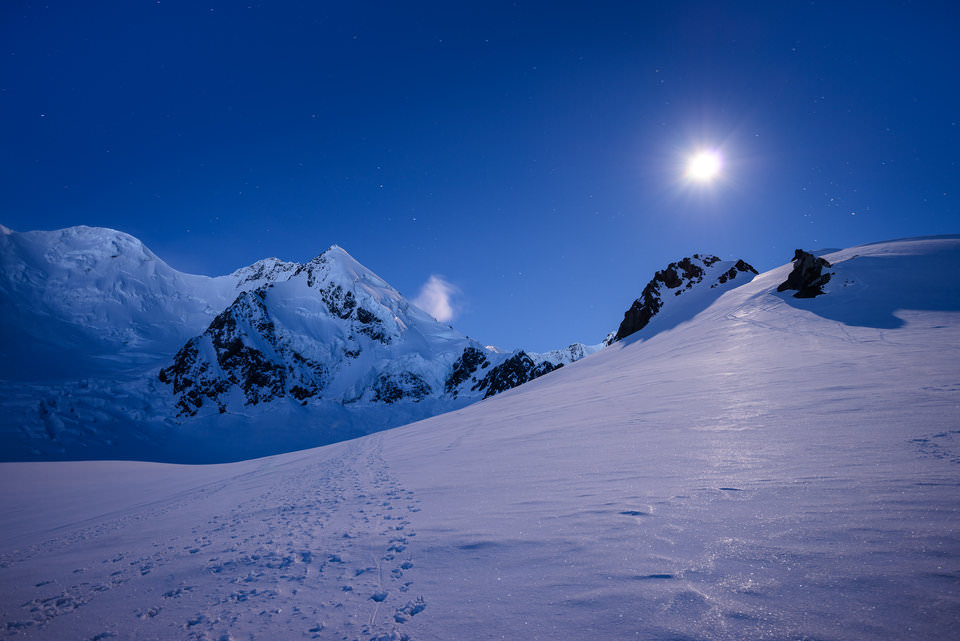
Why do cameras let you use so many different shutter speeds, all the way from 1/8000 to 30 seconds? The simple answer is that some scenes are brighter than others.
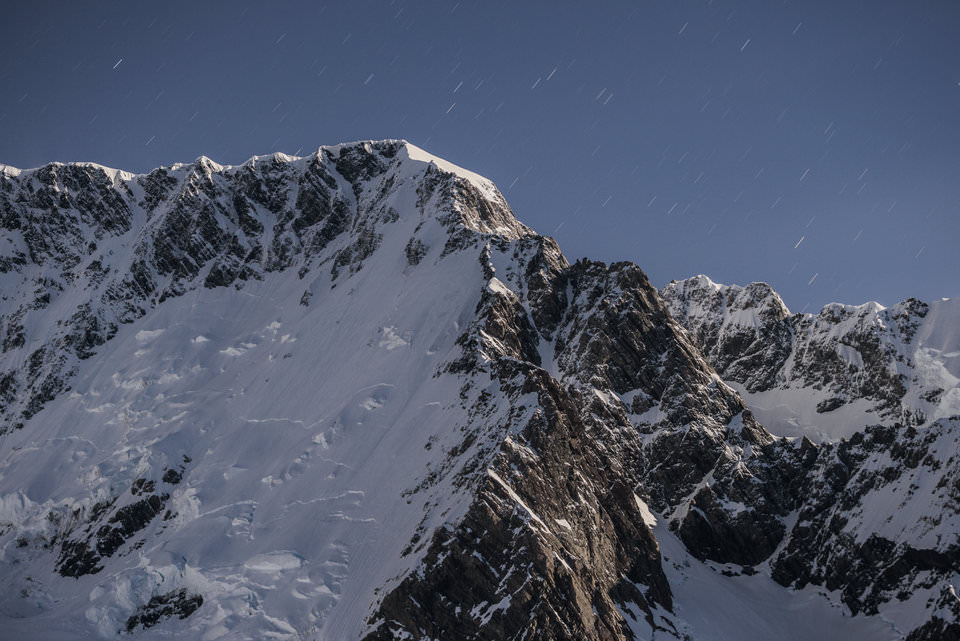
If you’re camping under the full moon, it’ll be pretty dark for photography. You won’t have very much light to work with. In that case, a long shutter speed — something like 15 seconds or 30 seconds — will be very useful. In fact, it might be necessary if you want a bright enough photo.
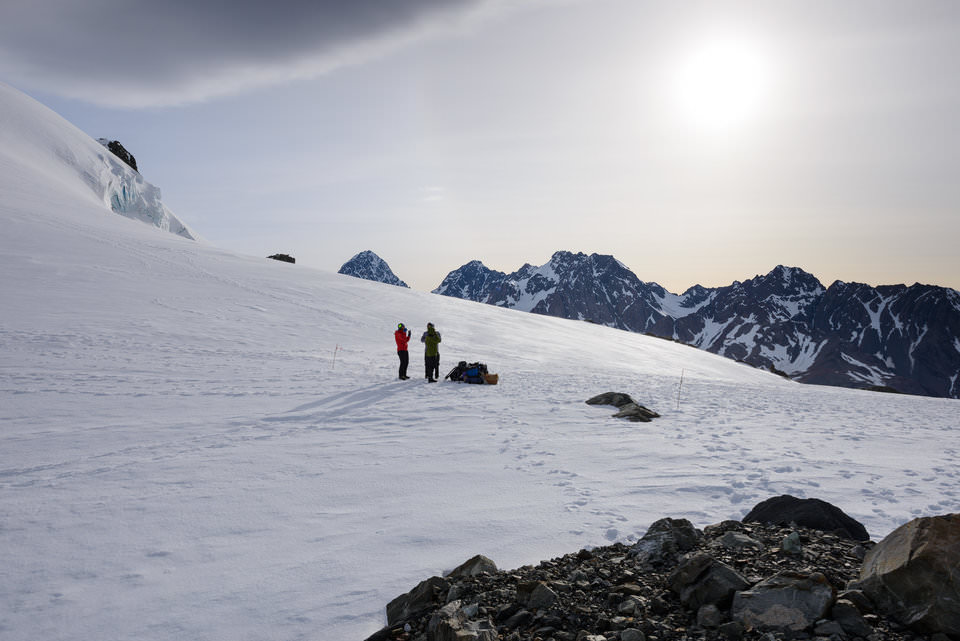
Other cases will be exactly the opposite. If you’re taking pictures on a bright, sunny day, you’ll need to use shutter speeds more like 1/500 second or 1/1000 second. That’s the only way to avoid capturing an “overexposed” photograph — one that’s too bright.
Clearly, controlling for brightness is an important reason to watch your shutter speed. But it’s not the only one. You also have to pay attention to motion blur — the loss of sharpness at slow shutter speeds due to movement in your scene.
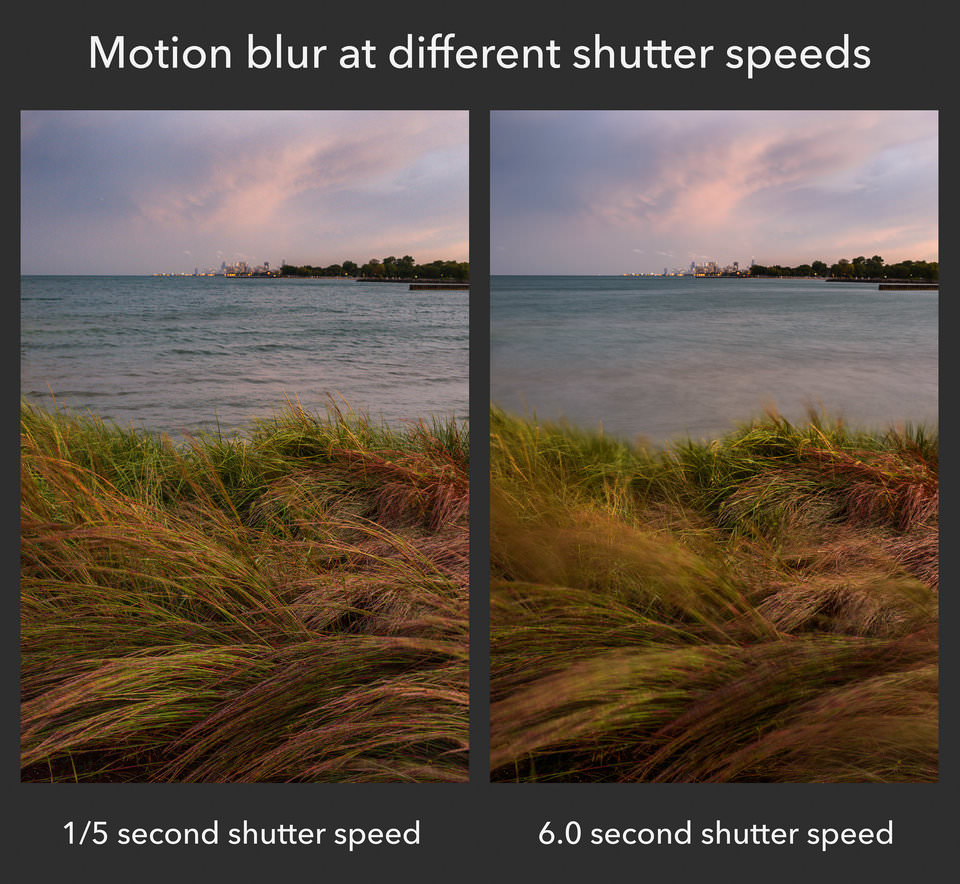
5) Use Motion Blur Wisely
This tip shouldn’t come as a surprise.
Say that you’re using a shutter speed of 1/2500 second. Your shutter opens and closes faster than the blink of an eye. What happens, then, if you’re taking pictures of a fast-moving subject?
It will appear completely frozen.
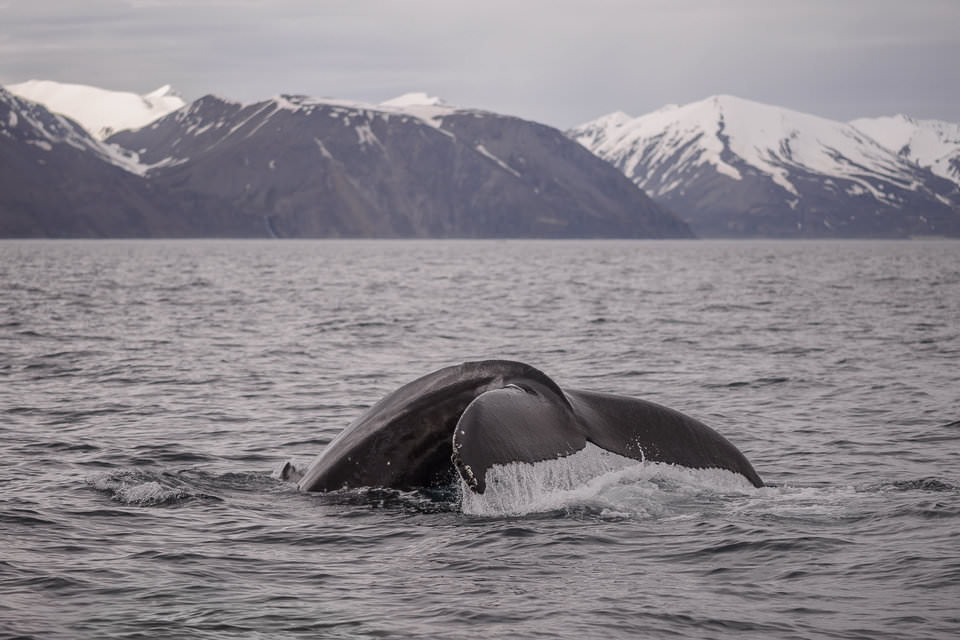
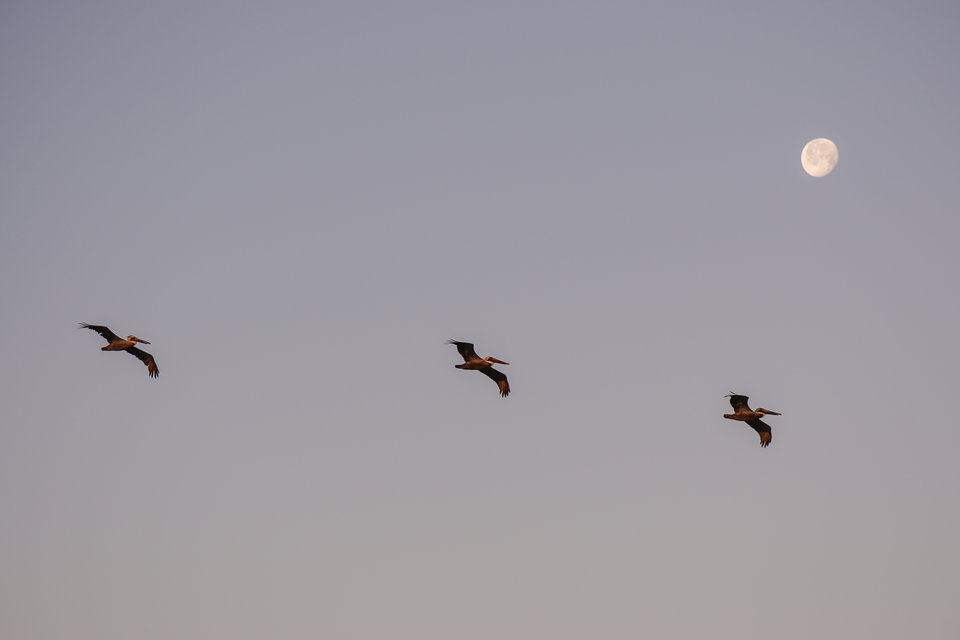
With a fast enough shutter speed, your camera sensor doesn’t see the world long enough to notice motion. Even very fast subjects — things like cars or birds in flight — will appear frozen if your shutter speed is quick enough.
This is why a lot of sports and wildlife photographers stick to such fast shutter speeds: 1/500 second, 1/1000 second, 1/2000 second, and so on. If your subject is moving quickly, it’s the only way to get a sharp photo.
This isn’t just relevant for fast-moving sports and wildlife subjects, either. If you’re shooting handheld, your own hands will add blur to the photo.
No matter how stable you are, it’s impossible to handhold a perfectly sharp photo at long shutter speeds. (Yes, bracing the camera against something counts as cheating.) Typically, your hands won’t add noticeable blur if you’re using a shutter speed around 1/50 second or faster, but it strongly depends upon your lens.
Side note:You might hear about something called the “reciprocal rule” in photography. It says that you can shoot at 1/(equivalent focal length) or faster without introducing shake from your hands. And, it’s fairly accurate.
To find “equivalent focal length,” multiply your focal length (the millimeters on your lens) by your camera’s crop factor (which you can find online if you don’t know it already). So, if you’re using a 30mm equivalent lens, you can shoot at 1/30 second or faster without introducing handheld blur.
However, take this guideline for what it is — a guideline. Some photographers are better or worse at handholding their camera, and additional technology, such as image stabilization, also plays a role.
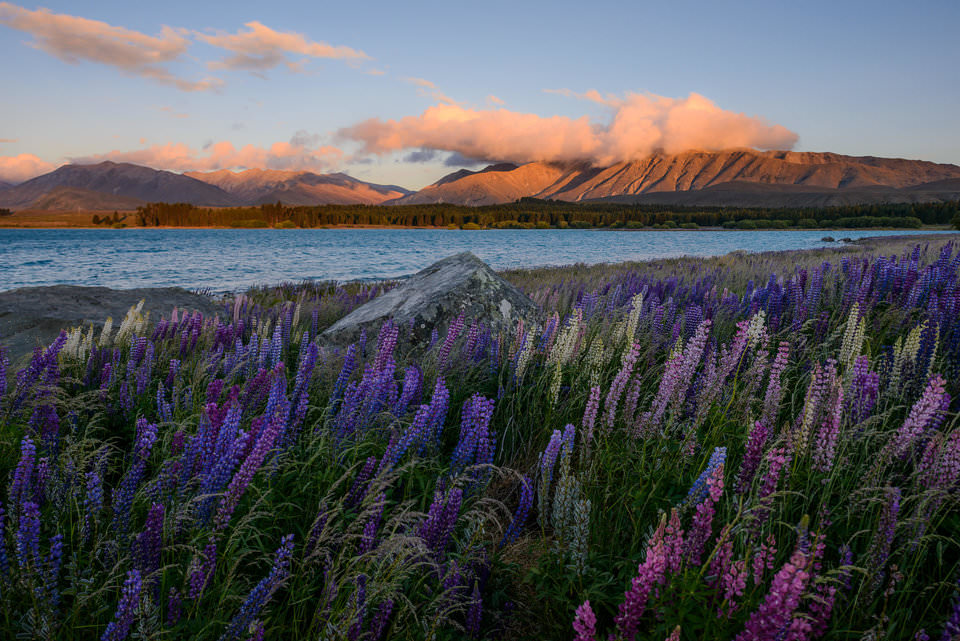
Everyone who wants sharp photos without motion blur should care about shutter speed. As a landscape photographer, I think about it constantly. On windy days, where grass and leaves are blowing around, finding the right shutter speed to capture a sharp photo isn’t always easy.
A final point: If you’re shooting in darker conditions, where you’ll need a long shutter speed to get bright photos, carry a tripod. With a good tripod, camera shake doesn’t matter at all, since your camera is completely still.
That’s what I always do for landscape photography. This way, I can use my camera’s entire shutter speed range — from 1/8000 to 30 seconds — without worrying about camera shake.
It’s not all perfect. If the subject is moving, that motion will still appear in a photo, no matter how stable your camera is.
So, a tripod doesn’t guarantee sharp images all the time. But if you use one, at least you know that you’re not adding extra blur to the photo. All you need to do is pick a quick enough shutter speed to freeze any movement in the scene itself, and you’ll be good.
6) Don’t Forget the Creative Side of Photography
Motion blur isn’t always a bad thing. Sometimes, it’s amazing.
Take a look at the photo below, for example. Here, I used a 30-second shutter speed to photograph ocean waves washing ashore:
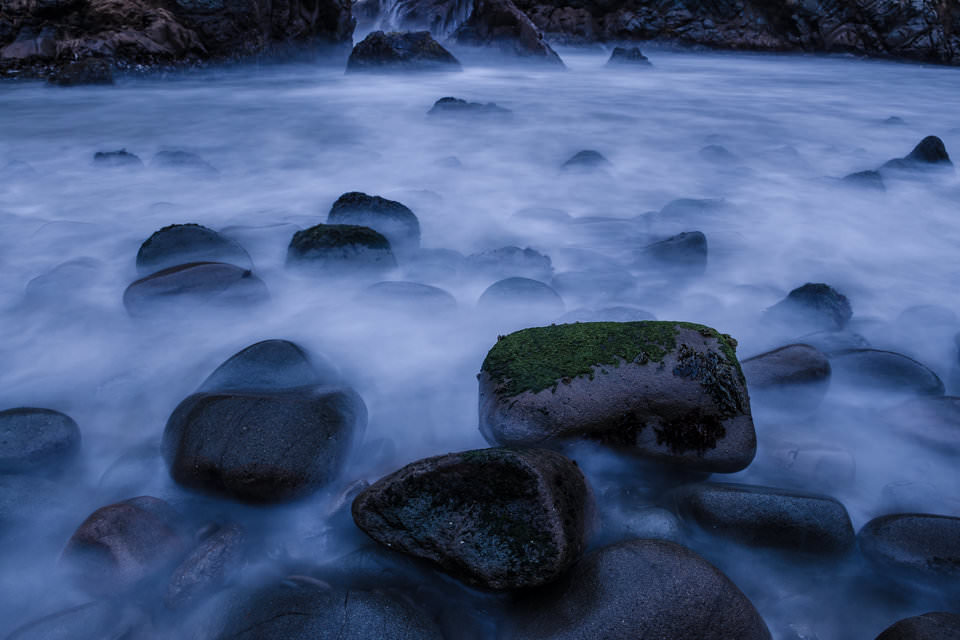
It doesn’t look like the ocean at all — it looks like mist!
That’s directly due to my shutter speed, which was so long (30 seconds) that a wave had time to wash in and out during the exposure. The result? Something between air and water: Mist.
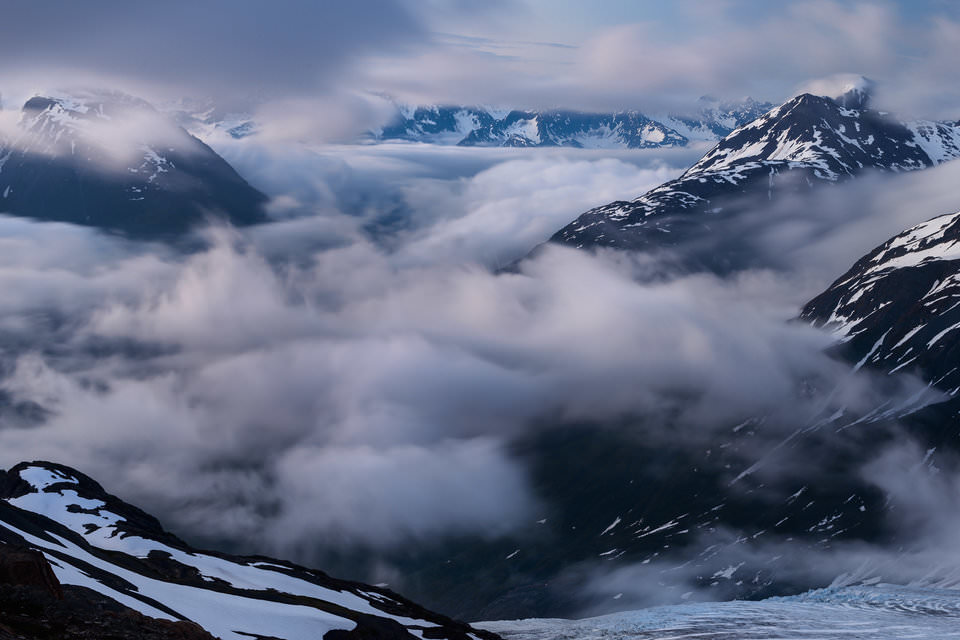
Motion blur is a great artistic tool. And it’s not just the ocean, either. Anything that moves — waterfalls, clouds, leaves, magma — can work well with a slow shutter speed. The result? A gentle, blurred quality to those parts of the image.
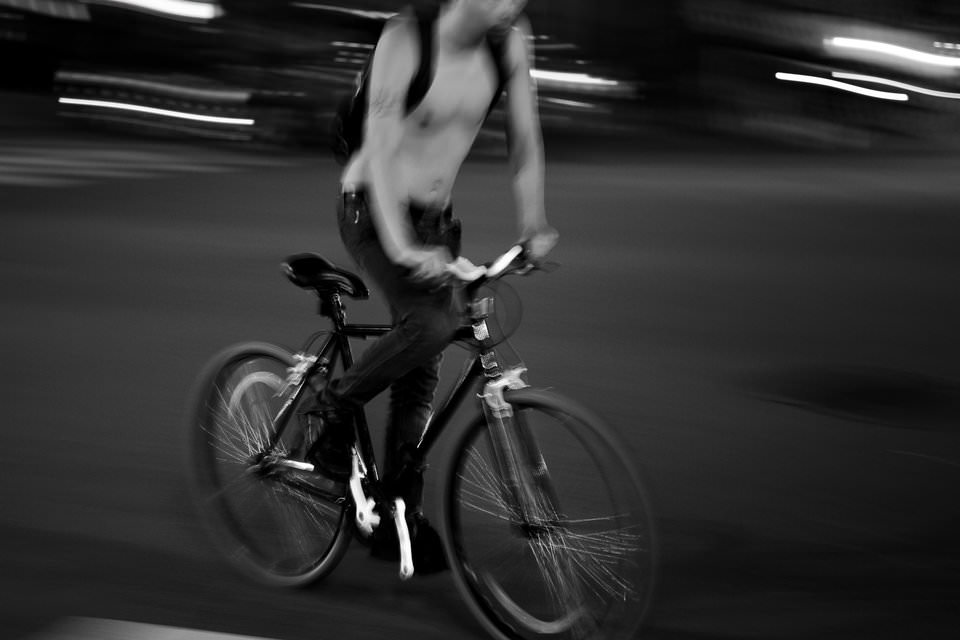
You can also use motion blur to pan with your subject, resulting in streaks through the background. This can be a good way to imply that your subject is moving, while still capturing it as sharp as possible. A good shutter speed for this sort of thing is usually around 1/15 second, unless you’re dealing with extreme movement (like motor racing). If you’re planning to use this effect, though, it’s worth testing out a few different shutter speeds to find the one you like the most.
7) Understand Bulb, Time, and Sync Modes
This tip is a bit specialized, but it is still important to keep in mind. Some cameras offer more than just the typical shutter speeds I listed above. Specifically, you might see other options called “T,” “B,” “x200,” or “x250.”
You won’t see all these extra settings on every camera. Some cameras only have one or two of them. However, they’re still important and worth covering.
- B (Bulb): This means your shutter speed is the length of time you hold down the shutter button on your camera. (That’s just the main button that takes a photo.) So, if you’re in Bulb mode, you can hold down your shutter button for as long as you want — several minutes, even — and your camera will take a very long exposure. This is primarily useful when you have an external remote or shutter release cable. Physically holding down the release for that long is frustrating, and it usually causes significant camera shake.
- T (Time): You press the shutter button, and the camera starts taking a photo. You press the shutter button again, and the camera stops the exposure. Pretty easy. This is a great feature, but not all cameras have it, unfortunately. Most of us are left with using Bulb mode and a remote release.
- x200, x250, and so on: This automatically sets your shutter speed to equal your “flash sync speed” — the quickest shutter speed available that still lets you use a flash. This is no different than using 1/200 second, 1/250 second, and so on. However, some people frequently alter their flash sync speed in the camera menu, and this setting automatically picks up on that, so it’s just one less thing to remember for some users.
The big takeaway? Sometimes, you’ll want a shutter speed longer than 30 seconds. If so, use Bulb mode and an external shutter remote (or just the Time setting, if your camera has it).
Conclusion
Shutter speed is a big one. Learn it, along with things like aperture, ISO, and focusing — and when you do, you’ll have mastered the most important technical parts of photography. Hopefully, the tips in this article helped you understand shutter speed and how to choose the best one for your photos.
Also, at least at first, there’s no shame in letting your camera pick the shutter speed for you. A lot of beginners start in all-manual mode because “that’s what the pros use,” then fall into bad habits quickly. When you’re learning shutter speed, do things slowly and deliberately rather than diving headfirst into the deep end.
Luckily, you now know the basics. It might take some practice to learn everything about shutter speed, but it isn’t too difficult in the long run. I hope that these tips and suggestions helped you know how to choose the best shutter speed for your photos. Let me know if you have any questions about how shutter speed works!