You have likely seen those amazing travel photos that grace magazines, newspapers, and guidebooks. They are often the reason that people are inspired to go somewhere. They can be beautiful, informative, inspiring or even humorous, but are without doubt an integral part of the travel industry. But how are they captured by the pros?
Here are 7 travel photography hacks that you should try
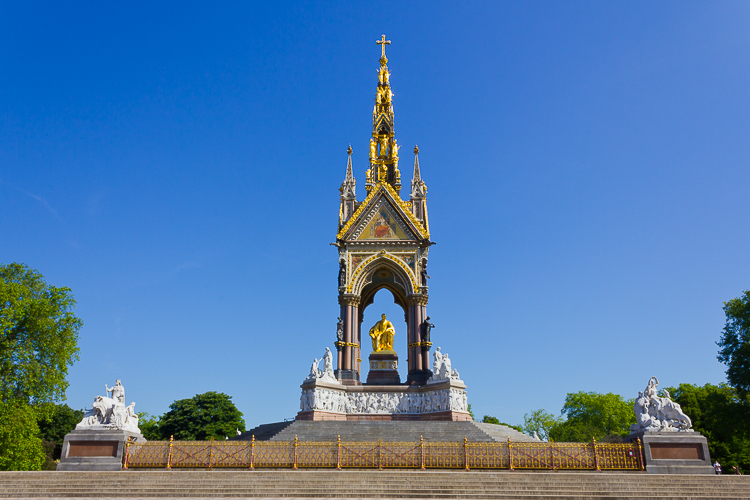
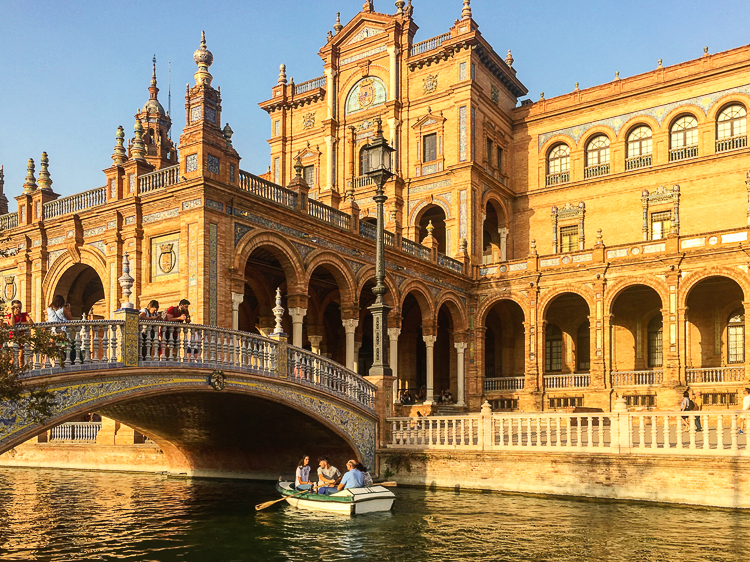
1. Shoot with the sun behind you
The majority of the time travel photographers prefer to work with the sun behind them or to the side of the subject they are photographing to light up the subject in front.
This eliminates harsh shadows and also the need to use graduated filters to compensate for the difference in highlight and shadow areas. On a sunny day, this gives the image a wonderful glow and vibrant blue skies which are the usual shots that travel brochures and magazines like to use.
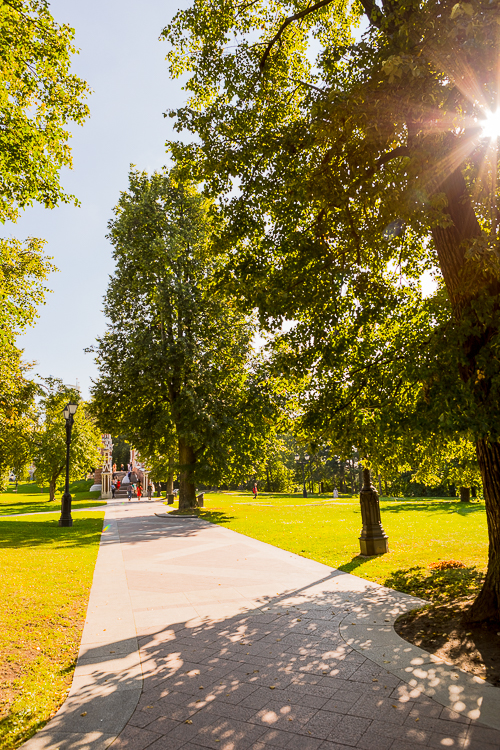
2. Star burst effect
If you do find yourself in a situation where you will be photographing with the sun in front of you, one of the best tricks to use is the star burst effect.
This basically means you find something to block the sun in your shot such as a tall building or a tree, then move slightly left or right until a small part of the sun becomes slightly visible from behind the tree or building.
You should immediately see a starburst effect where the sun is appearing behind the object and this gives a pleasing result in photos. Move over too much and your sky will be blown completely white.
Not only does this trick give you a nice starburst effect on the sun but it will also help control the light in the image as you are blocking the brightest point. For areas which are too light, you can usually recover them in post production.
3. Get up early
Ever wondered how photographers manage to capture photos of touristy areas with few tourists in? Well, it’s usually because they arrive well before most people have even got out of bed.
Photographing around sunrise not only gives the scene a wonderful soft light but it also usually means that you have the place to yourself especially if you are photographing in the summer months when sunrise is in the early hours of the morning.
So next time you are away set your alarm early and you will benefit from fewer people in your shots.
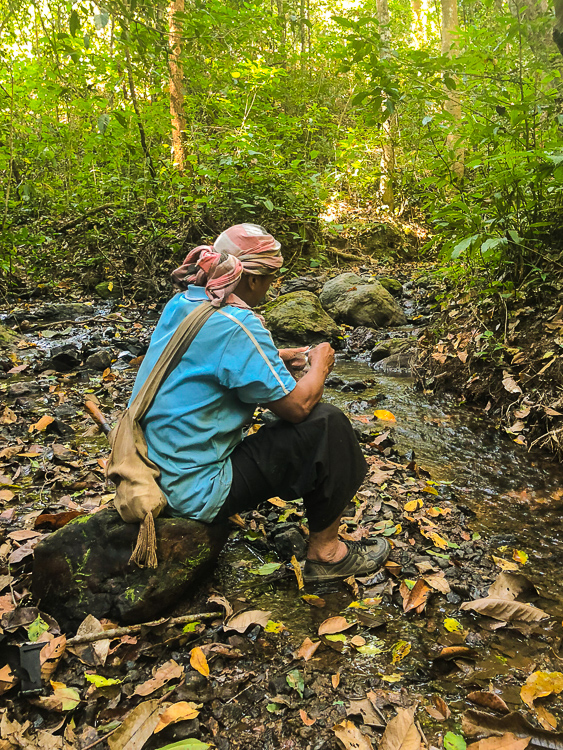
4. Photograph someone you know
It’s very rare to get to a location and have everything in place perfectly to capture a good travel photo.
Often travel photographers wait or even come back again and again to the same location until they can capture the shot they want. But sometimes the only way to capture the photo you want is to set it up as if it was being taken in a studio.
For example, you might be photographing a beach and feel that it could do with someone walking along the water. You can either wait for someone to arrive or put your travel companion in the photo.
The benefit of this is that by using a model you can carefully construct the image to your exact requirements.
Is the person walking too fast? You can ask them to slow down. Are they too far to the left? Move them to the right. Even if you don’t have a travel companion with you, you can always put yourself in the photo by setting your camera on a tripod and using a timer.
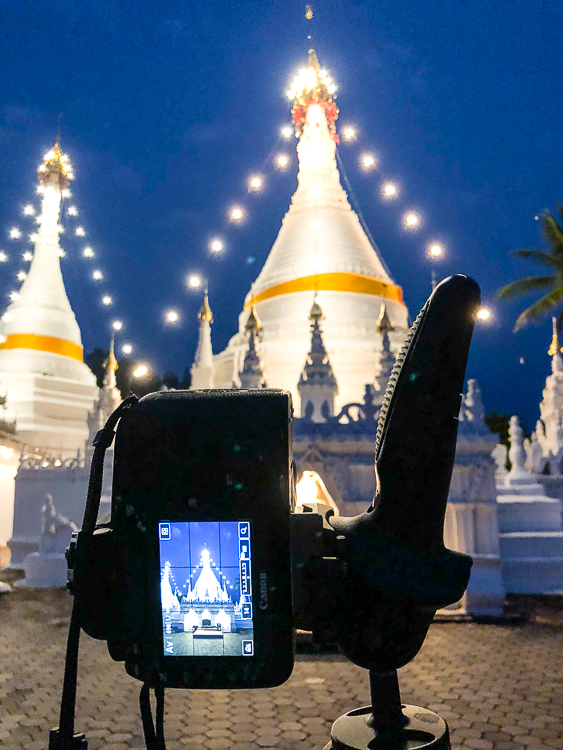
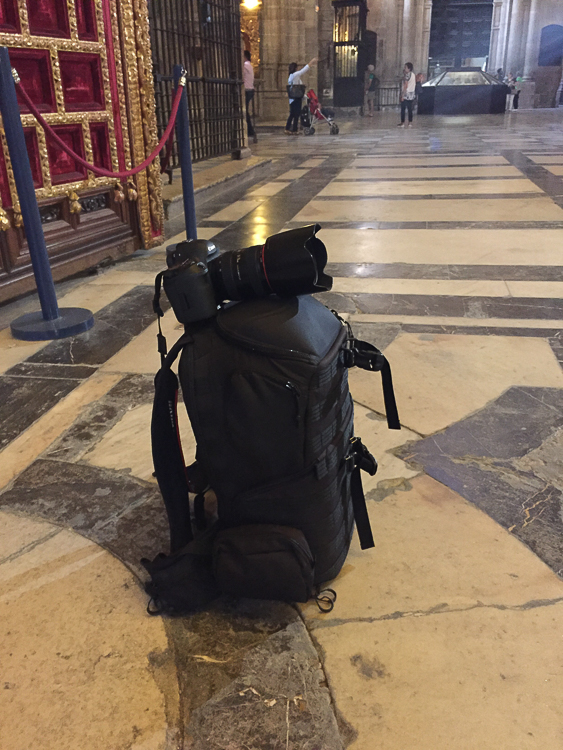
5. Use a bag
Usually, any travel photography will at some point involve photographing places where tripods will not be allowed which means anywhere that will be low light will become a big challenge.
Sure you can bump up the ISO but that comes at a price – the sharpness in your photos. The higher the ISO is, the more noise there will be in the photo and as a result less sharpness.
A great trick is to use a camera bag to rest your camera on.
Buy a good sturdy backpack and you will be able to stand it up and put your camera on top giving you a great option to take photos where tripods are not allowed.
6. Boost it
Once you have taken the photo and are in post-production, one of the best ways to make your photo really jump out is to boost the saturation and vibrancy.
The trick here is to boost just enough to make the image more colorful without making it look fake.
Boosting the saturation can turn an ordinary looking photo into a beautiful one that would work well in magazines and newspapers.
7. Take multiple exposures
Another great technique to help you capture great travel photos is by taking multiple shots and then blending them all together in post-production to create one image.
There are various ways that you could do this.
The most common is HDR photography where you would take a few photos at different exposure levels (i.e. one exposure for highlights, one for mid-tones and another for shadows) and when combined together you get an image that is correctly exposed for every part of the photo.

Another common technique is taking multiple photos of the same spot at short intervals to create an image without the crowds.
This is sometimes the only way to capture clean shots of famous landmarks. The number of photos you need will vary based on how busy the scene is, but the more you have the better.
There are also stitched panoramas where you take multiple photos of the same scene capturing the left, center and right of the image and blending it all into one to create a wide-angle photo. All of these techniques are useful to have in your toolkit as you never know when you might need one.

Travel photography as a profession is very different from taking photos for personal enjoyment or use.
As a travel photographer, you are often faced with very different challenges day to day that you have to overcome. Over time you will find your own “cheats” and “tricks” that will help you when taking travel photos.
In the meantime, follow these tips and you’ll be on your way to capturing great travel images.

 A professional writer and travel and landscape photographer, based on the outskirts of London, Kav Dadfar has a wealth of experience in photographing high-end stock shots as well as shooting assignments and commercial work.
Over the years he has photographed everything from restaurants and food to events and even the odd baby and wedding. But his real love is travel photography and his images have been used by the likes of Condé Nast, National Geographic, Wanderlust travel magazine, Lonely Planet, Rough Guides, American Express, TripSavvy, multiple National newspapers and many more.
As a regular writer for various photography websites, Kav has written close to 150 articles on photography.