Do you want to do incredible dark photography?
(Dark Photography refers to photos with dark colors and tones. It’s sometimes called low-key photography.)
Taking beautiful dark photos may seem difficult, but it doesn’t have to be.
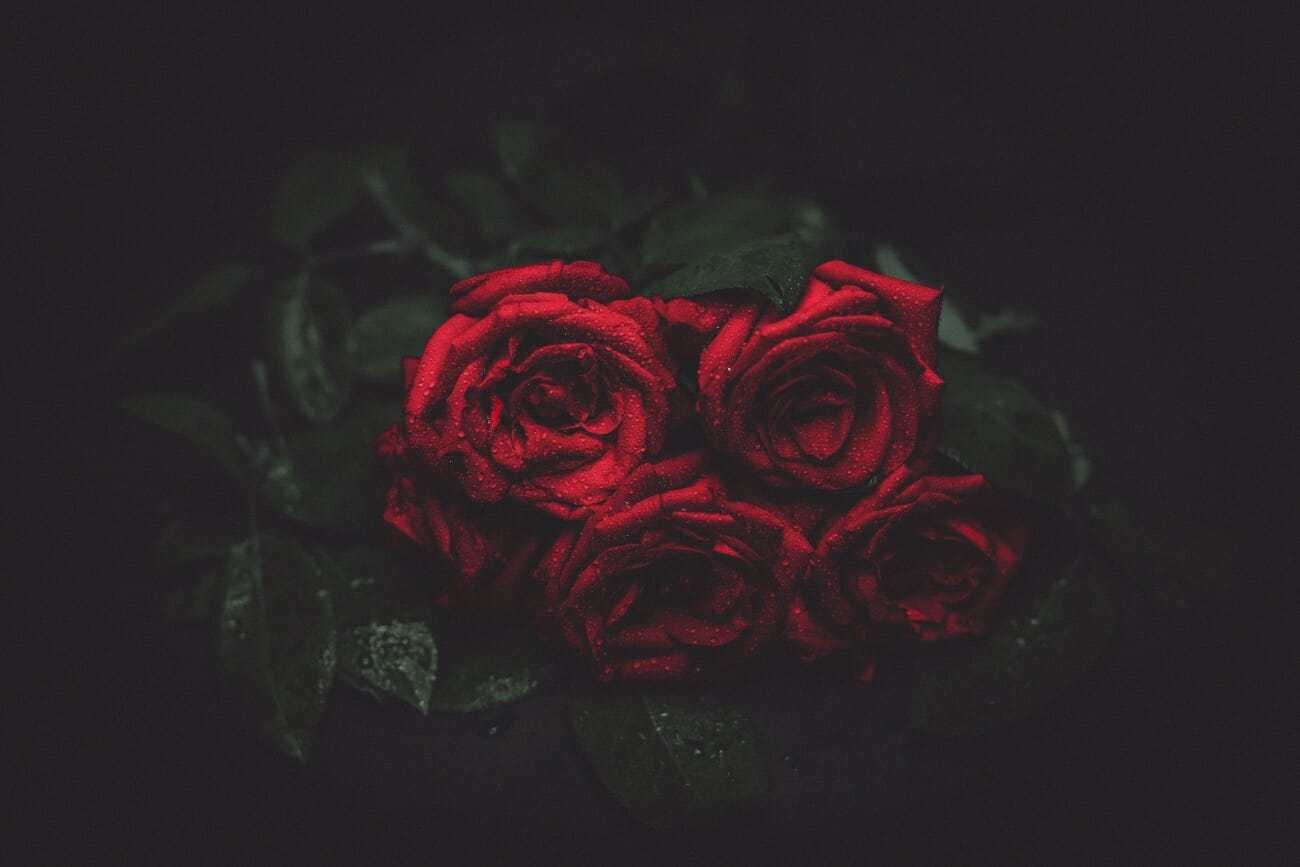
In this article, you’ll discover eight secrets for gorgeous dark photos.
Let’s dive right in.
1. Use a Single Light Source for Gorgeous Dark Photography
It might be confusing.
But if you want to capture stunning dark photos…
…you have to find a single bright light.
Here’s why:
In dark photography, you want to give your subject a subtle glow. But you don’t want your subject to be completely illuminated.
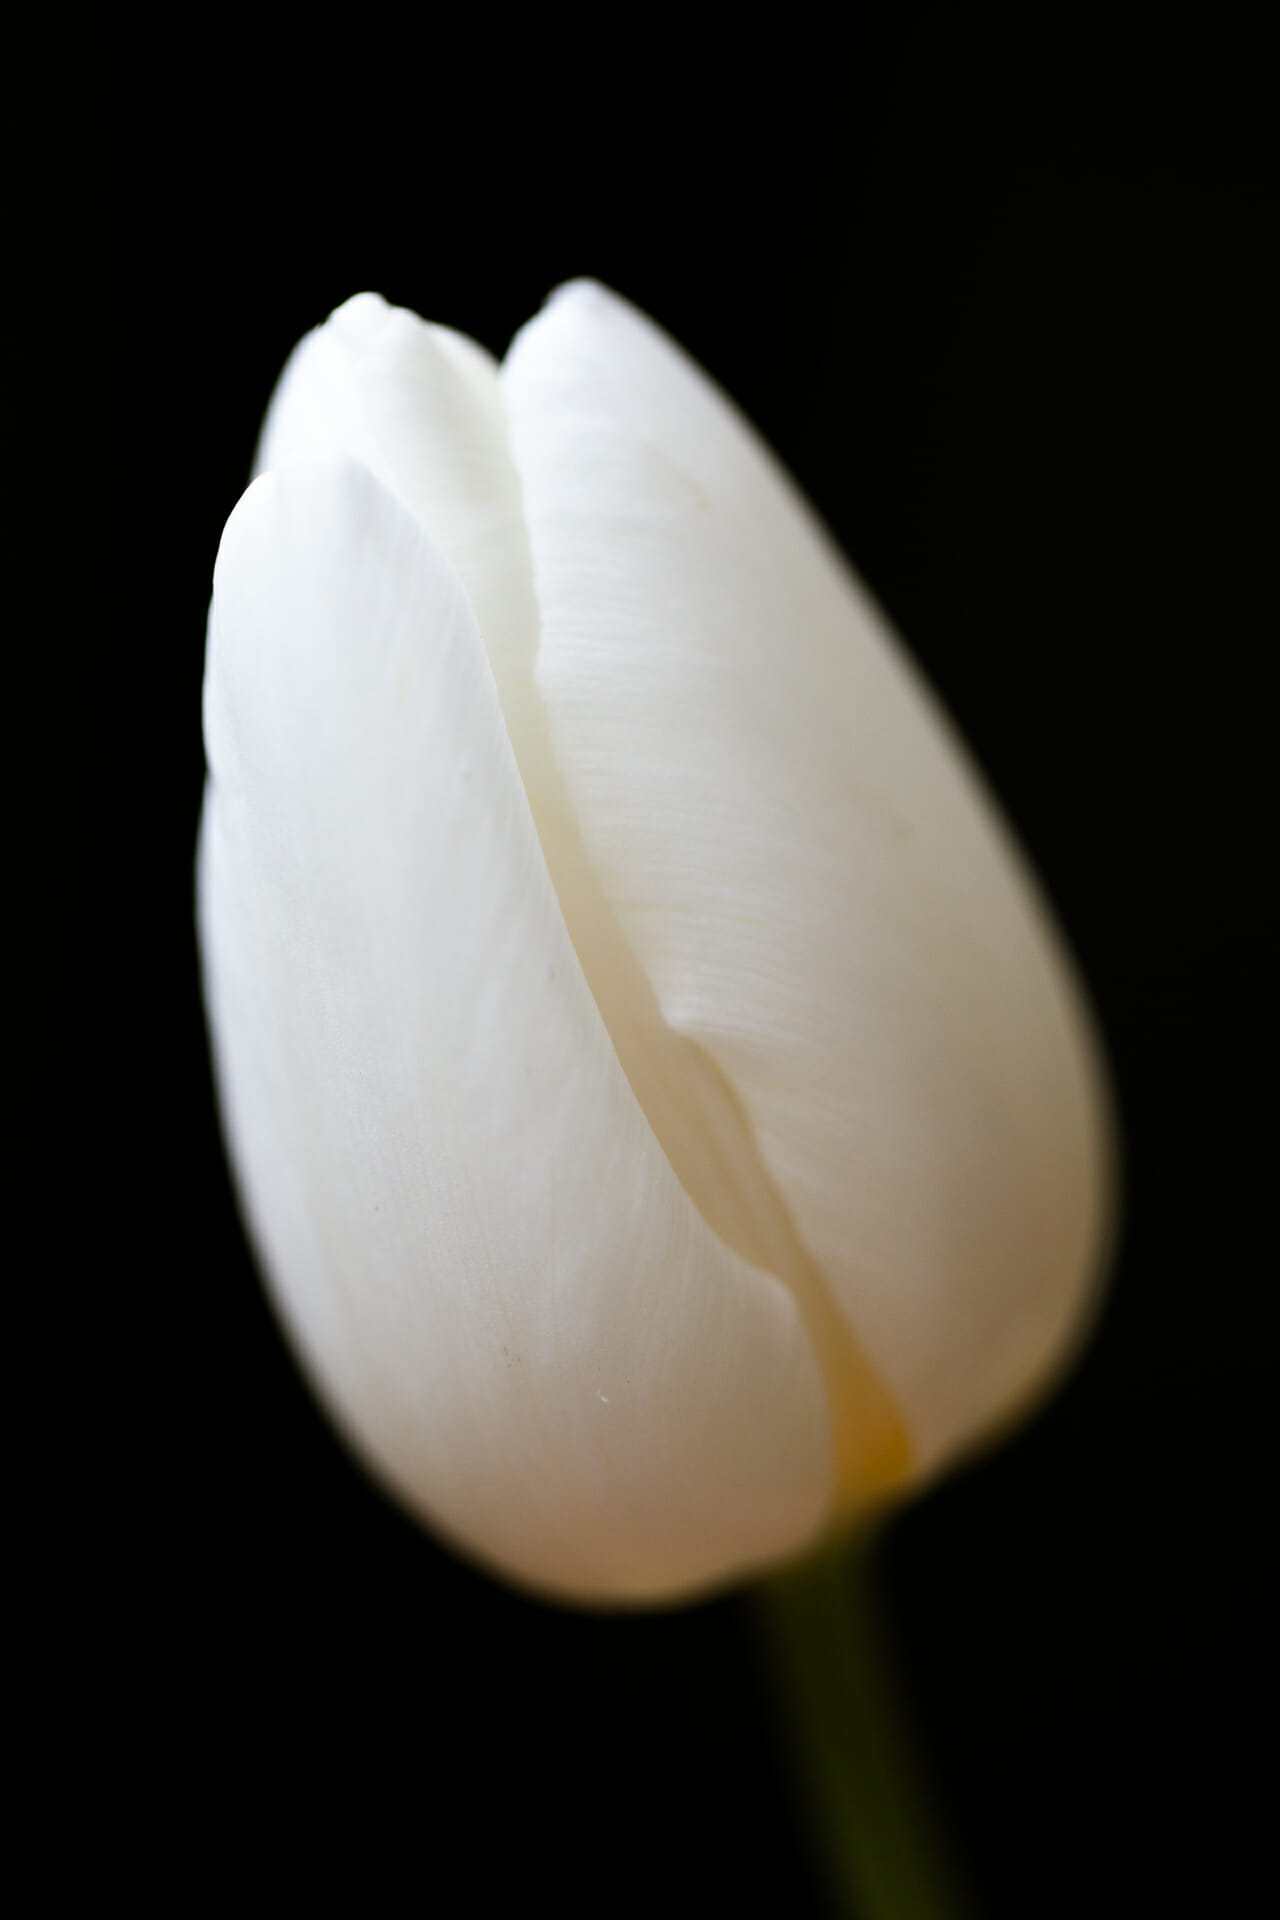
Too much light? That ruins the effect.
Which is why you should only use one light source.
Plus, you can adjust a single light source–so that it shows only part of your subject.
(This can make for a really cool effect.)
Your light source can be anything: a flash, a strobe, a window, even a streetlight. All of these can be used for gorgeous dark photography.
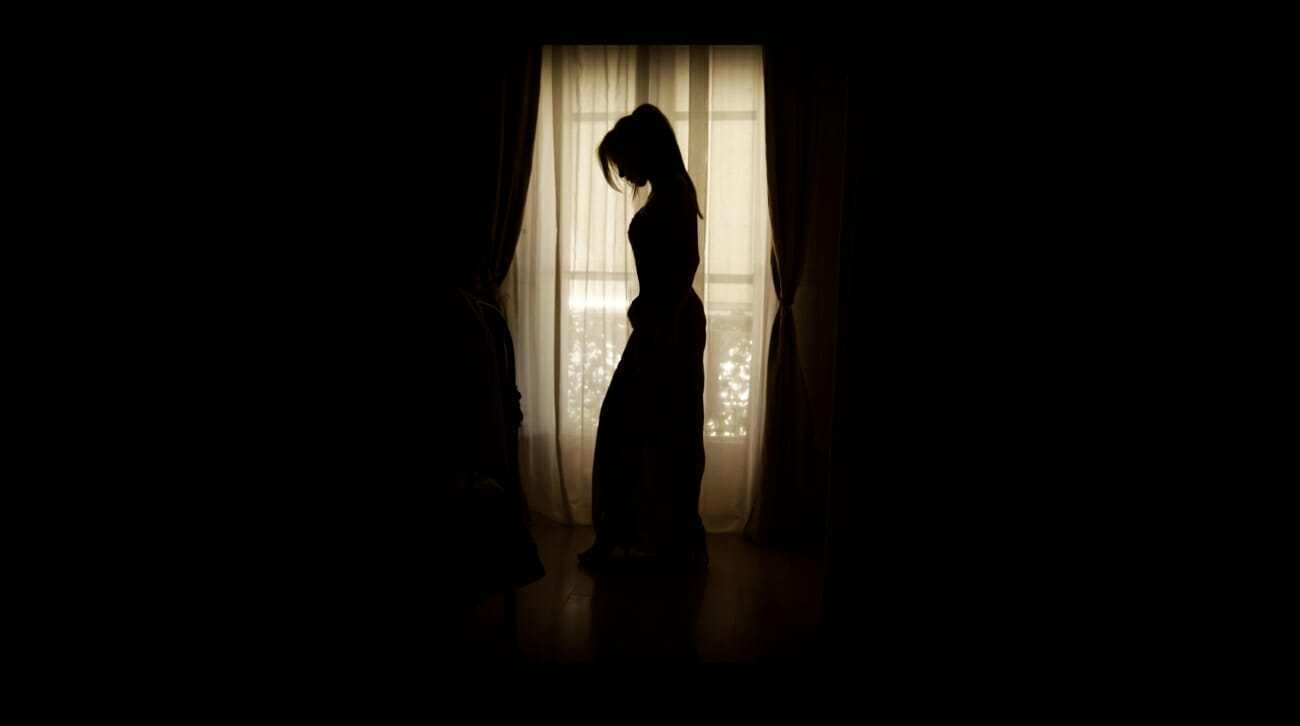
Now, you need to be careful about how you position your light.
In general, I recommend side lighting for dark photography.
That is, move your subject so that the light is only illuminating them from one side.
This will give a dark, dramatic photo.
Bottom line?
Find a single light source.
And then subtly light your subject.
That’s how you’ll get stunning images.
2. Choose the Perfect Camera Settings for Dark Photography
Dark photography isn’t difficult.
But it does require a few special camera settings.
You have to capture details in the light areas of your photos–and render the dark areas of your photos a rich black.
How do you do this?
You’re going to need to pay attention to a few settings:
First, make sure you have the ISO set low (in the ISO 50 to ISO 200 range). This will prevent the shot from becoming grainy.
You’ll also want to underexpose the image slightly.
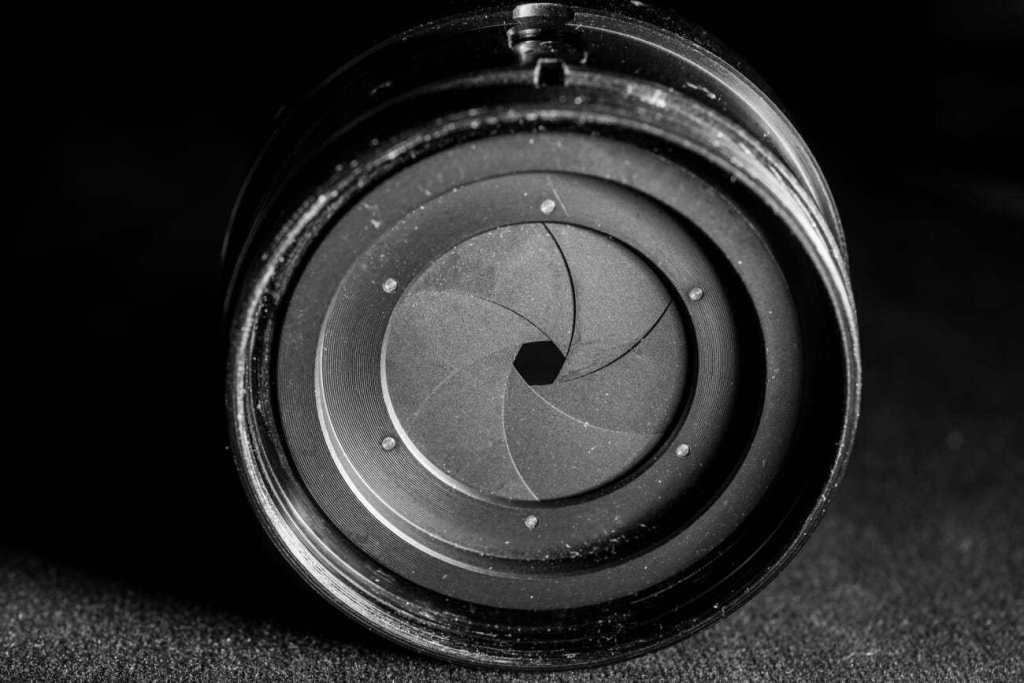
This means choosing a slightly faster shutter speed–and a smaller aperture.
Finally…
(This last setting is key!)
Be sure to shoot in RAW. Do not shoot JPEGs.
You see, the RAW file format is far better at capturing detail. Especially in areas of transition between light and dark.
Plus, RAW lets you do a lot more in post-processing.
With RAW, you’ll be able to lighten the main parts of your image–creating that gorgeous, dramatic dark photography look that everyone loves.
So:
Shoot with a low ISO.
Carefully underexpose.
And shoot RAW files.
(If you struggling to change any of these camera settings, check your camera manual–it’ll give detailed instructions.)
3. Grab a Few Key Accessories for the Best Dark Photography
You don’t need much equipment to do dark photography.
In fact, you can get amazing shots with just a camera.
But…
A few accessories do make dark photography a whole lot easier.
So if you’re looking to be a serious dark photographer, I recommend two main accessories:
First, a tripod great for dark photography.
Why?
In dark photography, you’re often working in low-light conditions. And a tripod is essential for stopping camera shake.
For the same reason, I recommend using a remote release.
This will allow you to take photos without touching your camera.
And it’ll stop any camera shake caused by pressing the shutter button.
(If you don’t want to purchase a remote trigger, don’t worry. You can also use the self-timer feature on your camera. This will allow you to trigger the shutter in advance.)
Just remember:
A few small accessories can go a long way.
4. Use a Dark Background for the Most Powerful Photos
Dark photography requires a dark background.
In fact, not using a dark background is probably the single easiest way to ruin your dark photos.
Now, a
The walls of a black building.
A shadowy corner of the forest.
Or it can be artificial:
Some dark fabric.
A small board.
In fact, an artificial black background is perfect for on-the-fly dark photography. You just place it behind your subject, and–voila!–you can take some gorgeous low-key photos.
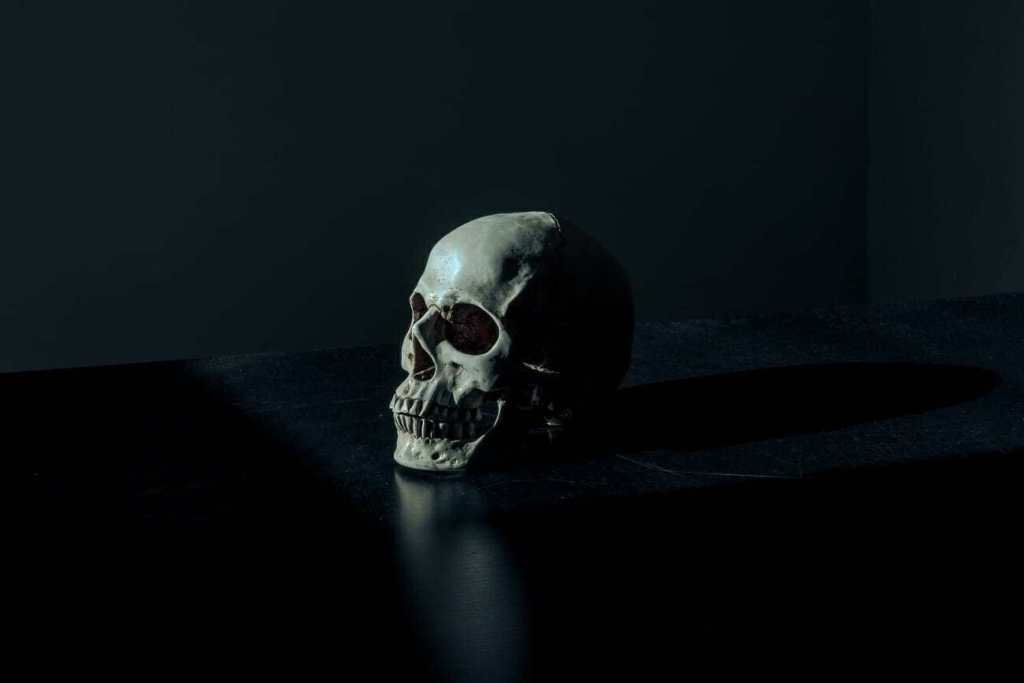
The background doesn’t have to be expensive. You can use a piece of black fabric. Or you can paint a small board.
Basically, you just need something lightweight–which you can easily place behind your subject.
One more suggestion:
Put some distance between your subject and the background.
This way, the light can fall on the subject–without lightening the background.
So you can capture a stunning low-key image.
5. Use the Rule of Thirds for the Best Compositions
You know how to light your subject. You know how to find the perfect background.
But how do you compose your shot?
Here’s what I recommend:
Use the rule of thirds.
The rule of thirds states that the best compositions place the subject off center.
Specifically, you should place the subject a third of the way into the photo.
Now, the rule of thirds comes with some helpful gridlines, shown below:
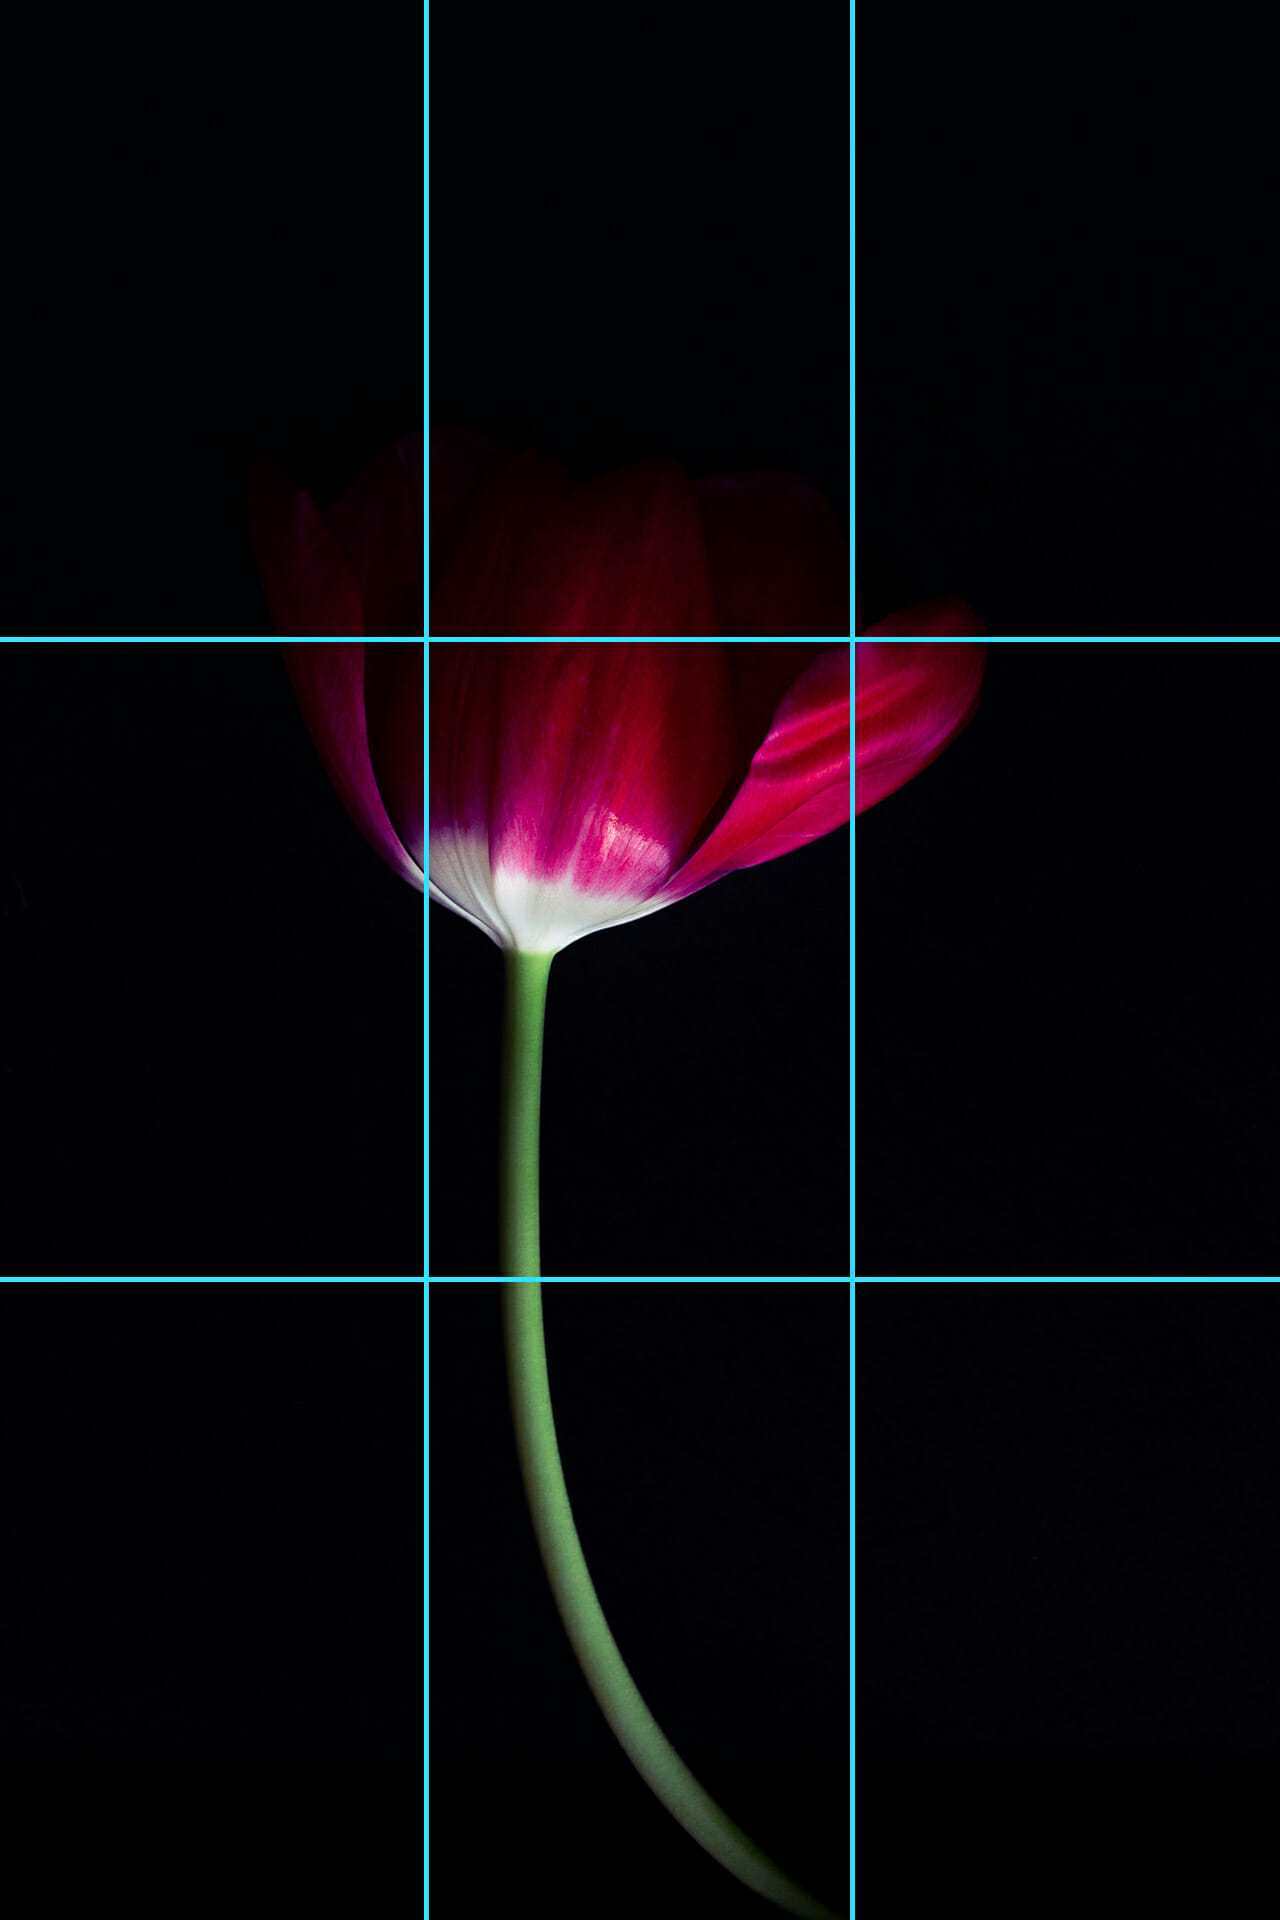
The key is to frame the photo so your subject lies along a gridline–or sits at the intersection of two gridlines.
If you can do this, your dark photography will look so much better.
I’d also recommend you leave some empty space around your subject.
(This is referred to as negative space.)
You see, negative space gives your subject room to breathe. And it draws attention to the main subject of the image–making the photo far more powerful.
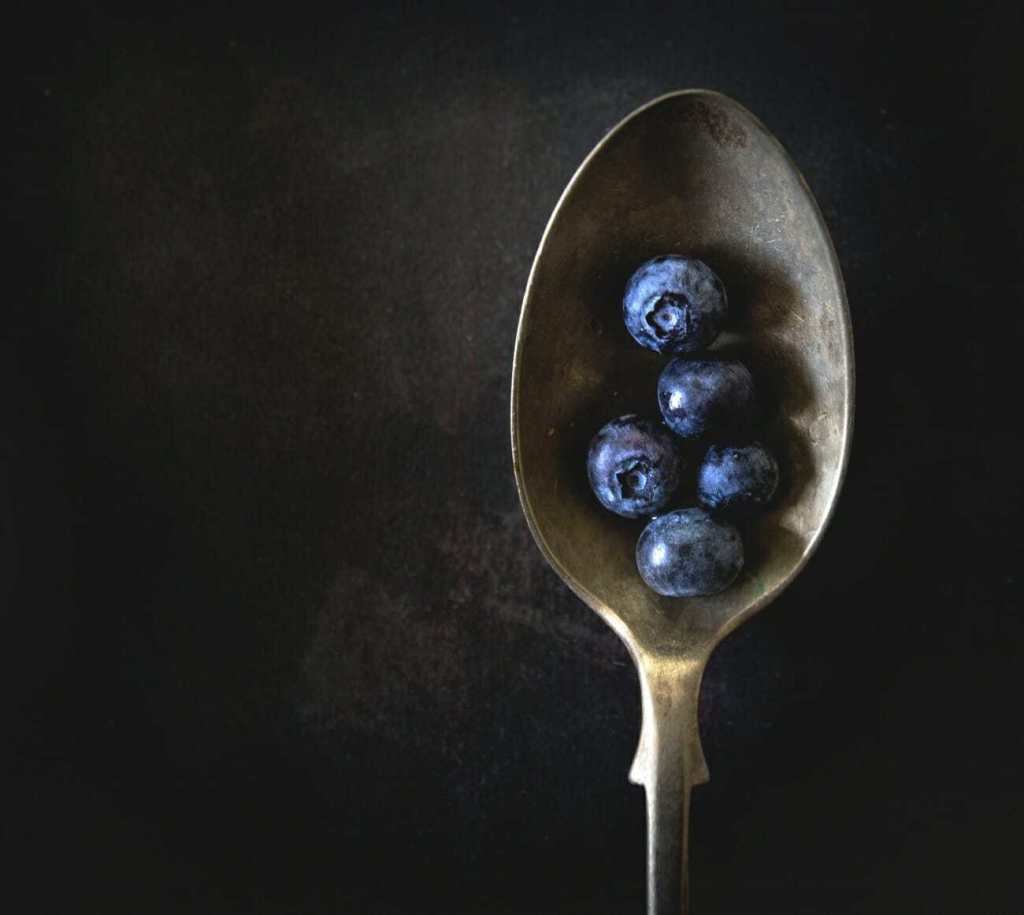
So use the rule of thirds. Use negative space.
Your compositions will be so much better.
6. Tell a Story for the Most Compelling Dark Photography
If you want to get stunning dark photos…
…you can’t just take a snapshot.
Instead, you have to tell a story.
Because you want to evoke an emotion in the viewer. You want to draw them in.
Here’s what I recommend:
Start by thinking about your subject. What mood does it evoke?
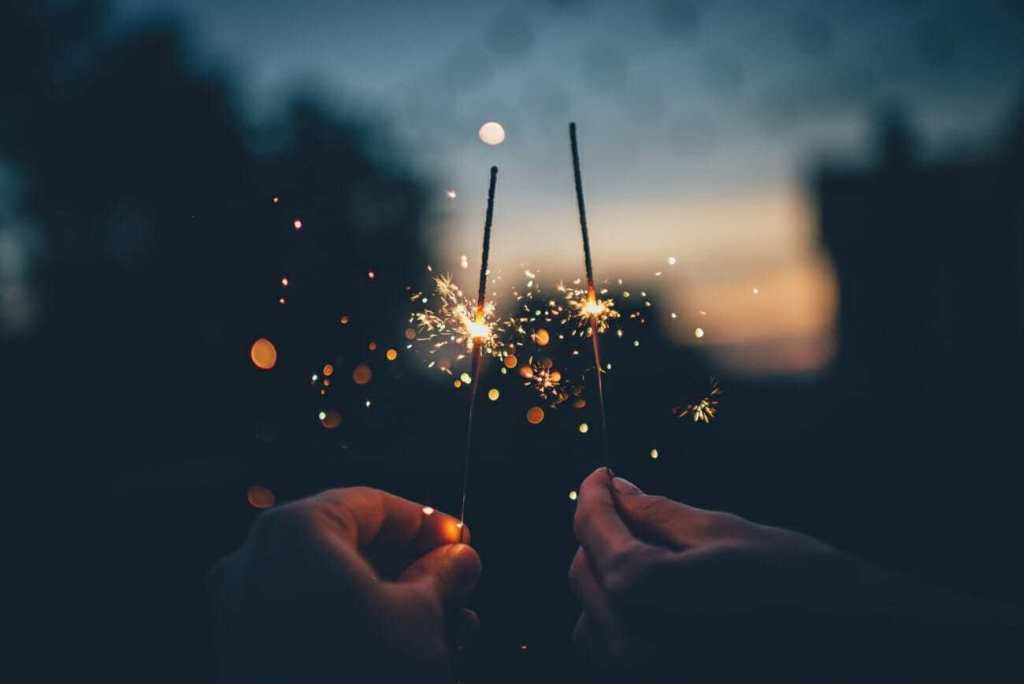
Then think about how you can convey that mood. Use all of the tools that you have at your disposal: l
In general, the darker the photo, the moodier it becomes.
That’s why dark photography is so great for storytelling.
For instance, you can use lighting to create different types of drama.
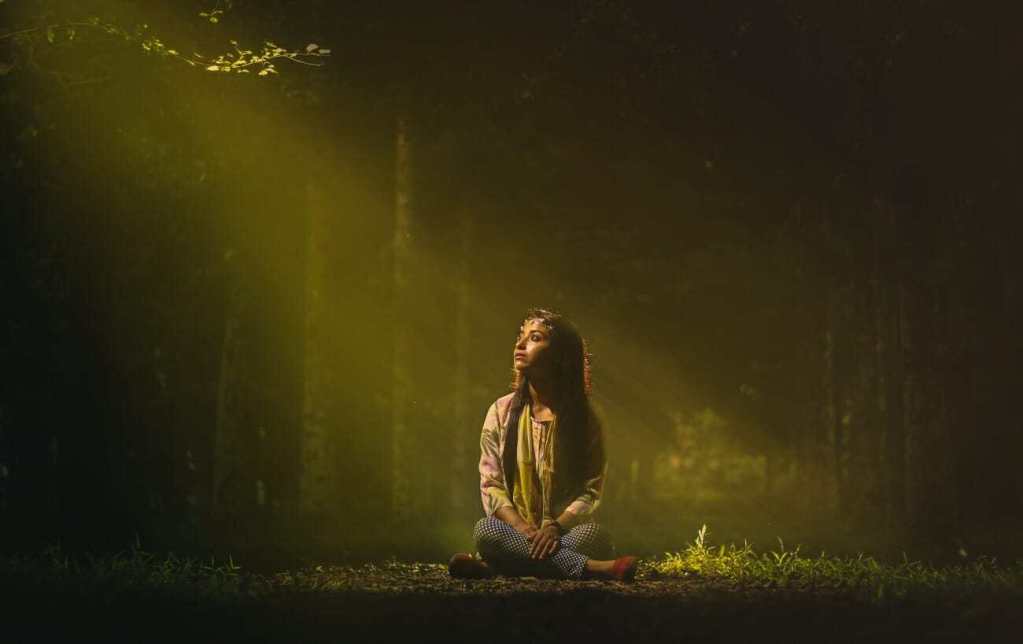
A more subtle light will give a mysterious feel. Whereas a brighter strobe will create a deeply dramatic scene.
The feeling you convey is up to you.
Just make sure that you’re thinking about a story!
7. Shoot at Night for Creative Dark Photos
Most photographers like to do dark photography in the daytime.
But…
Did you know that you can get some ultra-creative dark photos at night?
At night, you already have a black background. The key is to find a light source.
For instance, look for streetlights. Then wait for someone to walk underneath them–before taking the shot!
Car headlights can also work well.
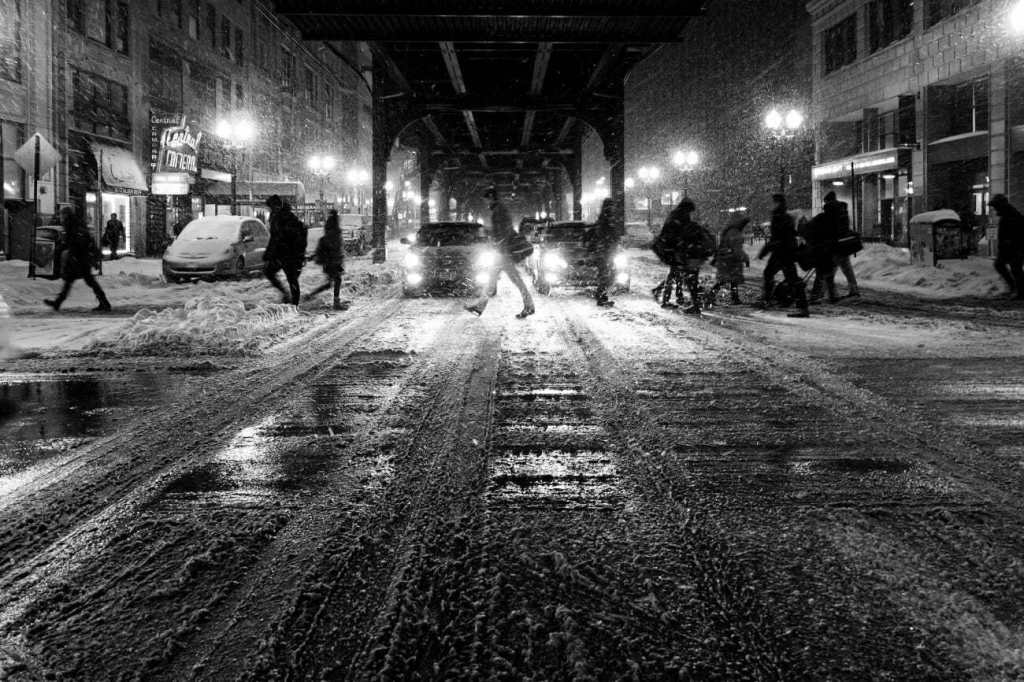
You can even take some shots using neon lights–which you can find in storefront windows.
In fact, I recommend getting creative with other light sources. Try flashlights, campfires, lighters, and more.
Now, you’ll need to make sure the light source is quite close to your subject. Otherwise, your subject will be a bit too dark–and this will ruin your images.
But if you can find some interesting light sources?
Your dark photos will be extremely original.
8. Enhance Your Dark Photos with Post Processing
I have one more dark photography secret for you.
Here it is:
The key to getting truly stunning dark photos…
…is doing a bit of post-processing.
Nothing major.
But you need to strengthen the blacks in your photos.
Do this by increasing the contrast.
Or, for a more subtle look, simply drop the black slider.
You also need to brighten the subject (so that they’ll stand out).
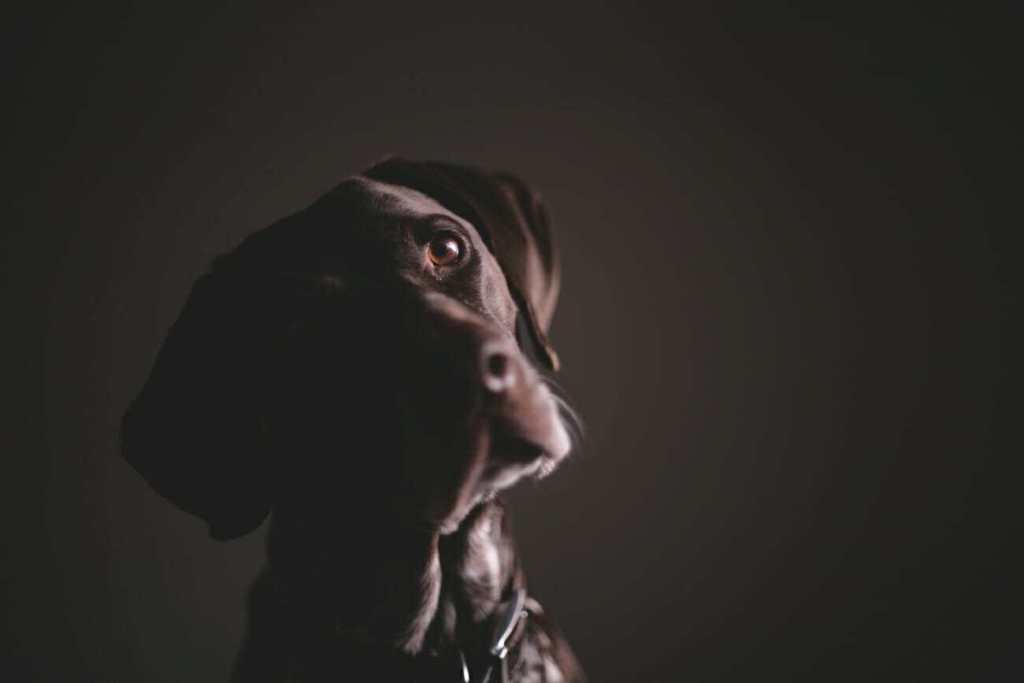
You can do this by creating a slight vignette around the subject.
Or you can increase the highlights and whites–while leaving the other parts of the photo as they are.
Now, these adjustments are basic. You can do them in any post-processing app or program
Just remember:
A little bit of post-processing goes a long way.
Especially when it comes to dark photography.
Dark Photography: Next Steps
Now you know the secrets
You know how to find a gorgeous background.
And you know how to compose using the rule of thirds.
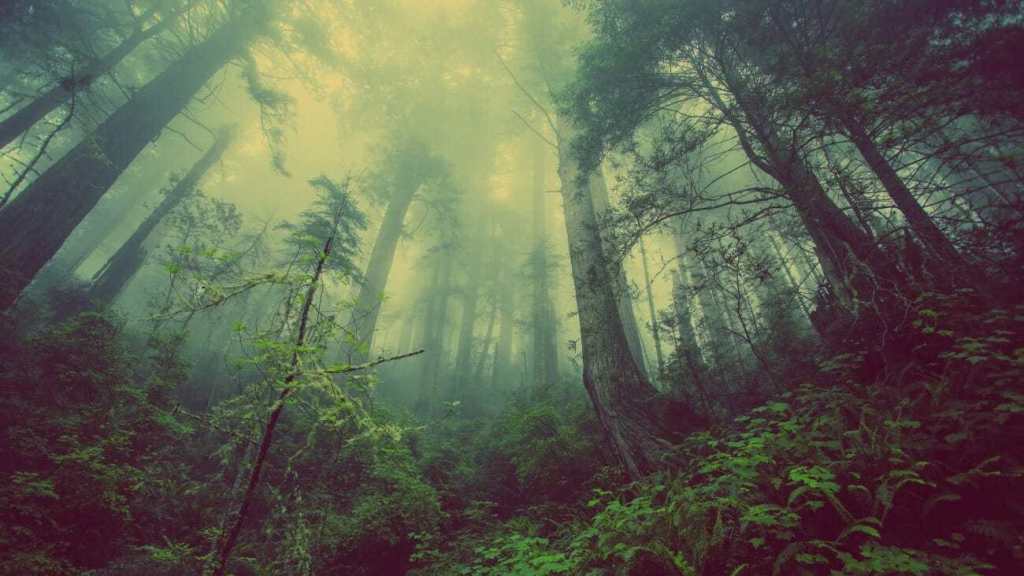
You even know how to find the best light.
The next step?
Get out and shoot!
Download FREE Photography Lighting Cheat Sheet
Subscribe and get a free downloadable photography lighting cheat sheet
