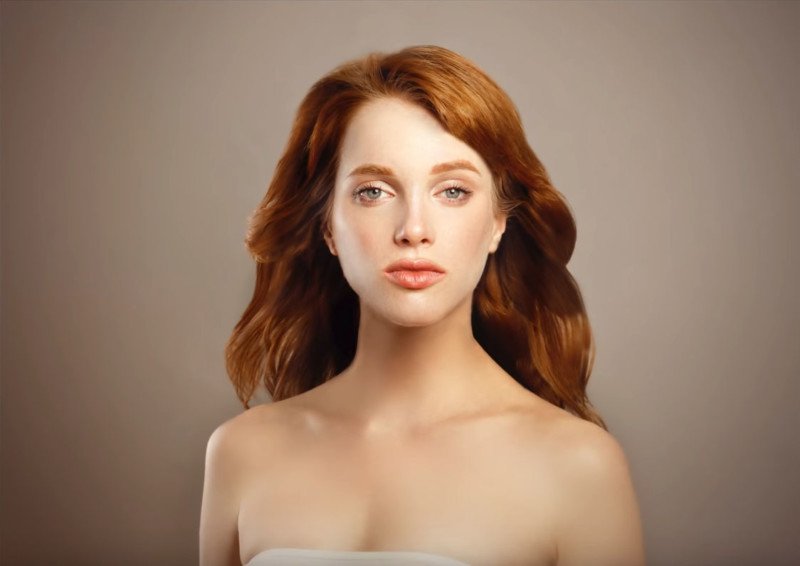
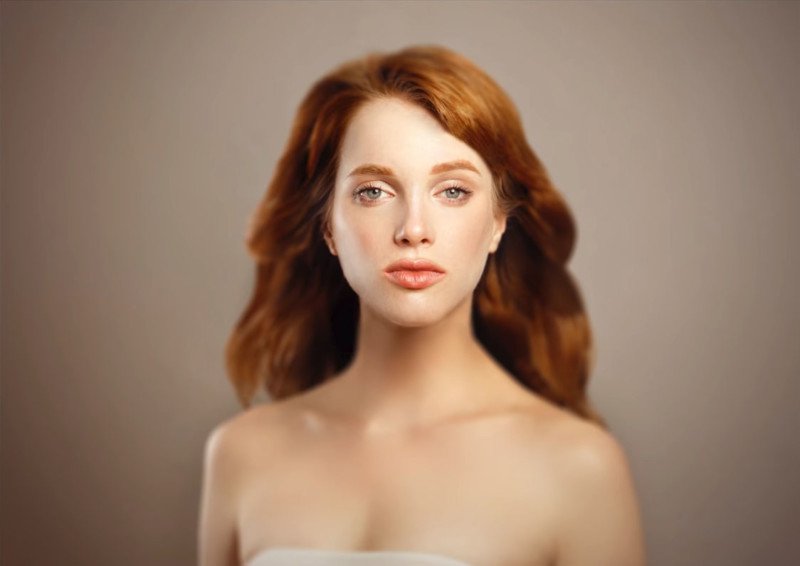
By carefully applying blur to a portrait, you can make it look like it was shot with a shallow depth-of-field using a fast (and expensive) lens. Here’s a 12-minute tutorial by PiXimperfect that teaches the key to creating this faux blur in a realistic way.
“We’ll learn some advanced controls for Iris Blur and Field Blur from Blur Gallery, and combine multiple filters to easily create a creamy soft focus effect,” writes Photoshop guru Unmesh Dinda.
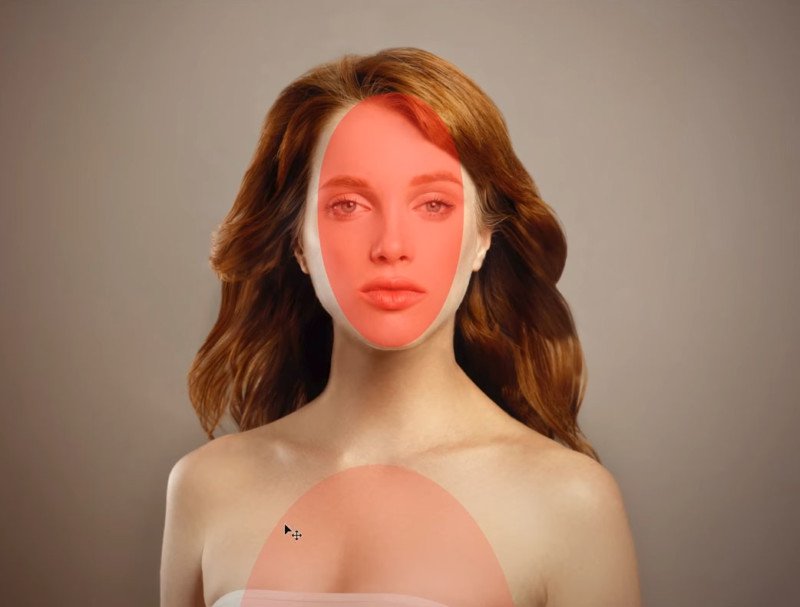
He starts by explaining the concept of focal plane — when you focus on a subject’s eyes, everything in that same focal plane will be in focus, while things outside will be blurred to varying degrees. So the first step is to properly figure out the focal plane in your portrait.

Once you’ve figured out this plane, the method in this tutorial involves creating a Smart Object from your base photo and then applying an Iris Blur to it.
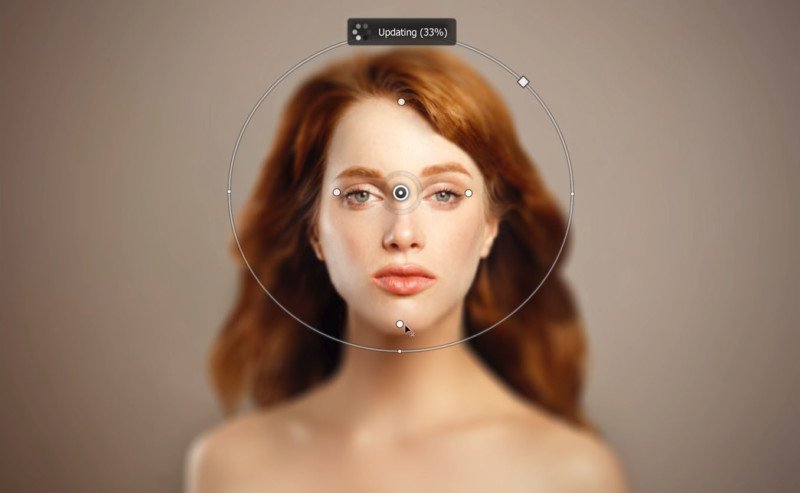
The Iris Blur tool has white marker dots you can use to control where the blur begins to be applied.

But the problem is that moving one of these four markers also moves the other three. They key to Dinda’s technique is to hold Alt/Option while moving them, which allows each dot to be moved independently of the others. By doing this, the blur can be much more accurately applied to just the areas that should be sharp on the focal plane.


Watch the full tutorial above for a step-by-step walkthrough showing this technique on two different example portraits. You can also find more of PiXimperfect’s popular Photoshop tutorials on the YouTube channel.