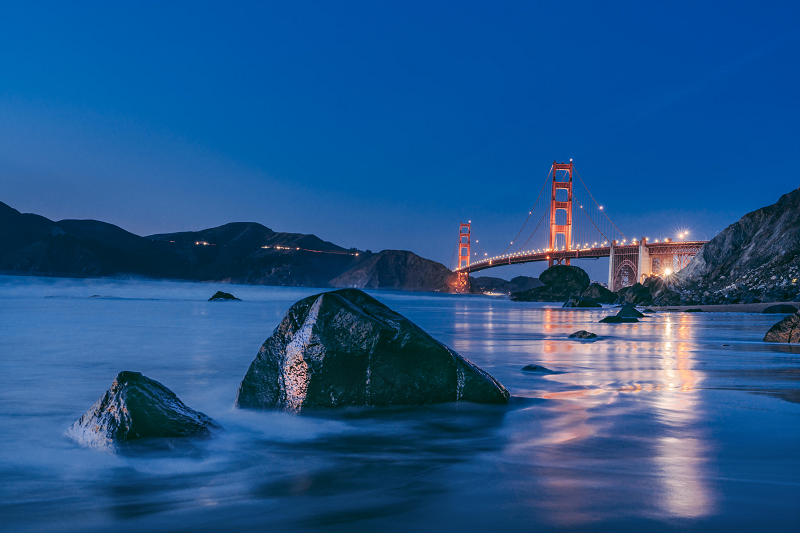
photo by: Edgar Chaparro
After the sun goes down, most photographers pack up their gear and head for home. But after sunset, there’s a whole new world of photo opportunities that open up –for those who are brave enough to try.
While learning to shoot at night can be a challenge, it’s an excellent way to take your landscape photography up a notch. Once you’ve mastered the art of after-dark photography, you’ll be able to capture those beautiful yet elusive images that most can only dream about.
From star trails, to images by moonlight, long exposures, fast exposures, traffic light trails, cityscapes, and more –here’s a look at everything you need to know to start shooting landscapes –by night.
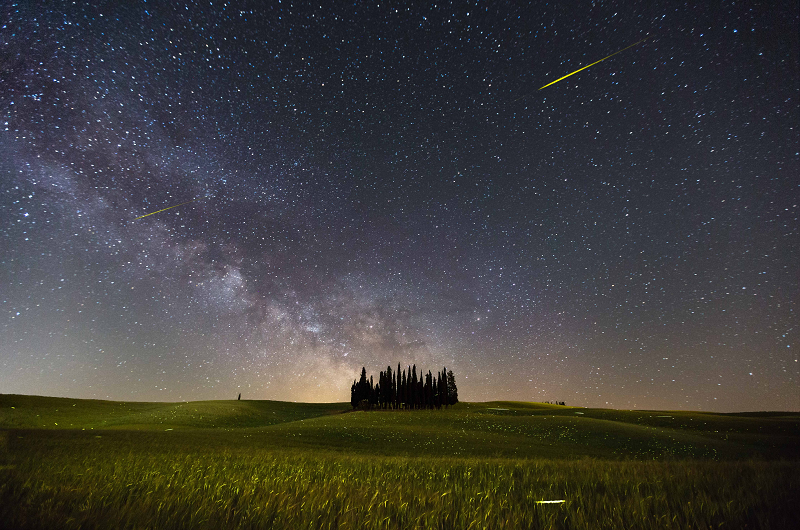
photo by: Luca Micheli
Getting Ready
Night photography starts way before the sun goes down. Once the sun sets, you’ll want to be on-location and ready to start shooting. Here’s what you can do to prep before you go!
• Seek Out Your Location by Day
Prep work is the name of the game when it comes to successful night photography. Finding an ideal location during the day will be a lot easier than looking for one while stumbling around in the dark. Scout out your location earlier in the day; where you will park, where you will set up, and ideas for compositions; to help make shooting that night easier.
• Check the Weather, Moon Cycle, and Sunset Times
You’ll also want to know what time to go –and the type of light you’ll be working with. Shooting under the light of a full moon is a lot different than a new moon! If you’re planning to capture the moon or star trails, you’ll want to pay extra close attention to the moon cycle. You’ll also want to take the time to see what the weather forecast is, and whether or not you’re in for clear skies. Finally, take note of what time sunset is, as well as the blue hour –if you’d like to capture some beautiful twilight shots as well. Finally, if you’re planning to capture stars, consider using an app like Star Walk 2 (Android or Apple), that’ll help you to identify and locate star constellations.
• Start Shooting Early
Just because you are shooting at night, doesn’t mean you have to wait until it is dark to start shooting. Instead, consider arriving before sunset and shooting early. You’ll be able to capture a sunset, or even some breathtaking blue hour images. You might be surprised at just how quickly the night sky changes, going from various shades of reds and oranges to a deep blue that continues to get darker as the minutes tick on.
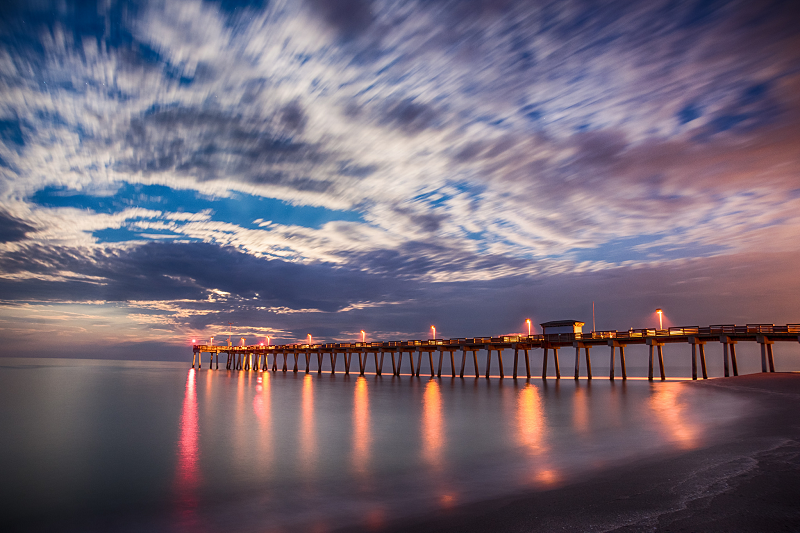
photo by: Don Miller
Bring the Right Gear
The right gear is also important for successful night photography.
• Cable Release
You’ll be working with slow shutter speeds at night which means that the tiniest bump or shake can mess up your entire photo. Get the sharpest image possible by bringing a cable release, or using your camera’s timer –saving you from having to press the shutter and risking camera shake.
• Tripod
A good sturdy tripod is the basis of all long-exposure photography. While a cheap tripod will get the job done, you may want to consider a midlevel one if you’re serious about night photography; and will be using very long exposures.
• Flashlight
Not only will this be useful for finding your way back after you are done shooting, you might need a little extra light to see your camera or gear.
• Wide Angle Lens
While not strictly necessary, a wide angle can help you to capture some amazing night images. Not only do wide angles help to accentuate the sense of distance in an image, they’re also more forgiving when focusing in the dark. A 14mm to 24mm is ideal –the wider the better, and you’ll ideally want something with a wide aperture, if you can, of at least f/2.8 for capturing the best images.
• Extra Battery and Spare Memory Cards
You’ll want to bring an extra battery and spare memory cards as well! There’s nothing more frustrating than running out of battery mid-shoot, or finding that your card filled up faster than expected.
• Compass
Finally, if you’re capturing stars, you’ll want to bring along a compass. This will allow you to identify the North Star –the star that remains stationary in the sky while the others rotate around it as the night goes on. Extreme long-exposure photography of this star will result in beautiful circular star trails!
Camera Settings
The settings you choose for your landscape images will vary considerably from what you use in the day.
• A Long Shutter Speed
For most nighttime images, you’ll want to switch to shutter priority mode. This will allow you to capture those long-exposures –which, for star trails, can range from 30 seconds, to five minutes, or longer. If you’re using extremely long exposures, keep in mind that you’ll also want to use blub mode.
• Shoot RAW
Shooting in RAW format at night will make it a lot easier to adjust your images in post-processing –something that most night images can benefit from.
• Use Manual Focus
Shooting in the dark can be a challenge for your camera, especially when it comes to focusing. Instead of letting your camera find the focus itself, consider switching to manual focus mode.
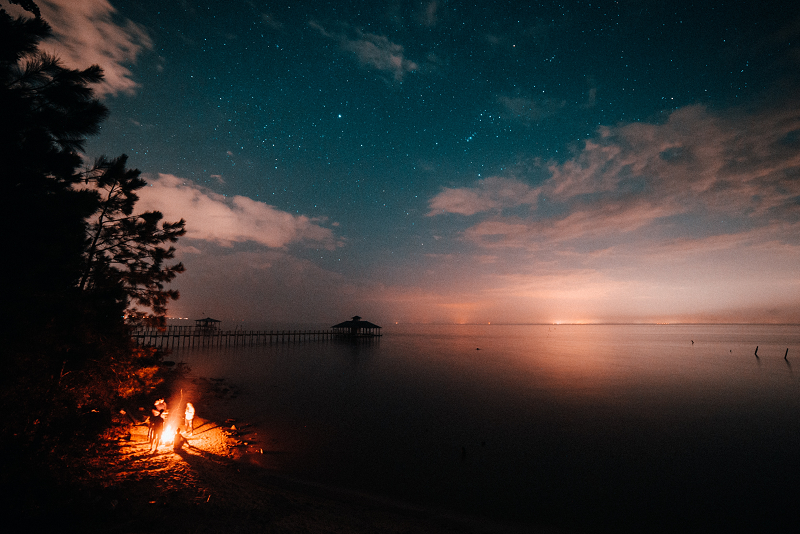
photo by: Rhand McCoy
Composition
Finally, your composition will be different at night than it is during the day. Keep this in mind when scouting out your location –and composing your shots.

photo by: goodfreephotos.com
• Look Include Foreground Elements
While you might be tempted to forego the foreground in your night landscapes, focusing instead on the great plains that stretch out into the darkness or the starry skies above, it’s always a good idea to consider including some foreground in your images. Your foreground elements will all help to tell a story and ad some context to your images; helping to set the stage for your composition. Looking to include a boulder, some shrubbery, trees, or even a pond in your foreground can help to take your images up a notch.
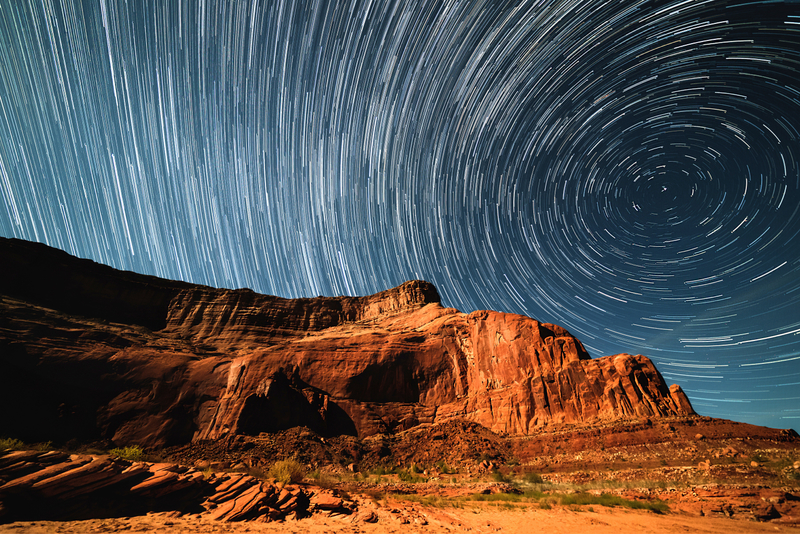
photo by: goodfreephotos.com
• Try Shooting the Stars
While shooting the night sky can be tricky, it can be tremendously rewarding! Keep in mind that the presence of the moon will greatly diminish the resulting star images, so look to go when the sky’s at its darkest. You’ll also want to turn off your settings like in-camera noise reduction and long exposure noise reduction, as these will result in a delay in between your image sequence.
Night sky exposures can range from 15 seconds to several hours, depending on your goals. When creating star trails, consider using image stacking, using shorter exposures –and lots of them, to create one final image –rather than waiting an hour, or longer, for a single exposure to finish.
Use your tripod, switch your camera to manual focus, and then focus on the North Star. Then, bump your ISO way up, take a test shot using a shutter speed of 20-30 seconds, and review your image. You may need to adjust your shutter speed or ISO. Readjust your settings accordingly, and then set your camera to continuous shooting mode. You may also want to set your camera to take at least fifty different shots, but you may want to even get 200 or 300 if you’d like a decent star trail image. Later on, you can use a program like Lightroom to combine your multiple shots into a single image.
One important thing to be aware of is the availability of light around you. Any ambient light will diminish the intensity of the stars. This includes the moon, streetlights, or traffic.
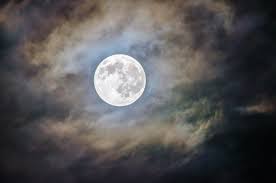
• Capture the Moon
Don’t forget about the moon! During a full, or even quarter moon, it may be preferable to take a picture of the moon rather than stars. To do this, start by using spot metering to ensure that your camera focuses on the brightest area of the frame. Then, use a short shutter speed to freeze the action –yes, the moon is a moving object! Something 1/125 is usually ideal. Then, adjust your aperture accordingly; keeping in mind that going too wide could result in blur. You also may want to bump your ISO up a bit, to compensate.
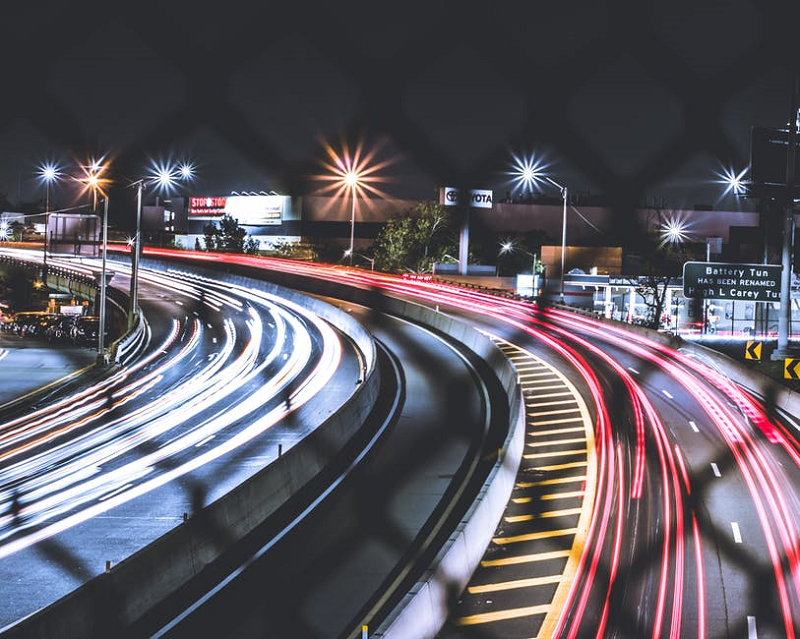
photo by: images.pexels.com
• Shoot Traffic Light Trails
Take your photography to the city by capturing long-exposure images of traffic trails. Position yourself at a high vantage point where you have a good view of a stretch of busy road. Then set up your camera on the tripod and use a slow shutter speed to blur the movement of the traffic and capture some beautiful traffic trails.
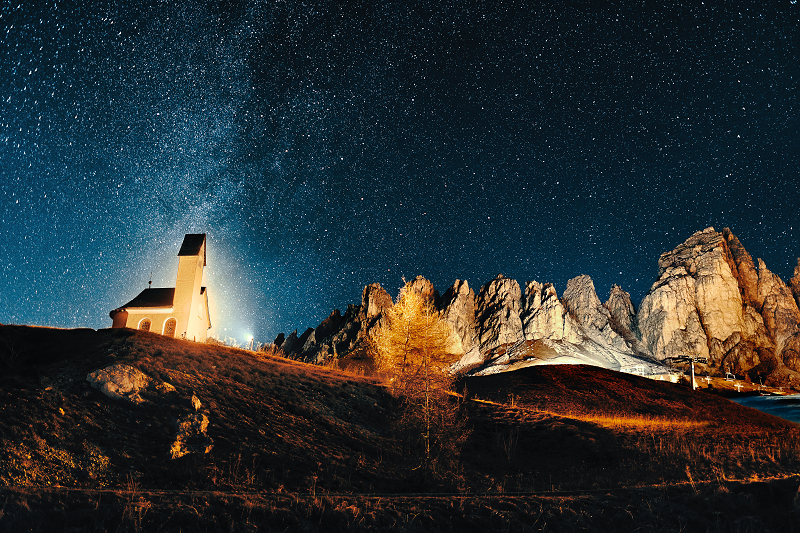
photo by: Nicolò Di Giovanni
Consider Adjusting Your Images in Post-Processing
Finally, most night images can benefit from some level of adjustment in post-processing. If you’re using larger apertures, you may not be able to get everything in focus in one single shot. In these cases, consider taking two or three different shots, focusing at different depths, and then combining the images in post. When shooting an image that has both foreground and sky, you may also want to consistently shoot two frames, one exposed for the sky and one for the land. This will allow you to adjust the color of the sky and land separately during post. You can then use the Tone Curve panel in Lightroom to shift the sky color to more blue, and the temperature slide to only slightly adjust the color of the foreground. Once you’ve edited both compositions, you can combine them.
Don’t forget to dress warmly, and bring along a hot drink –especially if you’re planning to be gone for a few hours! It’ll get cold and you’ll be able to stick it out for longer if you’re dressed for the elements.
Have fun capturing your unique and daring nighttime images!
Do you enjoy night photography?