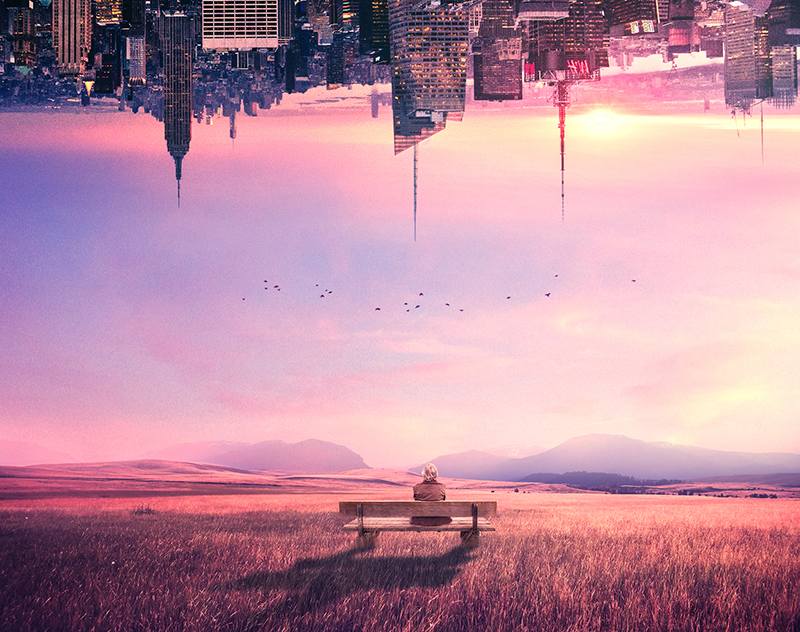
In this Photoshop tutorial, I’ll show you how to create a surreal scene featuring an old man watching upside down city.
You’ll learn how to combine several stock images together, adjust color, enhance lighting and more.
Final Image

Tutorial Details
- Program : Photoshop CS3 +
- Estimated Completion Time: 60 minutes
- Difficulty : Intermediate
Resources
Step 1
Create a new 1700×1441 px document and fill it with white. Open the sky image and use the Rectangular Marquee Tool (M) to select the sky only and move it into the white canvas using the Move Tool (M) . Place it in the upper half.

Step 2
Go to Layer > New Adjustment Layer > Color Balance and set it as Clipping Mask . Change the Midtones settings.
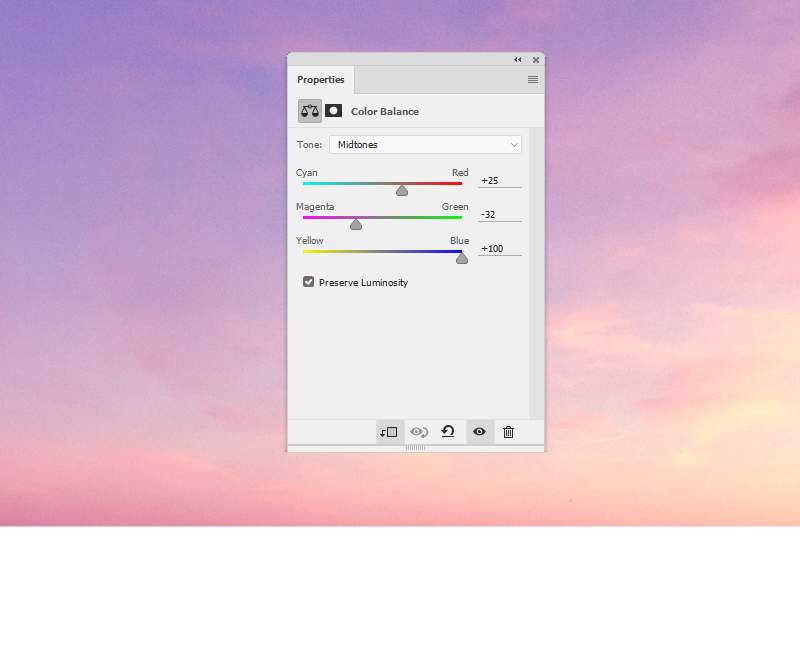
Step 3
Browse the landscape image and place it in the lower half of the canvas.
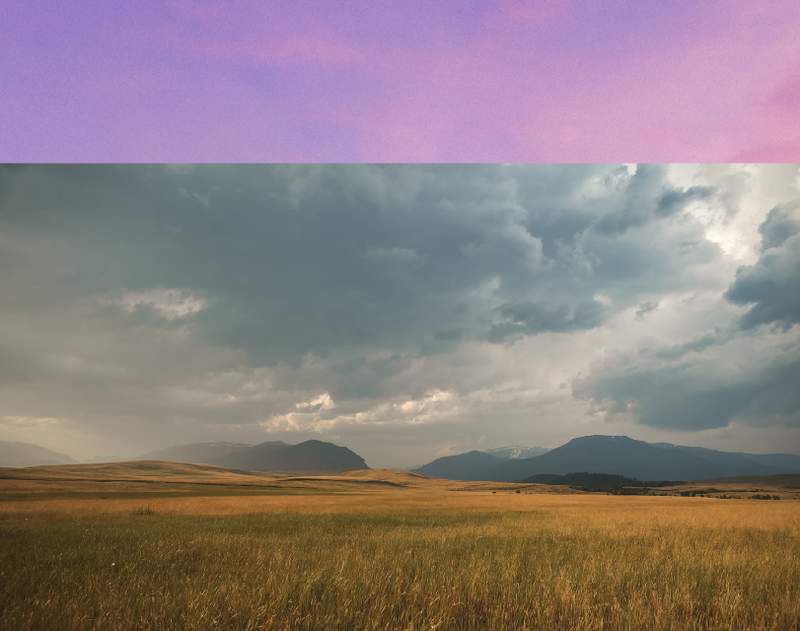
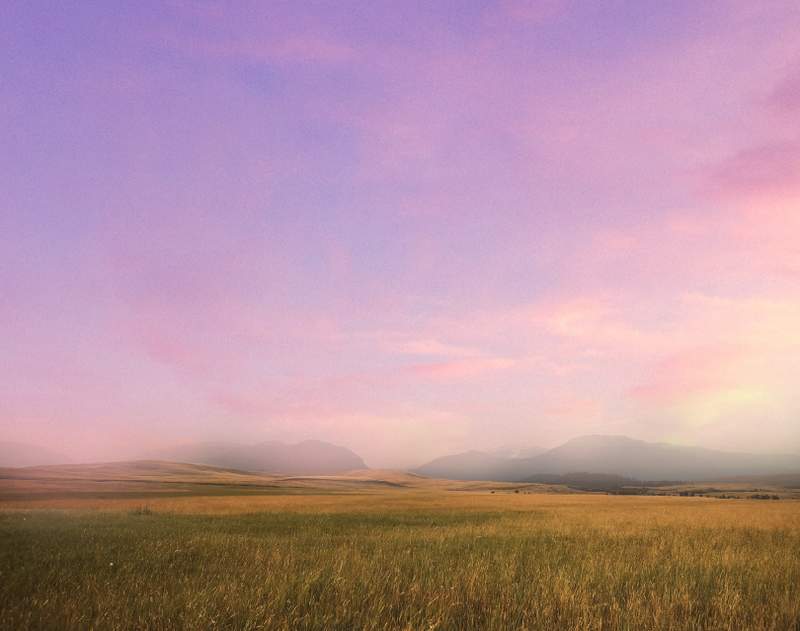
Click the second icon at the bottom of the Layers panel to add a mask to this layer. Use a soft black brush to remove the sky and make the landscape blended with the existing sky.
Step 4
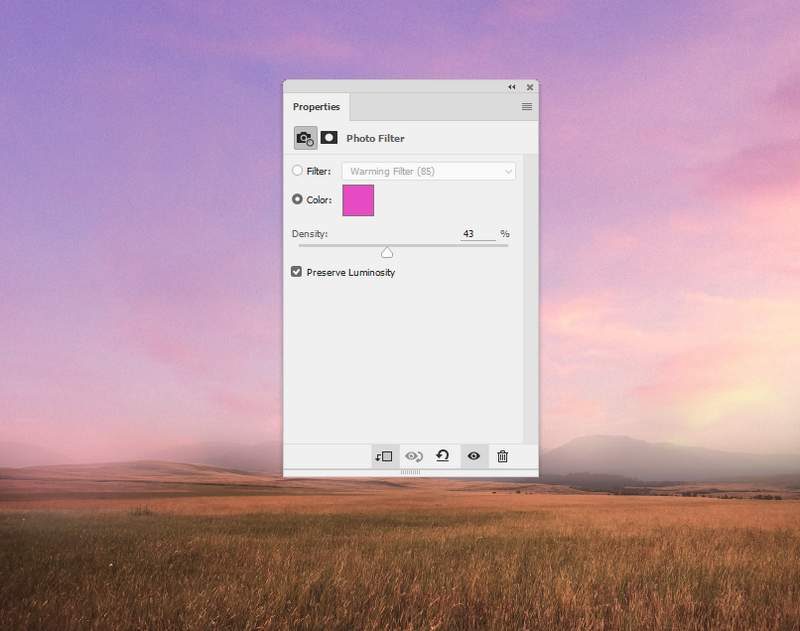
Create a Photo Filter adjustment layer and pick the color #e64bc3.
Step 5
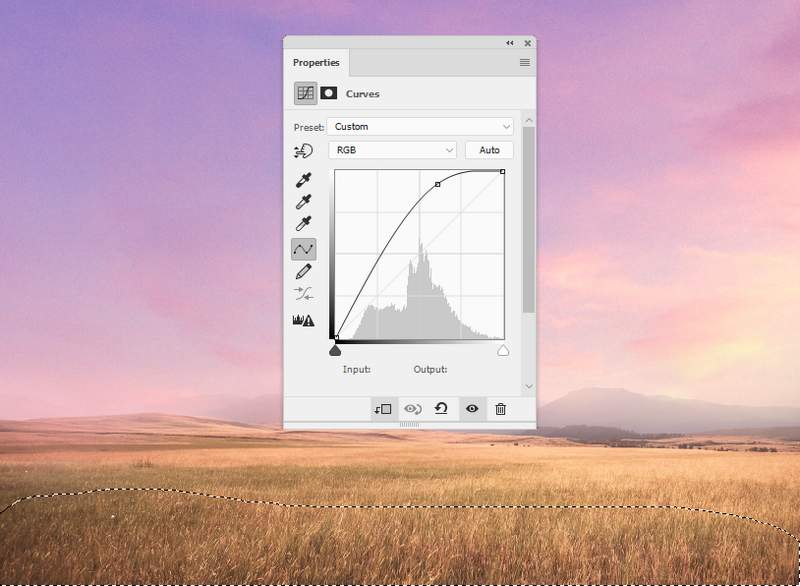
Make a Curves adjustment layer to brighten the landscape. On this layer mask, use a soft black brush with the opacity about 10-15% to erase the foreground as we’ve aimed to make this area a bit darker than the rest.
Step 6
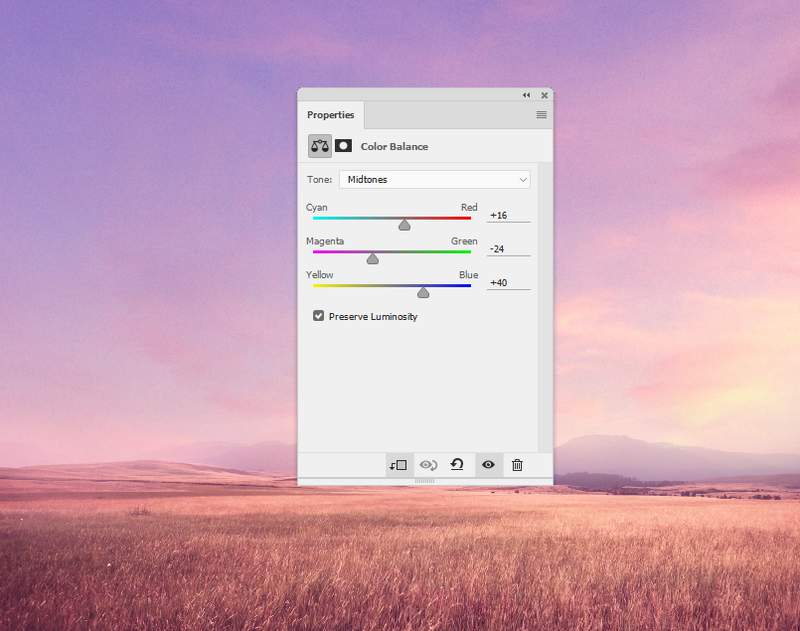
Add a Color Balance adjustment layer to match the landscape’s color with the sky.
Step 7
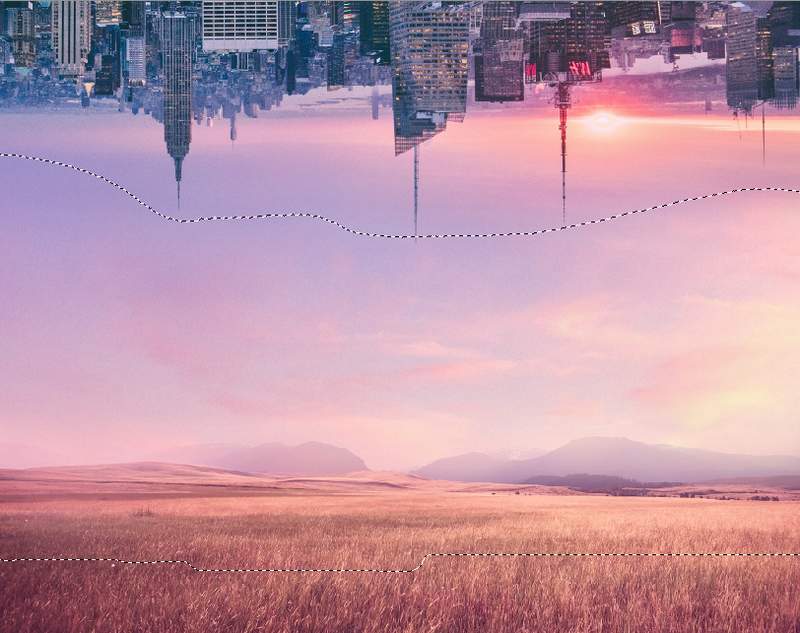
Place the city image in the upper section of the main canvas and flip it vertically ( Edit > Transform > Flip Vertical) .
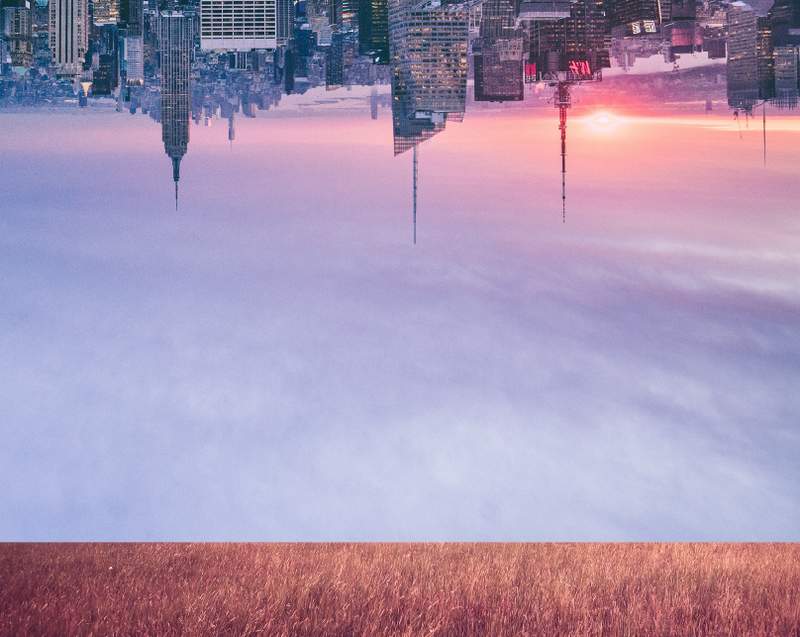
Add a mask to this layer to erase most of the sky .
Step 8
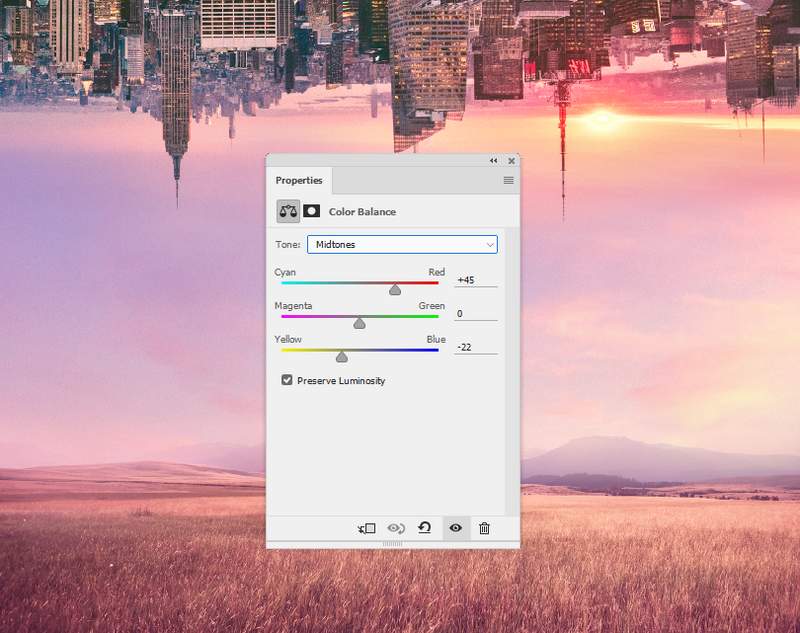
Create a Color Balance adjustment layer to change the city’s color.
Step 9
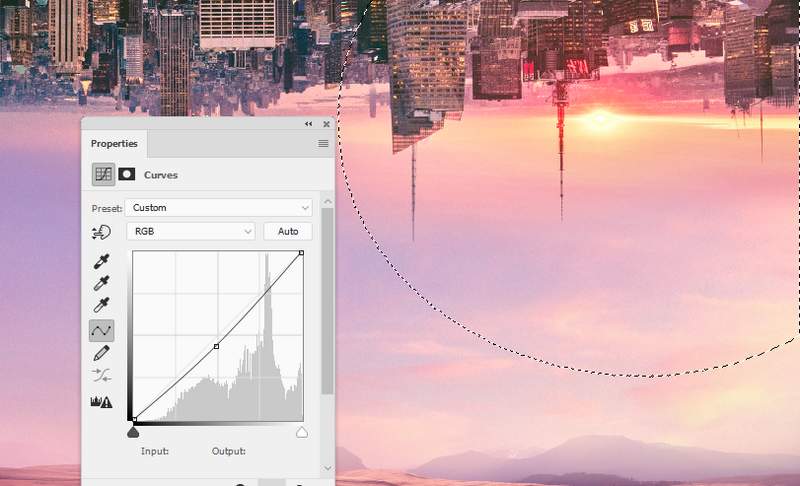
Make a Curves adjustment layer to darken the left of the city. On the layer mask, paint on the right so it won’t be affected by this adjustment layer.
Step 10
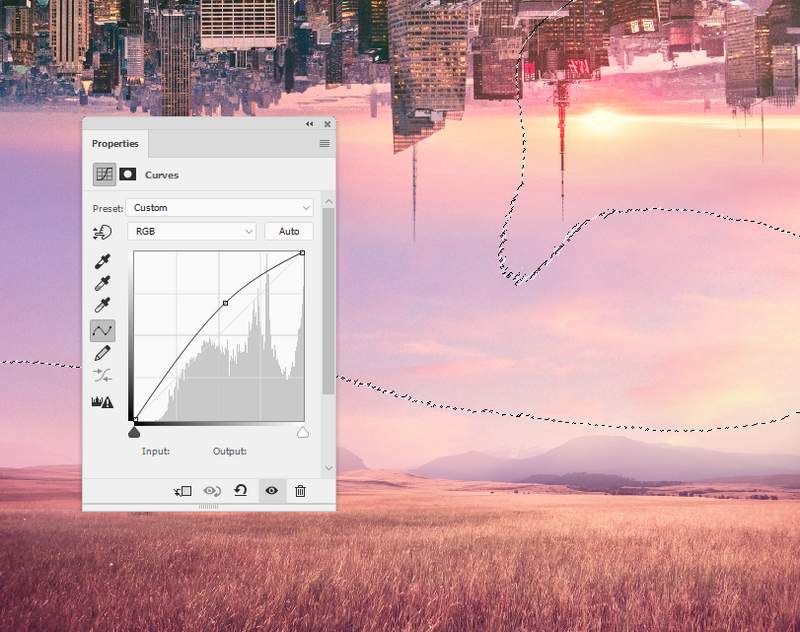
Create another Curves adjustment layer to brighten the right (light’s area) a bit. Paint on the left so it won’t be brightened by this adjustment layer.
Step 11
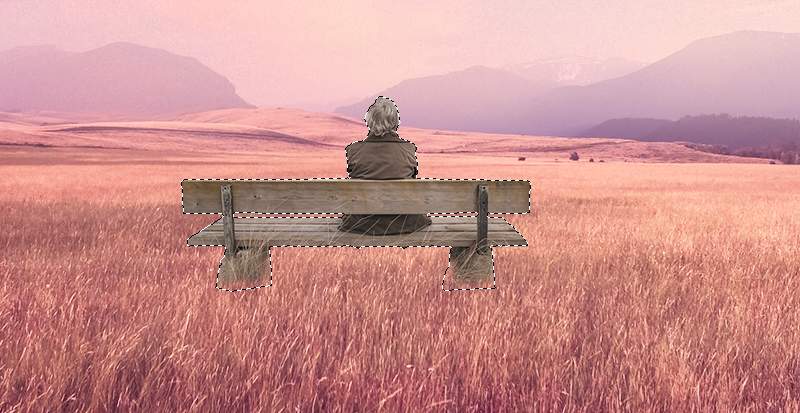
Open the man image and isolate him from the background. Place him in the middle section of the field and use a layer mask to blend the bottom of the bench with the field.

Step 12
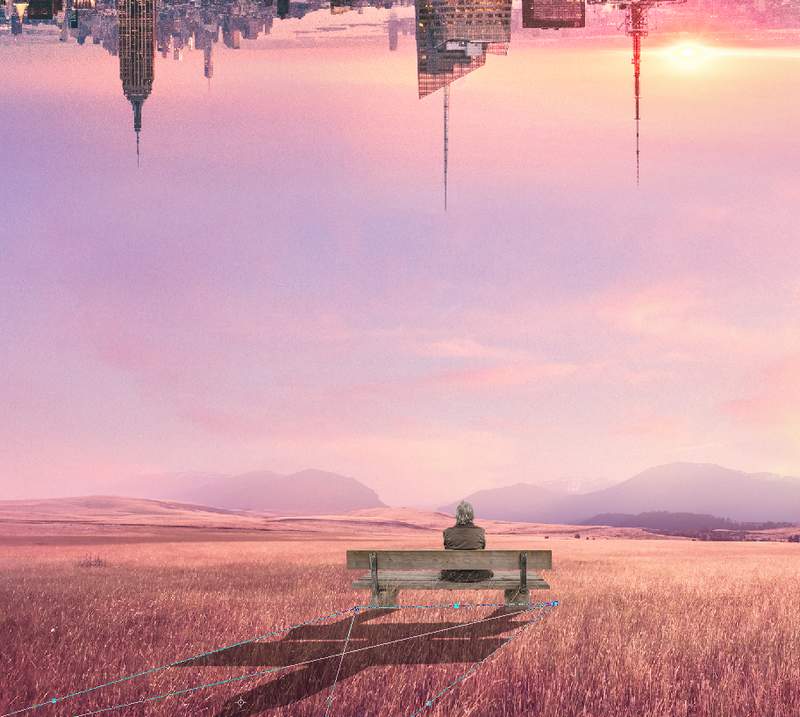
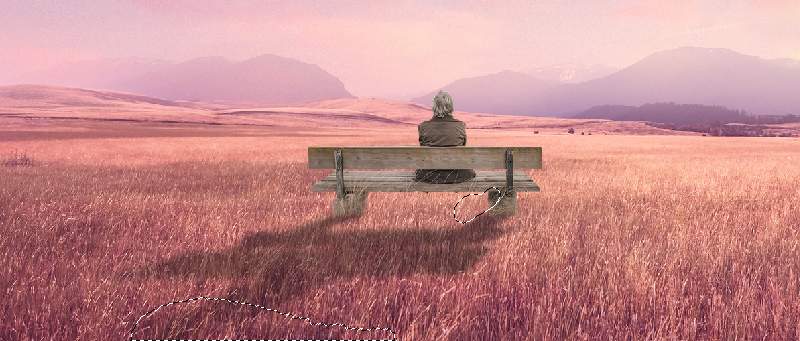
To make the shadow for the man and the bench , make a a new layer below the man one. Hold down the Ctrl and click the thumbnail of the man layer to load his selection.
Fill this selection with the color #100b0f . Lower the opacity of this layer to 50% and flip it vertically. Use Ctrl+T to rotate this shadow to fit the light source from the sky.
Step 13
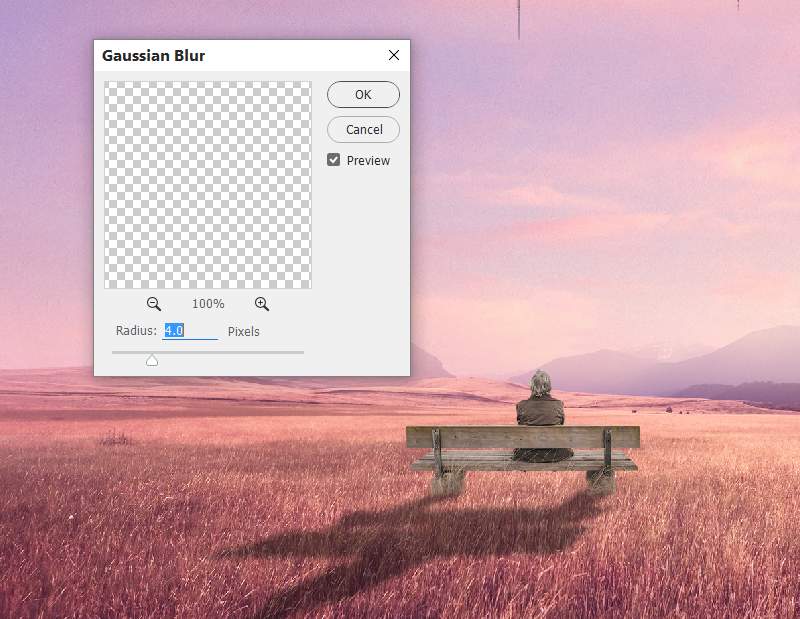
Go to Filter > Blur > Gaussian Blur and set the radius to 4 px to soften the shadow. Add a mask to this layer and use a soft black brush to reduce the shadow’s opacity on the top and bottom as shown below.
Step 14
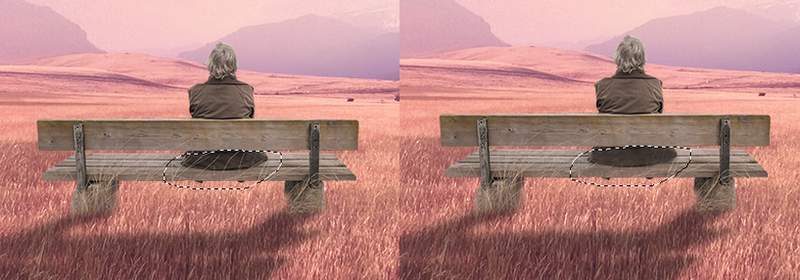
Create a new layer above the man one and set it as Clipping Mask . Use the Clone Tool (S) to remove the blades on the man’s back.
Step 15
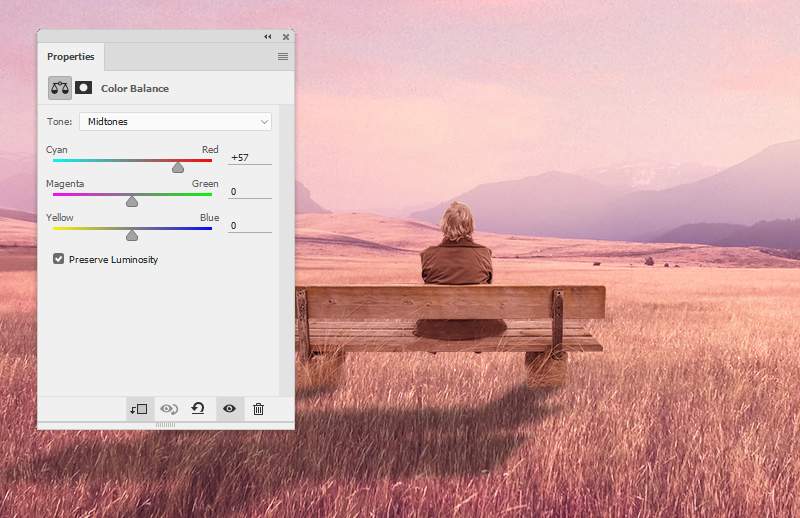
Make a Color Balance adjustment layer and alter the Midtones settings:
Step 16
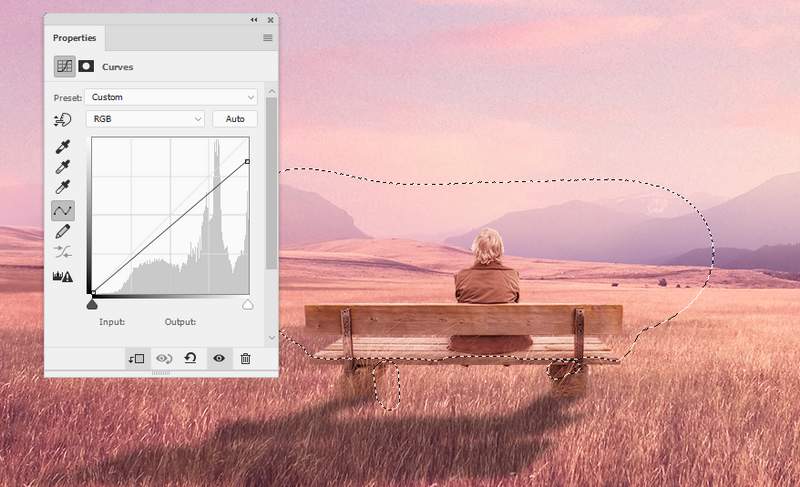
Create a Curves adjustment layer to brighten the man and the bench. Paint on the back/hidden areas so they won’t be affected by this adjustment layer.
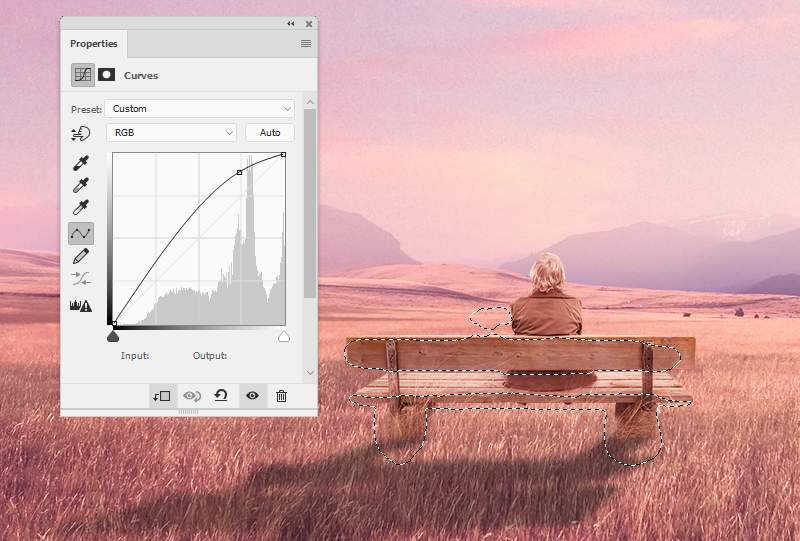
Add another Curves adjustment layer to dark the back side of the bench. The selected areas show where to paint on the layer mask.
Step 17
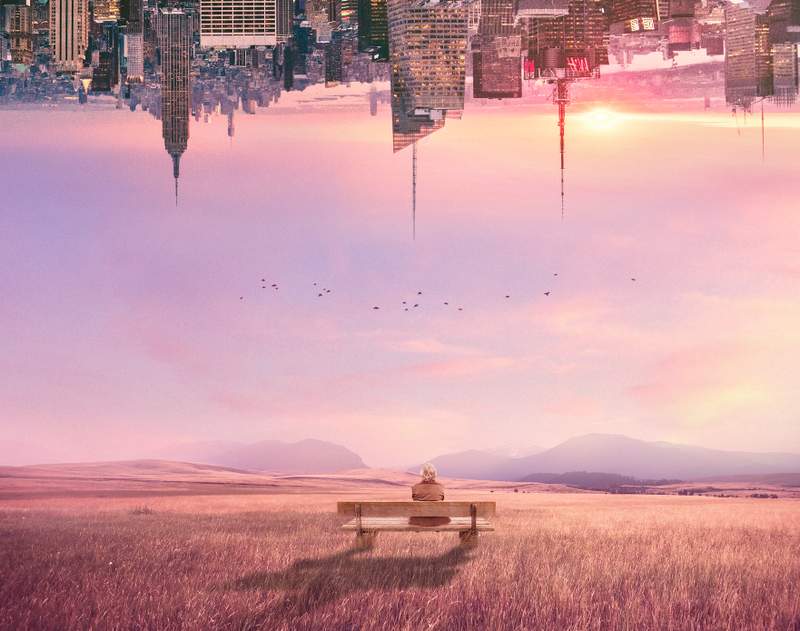
Make a new layer on top of the layers and change the brush to the bird ones. Use different brushes with the color #69064a to paint birds along the space between the landscape and the city.
Step 18
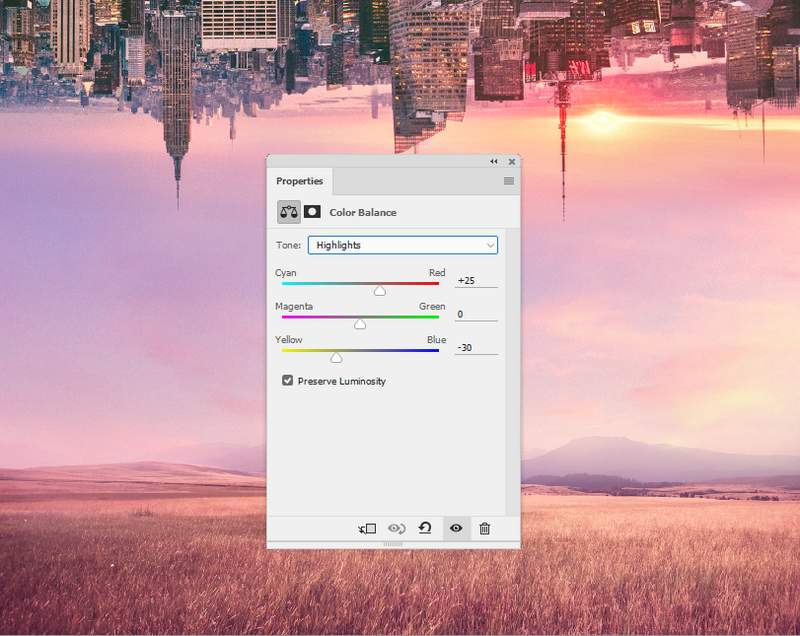
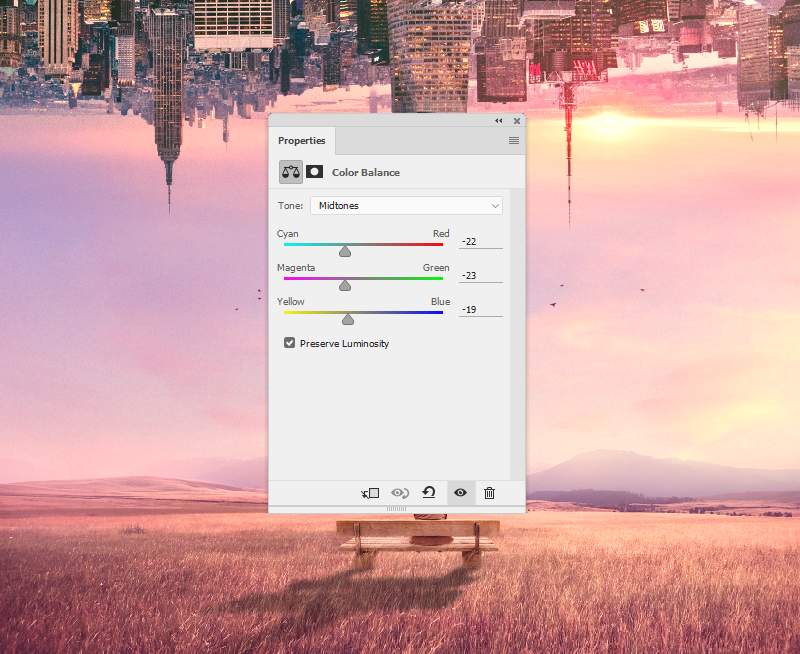
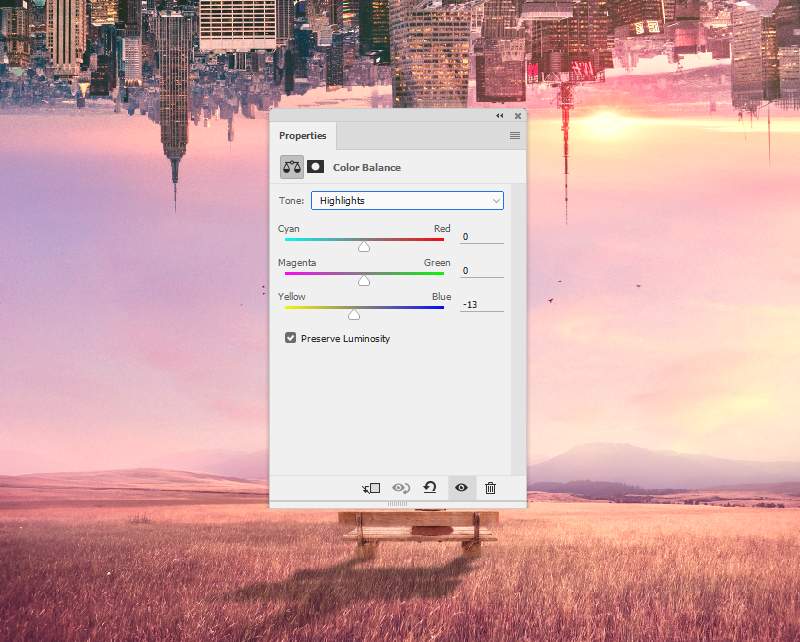
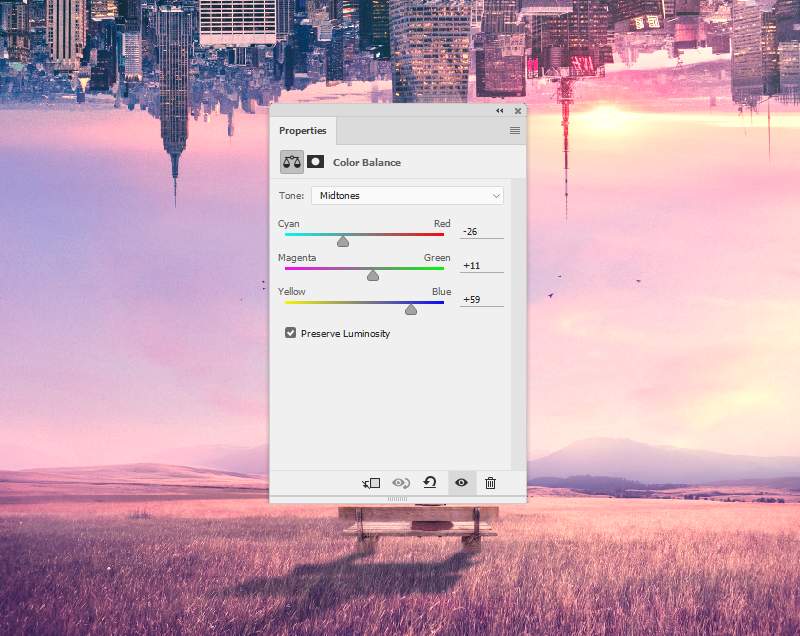
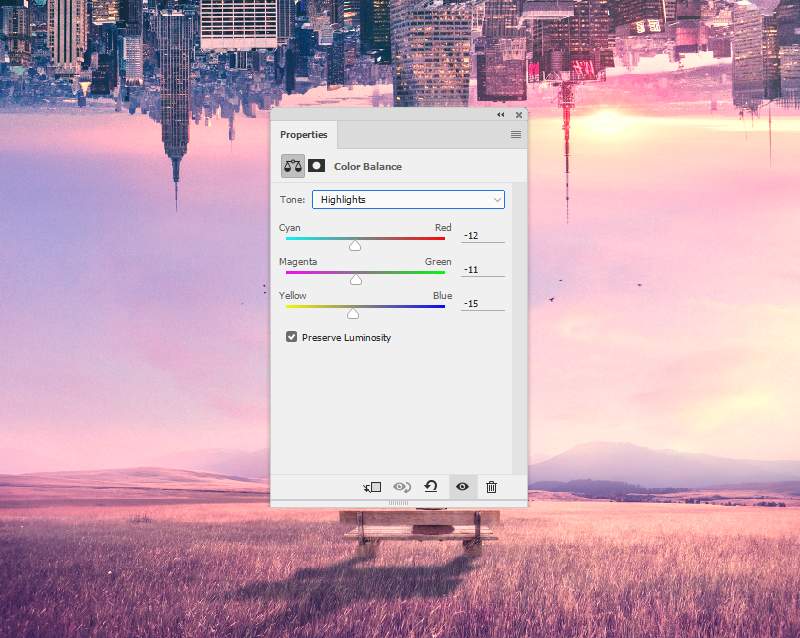
Create a Color Balance adjustment layer on top of the layers and change the Midtones and Highlights values.
Step 19
Add another Color Balance adjustment layer to enhance the color of the whole scene.
Step 20
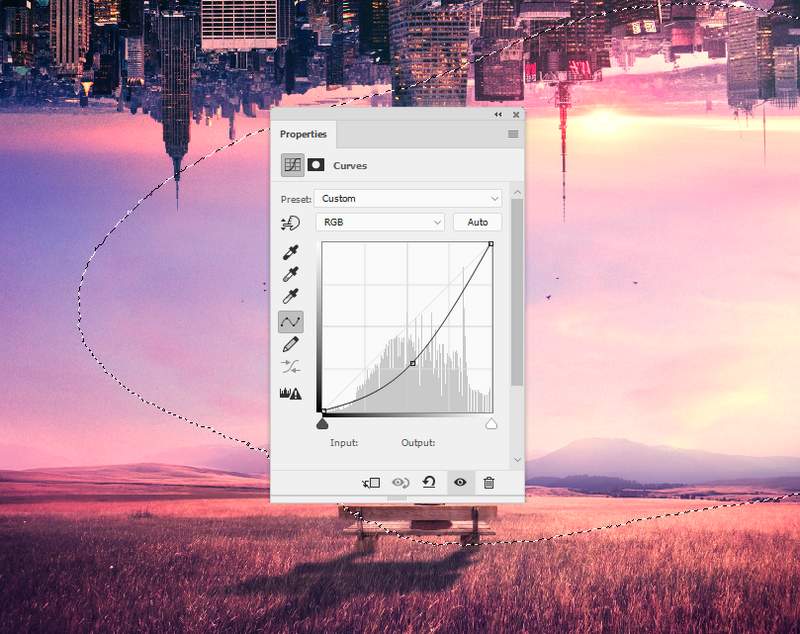
Use a Curves adjustment layer to darken the left side of the canvas. Paint on the right side to keep its lightness.
And We’re Done!
I hope that you enjoyed this tutorial.
