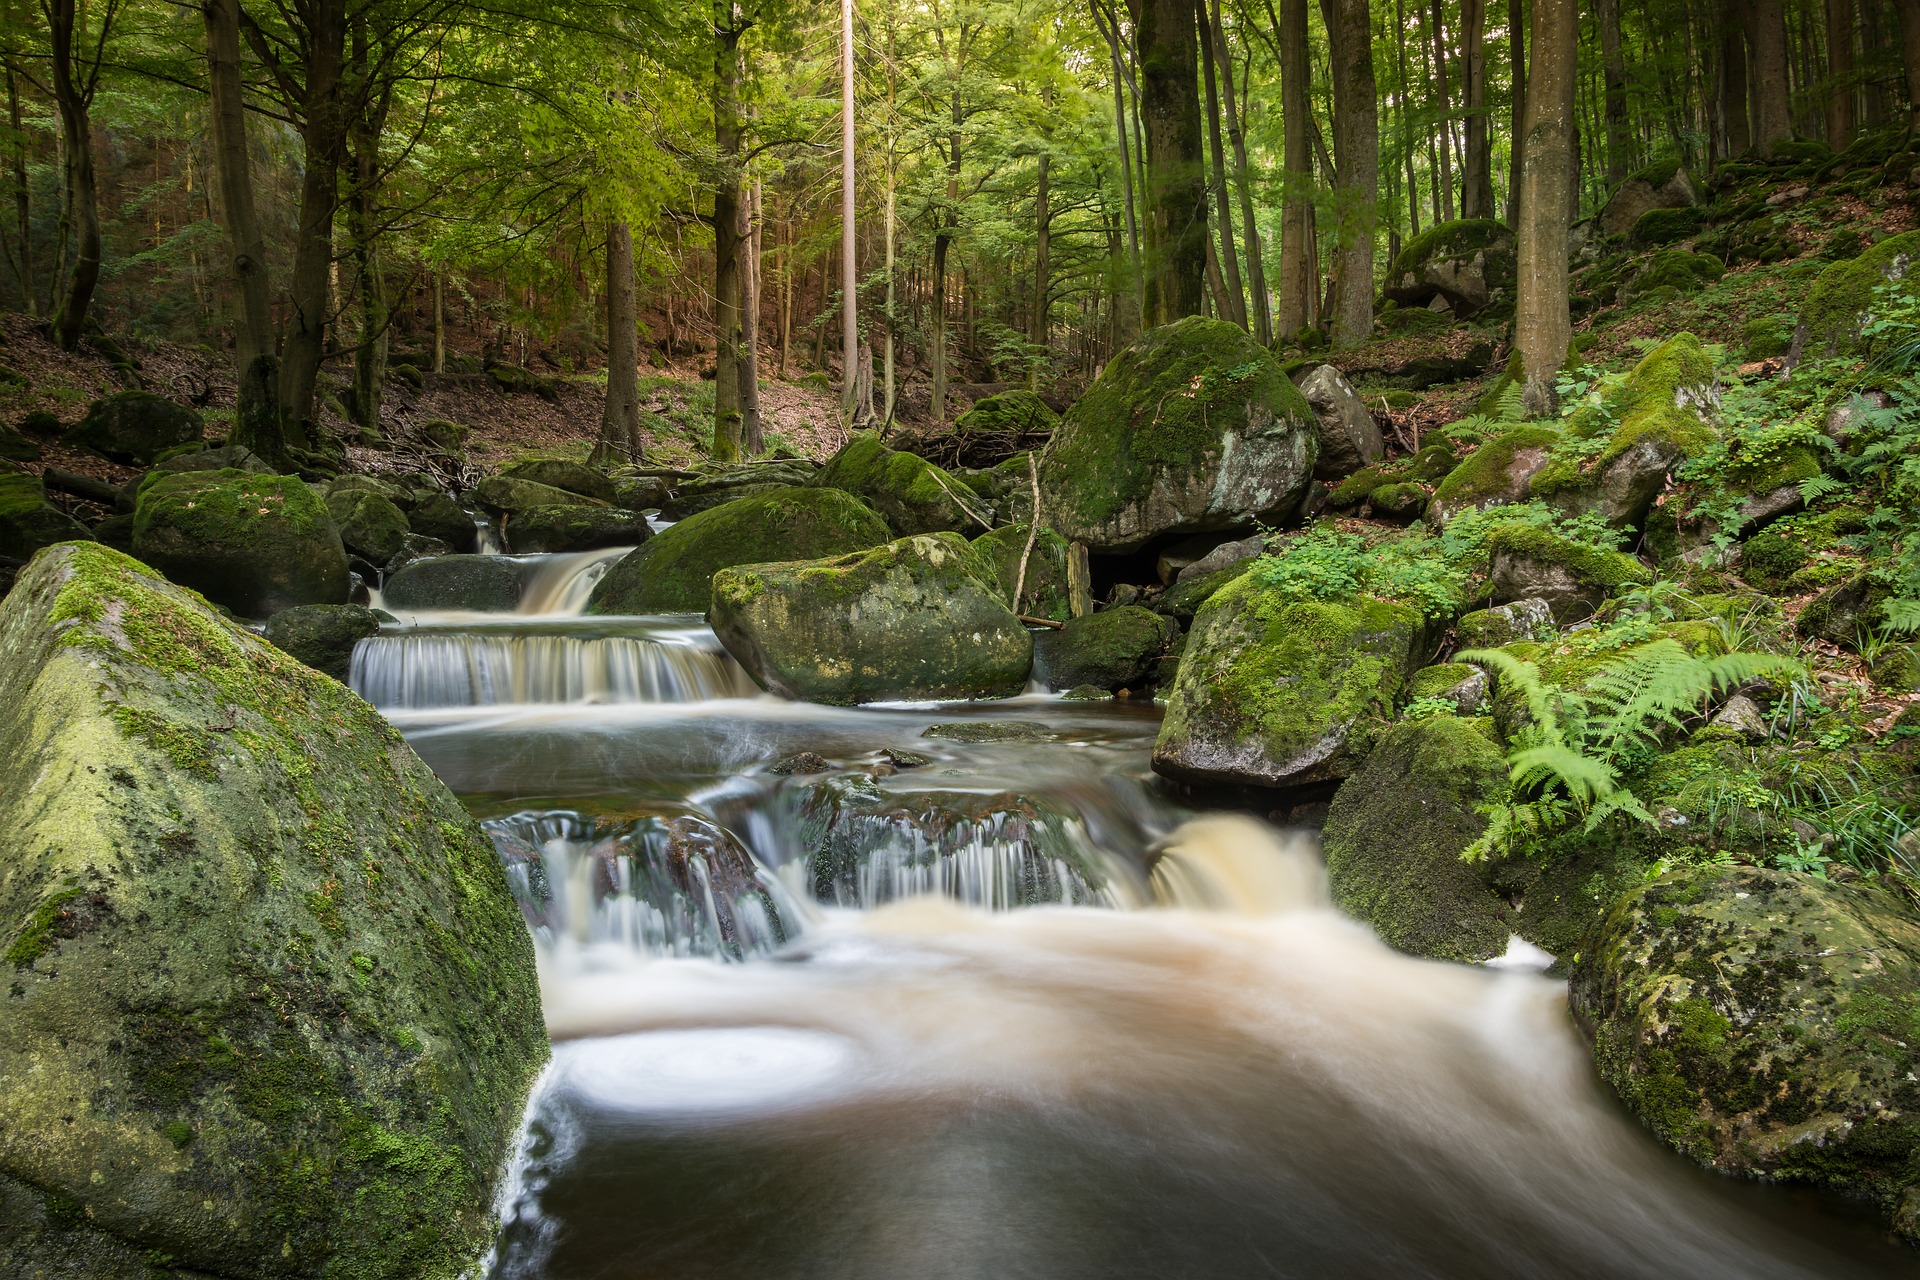
Photo by Seaq68 | Pixabay License
Long-exposure photography can reward you with some beautiful, dreamy images.
We’ve all seen them before –the silky, smooth rushing rivers, the beautiful soft, streaky clouds, floating across a sky of blue. Or even the smooth, streams of light trails created by traffic.
Perhaps you’re of the opinion that long-exposure photography is something that requires a great deal of skill and tremendous insider knowledge on every aspect of your camera –and as such it’s something that’s out of reach for you. Let me assure you, that this isn’t the case! Sure, capturing masterful long-exposure images does require a certain level of skill, and practice does result in better photos, but you don’t any especially advanced skillset to get started with this genre –and with a bit of time and few tricks you’ll soon be adept at creating your own breathtaking long-exposure images.
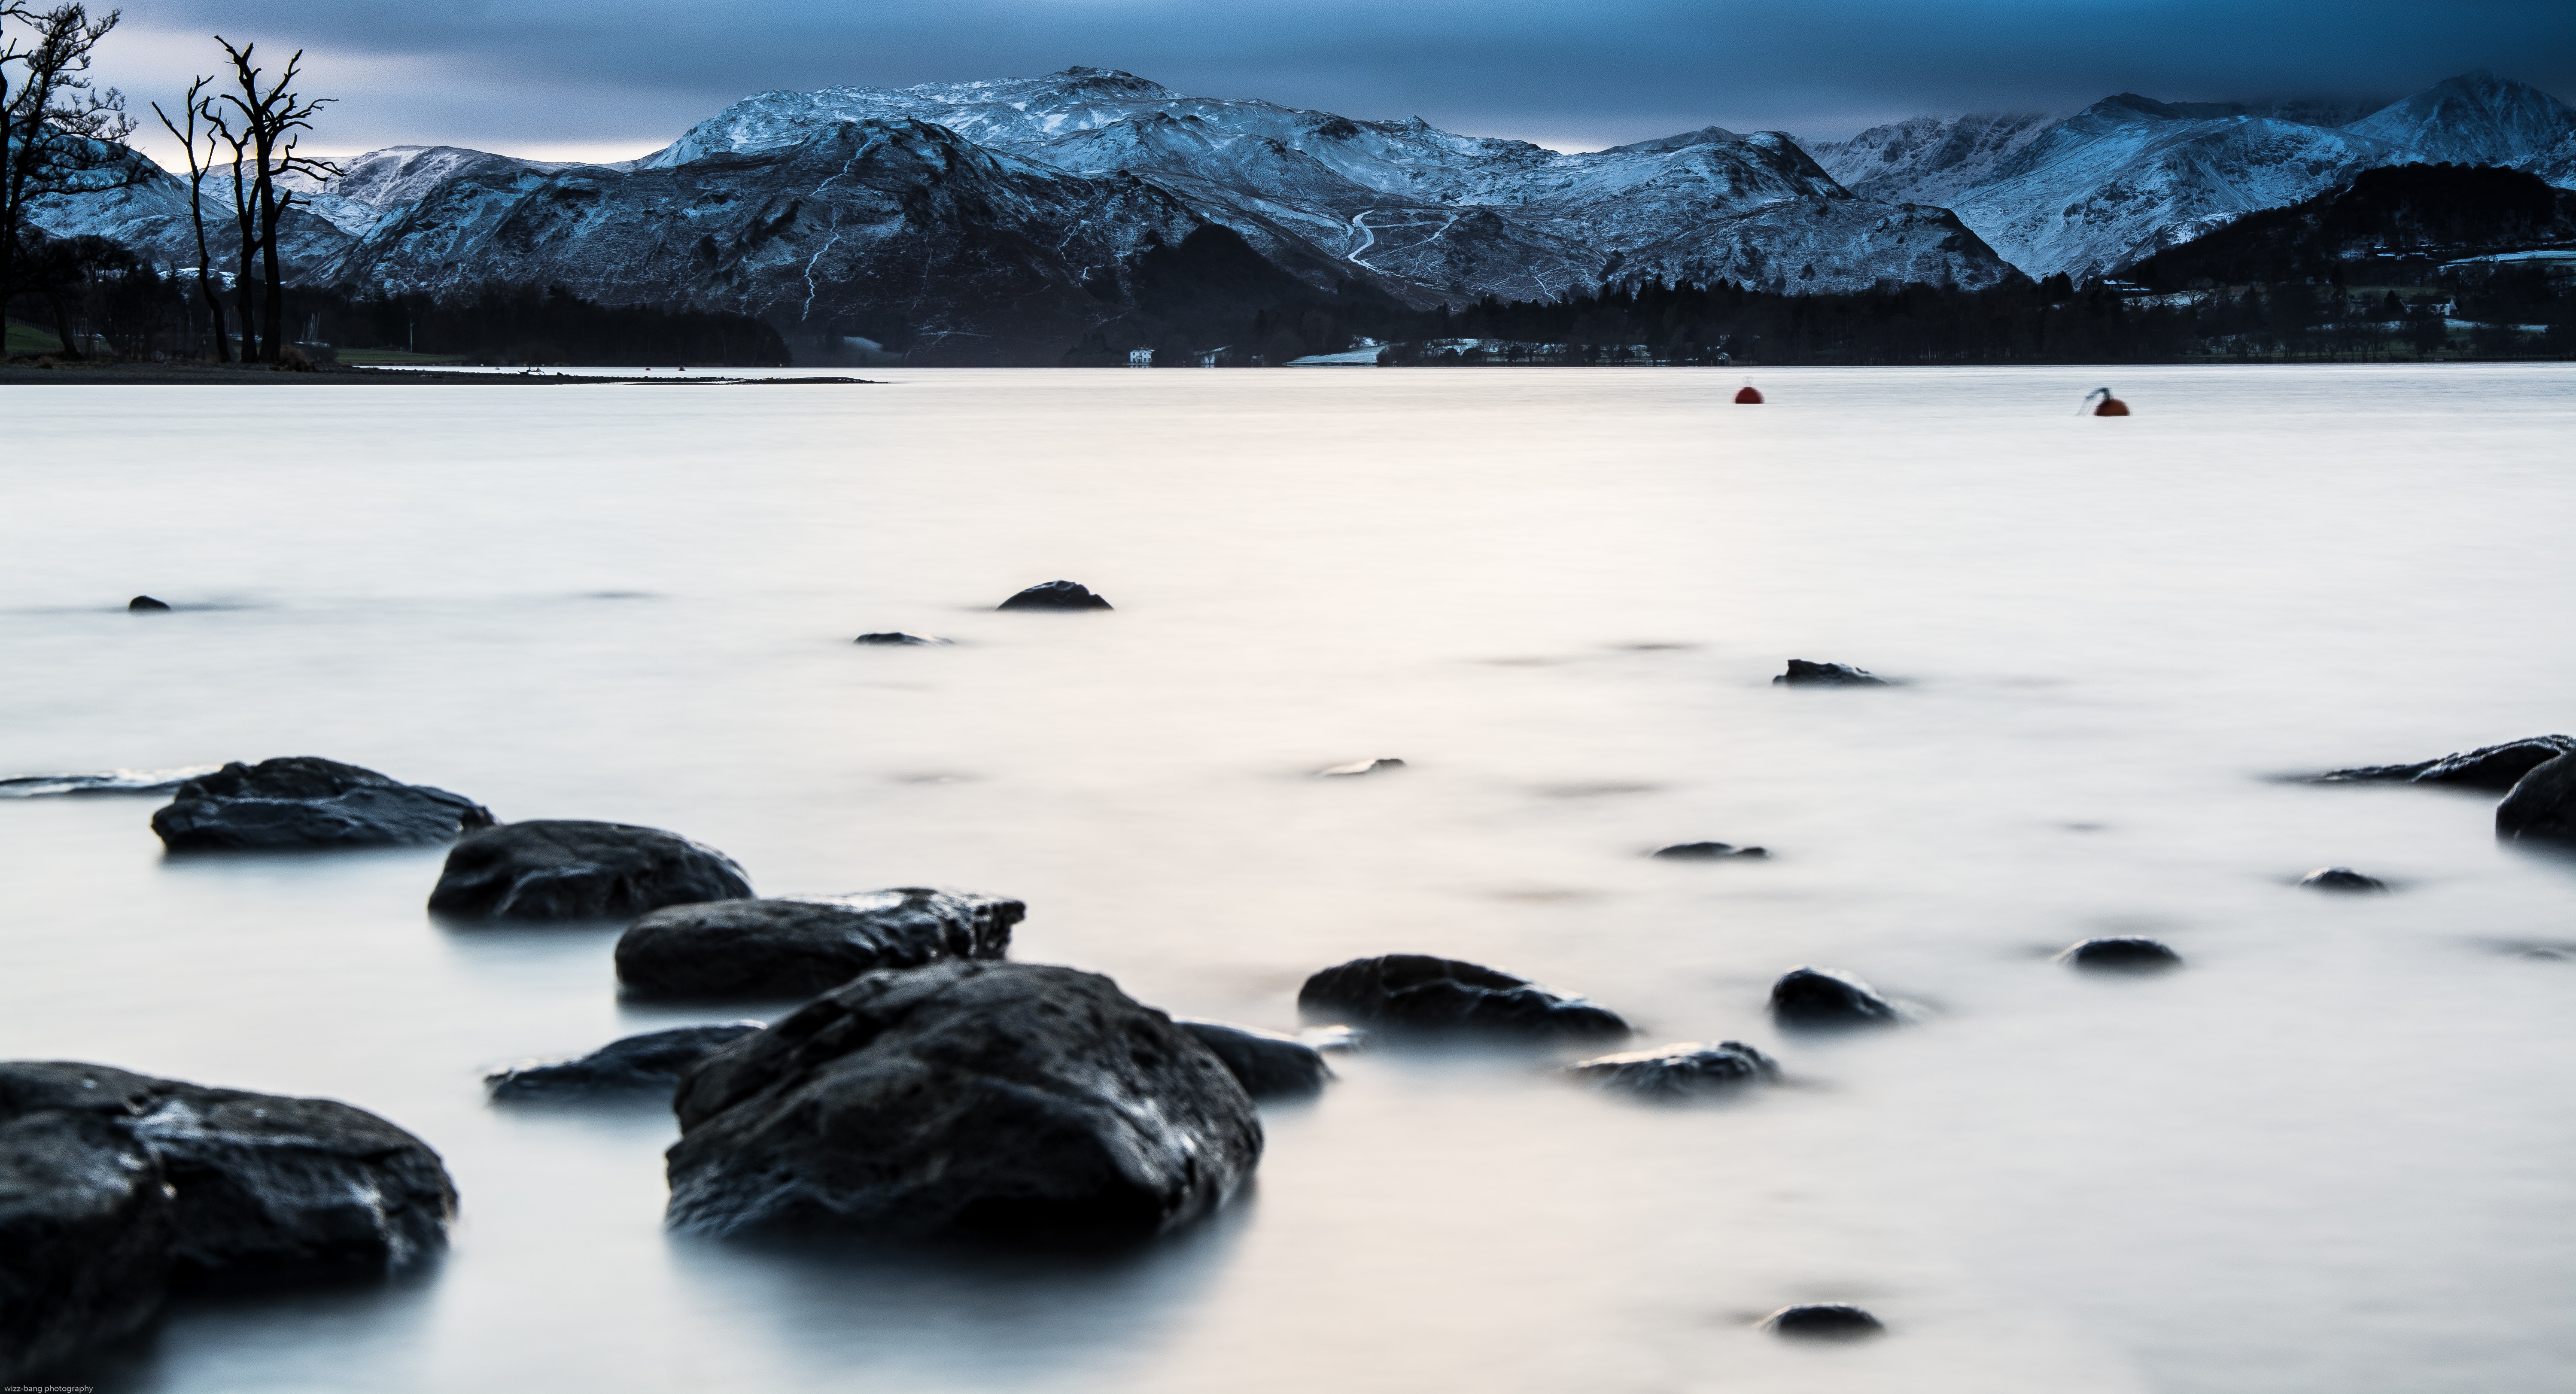
Photo by Paul Smith | Unsplash License
In this article we will discuss practical ways that you can incorporate long-exposures into your photography, as well as tips for success.
Read on to get started!
Bring the Right Gear
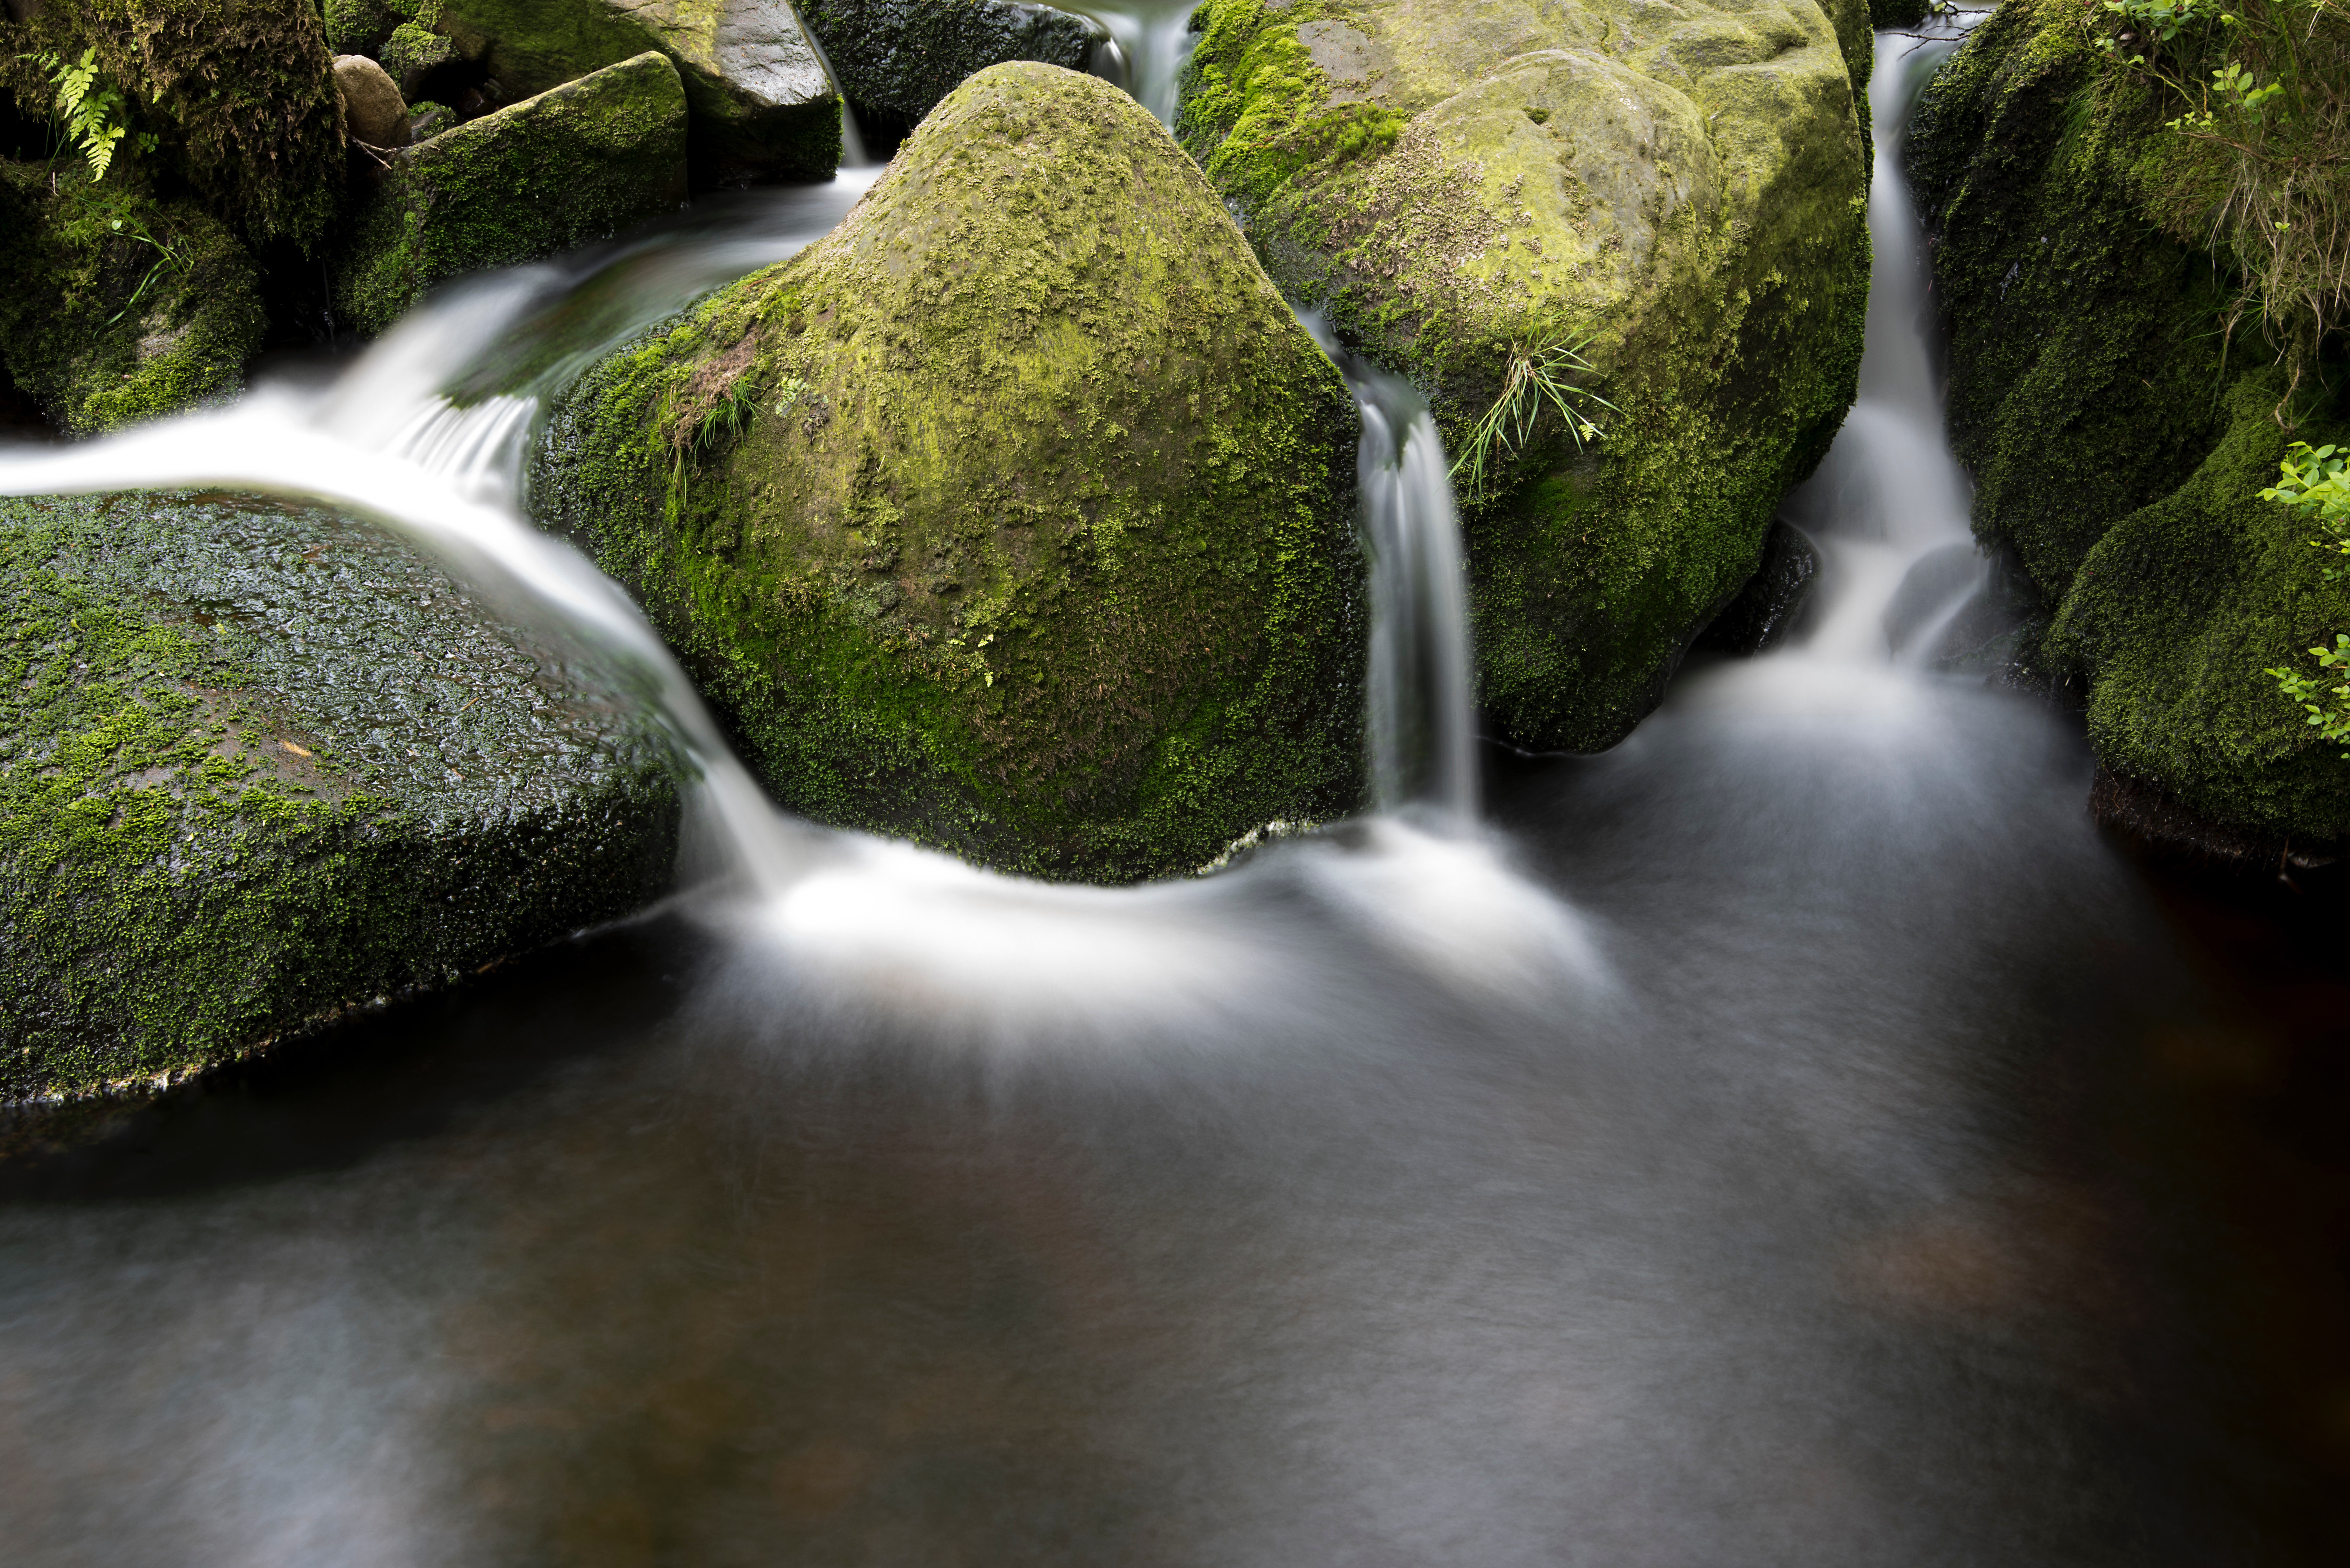
Photo by Jonathan Bean | PixabayLicense
When it comes to shooting long exposures, it is important to set yourself up for success –so start by bringing the right gear along.
While there isn’t anything too extravagant that you will need, there are a few tools that will help you get the job done right.
• Tripod – First up, you will want to bring your tripod. Long exposures mean that your camera’s shutter will be open for longer and your camera will require a steady surface to help reduce the amount of blur or shake that appears in your image. Even the slightest bit of movement can cause your image to appear blurry or out of focus, so bring along a tripod –or look for a steady surface to set your camera on to help stabilize it.
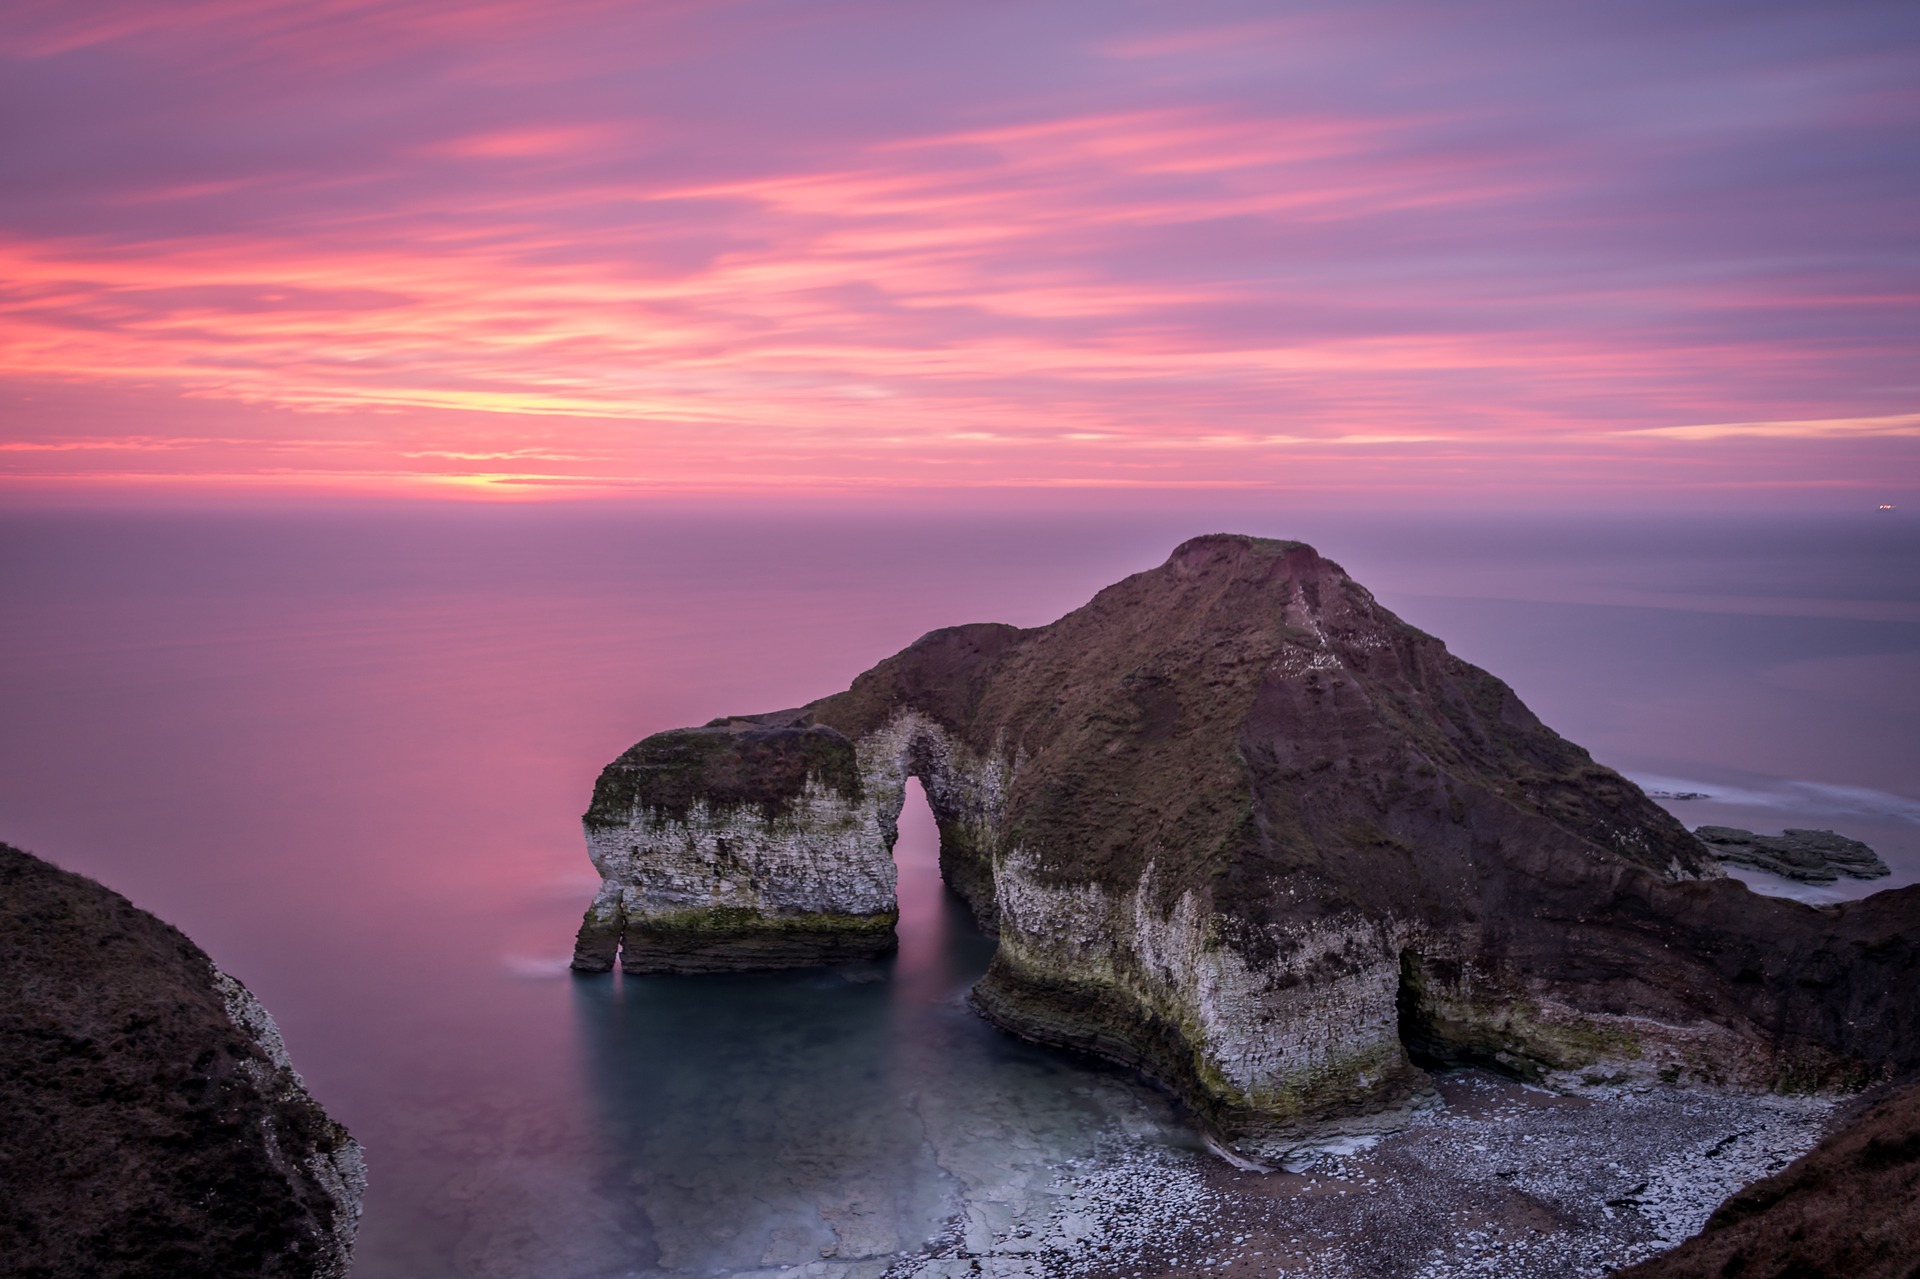
Photo by TimHill | Pixabay License
• Filters – While an ND filter isn’t essential if you are photographing after dark, they are helpful if you are shooting landscapes during the day, or working with long exposures when there is still plenty of light. With ND filters, you can use one filter –or stack a few for varied results. You should also keep in mind that if you are using a strong ND filter, you won’t be able to see anything yourself –but fear not, your camera will see just fine!
• Remote Shutter Release – With a remote shutter release, you’ll be able to take images without having to touch –and jostle your camera. This will allow you to keep your camera as steady as possible. If you don’t have one though, no worries –just use your camera’s timer feature instead.
→ Related reading: 13 Accessories That Should Be in Every Landscape Photographer’s Camera Bag
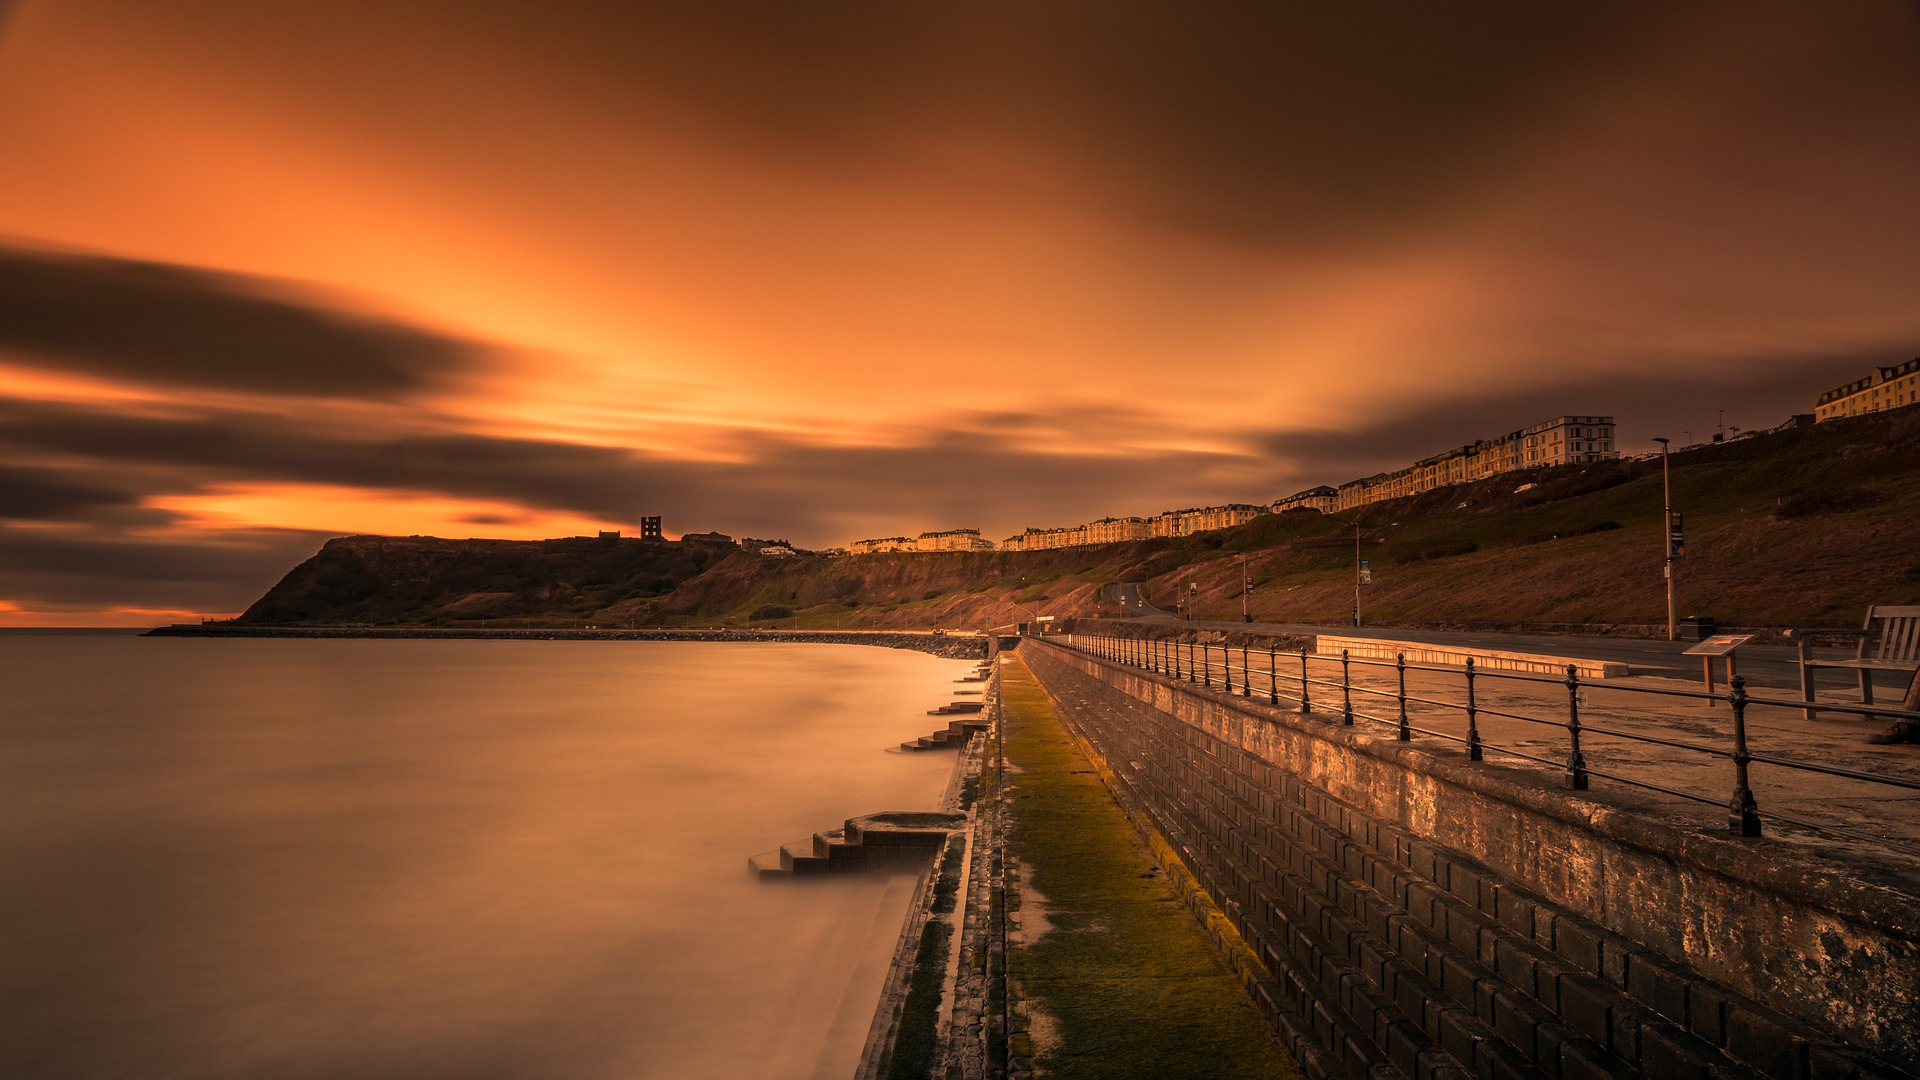
Photo by TimHill | Pixabay License
Consider the Weather
When it comes to shooting long-exposure images of the clouds, you will want to give special attention to the weather. Just before, or after a storm, for example –can be a great time to capture these images. The dark, brooding storm clouds –when captured with a long exposure, can result in some spectacular photos. Even a clear day can be a great time to go, however, as long as there at least a few clouds. High, fast-moving clouds make great subjects for long-exposure photography.
If you’re planning to photograph a waterfall or the sea, the weather is less important, but you’ll still want to take some time to familiarize yourself with the location you are planning to shoot so you can become familiar with your surroundings and set up.
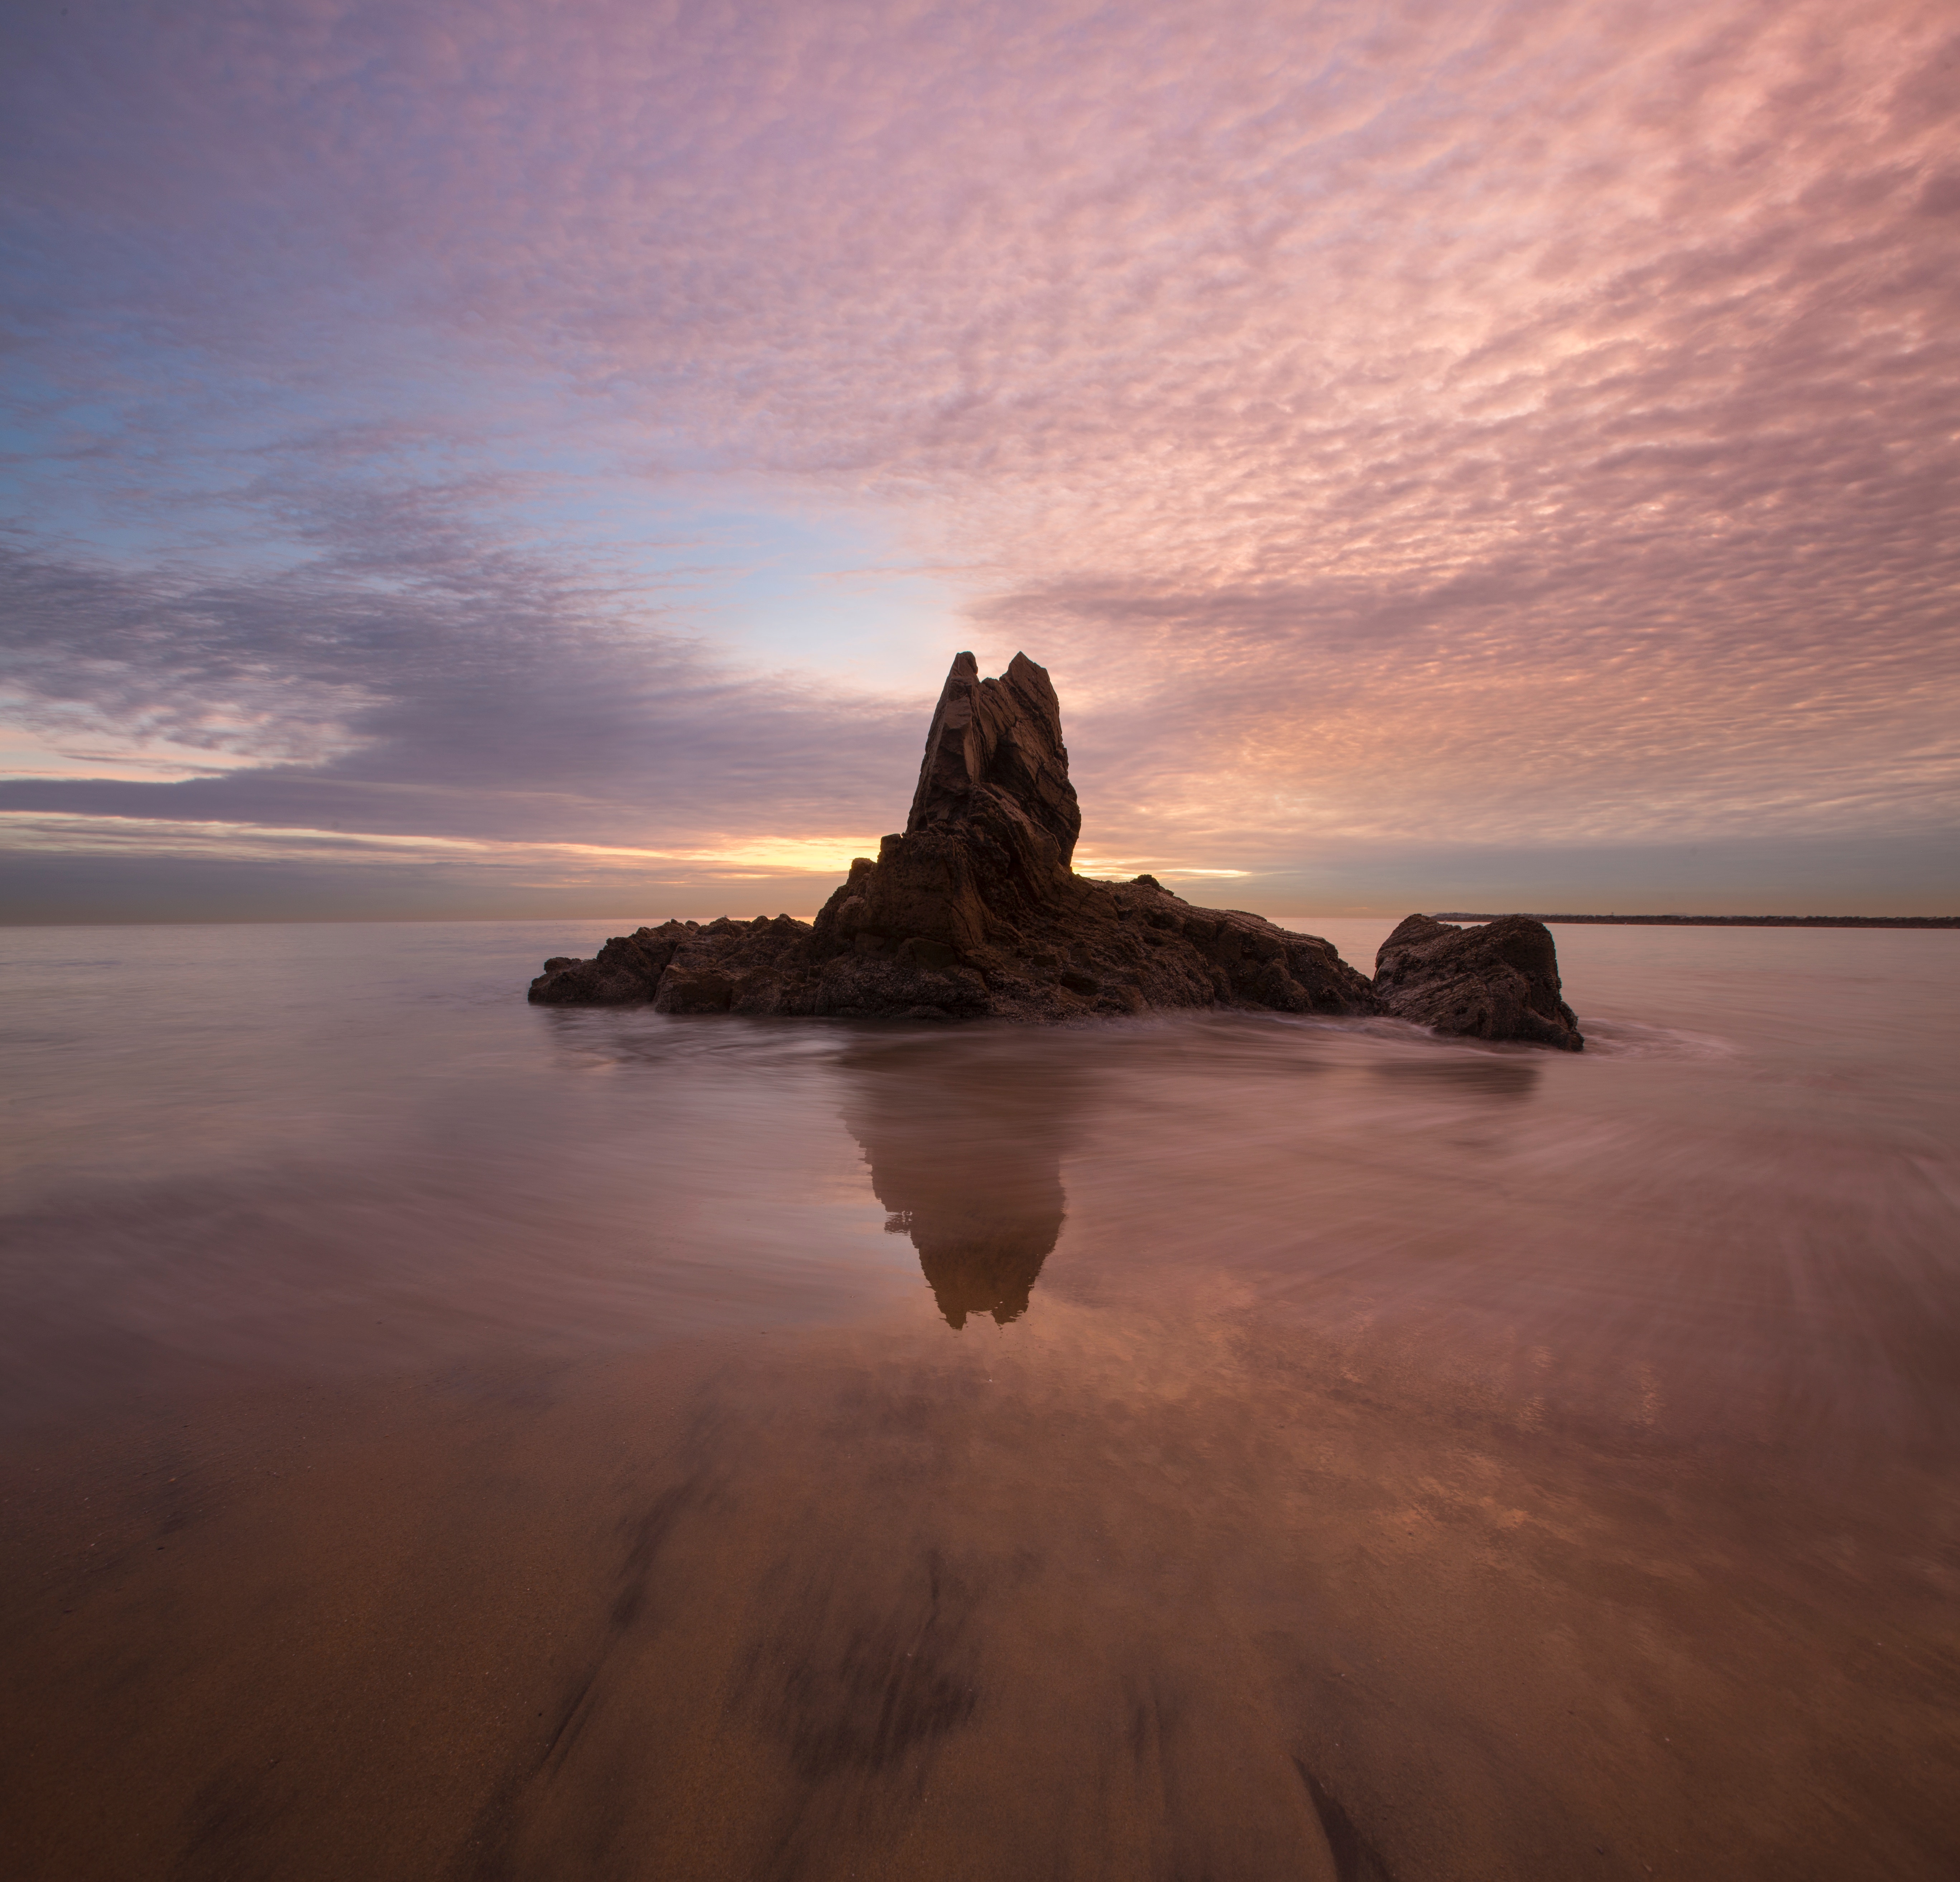
Photo by Troy Nikolic | Unsplash License
Set Your Shot Up for Success
Just like any other photo shoot, you will need to pay special attention to the composition and surroundings. Look for your focal point –when capturing long-exposures, having a clear focal point is important for preventing the composition from being lost in a sea of blur.
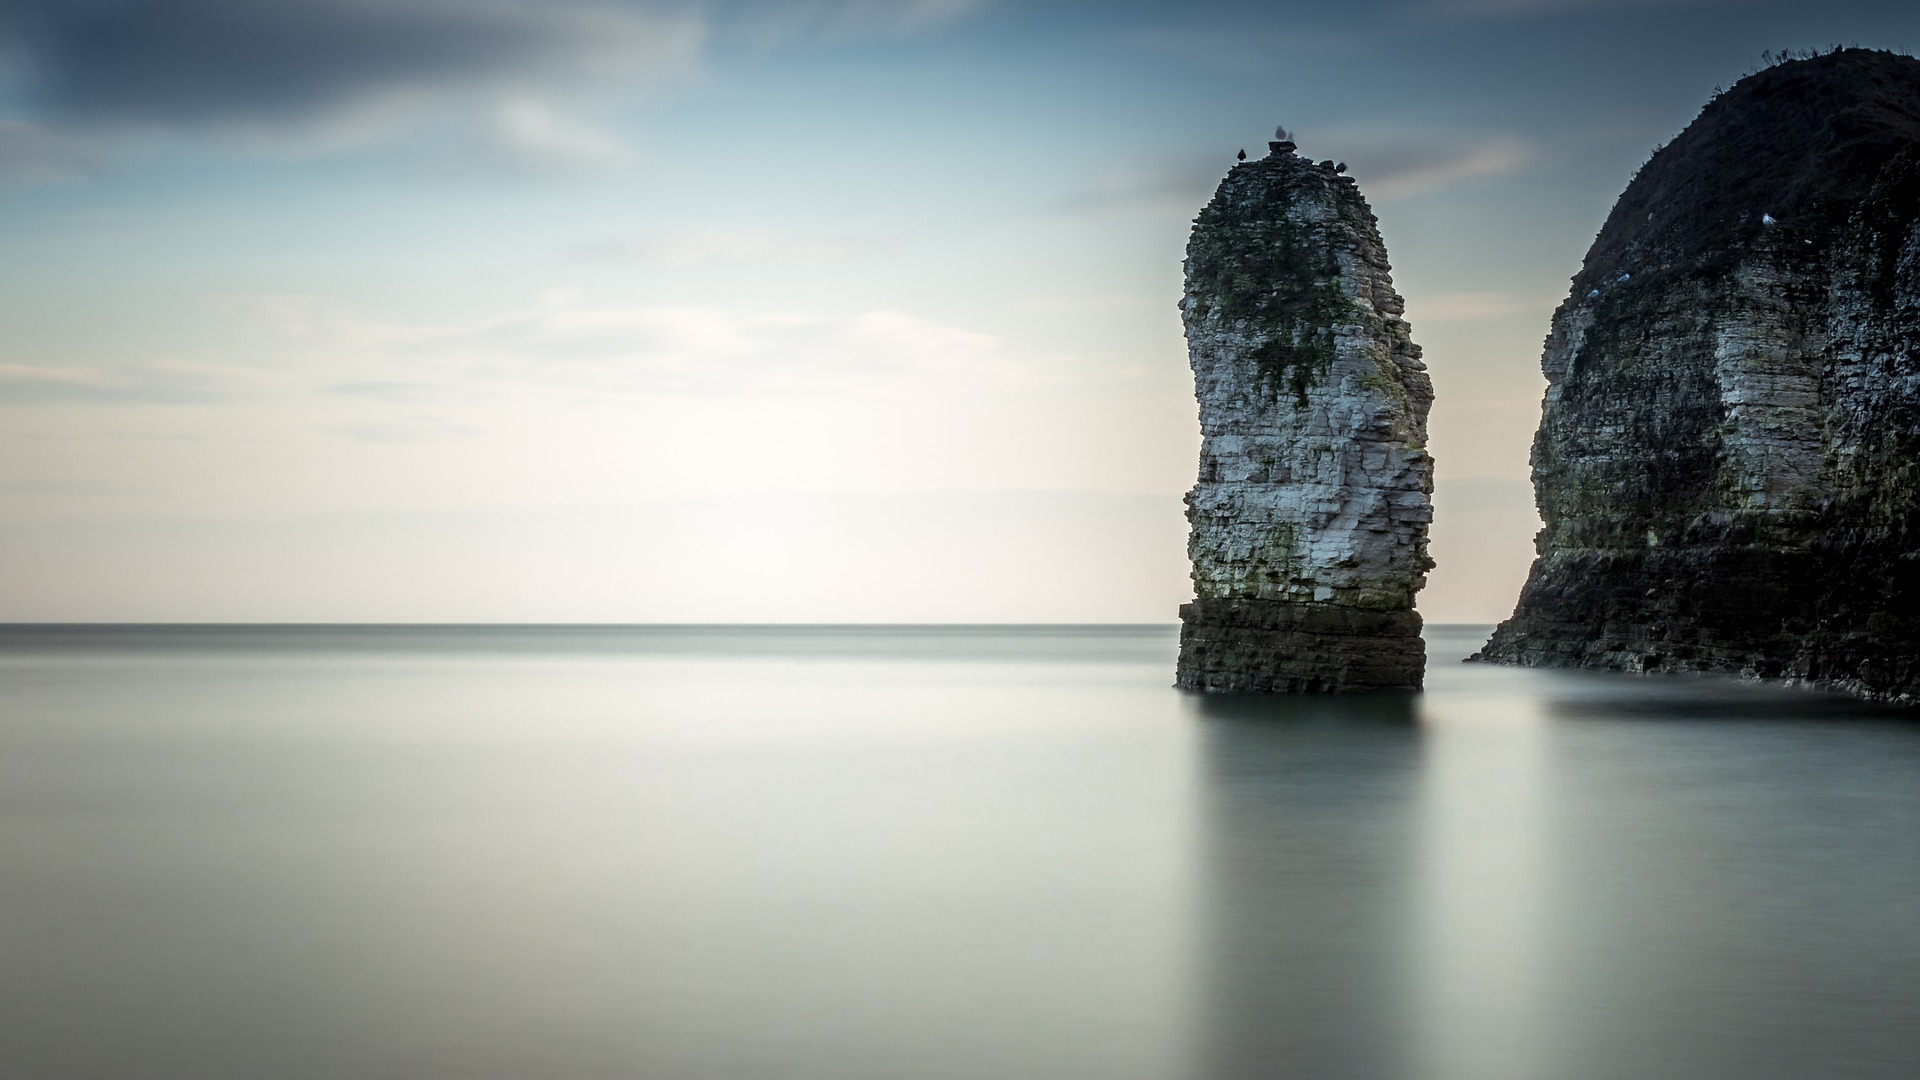
Photo by TimHill | Pixabay License
• For seascapes, including rock formations or a piece of driftwood in the foreground can help to anchor your composition.
• For waterfalls, look to include some interesting foreground –like wildflowers or grass, or frame your image by including some overhanging tree limbs to help add context to your image.
• For clouds, in most cases you’ll want to fight the temptation to just shoot the sky, and instead include some land to help add interest to your mage, and create a more balanced shot.
Adjust Your Settings Accordingly
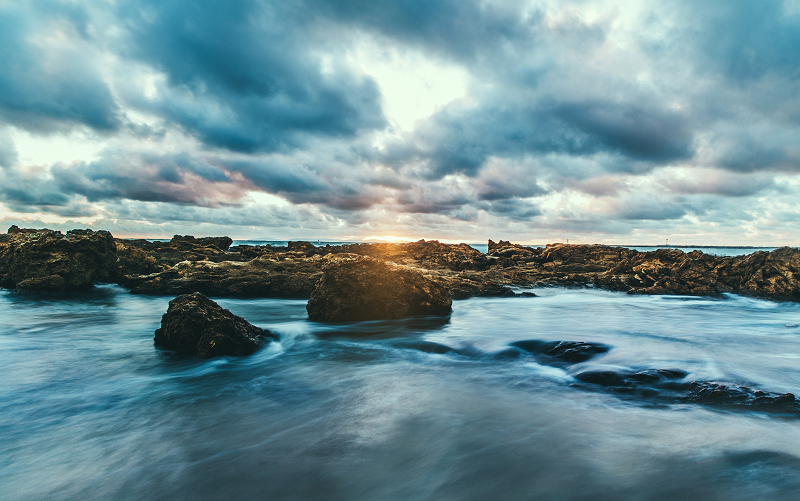
Photo by Austin Neill | Unsplash License
Next, you should adjust your settings to help ensure your long-exposure image is taken correctly. Here are a few things you’ll want to do:
• Turn Off Vibration Reduction – If you’re using a sturdy tripod, you should be sure to turn on the vibration reduction or image stabilization feature off. If you’re camera’s stabilized, this will actually help to reduce vibrations, and resulting image blur.
• Activate the Mirror Lock-Up Function – For DSLR cameras, releasing the shutter results in the camera’s mirror moving –resulting in vibration. To avoid this, you’ll want to activate the mirror lock-up feature on your camera. This will turn your shutter release into a two-stage button. You’ll then have a window of time between the first time you press the shutter and the second time during which you’ll be able to take your image without vibration.
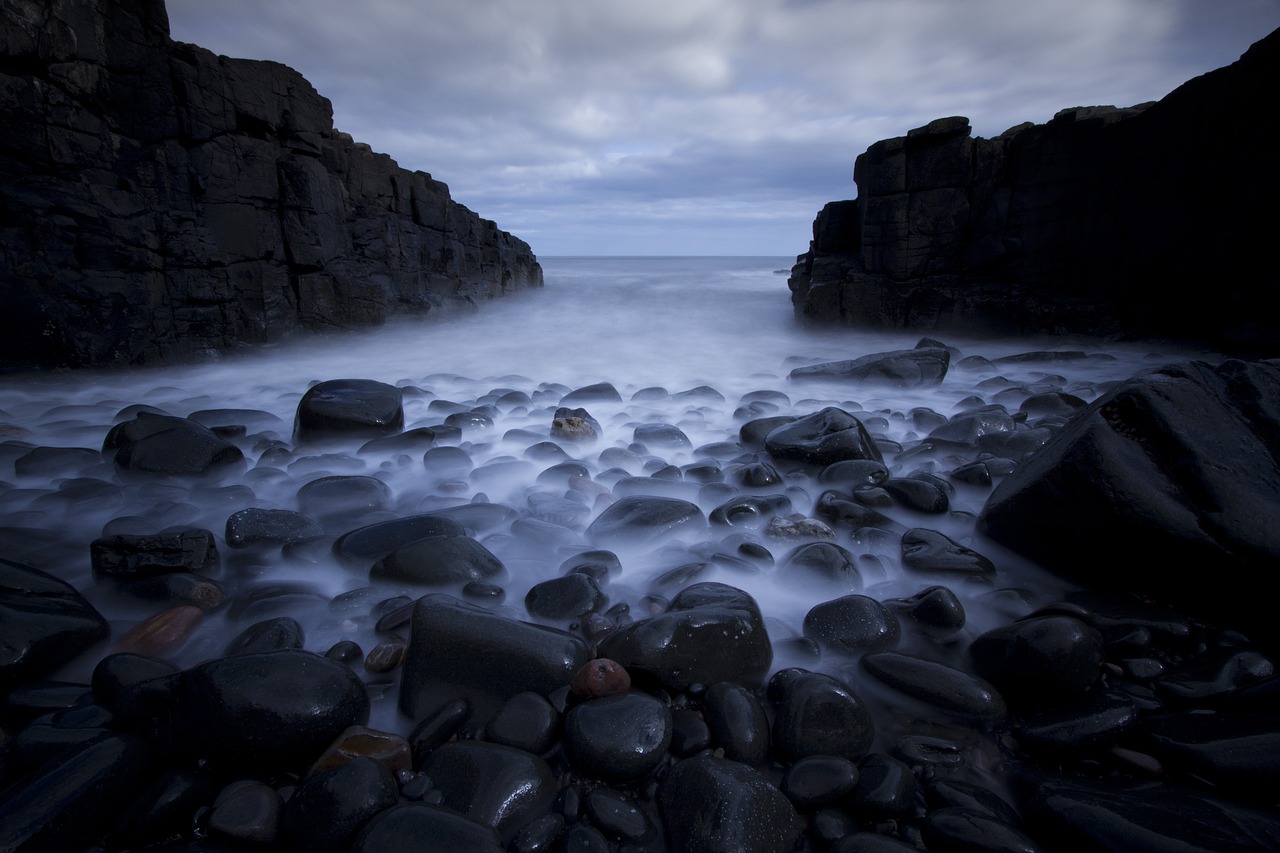
Photo by 1681551 | Pixabay License
• Use a Slow Shutter Speed – For very long exposures, you’ll want to set your camera to “Bulb” mode. This will keep your shutter open as long as the trigger is pushed. The exact shutter speed setting will vary depending on a few factors including –available lighting, distance to your subject, the speed it’s moving, and your desired effect.
As a general rule, the farther away from your subject you are, the longer exposure that’s required. Faster-moving subjects that are closer will usually require faster shutter speeds. Keep in mind also, that the filters you choose to use will impact the shutter speed as well. The darker the setting, the longer you’ll need the shutter to be open for.
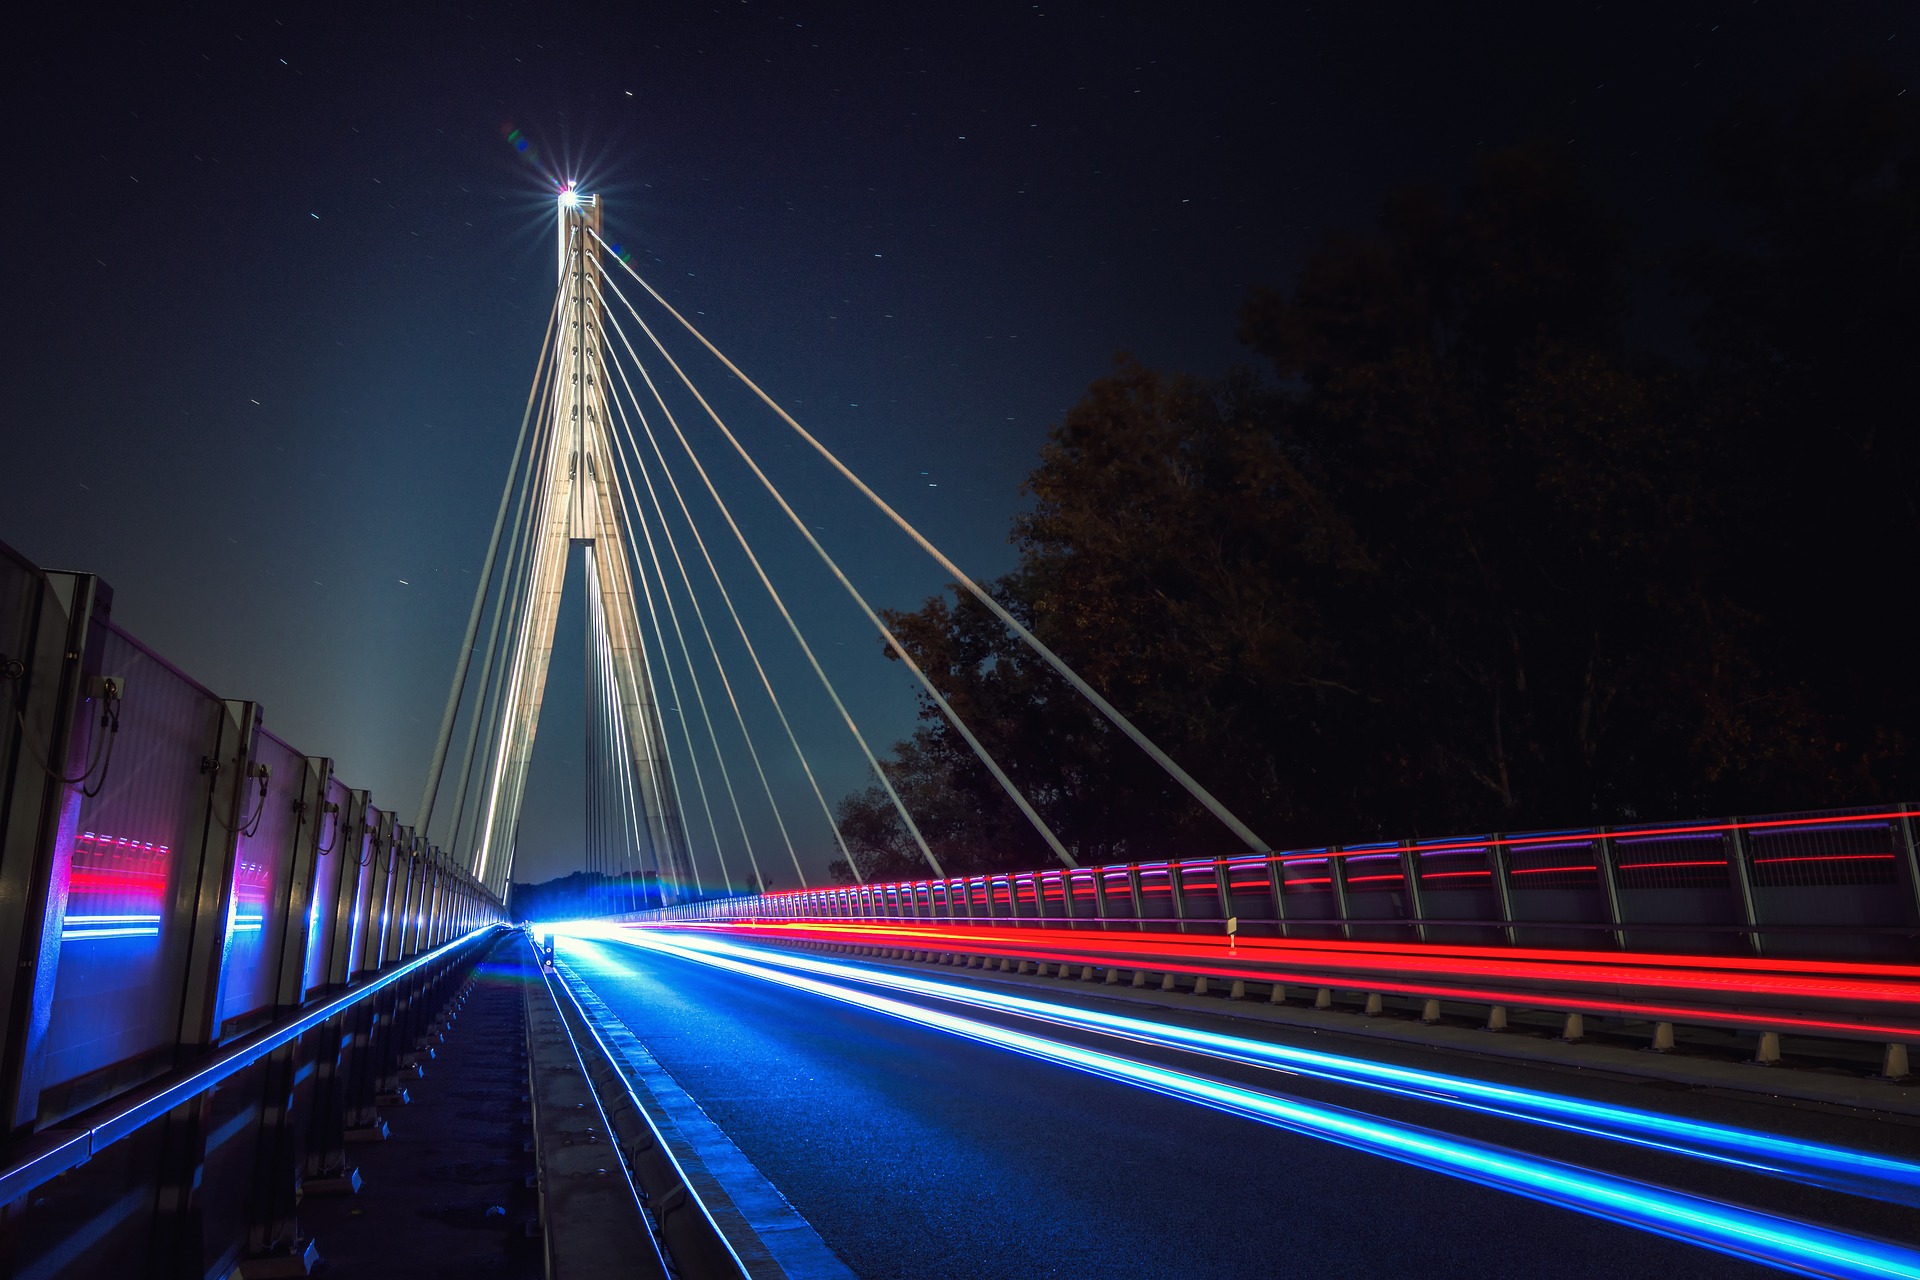
Photo by Seaq68 | Pixabay License
Here are a few examples of approximate shutter speeds that you’ll want to use:
– Streams and rivers generally require a shutter speed of around 1/15 through 1 second to create blurred effects.
– The ocean will require slow speeds, usually between 5 and 30 seconds.
– Traffic light trails generally require shutter speeds of between 10 to 20 seconds.
As always, the above speeds are a starting point only, you’ll want to take a test image, and adjust your settings accordingly.
→ Related reading: Guide to Long Exposure Landscape Photography
Long-Exposure Images
Now that you are ready to head out and start capturing long exposures, perhaps you are wondering where to start.
Here are a few ideas to help get the creative juices flowing as you head out to capture your very own long-exposure images:
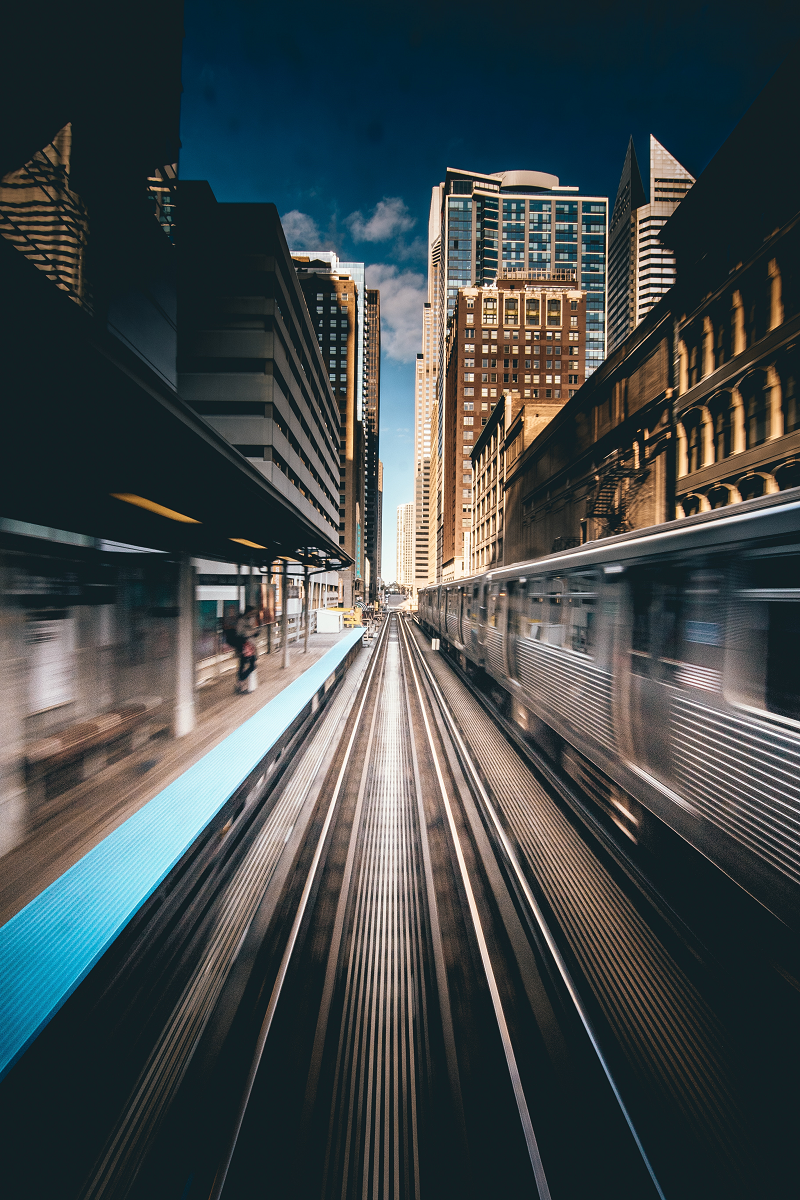
Photo by Sawyer Bengtson | Unsplash License
• Moving clouds
• Rippling grass
• Waterfalls
• The sea
• Ripples on the surface of a pond or puddle
• Painting at night with flashlights
• Traffic light trails
• Sunsets or subsets
• Moving objects
• Fire
• Ferris wheels
• Tunnels with light
• Trains (From a safe distance)
• Fireworks
• Lightning
• Star trails
→ Related reading: 40 Amazing Long Exposure Photos
While long exposures may seem challenging capturing when you first start out, don’t let that stop you from getting started. Armed with a tripod, a good filter, and the knowledge to capture basic long-exposures you’ll be off to a great start –and soon capturing your own exciting, spectacular long-exposure images.
Have you tried your hand at long-exposure photography?
Photo license links: Pixabay license, Unsplash license
