In this article I wanted to share a few things I see in my classes and workshops. Some beginners photography mistakes that might be causing you some grief also. Even if you are more advanced, you may find a tip here to help you improve your photos as well.
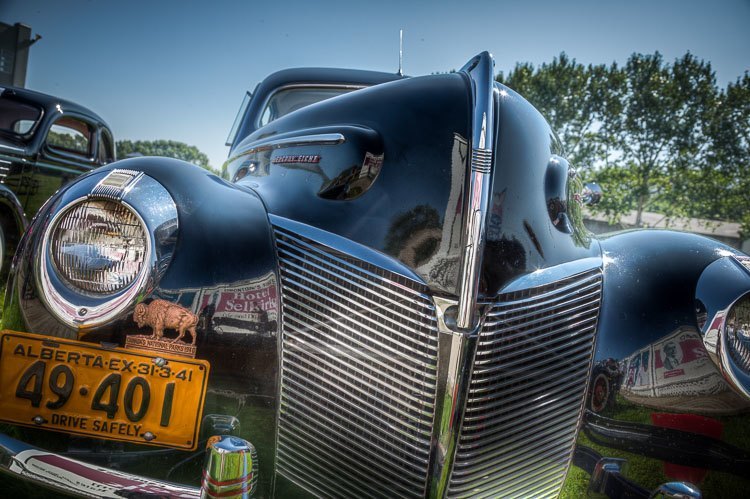
Here are the photography mistakes you want to avoid:
Are you guilty of making any of these mistakes? Let’s look at each of them in more detail and some ideas on conquering them.
- Not getting close enough
- This is the biggest issue that I see with new photographers, and images that are less effective; not getting close enough to the subject. This means you have to either zoom in with your lens, or in many cases get physically closer. When you are shooting take a test shot and then analyze it. Look at the technical aspects such as; focus, exposure, and white balance – but then take a look at the composition. Is everything that you have included in the image necessary? Does it add to the composition or is it distracting? Does it help tell the story and draw the viewers eye in, or is it competing for attention?
Make a conscious choice about what you include in your image and what you exclude.
If there is something inside the composition that is not adding to the image and is not part of the story – then it is taking away from it. So, get rid of it!
If you find yourself cropping your images a lot in post-processing or on the computer later – then make a note to get closer when you are shooting.
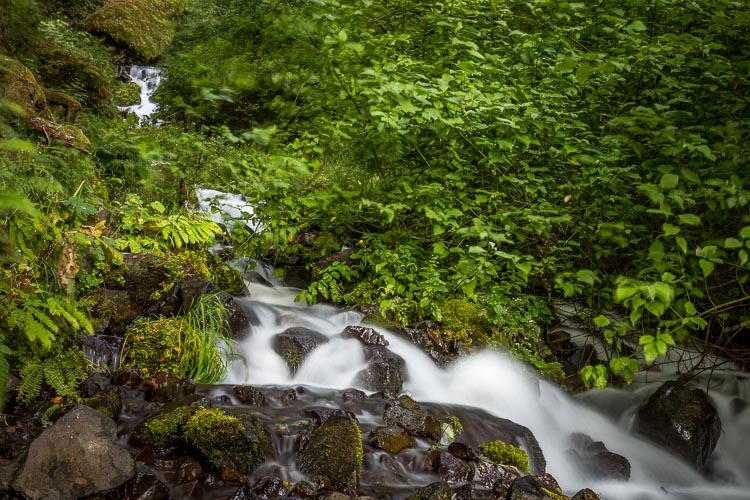
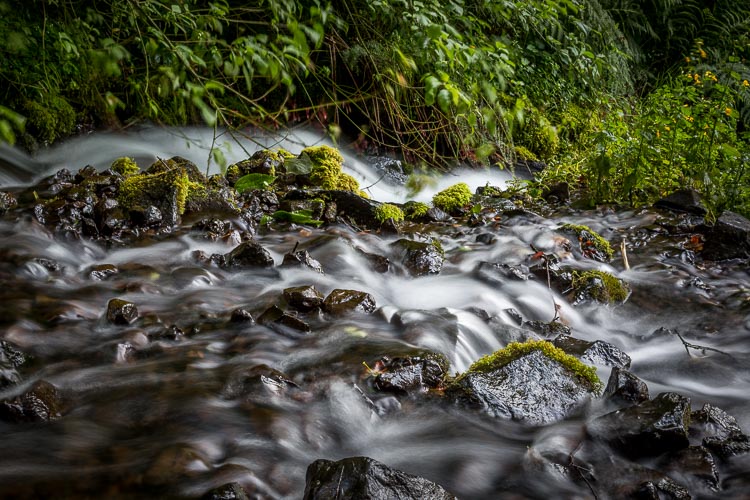
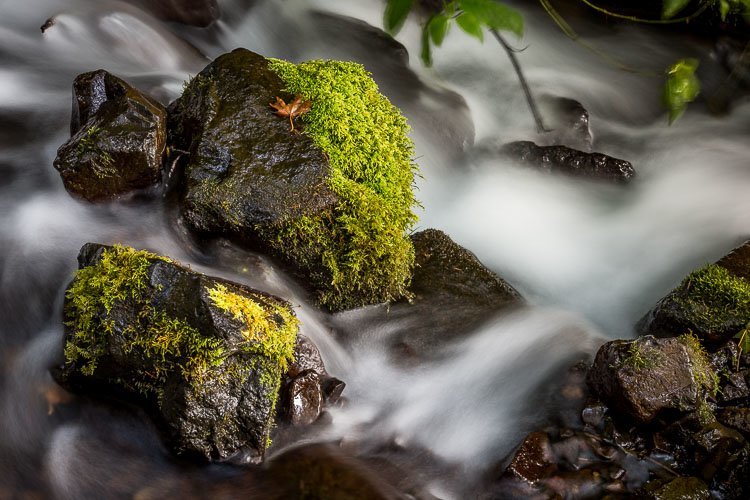
Look at the following series of images.
Notice how each is progressively closer, including less in the image.
Which one do you think is is the strongest image in each set?


- Blurry image due to small aperture and slow shutter speed
- You may have heard that shooting in aperture priority mode when shooting hand held is the way to go, I would tend to agree and that’s how I shoot most of the time. However, what I find is that many beginners set the aperture much too small and the result is the need for a really slow shutter speed as a consequence.
Remember the aperture and shutter speed are like a teeter-totter, they need to keep in balance to make a good exposure.
The more you close down the aperture (smaller opening, larger f-number) the slower shutter speed will be required to keep the exposure balanced.
So when you select an aperture like f/11, the shutter speed often goes beyond what is acceptable for shooting hand held.
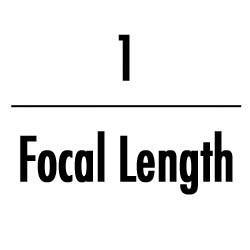
Rule of thumb: keep your shutter speed faster than one divided by the focal length of your lens to avoid camera shake and blurry images!
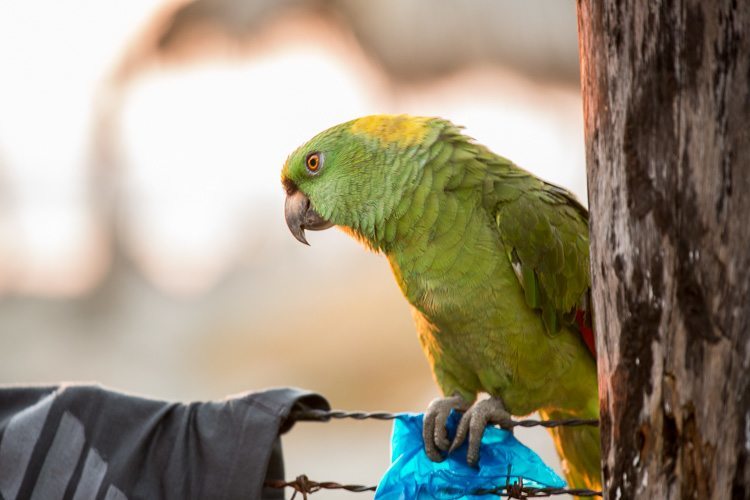
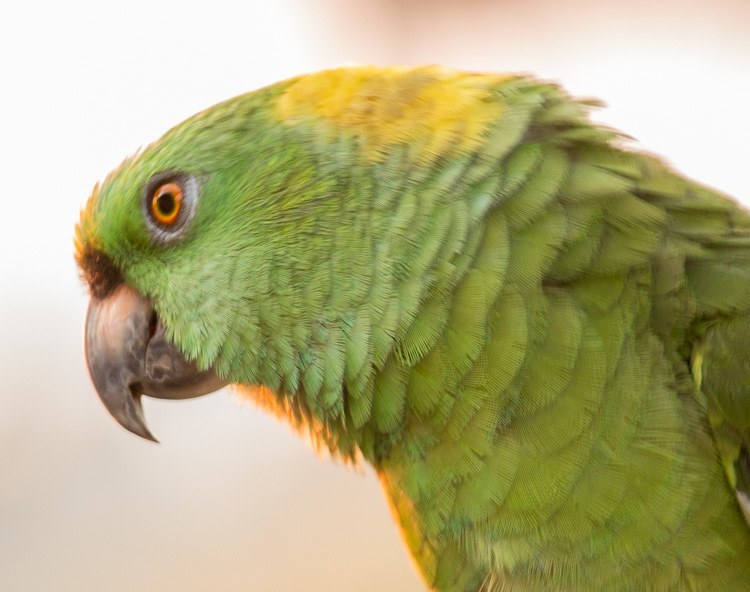
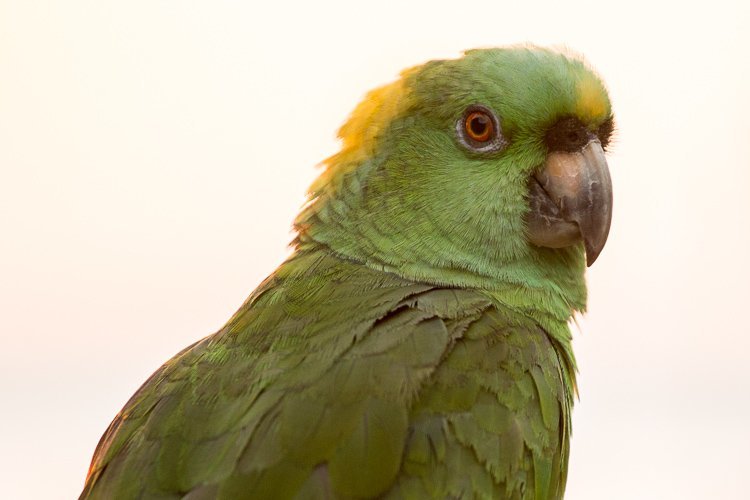
Choosing a smaller aperture to get more depth of field and having more in sharp focus in your image, is completely negated if you have a slow shutter speed and camera shake. Then you just have an entirely blurry image and nothing is sharp.
So choose a large enough aperture to keep your shutter speed over the minimum. If it’s too slow you can either open up your aperture or increase the ISO, or a combination of both, until you reach that level. Just keep an eye on it and be conscious of your shutter speed when shooting in aperture priority.
You need to find your own style and if you find that you enjoy images with more depth of field, shot at f/11, f/16 or even smaller apertures as in for landscape photography – then you may also discover that you’ll need to start using a tripod more often and shooting less hand held. Small apertures and hand held shooting generally do not go hand-in-hand.
I usually shoot wide open, and I use lenses like the nifty-fifty that have really large apertures such as f/1.8.
- Always shooting at eye-level
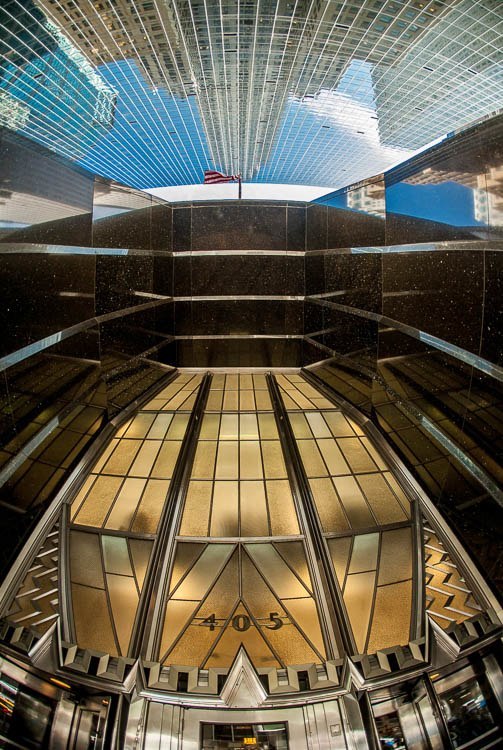
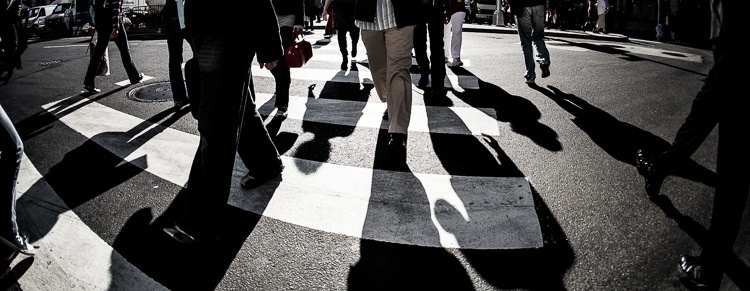
- You see the world from the same height all the time, your own eye level. So when you see an image taken at that same height it can feel very familiar and ordinary. When you step outside of that and change your camera level your photos will become more interesting to your viewers almost instantly.
Get up high and use bird’s eye view, get down on the ground and use worm’s eye view, get close-up, or use an extreme wide angle view; all of these options add interest.
They are different ways than most people see the world so right away they will be more attracted to your images if you use these views.
Look at some images by your favourite photographers and see how many fall into the range of eye level; I’m going to hazard a guess, not that many.
- Shooting in manual mode, missing the shot
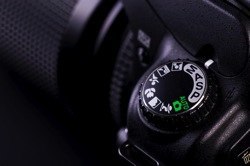
- Another thing you may have heard is that you need to shoot in manual mode to be a real photographer, or that is how the pros do it so you should endeavor to use manual all the time.
 I’m here to say – horse cookies (if you’re a M.A.S.H. fan you’ll remember that Colonel Potter phrase well)!
I see too many missed shots due to newbies trying to mess with the exposure settings in manual, or just forgetting to set the exposure, and getting a completely unusable image that is either way under or overexposed.
As a beginner in photography it can be completely overwhelming to learn all the buttons, settings and dials on your camera, think about composition, and try and get the exposure right – all at the same time.
So what I suggest is to start in Auto, gradually move over to using aperture priority, and use manual mode when you’ve gained more confidence using your camera and doing photography in general.
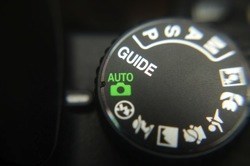 So do not stress out or beat yourself up if you cannot use manual mode yet.
I only use it myself when I’m shooting with a tripod and the lighting conditions are constant, and the subject is not changing rapidly – such as night photography, or doing a portrait.
Take one step at a time.
Don’t compare yourself to anyone else and track your own progress to see how you’re doing.
If your images are better than the ones you took last month or last year, then you’re going in the right direction. If you’re more comfortable and confident with your camera, then it’s all good.
- Not knowing your camera and buttons well enough
- Knowing your camera and all its buttons and settings is key to being able to shoot in a hurry when necessary. Being able to do that take practice, plain and simple. Ideally you want to be able to adjust your ISO, shooting mode, focus point, exposure compensation, aperture and shutter speed without taking the camera away from your eye, or having to go through the entire menu system. If you aren’t there yet – practice.
Pick one setting each week and learn what button controls it, where you see it in the view finder, and how to adjust it quickly without lowering the camera. Then the following week pick another and work on that one.
They say it takes 10,000 hours to become an expert in something so only by putting in the hours of practice will it become more second nature to you.
Then when the time comes that you need to act quickly, or else miss a great shot, you’ll know exactly what setting you need to adjust and who to do it without even thinking about it.
Be ready, which leads me to the next point.
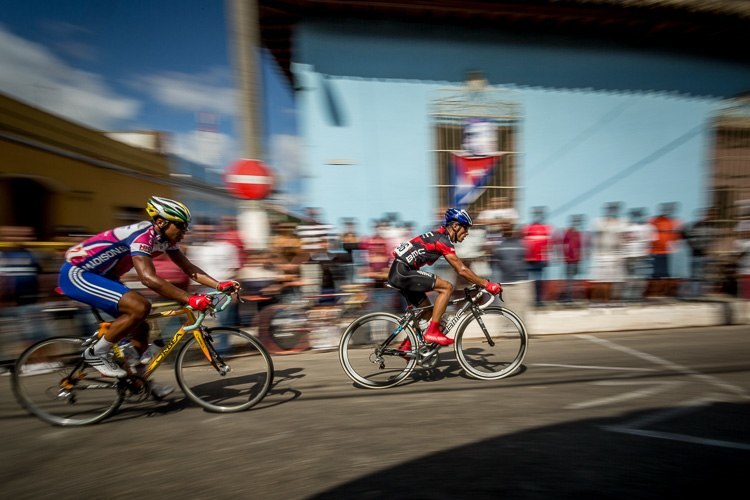
I just happened upon a bike race in Trinidad, Cuba and by quickly switching my settings was able to get a shot of the winner as he sped by. I wanted to use the panning technique to show implied motion to indicate how fast he was going.
- Missing a good shot due to not being ready
- You probably take really good care of your camera and lenses – that’s a good thing. But, what I often see with beginners is that you take too much care of the camera to the point of missing shots because the camera is turned off, the lens cap is on, or it’s zipped up nice and neat inside your bag. Has that happened to you?
So find a happy medium between taking care of your stuff, and being ready when a photographic opportunity presents itself.
My camera is almost always in sleep mode (even in my bag), the lens cap is off (often the front caps are all off inside my bag when I’m out shooting and I only put them all on when I pack and to go home), and the camera is around my neck ready to go.
If you look inside a pros bag during a shoot, you’ll usually see a mess of lenses, caps, and stuff strewn all over – ready to grab and use in an instant, so as never to miss a beat.
I’m not suggesting that you be careless or unsafe, just be in ready mode when you’re in shooting situations like wandering a new city, going on a photo walk, or capturing a family event.
Don’t miss your kid or grand kid’s best expression ever because the camera was turned off.
- Not using a tripod in low light or night photography
- Tripods – do you have a love/hate relationship with yours? Do you avoid using one whenever possible? See mistake #2 above!
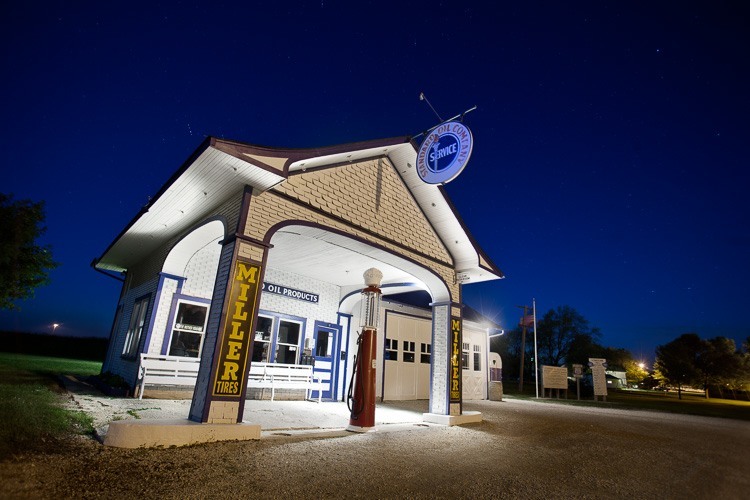
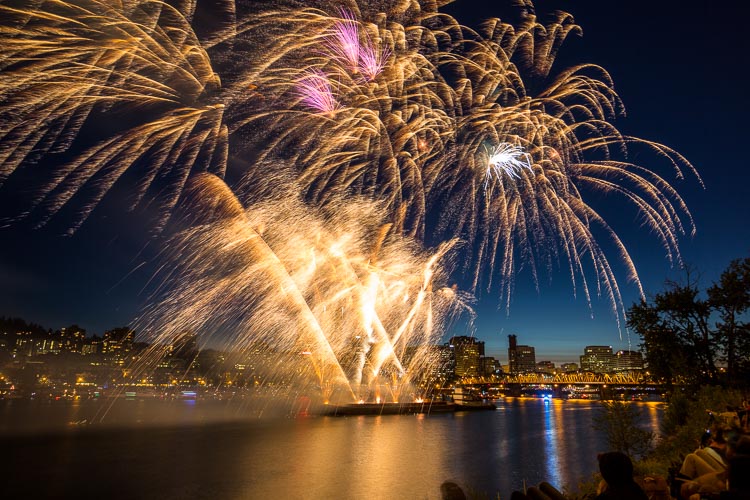
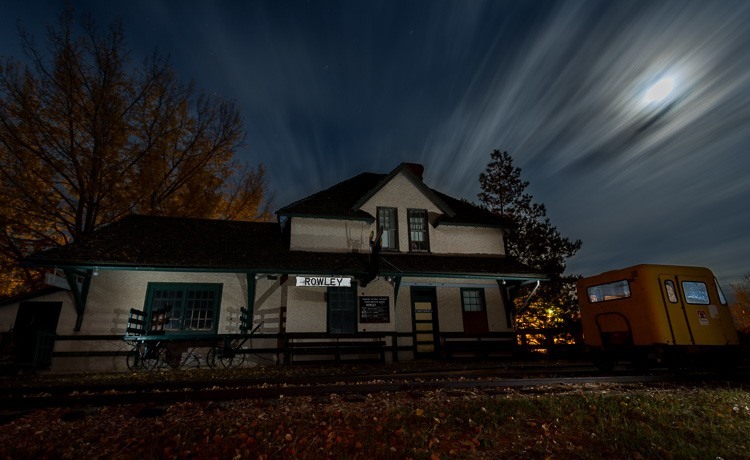
Using a tripod is pretty much essential in situations of low light, when using really small apertures for maximum depth of field, or doing night photography.
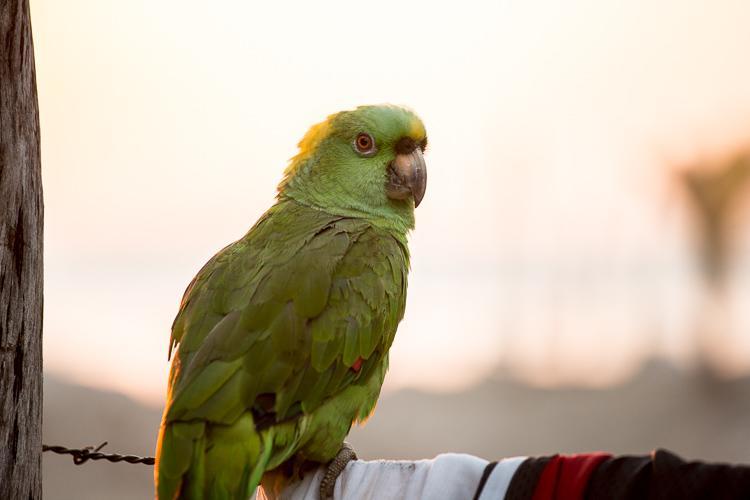
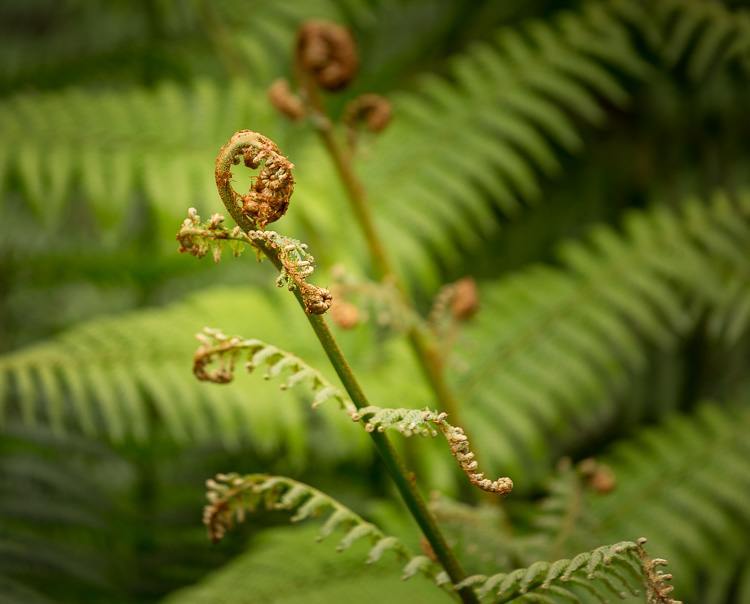
This image below was taken using the same lens as the parrot above, 200mm, at 1/60th of a second. This one, however, was done using a tripod so the image is tack sharp, not possible without the extra stability.
So why do beginners hate using a tripod so much?
I hear things like: “it will slow me down”, “it’s cumbersome”, and “it’s heavy”.
Sure, all that is absolutely true. But, slowing down isn’t a bad thing, it helps you shoot more intentionally and actually be a better photographer.
The other things are frankly just excuses. You can get a tripod that is super light and compact, yet still sturdy, so get one that isn’t a burden for you to carry around and use it.
You cannot get images like this (or the flowing water image above) without one!
- Shooting at the wrong time of day, or not understanding light
- When you first start doing photography you may have a tendency to head out at midday because there is a lot of light – that is the quantity. But something else you want to start considering is the quality of light, or how good it is in terms of capturing the mood you want, flattering your subject, and keeping the viewer’s interest.
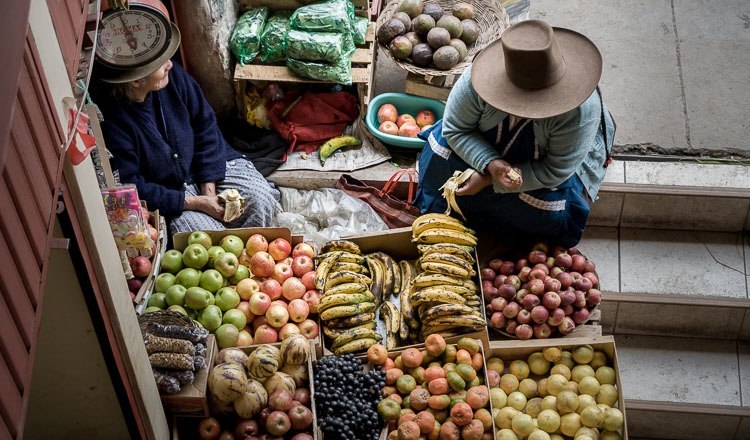
When the sun is high in the sky it is very harsh and causes deep shadows that are hard to overcome. If you have a choice of what time of day you photograph try shooting at the edge of light after dawn or just before sunset, and at twilight. You’ll find that the flower you photographed at noon looks more more pleasing at sunset with the golden light streaming through its petals. Likewise the photo of your friend or family member is more flattering to them taken later in the day, or in the shade. If you haven’t got control over your shooting time such as when you’re traveling or on vacation, use the light wisely and look for areas of good light in smaller pockets like at a market, a flower in the shade, etc.
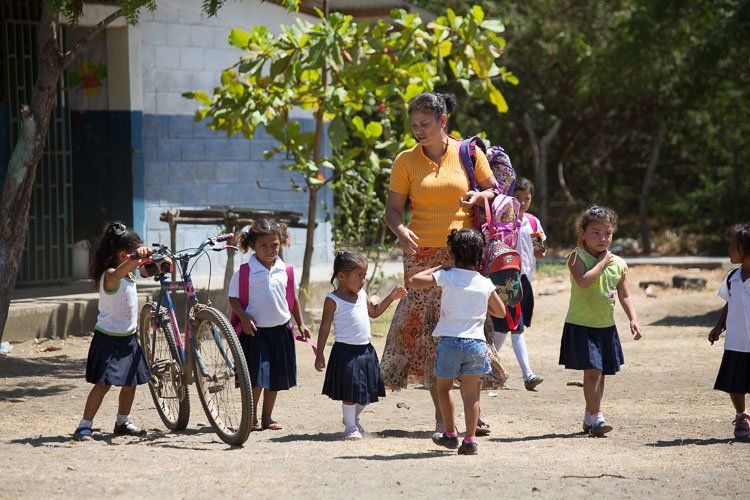
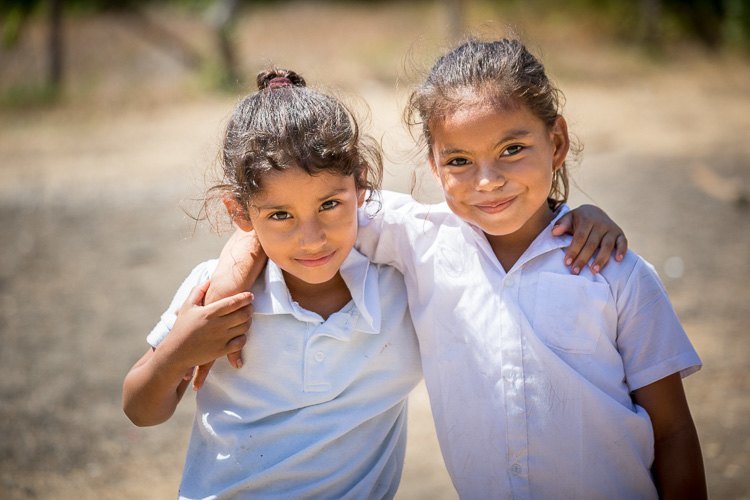
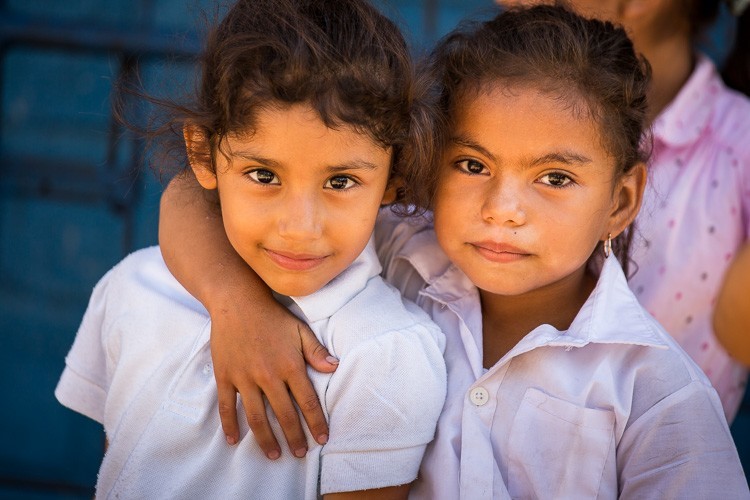
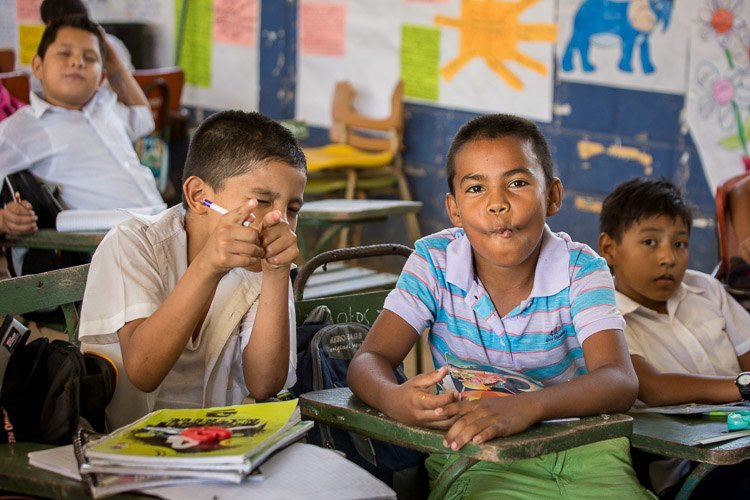
It has been said that in photography light is everything; in fact the very definition of photography is: drawing with light. Learn as much as you can about it, and how to use it to your advantage, and your images will improve.
- Using on-camera flash
- The flash that comes with your camera, the little pop-up one, isn’t great for most things. It can be good for lightening shadows to reduce contrast but using it as your main light source will create flat, textureless images with no dimension. If you’ve used your flash indoors and gotten that deer in the headlights look from your subject – the flash and direction of light are the issues. Even putting an external speedlight on top of your camera is not any better because the direction of light is still straight on to the subject.
Shadows are your friend so along with learning about quality of light, you want to start thinking about the direction as well. Have a look at a past article How to Create Texture in your Photographs that illustrates how direction of light can add depth and a three dimensional feel to your images. Flash on-camera (the pop-up one or a speedlight) basically is the least interesting and flattering light possible.
Read these articles to learn more about using flash off-camera and if you’re purchasing a flash make sure to get one that tilts and rotates so you can bounce it off a wall or reflector.
Cheers,