A little-known technique in photography allows you to capture lots of dynamic range with better results and fewer downsides than traditional HDRs. I call it “AHDR” for “Averaged High Dynamic Range” photography.
AHDR isn’t a popular technique at the moment, but I’ll make a case in this article for why I think should be. Compared to traditional HDR methods, it gives similarly good results but works much better when anything in your photo is moving. It’s also just as easy and fast to capture as a normal HDR (actually a lot faster under some circumstances).
Also, feel free to call it whatever you want. I’m calling it AHDR in this article because I don’t want to type something like “the image averaging method of HDR” dozens of times.
What Is AHDR?
As the name Averaged High Dynamic Range implies, AHDR involves averaging images together in order to get higher than usual dynamic range. I’ve written about image averaging before and how I use it to get high levels of detail in my astrophotography. Check out those articles if you haven’t already.
Before I show why I prefer it over traditional HDR photography, let me first demonstrate how AHDR works.
Essentially, AHDR involves image averaging, which takes advantage of the fact that most noise in photography is random; it differs from photo to photo with no correlation. (Patterned noise is a different beast and obviously has patterns, but it’s minimal on most camera sensors.)
The noise in each image essentially “cancels out” when you average multiple photos together. The more images you average, the more it cancels out.
It’s easier to understand it when you see it. Here’s how a single image at ISO 6400 looks up close:

And here’s how it looks after I took eight such photos in a row and averaged them in Photoshop:

You may be wondering how this has anything to do with HDR photography. The answer is that the image averaging process substantially improves a photo’s dynamic range by shrinking the amount of shadow noise. The less shadow noise you have, the more details you can recover in the darker areas of a photo. The result – as with HDR – is that you can retain details throughout an image even in very high contrast scenes.
How to Make an AHDR
It’s very easy to capture an AHDR in the field. You simply take multiple identical photos of the scene in front of you. (A tripod is highly recommended, as with regular HDR.) Then, in post-processing software like Photoshop, you average the photos together. The resulting image has extraordinary levels of shadow detail that can be recovered using the standard sliders in Lightroom/Capture One/etc.
Something important to note is that AHDR does not improve highlight retention – only shadow detail. That may sound like a problem, but it really isn’t. It simply means that you must avoid blown highlights in your images at all costs, even if it means exposing darker than your meter recommends. Here’s another way to think about it: a traditional HDR involves (at least) a “centered” exposure, an “under” exposure, and an “over” exposure. By comparison, the AHDR method involves taking the “under” exposure multiple times.
Here’s an example of how it looks in practice:
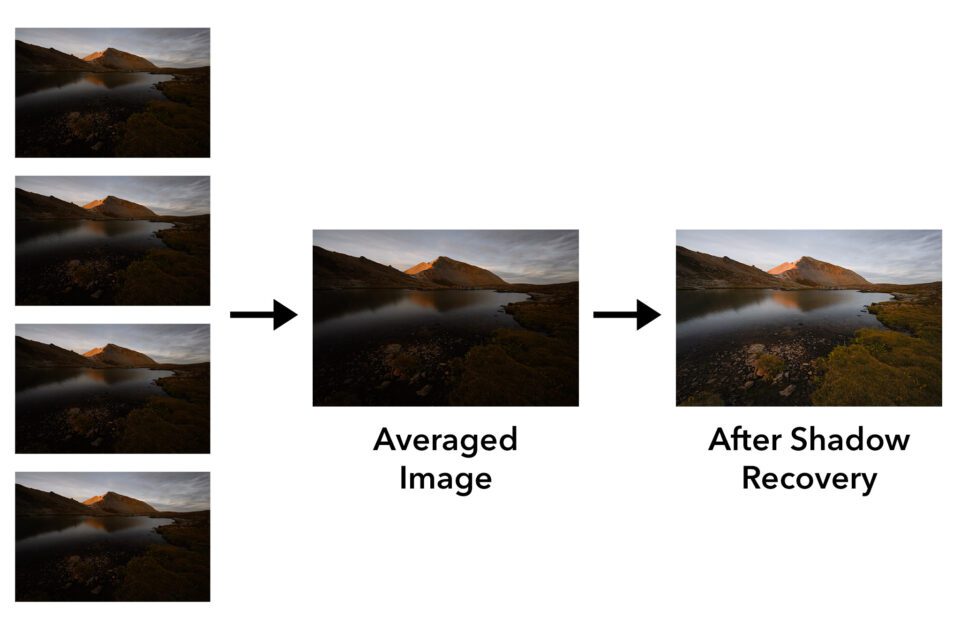
One minor drawback with AHDR is that not all post-processing software has a way to average multiple photos together. You need to have specialized software like Photoshop or Affinity Photo in order to do so.
The method of image averaging is different in every software. In Photoshop, one way to do it is to load all your photos as layers, convert them to a single smart object (highlight all layers > right click > Convert to Smart Object), then go to Layer > Smart Objects > Stack Mode > Mean. If you don’t know how to do something similar in your preferred software, just search for a tutorial online.
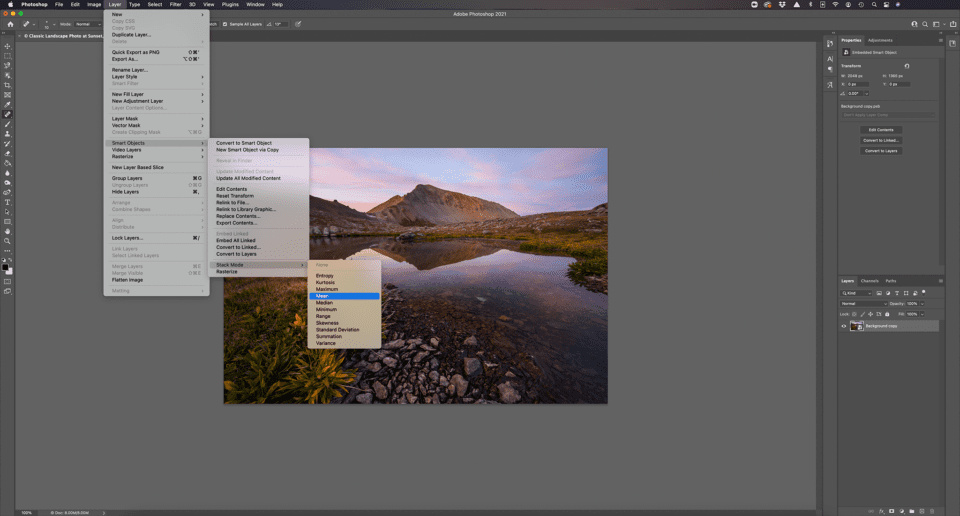
How Many Photos Does an AHDR Need?
While you may be concerned that AHDR requires many photos in order to improve shadow detail, that’s not necessarily the case. In fact, every time that you double the number of photos you capture, you improve the shadow detail by one stop (i.e. making it twice as good; half as much noise).
A traditional HDR photo involves taking at least three pictures: one at the metered exposure, one that’s overexposed by a stop, and one that’s underexposed by a stop. The result is a two-stop improvement in dynamic range over what your camera sensor can ordinarily capture.
By comparison, an AHDR photo requires that you take four pictures for a similar improvement. Simply take the underexposed photo four times in a row, average the four photos in post-production, and recover shadow details with your preferred editing software.
That’s what it takes for two stops of shadow improvement. If you want to recover three stops of shadow details, you would need to take eight photos with the AHDR method. To recover four stops of shadow details, it requires sixteen AHDR photos. And so on, doubling each time.
And that’s the biggest drawback of AHDR – the large number of photos you’d need to take in order to recover more than about four stops of shadow details. Of course, very few real-world situations require so much shadow recovery. Most cameras have a base ISO of 100; four stops of shadow detail recovery is equivalent in dynamic range to a base ISO of 6.
But if you have to simulate even lower values like ISO 3, 1.5, or lower for whatever purpose, a traditional 7-image or 9-image HDR is the route I recommend, rather than taking dozens of photos to average together. It’s just a bit less hassle.
Proof of Similar Results Between HDR and AHDR
I’m sure that some photographers reading this are skeptical that the results of an AHDR image are similar to the results of a traditional HDR. So before I get into the benefits of AHDR, let me first demonstrate that the two methods are interchangeable in image quality under typical conditions.
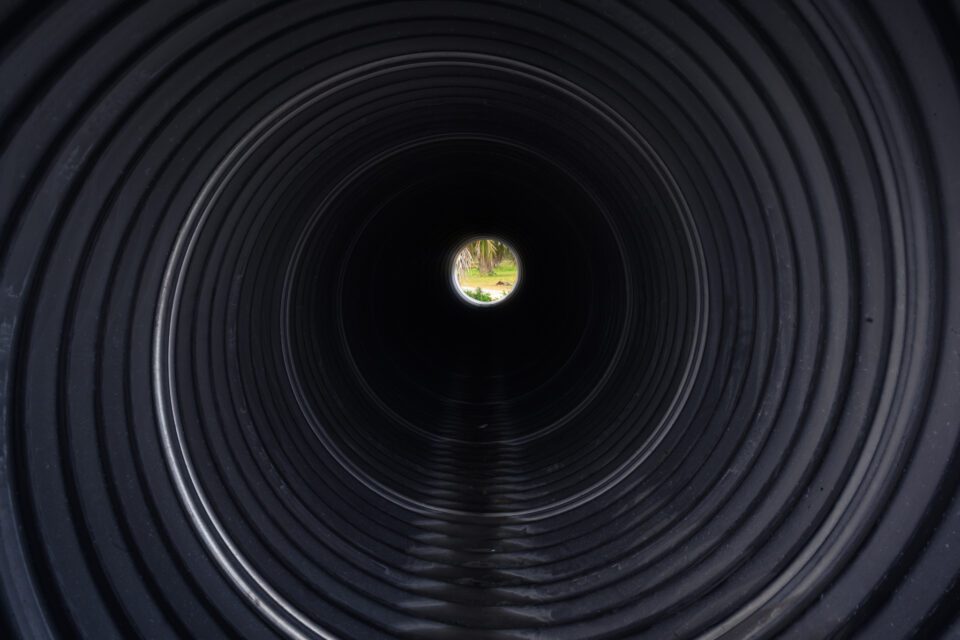
Here’s a single image of a high-contrast construction pipe. I chose to expose for the highlights at the center, which resulted in very dark shadows:
To capture detail in both the highlights and the shadows, you can take a three-image HDR as I described above: a -1.0 image for the highlights, a 0.0 image for the midtones, and a +1.0 image for the shadows. Here’s how that looks when combined:
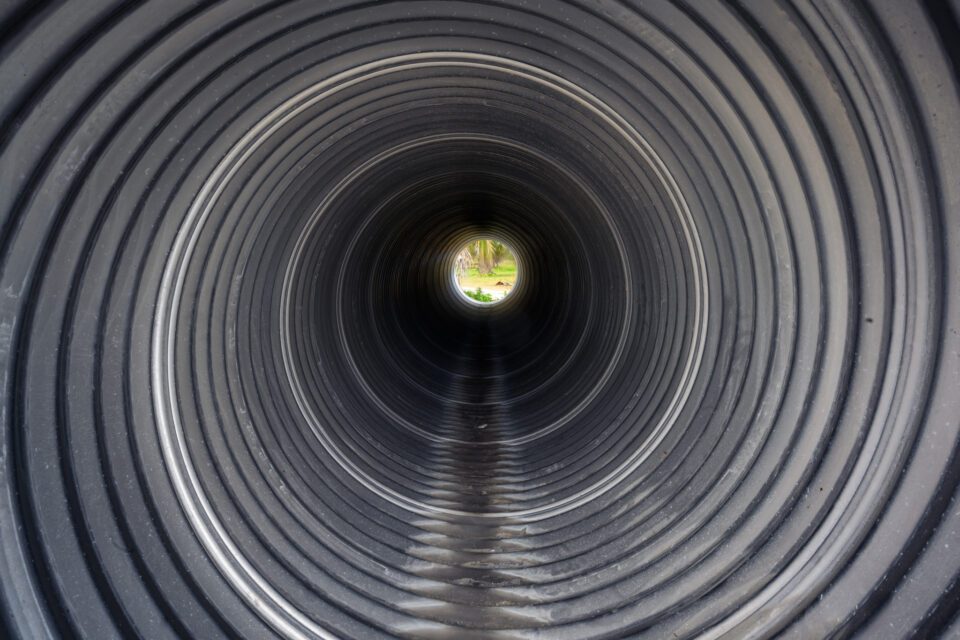
Similarly, I can follow the AHDR process: Take four -1.0 images, average them together, and recover the shadows in Lightroom. Here’s how that result looks:
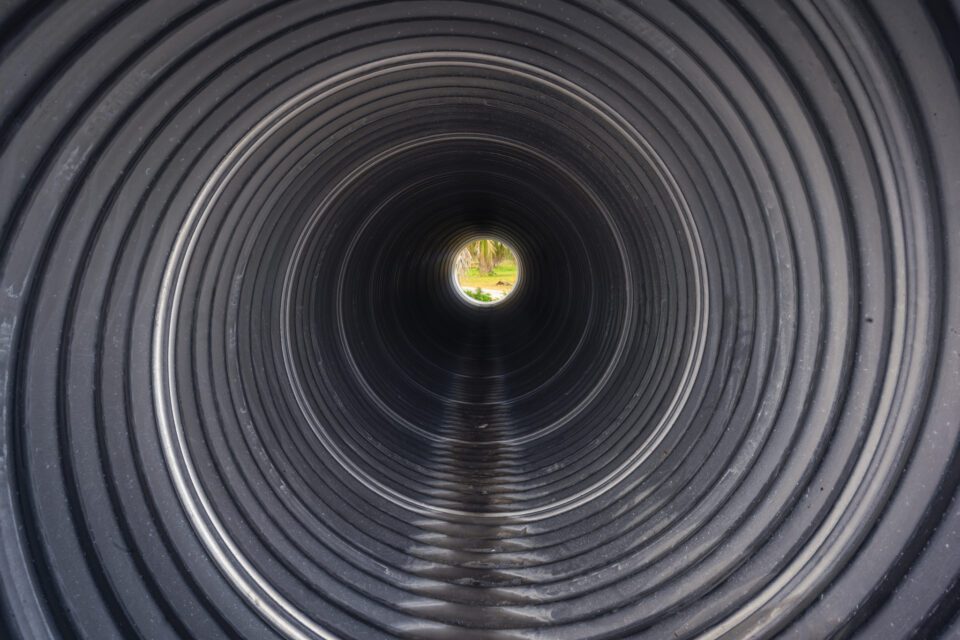
At these sizes, it seems to have as much detail as the HDR. Let’s look at some crops. Here’s a 100% crop of the single image, with the shadows brightened to match the other shots:
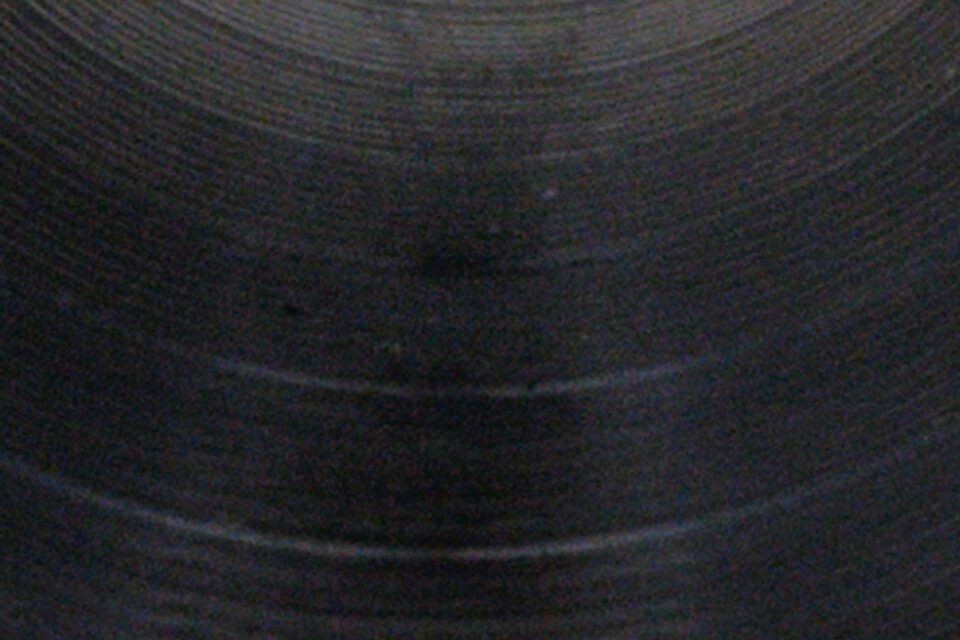
Lots of noise. Here’s the same crop from the HDR:
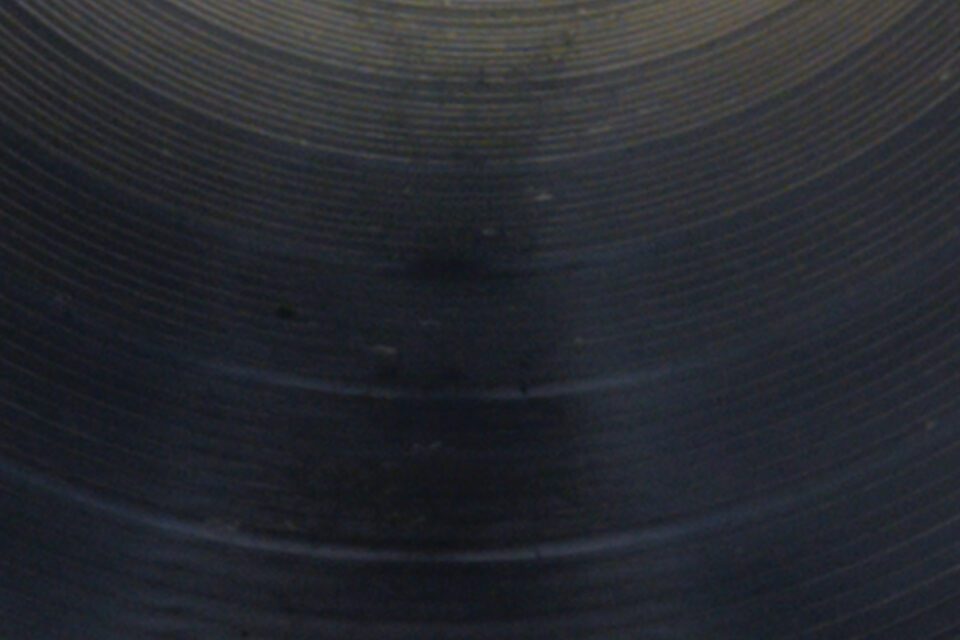
And the same crop from the AHDR:
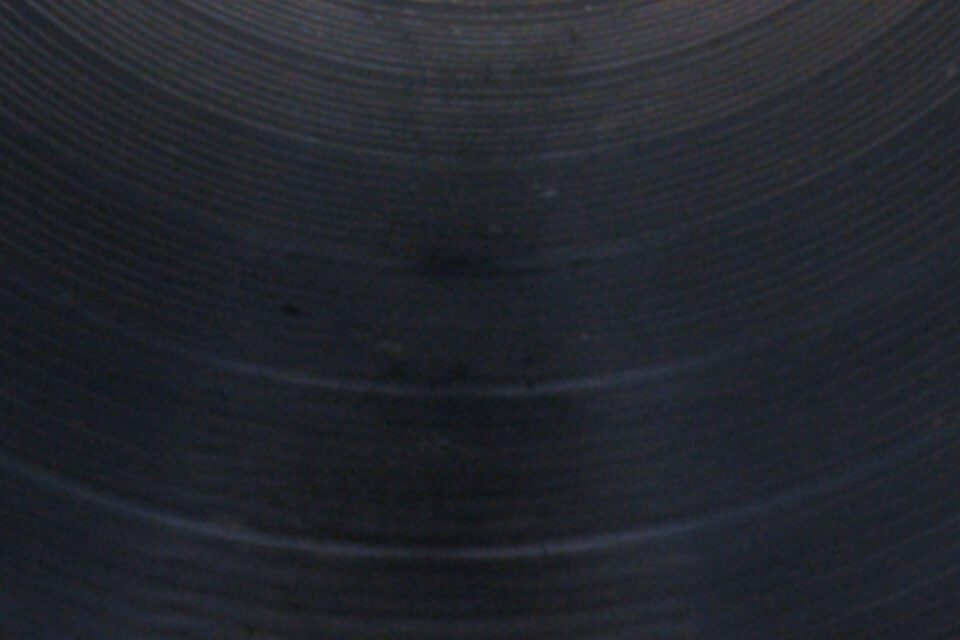
As you can see, both the HDR and AHDR have much better noise performance than the single image. The noise levels are equivalent in both shots with no reason to favor either one. In short, the HDR and AHDR images are interchangeable, and could be made to look basically identical with a bit of editing.
So, if AHDR requires one more photo in order to get the same results as an ordinary HDR, why in the world would I say it’s the better method? That’s what I’ll go over next.
Benefits of AHDR
Now that you’ve seen how HDR and AHDR can produce similar results, let’s go over the benefits of AHDR. It’s all about fixing the biggest negatives of regular HDR photos, which are as follows:
- HDRs tend to produce ghosting artifacts when anything in your photo moves.
- They result in uneven patterns of noise in a photo.
- They can lead to harsh, garish colors if not done carefully.
- They can take some time to capture in dark conditions; individual exposures may be something like 15 seconds, 30 seconds, and 60 seconds, so you could be waiting around for a while.
AHDR improves upon all those downsides. Let’s go through each point individually.
1. Ghosting Artifacts
It’s well known that HDRs often don’t do well when anything in your photo is moving. This includes small details like tree leaves rustling in the breeze, as well as large subjects like ocean waves that could cover the entire foreground of your photo.
Sometimes, you can fix ghosting artifacts manually in Photoshop with the spot-heal brush or through careful (often manual) image blending in the first place. Other times, especially with ghosting or “afterimages” along the fringes of your subject, they can be nearly impossible to remove.
Here’s an example of ghosting artifacts with HDR (100% crop from the full image). Zoom in if you’re on a phone, and click to see full size if you’re on a desktop, if you can’t see them right away:

This happened because the palm leaves were blowing in the wind, and it’s hardly an uncommon sight in HDRs. The anti-ghosting option in most HDR software isn’t a great solution either, since it creates issues of its own (especially uneven noise, as I’ll cover next).
How does the AHDR technique look by comparison? Here’s a similar 100% crop:

Much better! Some of the palm leaves have a bit of blur now, but the effect is much less distracting and obtrusive to my eye compared to the HDR. If you’re concerned, you can take a few more photos (this was only four) and your result will be smoother, essentially mimicking a long exposure.
2. Uneven Noise
Not as often discussed, but just as big of a problem, is that HDRs can have uneven patterns of noise after you’ve blended them together.
Here’s an example of an HDR I created in Adobe Lightroom (whose HDR software otherwise tends to give nice, realistic results). The image looks good at this size:
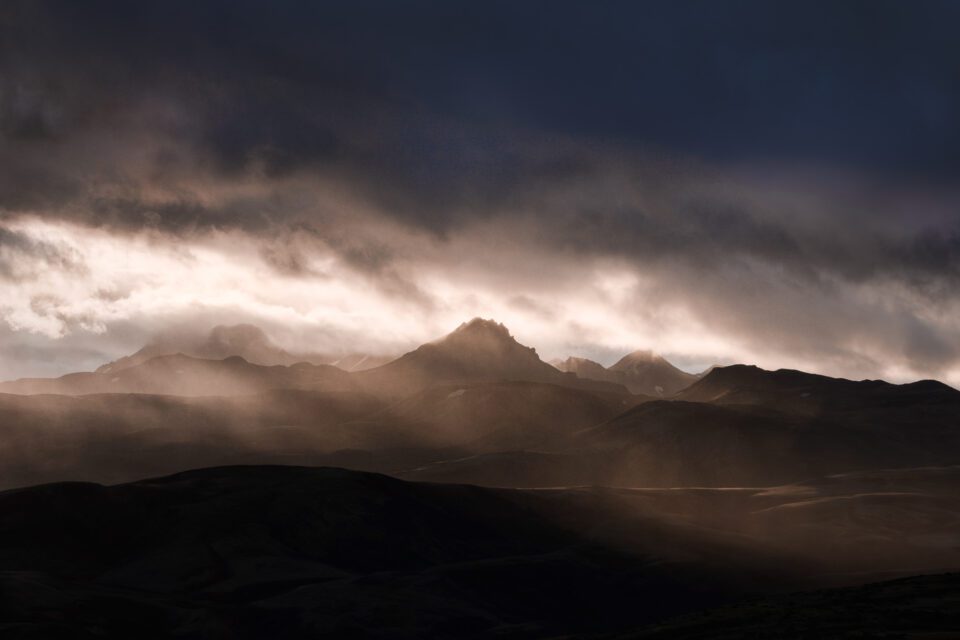
But zooming in, you can see that there’s a strange band of noise going across the sky:

That’s because Lightroom tried to merge part of the sky from the underexposed shot with part from the standard exposure, and it didn’t do a great job. This is not an uncommon result in a lot of HDR software, particularly in Lightroom if you have the anti-ghosting feature turned on.
(In case you were wondering, this result isn’t because I had different ISO values for each shot; all three of the images were taken at my base ISO of 100.)
I’ve gotten similarly weird results where Lightroom or other HDR software misinterprets a moving subject when it tries to blend images together. Look at the strange clouds at the top right of this shot:
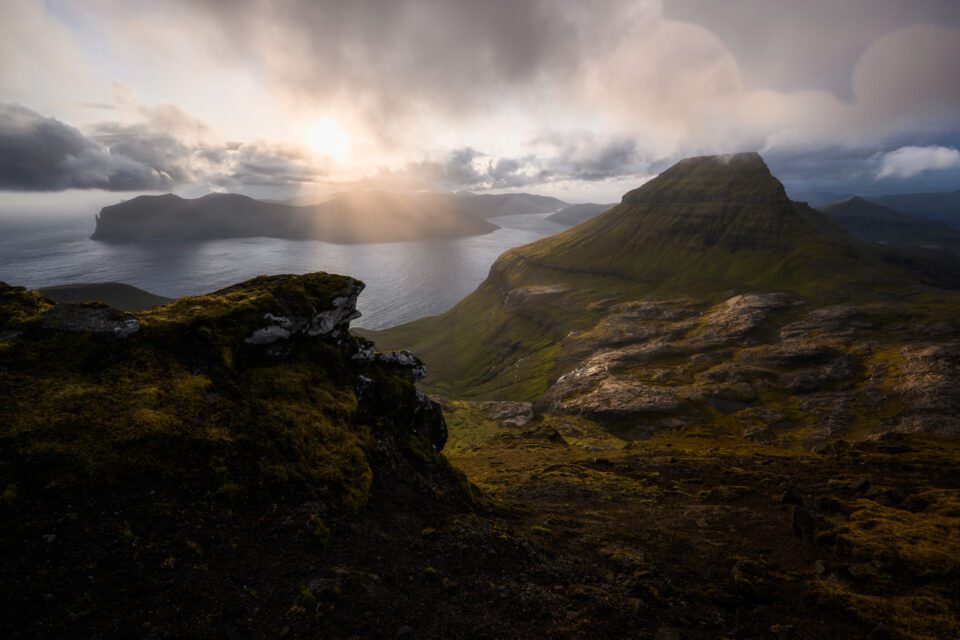
They didn’t look like that in real life! They’re purely an invention of Lightroom. After I noticed the issue, I had to blend the images manually in Photoshop to get the proper result:
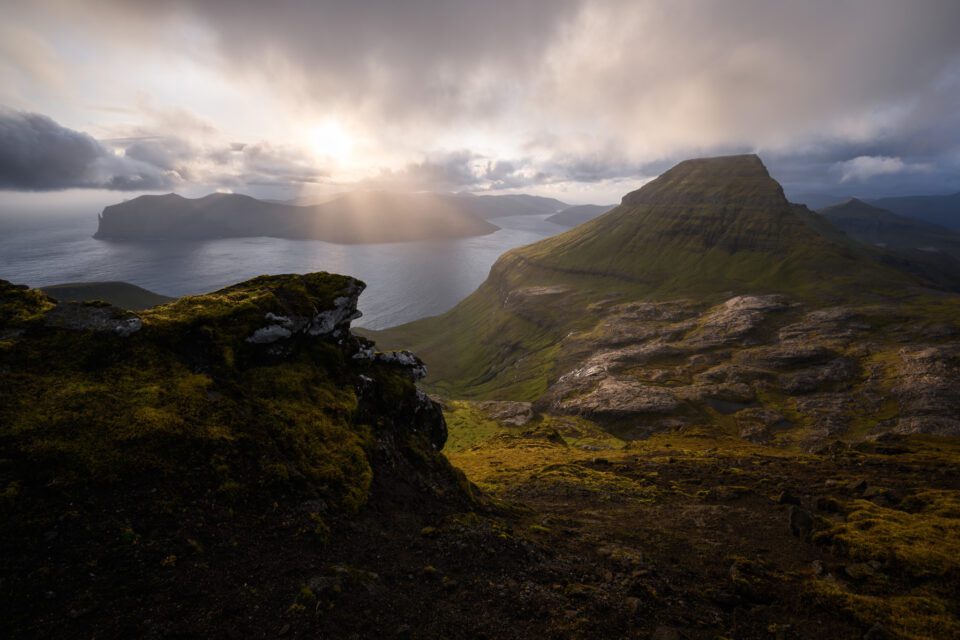
AHDR does not have these issues. Every image that forms an AHDR has the same exposure settings as one another, and you’re just doing a simple average to blend them. As such, there’s no room for uneven noise or misinterpreted subjects to sneak in.
3. Garish Colors
Most photographers who rely on HDR already have a preferred way to avoid garish colors. However, it remains the case that a lot of HDR software gives wild results by default, such as the “Merge to HDR Pro” feature built into Photoshop.
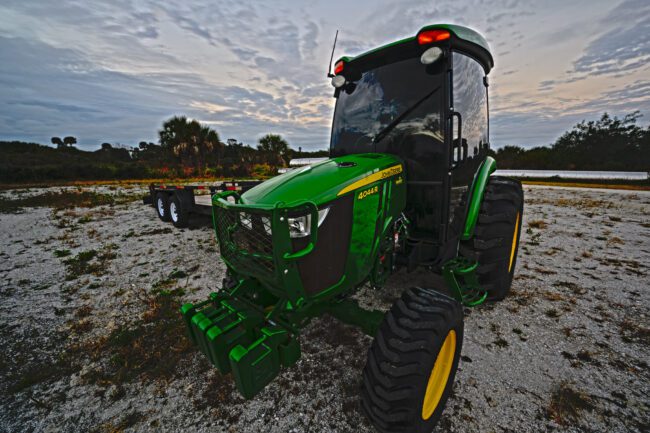
While I’ve had good luck avoiding such exaggerated tones in Lightroom’s HDR merge feature, Lightroom also has the most issues with uneven noise of any HDR software I’ve tried. So, you can’t necessarily fix the garish color problem just by switching software.
A common solution is to use luminosity masking in order to pull the best parts from each image and merge them together. This is indeed an excellent way to blend different exposures together and I have no complaints about it at all, other than the time it takes to do manually if you don’t have a Photoshop plugin like Lumenzia or TK Lum-Mask.
The AHDR method also gives stellar results without garish colors. After you’ve merged an AHDR image, it looks essentially the same as each photo that makes it up – i.e., just like any ordinary raw file. It also functions just like any ordinary raw file, except it has drastically better shadow recovery than usual.
4. Duration to Capture
Since AHDR usually involves taking more photos than a standard HDR, you may be thinking that it’s slower and takes more time in the field. But that’s not really true.
For one, taking a burst of four or eight photos in a row is very quick and easy on most cameras today. You can be finished with the entire AHDR in a matter of seconds. However, the same can be said of a traditional HDR if you enable bracketing beforehand, so this is pretty much a tie.
The real speed benefit of AHDR is when you’re shooting in darker conditions, where you need multi-second exposures in order to capture enough light. Take this scene, for example:
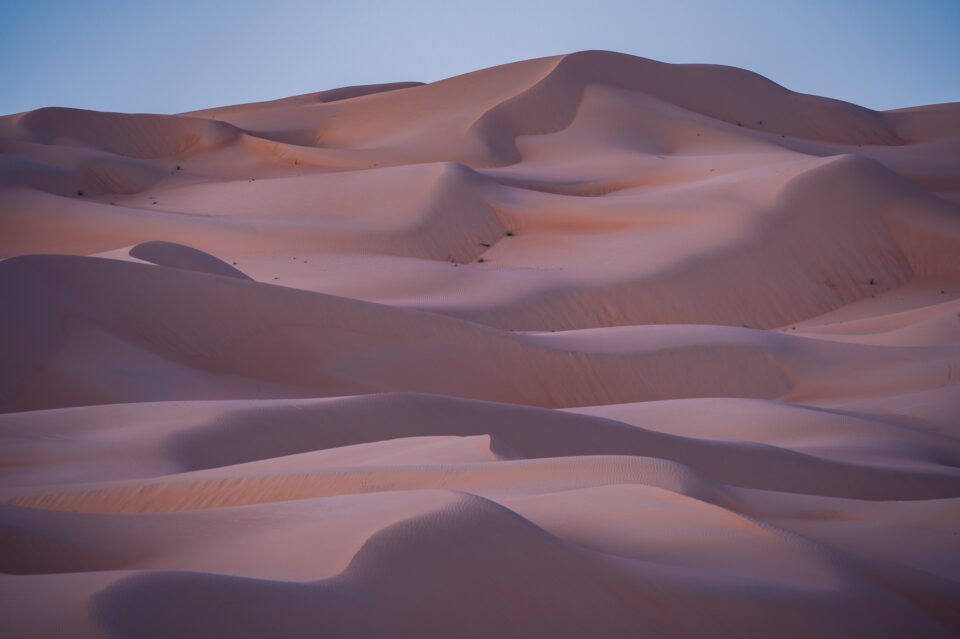
I took this at 60 seconds, which was right at the meter’s recommendation. Thankfully, this scene didn’t have enough dynamic range to require an HDR. If it did, I’d have needed two additional exposures: one at 30 seconds and one at 120 seconds. Add those together, and I’d have been waiting around for 3.5 minutes while my camera captured the HDR.
By comparison, an entire AHDR shoot would be done in 2 minutes, with four individual photos of a 30 second shutter speed apiece (again, same as the “under” image in an HDR). I’d end up with as much dynamic range as an HDR in about half the time! Even ignoring all the other benefits of AHDR, I’d definitely recommend using it in low light to save yourself time.
Of course, this only applies if you’re shooting HDRs in very dim light. In regular conditions, taking either an HDR or an AHDR is going to be very quick regardless.
Other Things to Note
1. Mean vs Median
Any time I write about image averaging, whether for astrophotography or for improving the image quality of a drone, I get the same question: Do I actually recommend averaging the photos together? Or do I actually use the median blend option in Photoshop instead?
Photoshop has a setting for both mean and median, along with a host of other image blending modes. To clarify, I always use mean, not median. Every time that I second-guess myself on that, I go back and test again, and I always see that mean has a bit less noise. I have yet to work with a set of images where median does a better job reducing noise.
Somewhere online there must be someone saying that median is the way to go, because I get this question a lot. I just encourage you to do your own tests to see for yourself. The differences are small, but mean looks better.
2. Why Bother Taking Multiple Exposures?
Another, more amusing question that I get surprisingly often is this: Why can’t you just take one photo, duplicate the layer a bunch of times in Photoshop, and then average that result instead?
The reason is that averaging a dozen copies – or a hundred, or a million copies – of a single photo will only ever get you back to that single original photo. By comparison, the AHDR method works because the noise patterns change across multiple images, while the “subject patterns,” so to speak, stay the same.
I like the out-of-the-box thinking, but there’s no way around it; you need to take multiple photos in the field, or AHDR doesn’t work.
3. A Final Benefit
The last thing I’ll say about AHDR is that it has one more nice benefit: minimal loss in image quality if one photo in your sequence doesn’t turn out right.
With regular HDRs, a single accidentally blurry shot (perhaps you bumped your tripod during the “under” photo without realizing it) can make it difficult or impossible to merge the images properly later. On the other hand, with an AHDR, just delete the blurry photo and merge the others. You’ll lose a slight bit of shadow recovery because you’re not averaging as many shots, but nothing major.
Conclusion
I hope this technique gave you some ideas, and maybe you’ll find that the AHDR method (or whatever you want to call it) is useful for your own photography. As much as I prefer “getting it right in-camera,” having a technique in your back pocket for tricky, high-contrast situations is always a good idea.
Of course, just because the AHDR method has some nice benefits doesn’t mean that you’ve been doing anything wrong if you’ve shot regular HDRs over the years. I only figured out this technique a few months ago myself, and while I’m going to use it instead of HDR from now on, traditional HDR photography is hardly bad. When nothing in your photo is moving, the two methods will generally give you the same results – and AHDR isn’t a good substitute for 7-image or 9-image HDRs that capture truly massive dynamic range.
But if something in your photo is moving, even if it’s just a few tree leaves in the distance, I recommend trying out the AHDR method to see if you like the results. It’s easy and quick, and it fixes most of HDR’s issues without bringing any major problems of its own. Hard to ask for more than that.