In this tutorial I’ll show you how to use Photoshop filters to create an underwater background that you can use for your own artwork.
Photoshop Star Premium Members can login now for full access to this tutorial. Premium Members get access to exclusive tutorials for Photoshop and Illustrator. Also access to dozens of tutorial source files.
Get a Premium Membership now.
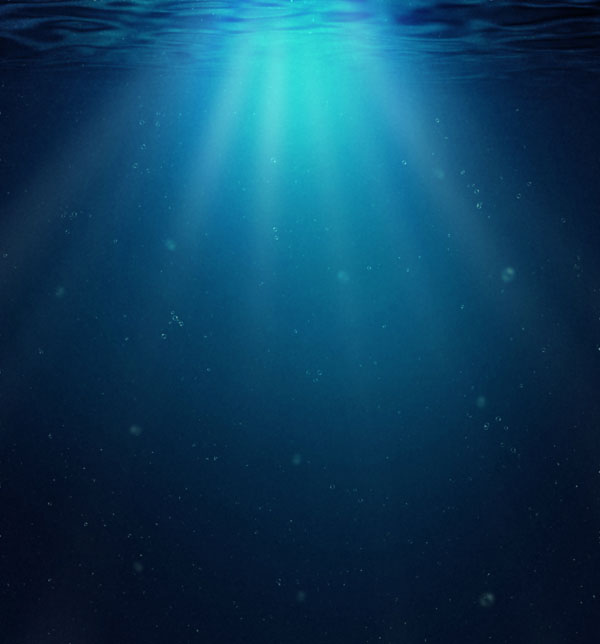
Final Image
Tutorial Details
- Program : Photoshop CS3 +
- Estimated Completion Time : 15-20 minutes
- Difficulty : Beginner
Step 1
Create a new document in Photoshop, set your own size and fill it with any color you like. I used a file of 1200×1288 px. Go to Layer > New Fill Layer > Solid Color and pick a cyan color ( I chose #40bfda ):


Step 2
I used an adjustment layer to darken the canvas. Go to Layer > New Adjustment Layer > Curves :

On this Curves layer mask, active the Brush Tool (B ). Use a basic,soft brush with black color, the opacity about 15-20% to paint on the mask to reveal some light on the top ( we’ll add the light source there).


Step 3
I used a Levels adjustment layer to increase the contrast and light of the image:


Step 4
In this step we’ll add texture to this scene. If you look closely at some underwater photographs, especially the ones taken in natural environment, you’ll see the noise, debris, plankton, etc…To imitate this effect, I made a new layer on the top and fill it with black. Convert this layer to a Smart Object and go to Filter > Noise > Add Noise :

Go to Filter > Blur > Gaussian Blur and set the radius to 1.5 px:

Change this layer mode to Screen 5% and we have a very soft noisy look. Here is a close-up of the image bottom:

Step 5
To add some debris and plankton to the scene, I duplicated the noise layer and increased the opacity to maximum (100% ):

Add a mask to this layer and use a soft black brush to reduce some noisy parts as shown below:

Step 6
I used a Levels adjustment layer with Clipping Mask to reduce the noise intensity:

Here are two close-ups of the result:


Step 7
To make more light on the top, create a new layer, use a soft white brush to paint there. Change this layer mode to Overlay 100% :


Step 8
In this step we’ll make the water surface. Press D to turn the background and foreground color to default (black and white). Go to Filter > Render > Clouds :

Convert this layer to a Smart Object . Use the Free Transform Tool (Cmd/Ctrl+T) to transform it as shown below:

Use a layer mask to soften its edges :
