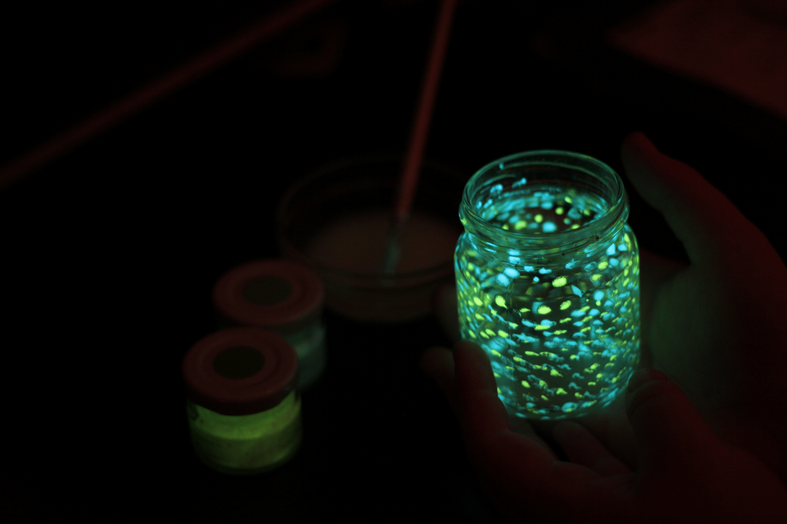
When we saw this photo for the first time on 500px, it was an instant favorite that we immediately added to Editors’ Choice. Since then, photographer Luca Gerda László has been inundated with requests to share the secret behind her glow in the dark mason jars. Lucky for you, the big secret is about to unravel…
The image above is one of my “most famous” photos and I got lots of requests on how I made these glowing jars. I decided to do a step-by-step tutorial for you and I hope that it will help you to achieve a similar result.
I have a lot of mason jars. Small ones and bigger ones, but I think big jars look more cute and magical. Big jars also take a lot of time to paint, it took me about 5-6 hours to paint the jar in the middle of the photo. Be careful with the paint, it is waterproof, so after it dries you may not be able to remove it from your clothes and furniture. Also, be sure to wash your brush right away after using this paint.
You’ll need:
- Mason jars
- Glow in the dark paint (get it online or at local craft store)
- Paintbrush
- Tap water
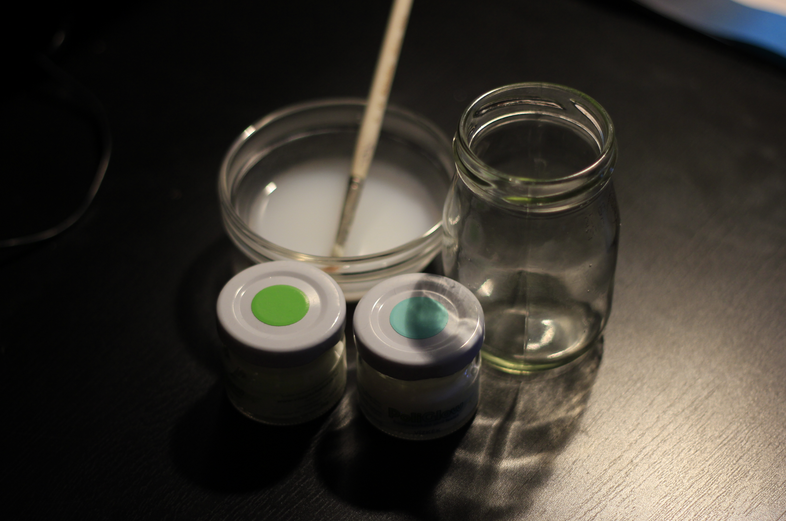
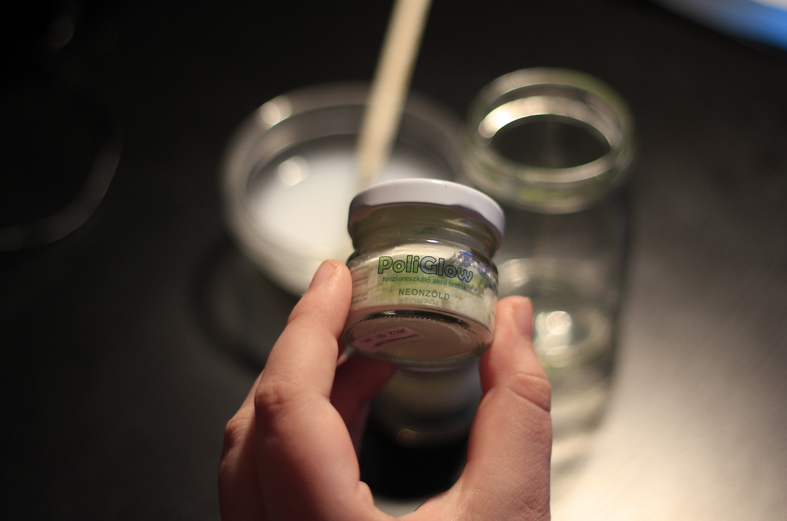
Tips
Glow sticks: Instead of glow in the dark paint try using glow sticks. Buy glow sticks online or in your local dollar store, cut into the sticks and splash the fluid all over the jars. Be careful not to stain yourself or the surrounding area. The glow in the dark effect will last only for a few hours.
Mason jar alternatives: If you don’t have mason jars available use clear glass or see through plastic cups.
Step-by-step
1. Wash your jars.
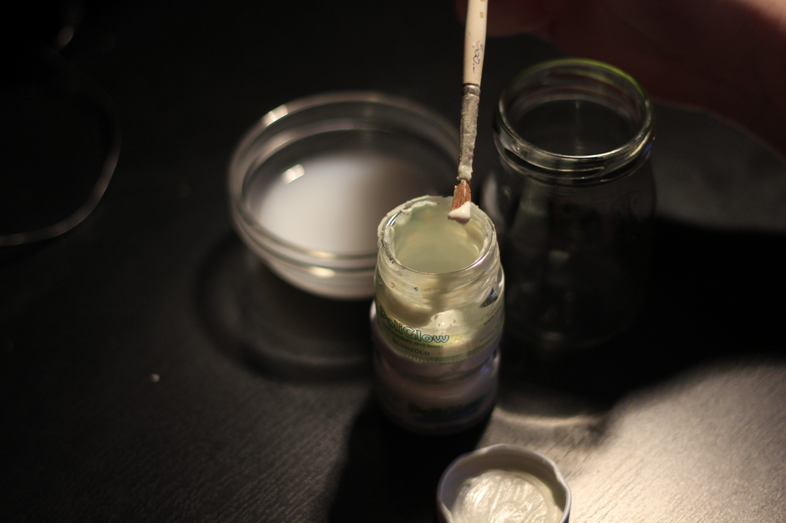
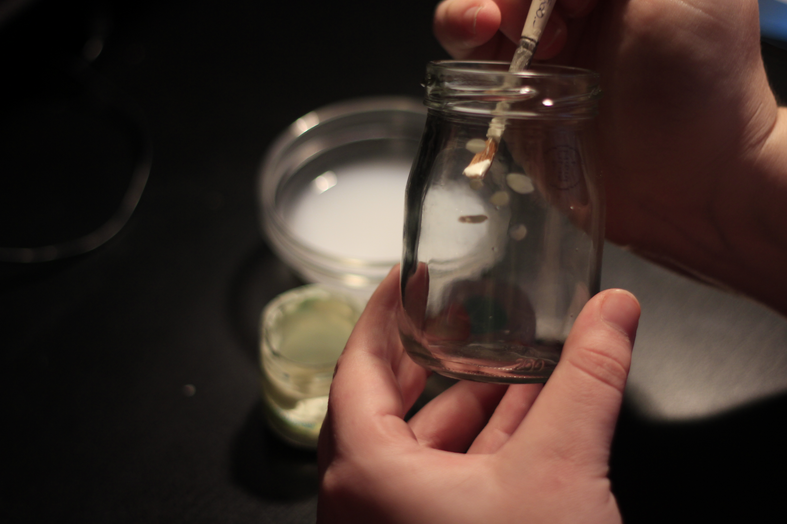
2. Mix the paint with your brush until the glowing particles have dissolved evenly.
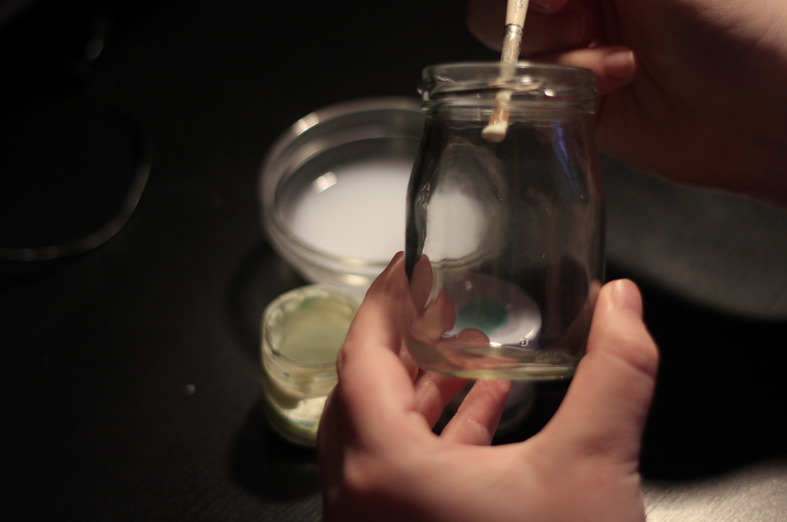
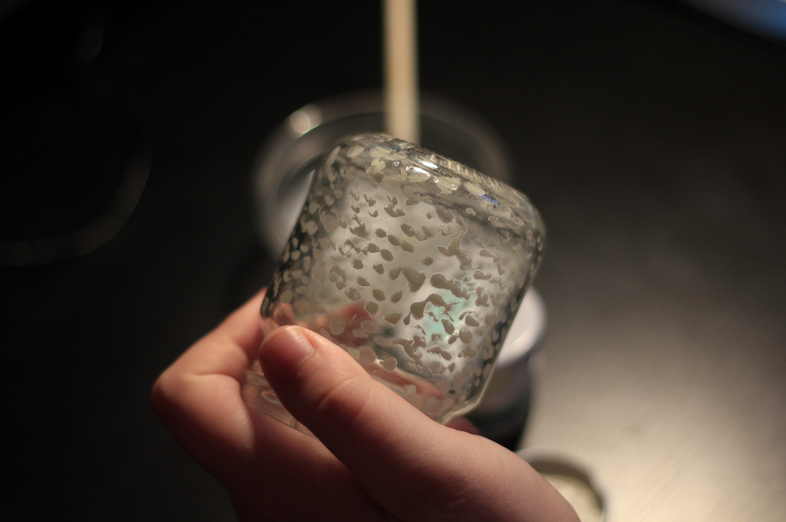
3. Make tiny dots in the inside of the jar. The more dots you make, the prettier the jar will look.
4. Dot on one colour first, then the next, etc.
5. Leave to dry.
6. You’re done!
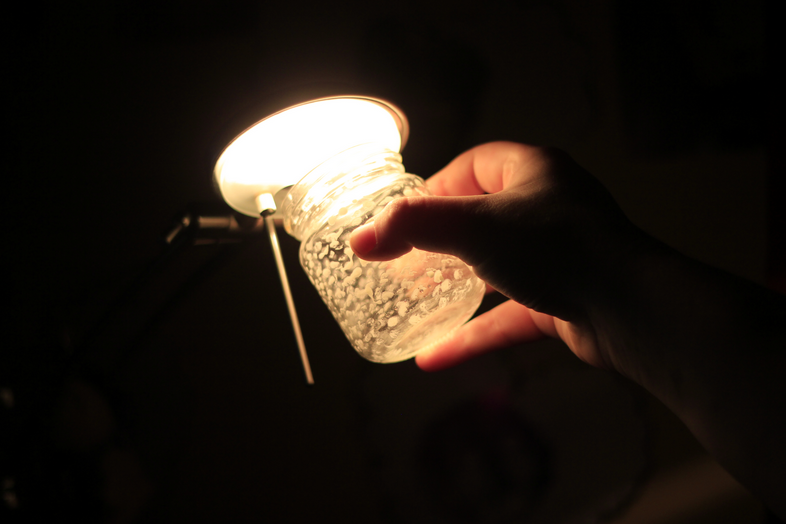
It is this easy. In daylight your jar won’t look that fancy, but at night it will make your room beautiful and cozy. Charge it with a lamp or with daylight and take it to a dark place to photograph!
Thanks to Lucy for sharing this tutorial and thank you for reading! Looking for more tutorials? Check out previously featured “Coffee With Milk” article, revealing some tips & tricks behind splash photography.
Do you want share your skills and educate those new to photography? If you have a tutorial you’d like to share — be it in shooting, post-production, or top tips for getting your work out there — please get in touch with our Editor at dl@500px.com!