As a busy Dad of two young boys, life gets hectic quite often. I still do plenty of photography, but gone are the long days spent in a blind waiting for a bird to appear. Nevertheless, I’ve found other ways to fulfill my creative desires.
The key ingredient here is not abundant time, but imagination. This, coupled with a willingness to step out of my comfort zone has led me to a new discovery. I call it “dreaming with eyes open.” Truth be told, the process I’m about to detail will yield its fair share of failed attempts. Yet I’ve found that with a bit of perseverance, it’s possible to make photos that are otherworldly.
It’s no secret that shooting during the magic hours has real benefits for those who enjoy scenic photography. Occasionally though, these times present a scheduling conflict with other responsibilities. Maybe in your household, sunrise coincides with preparing breakfast and readying the kids for school. Perhaps the sun is setting as you clean up from dinner and help with homework and bath time.
So here’s the key question for us as photographers. Does one merely pack away the camera and go on waiting for another day, or do you seize the next opportunity to shoot regardless of the time of day? I prefer the latter option, and I hope you will too.
So-called “harsh light” can actually be used to one’s advantage if handled creatively. Let me give you an example.
Where to Start
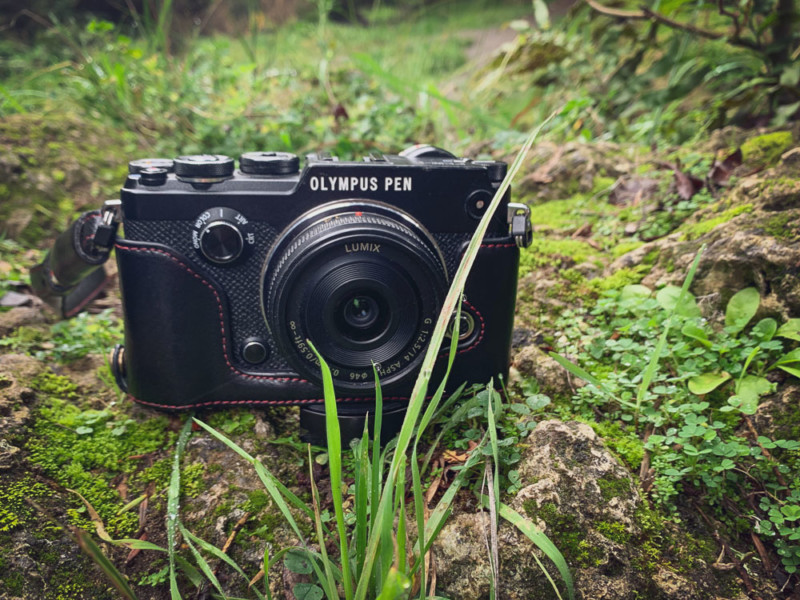
Begin by activating the multiple exposure feature. On my Olympus Pen F, the steps are:
-Select “Shooting Menu 2”
-Choose Multiple Exposure
-Number of Frames, select 2f (2 frames)
-Set Auto Gain to on. This works to blend the exposures without blowing out highlights.
Please note these precise menu settings may be slightly different for your particular camera model.
If you’ve done this correctly you will see a little icon in the EVF/LCD which indicates that multiple exposure mode is on.
When you take your first shot you’ll see a semi-transparent, almost ghost-like image in the EVF/LCD. This is a helpful tool to guide your composition on the second shot. You’re now ready to create! Let your imagination run free, unbound by stagnant photography rules.

Think Outside the Box
For this photo, I used the aperture and shutter speed creatively in conjunction with the multiple exposure mode. The first shot of the sea was created with a slow exposure at 1/6th of a second. This was just slow enough to pan the horizon while the image was being exposed. This intentional camera movement helped to create a wispy type of effect.
One of the amazing things about the multiple exposure mode is the freedom to change camera settings and even focal lengths from shot to shot. This proved quite helpful in creating the second part of this image. Adjacent to the sea, I found a wooden structure along the boardwalk. From a low angle, these man-made beams jutted up towards the sky. They would provide an interesting contrast to the first more natural scene. The key to this second frame was the Fstop though. By using a very small aperture of f22, the beams scattered into a lovely sunburst. This added more visual interest and completed the look I was after. I call this one “Lost City by the Sea”.
Make the Most of Your Photo Walks
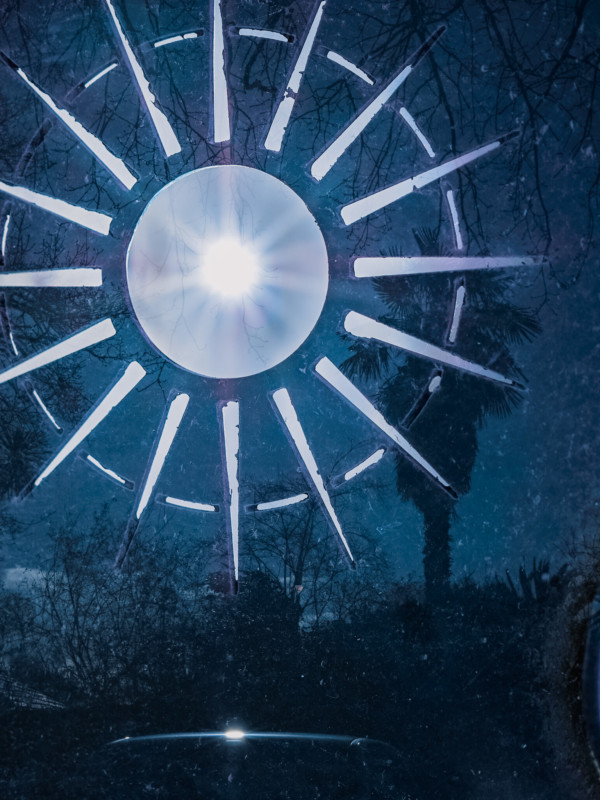
This next multiple exposure was captured in late afternoon in a rather ordinary part of a park. There was grass, a few park benches, some trees, and the sun loomed high above. At first glance, it did not seem like a great place to make a photo. Yet, a small detail on the side of a bench caught my attention. It was the shape of the sun, and it was cut out so you could see through it.
The first frame was created from a low squatting position. I zoomed in and made this first element large in the frame. The rest of the bench was cement and the texture was an added benefit to what was captured.
For frame two, I simply pulled back to more of a wide angle perspective and shot the sun and distant shrubs. The aperture of f22 helped to create the sunburst to mirror the design on the bench. If this idea was to work, the placement of this second was would have to be perfect. This is where the transparent overlay of the first image becomes super important. My camera shows a faint impression of the previous shot to help guide the composition of the second. With it, I was able to place the actual sun inside the center of the bench design. Due to the texture, the completed image almost appears to have been created under a starry sky.
Gain a Sense of Creation
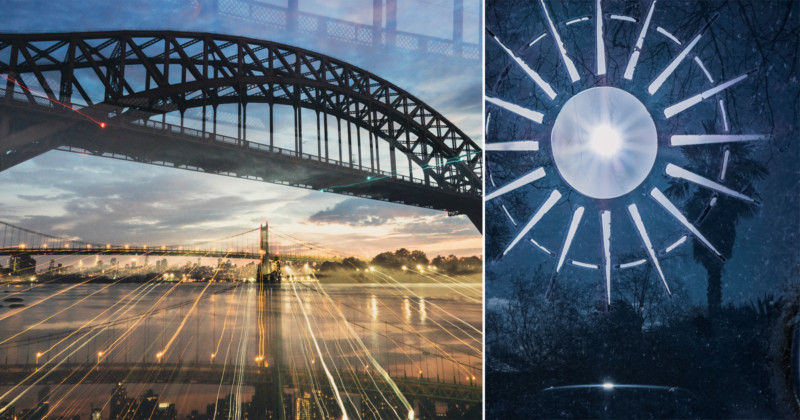
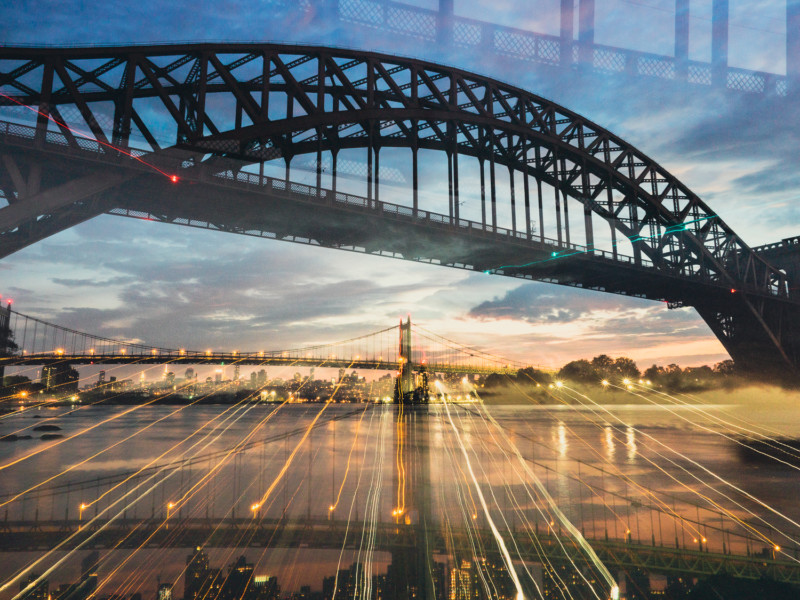
Once you learn this technique, you can experiment with all kinds of ideas. Here is a really different method I tried at the Hells Gate bridge in New York. The first shot was created with a 15-second exposure on a tripod at dusk. During the initial five seconds, I let the impression of the scene get recorded. This was enough to form a realistic interpretation of the city skyline. For the last ten seconds, I gradually changed the focal length by zooming the lens out to a wide-angle perspective. This generated the connecting streaks of light from the skyline.
For the next frame, I simply zoomed in for a closer look at the structure of the bridge. I placed it higher in the sky to create additional depth and visual interest. The resulting photo is vastly different from what most people capture at this well-trafficked location.
What’s the Point?
To grow as an artist, I believe it’s essential to step out of your comfort zone. History has repeatedly rewarded those who refuse to play it safe, and push the envelope. Take for example, Bob Dylan.
After years of success with an acoustic guitar, he switched to the electric guitar. While many folk music purists were horrified and actually booed him, this shift actually led to some of his most well-known songs. The same pattern was true for the painter Pablo Picasso. He dedicated three years to a “blue period” from 1901 to 1904. During this time he only worked with blues and greens. Despite this limitation, many of these paintings now stand as his most successful creations.
As photographers today, we have access to a plethora of incredible tools. By using them alongside your imagination, you can make your dreams a reality. I encourage you to dive into the camera menu and forge ahead with a new season of creative expression.
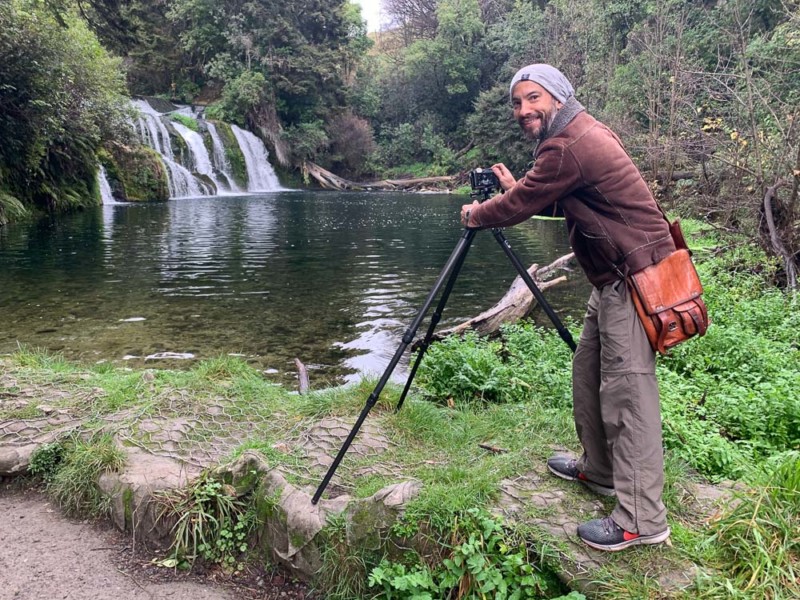
About the author: Chris Corradino is the founder and lead instructor at the New Zealand Photo School. Their overarching mission is to provide high quality photography education in the scenic Hawke’s Bay region of NZ and beyond. They also serve a worldwide clientele with online photography classes, private lessons, Lightroom editing courses, and photo business mentoring. With a mix of in-person workshops and online photography classes, they have successfully trained thousands of artists in most commercial and creative photography genres.
You can connect with Chris through his website nzphotoschool.com and on Instagram.