Lightroom Mobile Compatible!
I created this Lightroom preset as a go to for all my fashion blogger photoshoots. I specifically designed this preset so that you would only have to tweak the exposure of your photo after you apply the preset but sometimes I also adjust white balance, exposure, shadows, and blacks, to get my signature look.
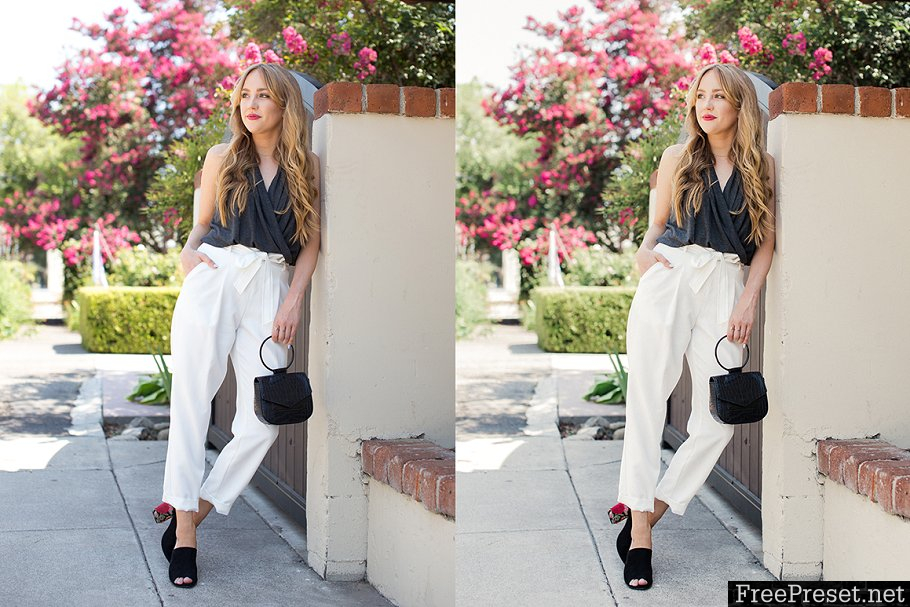
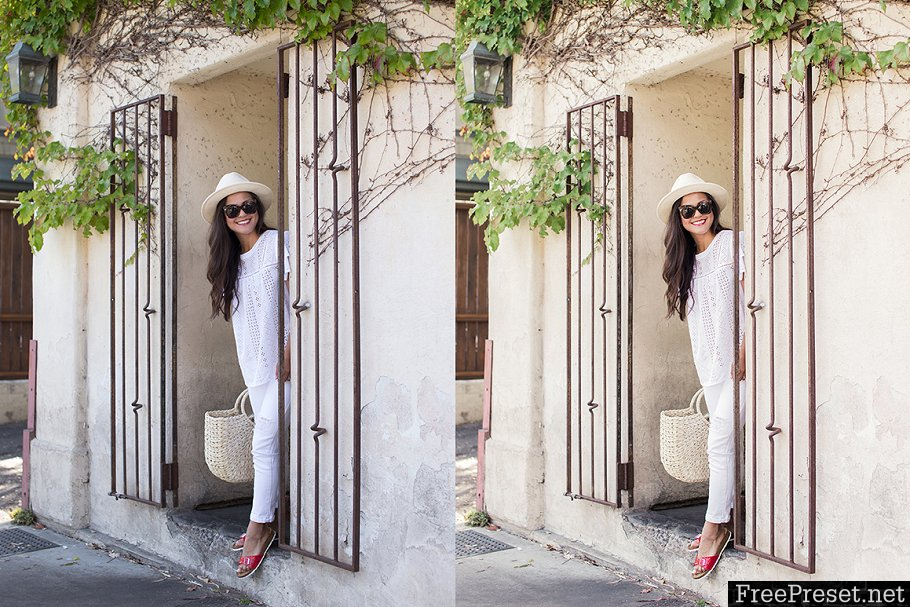
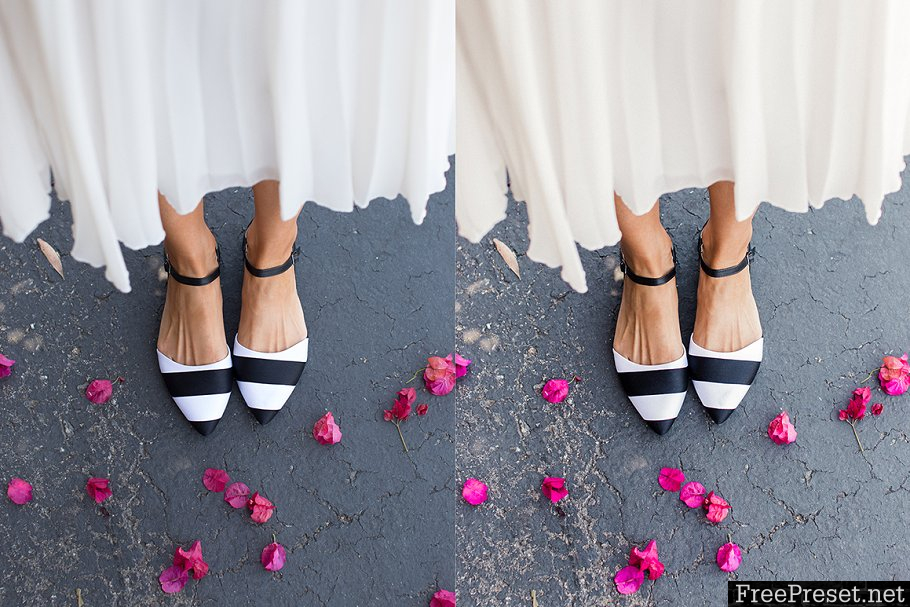
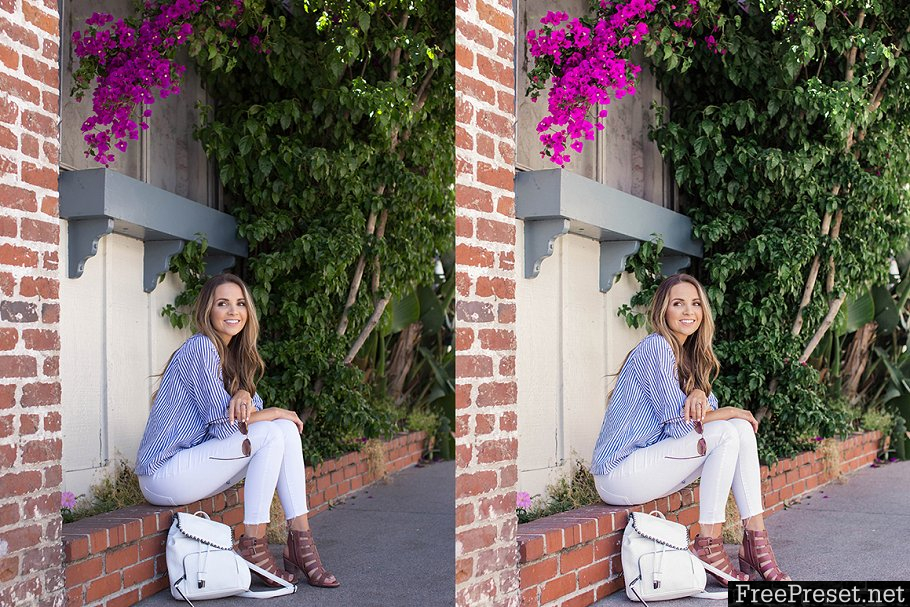
Have a look at some images straight out of the camera on the left and edited with my Fashion Blogger Lightroom Preset on the right.
This preset can be used on Jpeg and RAW files. I have also included a DNG file so that you can use the preset on your mobile device in Lightroom. If you don\’t own the paid desktop version of Lightroom, don\’t worry, you can also simply load the DNG files into Lightroom mobile and then you have the preset ready to use on your mobile images!
This preset needs to be purchased on a desktop computer, not on a mobile device, in order for the files to download properly. If the files are in Zip format please unzip the files first. You will have two files FB Fashion Blogger Preset.lrtemplate which is to be loaded into the presets folder in desktop Lightroom version (outlined below) and you will also have Fashion Blogger.dng file which you can transfer to your phone (I like to send large files via Wetransfer.com) and this photo you can load into Lightroom Mobile and then you can copy and paste the settings from this photo, which has the Golden Pastels Preset applied to it.
Installation:
Macintosh
- Please Download and unzip the presets file and open the resulting folder.
- In this folder you will find the presets, they are the files with the .lrtemplate extension.
- Open Lightroom
- In top menu bar choose LightroomPreferences.
- There will be a new window that appears. Select the Presets tab.
- Click on the button labeled “Show Lightroom Presets Folder.”
- In this new Finder window open the ‘Lightroom’ folder, and then open the ‘Develop Presets’ folder. Copy and Paste the presets folder into this location.
- Restart Lightroom, the presets can be found in the Presets section on the left in the Develop module.
Windows
- Please Download and unzip the presets file and open the resulting folder.
- In this folder you will find the presets, they are the files with the .lrtemplate extension.
- Open Lightroom
- In the top menu bar choose EditPreferences
- There will be a new window that appears. Select the Presets tab.
- Click on the button labeled “Show Lightroom Presets Folder.”
- In the new Explorer window that appears open the ‘Lightroom’ folder, and then open the ‘Develop Presets’ folder. Copy and Paste the presets folder into this location.
- Restart Lightroom, the presets can be found in the Presets section on the left in the Develop module.
For mobile devices:
Simply transfer the DNG image that is downloaded into your phone and then load into Lightroom mobile. You can then copy the settings from the photo and paste to your own photos that you load into Lightroom.
Password Unzip : Freepreset.net
The file is compressed using Zip or Rar format...please use Winrar to extract this file
If you found the link was error , please comment !!!