If you’re just getting started with GIMP, this tutorial will be perfect for you. GIMP photo editing software is the number one FREE alternative to Photoshop. They share a lot of the same tools which is perfect if you’re transitioning from Photoshop to GIMP or looking for a less costly option.
In this article, you’ll learn how to get started with GIMP!
What you’ll learn
For starters, you’ll discover where to download GIMP and how to install it. Then you’ll then dive into the GIMP interface to customize it for your needs and locate all the tools.
Finally, you’ll learn about opening, saving, and exporting your files out of GIMP. Oh, and as a bonus, you’ll learn how to resize and crop an image with GIMP.
How to Install GIMP
Setting up GIMP on your computer is a breeze.
First, navigate to gimp.org to download the app for your operating system (Mac or Windows). GIMP will magically determine your operating system and will provide the appropriate link for you.
Click that big ‘ole orange button to start the download. Next, follow the steps below for your computer.
For Windows machines

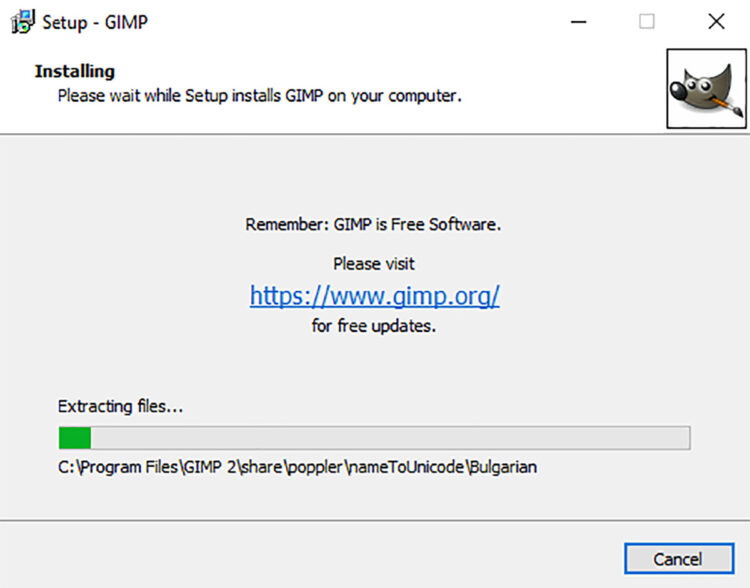
Double click the .exe file that you downloaded and follow the on-screen prompts. Depending on your computer resources, it could take a couple of minutes or longer to install.
Once the installation is completed, locate the GIMP app and make a desktop shortcut for easy access.
To update GIMP in the future, download the latest version and install it as before. GIMP will auto-update the software accordingly and you will not lose any settings.
For Mac computers
Once you have the GIMP app downloaded, double click the file to start the process.
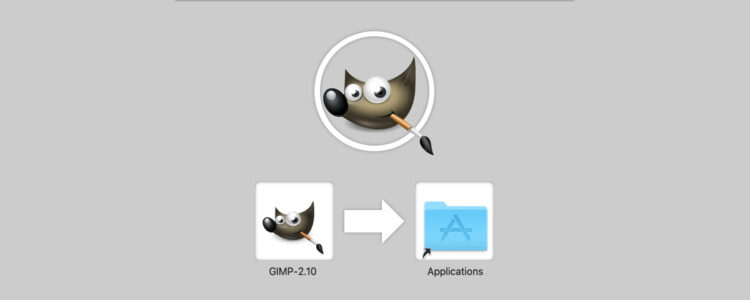
After the new install window appears, drag the GIMP icon over the Applications folder. Then release your mouse button and it will begin installing.
In the future, to update to the latest version of GIMP, download it again and follow the same install steps.
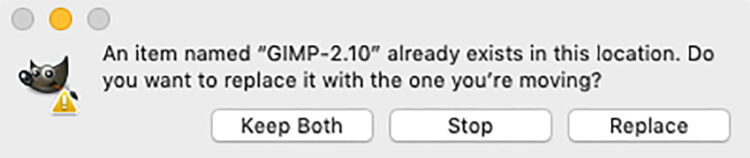
Your operating system will warn you that the application is already installed and will ask if you wish to continue. Just click the “Replace” button to update GIMP.
Quick Tip
You’ll notice an option to download GIMP 2.99.x. This is an unstable beta version and isn’t recommended for everyday use. I’d recommend downloading the stable version instead (2.10+).
Customize the GIMP Interface
When you open GIMP for the first time, the interface will be in Single Window Mode. This mode divides the interface into three separate panels as follows:
- Toolbox
- Image window
- Tool Panels

To combine all three into a singular window, go to the top menu and choose: Windows > Single-Window Mode.
Then all three will be combined into a single-window which is what I recommend.
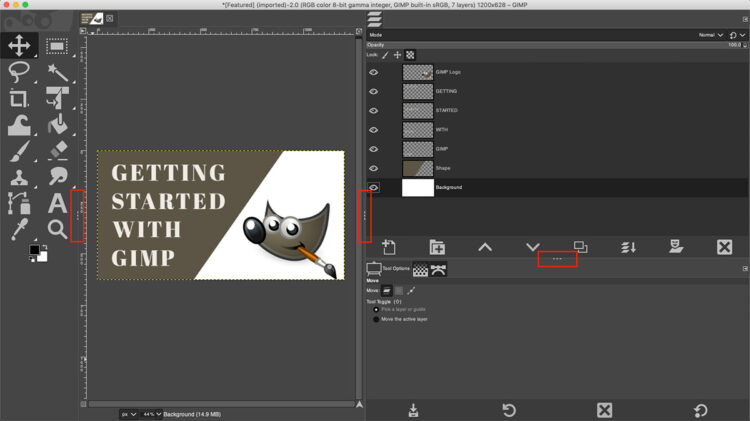
Alter Panel Size
Both the left and right panels can be resized as needed. As well as the individual tabs or sections within the panels.
To resize the main panels, locate the three dashed lines (indicated in red below) on the inside of each one. Click and drag to the left or right to make the panels broader or narrower.
If the panels (within) are stacked, you can make the top or bottom taller or shorter by clicking on the three dashed lines between them.
Add Additional Tool Panels
The two most used inner panels in GIMP are the Layers panel and the Tool Options.
There are additional panels that contain options for customizing your tools as well.
To add different panels, go to Windows > Dockable Dialogs, and choose a panel to open it.
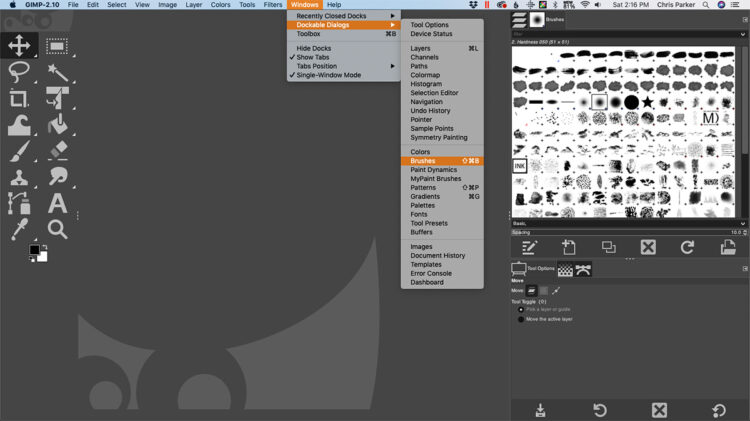
The new panel will auto open in the main right panel. If needed, you can move the panel by clicking on its tab and dragging it to a new location.
How to open images in GIMP
Opening an image in GIMP can be done by going to File > Open. Search for your file and click the Open button.
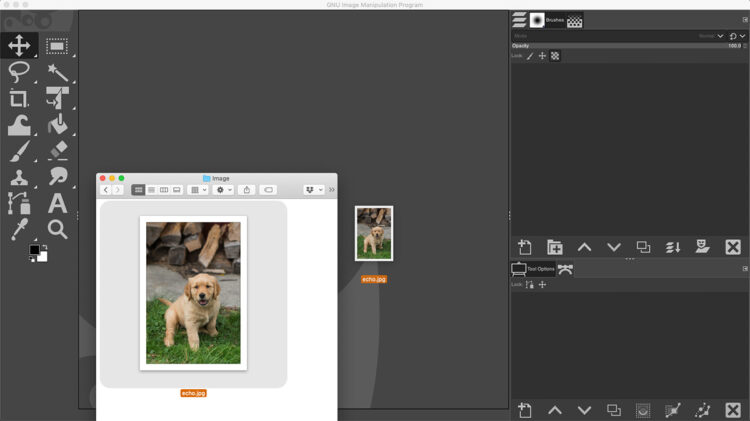
Another method for opening a file is locating it via your systems folder, clicking on the file, and dragging it over the GIMP interface. Once you release your mouse button, the image will be added and opened inside GIMP.
How to resize and crop images
Here is the moment you have been waiting for your whole life! Well, maybe not that long. But it’s time to get your hands dirty with GIMP by resizing and cropping an image.
Download this image of my best friend, Echo. Isn’t he cute? Once downloaded, open it in GIMP using the directions above.
Use the link above, to download the full-resolution version of Echo to work with. It will open in a new tab. Then just right-click to download it. The version below is low res, and just for example purposes.

Again, click here to open the picture of Echo in a new tab, at full resolution.
Intended output
Let’s say you have an image that is full size right from your camera and wish to share it on Facebook. At its current size, it’s too large.
Let me show you step-by-step how to resize and crop your image for online use.
Step 1
Go to the top menu and click: Image > Scale Image.
Step 2
Make sure the chain link icon next to Width and Height is activated (linked). That will keep the image proportions locked so it doesn’t get stretched out of shape.

Step 3
Type in a width of 1200px, which is the recommended width per Sprout Social. Hit the TAB key on your keyboard and GIMP will auto-update the Height to be in proportion to the original.
NOTE from Darlene: I recommend using a size of 2048 pixels on the long side for Facebook as I’ve had good luck with that resolution and other sites recommend that size
Next, type in 72 for both the X and Y resolution. Click the OK button to resize your image.
Step 4
To crop your image, go to the top menu again and choose: Image > Canvas Size. If you’d like to keep the aspect ratio size the same, make sure the dimensions are linked.

For this image, unlink the dimensions and type in the Height of 1200. This will create a square aspect ratio. Before finalizing the crop, you need to tell GIMP how to crop it for the composition.
In the middle of the “Set Image Canvas Size” window, you’ll see a preview of how the image will be cropped. The black outline overlaid on the image represents which part will be cropped. Anything on the outside of the outline will be cut from the image.
To adjust the composition, click on the inside of the outline and move it into your preferred position.
Once you’re happy with how it will be cropped, click the Resize button.
How to save your image
Now that your image is resized and cropped, it’s time to save it as a new file. At first, you would think that saving would be as easy as going to File and choosing Save, Save As, or Save a copy.
However, that’s not the case!
Each one of those options is for saving a file with multiple layers. This type of file will have an extension of “.XCF”. Through any one of those three options, you will be unable to save it in any other format.
Since your intended output is the internet, you’ll need to save it with a file format compatible with online use. In this case, you should use the JPG format. To use this file format, you’ll need to export instead of saving.
Export your image as a JPG
To export your file, go up to the menu and choose: File > Export as. This time, the file will include the original file extension, JPG. Give it a new name (so you don’t overwrite the original) and click the Export button.
Renaming suggestion: To rename our new image file you can just add a dash and a word or something to indicate it’s a new and different file. For example, if your original file is called Echo-01.jpg, call the exported one Echo-01-Facebook.jpg, then you know what its intended use is and you can find it by searching for the term “Facebook”.

Next, you’ll have a new window labeled “Export Image as JPEG,” and you’ll have some choices to make.
First, set the quality between 80 – 100. By default, most of the options will be selected. Unless you have a reason to uncheck these or need to adjust the Advanced Options, just click Export.
Your journey with GIMP has just begun
You’ve come to see that getting started with GIMP is very straight-forward.
Now that you know how to open, resize, crop, and export your images, the next step in your journey should be mastering layers in GIMP!
Layers are essential for everything you do in GIMP, and they work a little differently than in other photo editing software.
Coming soon: A complete guide on GIMP layers that shows you how to use them and answers the 7 most asked questions about GIMP layers.
If you have any comments or questions please post them in the comment area below.