Even ignoring photography – which is a fun way to begin an article on a photography blog! – I’ve always loved hiking, camping, and being in the great outdoors. Some of my favorite memories are from times when I left my camera in my backpack or at home and just went exploring.
Although I certainly don’t spend every day on a trail, I do hike at least a few hundred miles each year and camp quite often while I’m out there (both car and tent). And, while landscape photography is usually my goal, it’s hard to avoid picking up some general hiking and camping tips along the way. That’s why I’m writing this article. Whether your goal is photography or not, I hope you’ll find these tips useful for your own hiking and camping trips in the future.
1. Wear layers in cold weather
One of the most important things for safety and comfort is to wear the right clothes while you’re hiking, especially in cold weather. After a lot of trial and error – mostly error – I’ve found a setup that works really well and is adjustable in different weather conditions.
The important thing is layers. That’s what I didn’t understand early on. If it was cold out, I would wear the biggest puffy jacket that I had, but I was always miserable – either too hot, too cold, or too sweaty. (And I’m referring to hiking, not standing still by your camera, where a huge jacket isn’t a bad thing.)
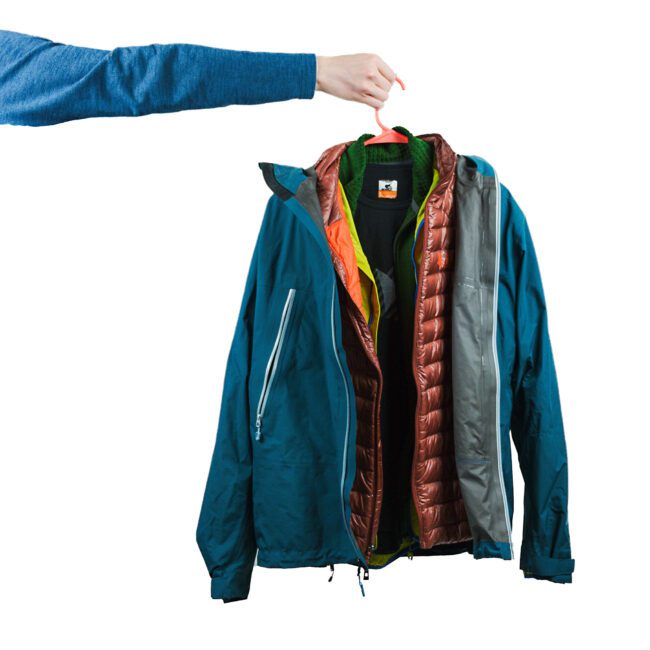
Here’s the layering system that I use and recommend instead. These are listed in order from the closest to your body to the furthest away:
- Thin base layer shirt made of merino wool
- Light to medium mid-layer made of wool or fleece
- Insulated mid-layer, using synthetic insulation
- (Optional) another insulated mid-layer, made of down
- Hard-shell outer layer to prevent wind and rain – ideally with “pit zips” to help vent heat
The order of the materials here is important. Wool stays remarkably warm when wet. Synthetic insulation stays somewhat warm, but not as much. And goose down – despite being very warm otherwise – gets quite cold when wet. That’s why I recommend ordering your layers wool > synthetics > down. If you’re allergic to wool or find it itchy, you can go with a synthetic base layer at the expense of less warmth when wet, and a bit more smell.
Ultimately, the purpose of this system is to make it easy to manage heat and moisture. Because there are so many layers, you can easily unzip or remove any extras during uphill climbs, then put them back on when you’re not exerting yourself as much.
2. Bring a spare bag for organization
It’s pretty common, at least for me, to bring more gear on a road trip than I actually need on any individual hike. This means I’m constantly swapping gear in and out of my backpack – things like a water filter, camp stove, food, spare clothes, and various camera accessories.
Rather than leave all these things lying around in my trunk, I’ve found it’s helpful to bring along a spare bag for organization. Before a hike, I just sort through what I need and don’t need, and I’ll organize the “don’t needs” in the spare bag.
Since I started doing that, I’ve found that I leave more unnecessary items behind, carry a lighter backpack, and also lose my spare gear much less often. (It’s easy for something left in your trunk to slide around and get lost under a seat nearby if you’re not careful.)
3. Match your sleep to the sun
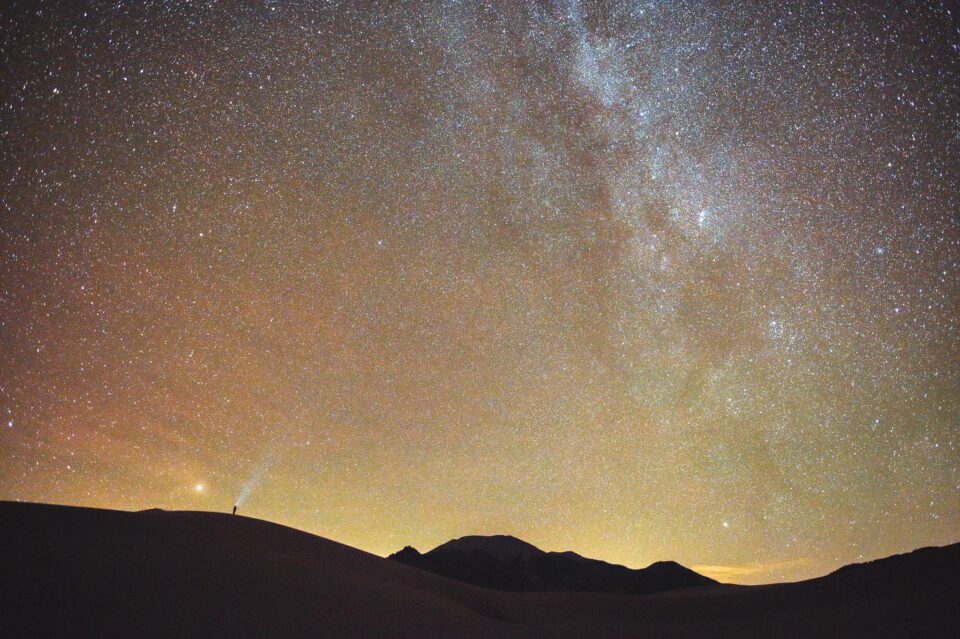
As a night owl, this tip is a bit painful for me to suggest, but I’ve found that my camping trips go much more smoothly when I modify my schedule to wake up shortly before sunrise. There are a few reasons why I prefer this over my usual schedule, but the biggest one is simply the temperature.
Even in cold weather, I don’t mind camping, because I’ll just bundle up with extra sleeping bags or blankets to stay warm. The real problem is handling temperature swings. If the temperature changes quickly, your nice cold-weather sleeping bag will turn into a brutally hot sauna. I’m a heavy sleeper and sometimes don’t wake up in cases like this until I have a pounding headache and am way past dehydrated.
The biggest cause of temperature swings is sunrise. The greenhouse effect from the sun shining in a car or tent may seem pleasant on a cold day, but it actually can be really annoying. Ergo, waking up before sunrise is my recommendation. Plus, that way, you get to spend more time doing sunrise photography! It’s a win-win.
4. Don’t ignore your feet
If you’re doing long hikes and carrying a heavy backpack – whether full of camera equipment or just more hiking gear – it’s easy to mess up your feet. Blisters, bumps, and hot spots can be painful enough to slow you down and make the hike much less enjoyable.
I’ve found that two things help more than anything else. Number one: remember to trim your toenails. Should go without saying, but if you don’t do it ahead of time, you’ll regret it. Number two: wear a toe sock liner.
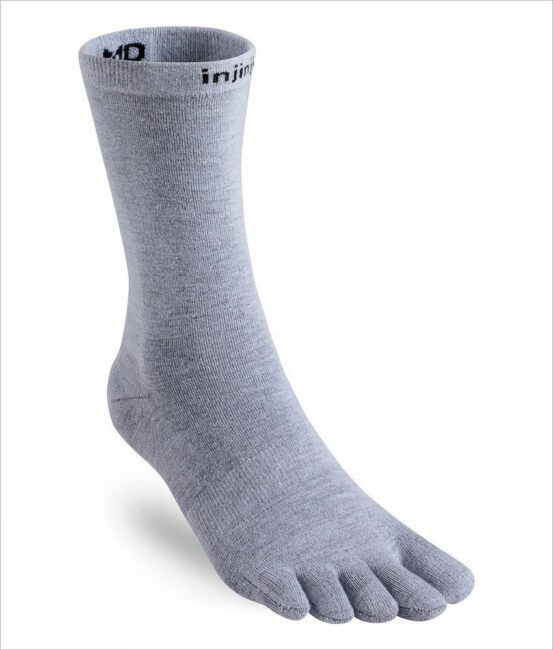
Toe sock liners have got to be one of the weirdest looking products I’ve ever seen, but it’s astonishing how well they work at preventing blisters. I wear these under a tough pair of wool hiking socks, and I haven’t had a single blister on any hike in the last two years.
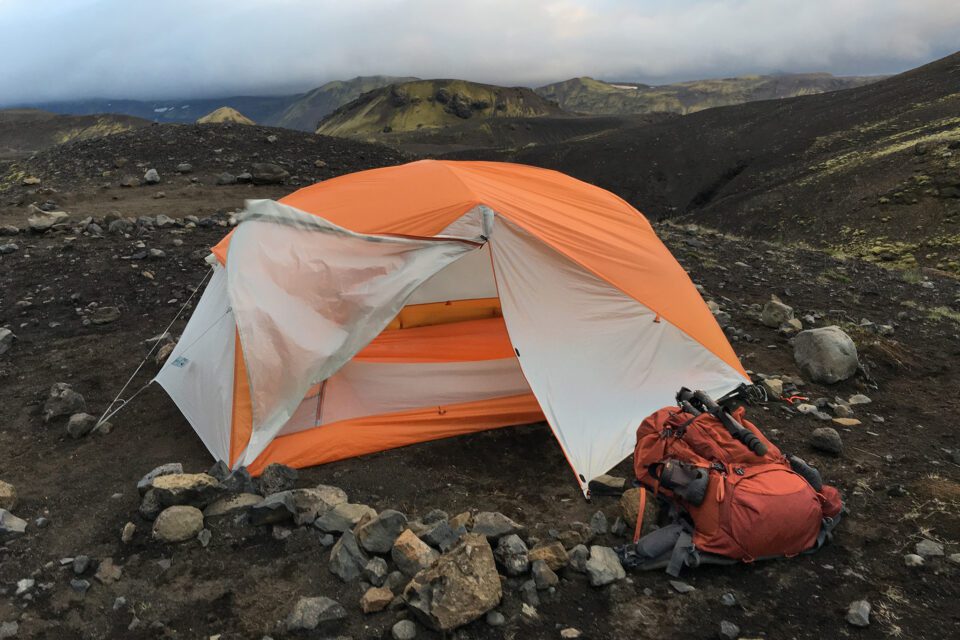
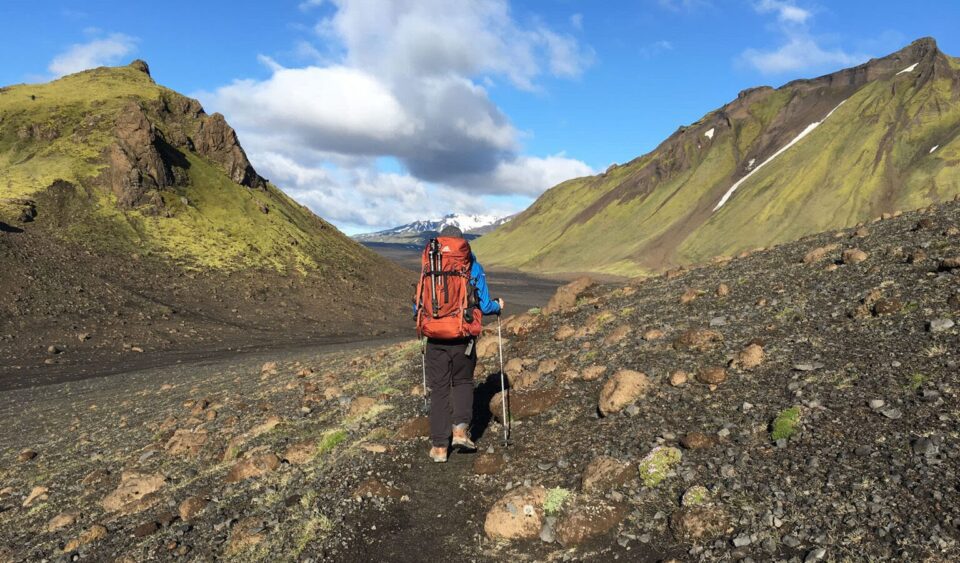
To illustrate the situation, the most intense hike I’ve ever done was a 9-day, 100-mile/160 kilometer trek through Iceland. My backpack started at about 40 pounds (18 kilos), although it grew lighter as I ate more of my food. Did I get a blister during the 17 mile (27 kilometer) hike on the first day of the trip? Nope. Did I get a blister on my “off day” staying near camp, carrying a much lighter backpack, and only walking a few miles? Yes. Because that was the one day of the hike that I decided not to wear the toe sock liners.
I hope I don’t need to say it, but I’m not affiliated with any toe sock liner company. I don’t even know what brand mine are. But you owe it to yourself to get a pair – and trim your toenails – if you tend to get blisters while hiking. Those two things essentially solved the problem for me, and I think they’ll seriously help most hikers in a similar situation.
5. Figure out a non-refrigerated meal plan
I’m a bit of a foodie, so I’d rather not eat just protein bars, trail mix, and packaged snacks all day. But I also don’t want to weigh down my pack with cooking equipment, a stove, and butane, when I’d rather use that weight to pack a spare camera lens instead.
My solution has been to figure out some good meals I can make with ingredients that don’t need to be refrigerated or cooked. My staples are:
- Honey
- Bread
- Butter
- Peanut butter
- Jelly
- Pre-made baked goods (i.e., coffee cake, muffins, banana bread)
- Saltine crackers
- Canned tuna
- Individual mayo and relish packs
- Fresh cherry tomatoes
- Fresh cucumbers
- Apples
- Oranges
- Canned chicken
- Precooked rice
- Cajun seasoning and other spices
- Pickles
- Muesli
- Powdered milk
- Dried fruit
That should get you started. It’s not going to let you make anything gourmet, but there are a lot of decent meals possible with these ingredients, and none of them require a fire or boiled water. And, of course, all these ingredients can keep for several days without refrigeration.
The rice, fruits, and vegetables may seem like a bad idea because they weigh a lot and have the potential to spoil, but it’s less of a problem than you may think. Nothing I listed will go bad quickly if it’s kept in saran wrap or a sealed plastic bag. And even though the fruits and veggies weigh a lot per calorie, that’s mainly because of their high water content, so you can think of them like an extra water bottle. But you can always eat them earlier in the hike if you prefer.
Of course, the real key is to sort out your preferred recipes and meals on your own to find your favorite staples. Hopefully this list is a good starting point.
6. Pack a towel when car camping
For those who don’t go car camping very often, it may seem like a towel would be low on the list of priorities. But I’ve found just the opposite to be true.
If you’re washing your hands before eating a meal, a towel is a big help. If it rains unexpectedly during your hike, and you get back to the car drenched, a towel will be your best friend. And if you didn’t tighten the lid to your pickle jar, and it spilled over the rest of your food supply… um, that one isn’t as flattering. But all of these have happened to me before, and a towel saved the day.
Even if you don’t expect to need a towel, the universe will conspire to put you in a situation where you do. I don’t make the rules, that’s just how things are. Douglas Adams was right – a towel is about the most massively useful thing an interstellar hitchhiker can have.
7. Hold your backpack high
I’ve found that a lot of people don’t wear their backpacks properly, particularly if they don’t hike often or don’t tend to carry really heavy loads. The biggest issue is wearing it too low.
Ideally, a backpack should transfer most of its weight onto your hip bones, which means the waist strap needs to sit higher above your waist than you may think. To visualize the right spot, imagine wearing a belt. If the backpack’s waist strap touches the belt, it’s probably too low.
The goal is to have your pack rest on three main points: both hip bones, and then the small of your back. If you do this, you’ll transfer most of the weight of the backpack onto your skeletal system rather than your muscles, which is much easier to carry in the long run. If you tend to have a sharp pain on the outside of your thigh while hiking, a low backpack is almost certainly the cause.
8. Leave the windows down
This is a mistake that a lot of car campers make once, but very few make twice: Don’t leave the windows closed if you’re sleeping in your car!
I don’t want to sugarcoat this. You exhale water when you sleep. That water gets everywhere. It’s gross and uncomfortable to wake up in a car that’s dripping wet. It’s even worse if the temperature is below freezing, at which point your whole car will turn into an ice sculpture. Avoid at all costs!
Even in extremely cold weather, I always crack a window or skylight at least slightly. Just a narrow opening will let the car circulate air and make things much more pleasant. Yes, it will get cold a bit sooner, but it was going to get just as cold with the windows up anyway. This method ends up being a lot nicer in the long run.
Of course, you don’t need to completely roll down the windows and let in a cold breeze. Any amount of additional circulation helps.
9. Give your location to a friend
Camping and hiking are safer now than ever, and if you’re going somewhere particularly dangerous, I’m sure you’re already doing things like notifying park rangers or even carrying a satellite phone on your trip. But even if you’re just planning to do some casual hikes in a National Park, try to make sure that at least one reliable person knows where you’re going and when you’ll be back.
As a photographer, I sometimes find that I spend more time on a hike than I intend, so I don’t want anyone calling for a search helicopter if I’m just gone an extra few hours. But if it’s past the 24 hour mark since I was meant to return, I want there to be someone who knows.
Twice in my life, I’ve been in a scary situation while hiking, where I wasn’t sure if I’d have to improvise an overnight stay on the trail in cold weather. I made it back to my car both times, but even so, I was really glad that people knew both times when I was supposed to come back. Thankfully, those situations turned out well, but they could have been much worse if no one knew where I was. Perhaps in desperation I would have tried to push myself too hard and get in an even more risky situation; as it was, I felt much more comfortable knowing I had people keeping track of me.
I now have a satellite phone, and there are also personal locator beacons available for pretty reasonable prices, which I recommend to anyone who does a lot of hiking. But even then, you never know what particular emergency situation will arise. Maybe you hit your head or lost your backpack somehow, and are incapable of sending the emergency message. It’s important to have the backup of a reliable friend or family member no matter what.
Conclusion
I hope you found these tips helpful and didn’t mind that they strayed a bit from the usual photography topics I write about! Although I do think they’re quite relevant for photographers, too – particularly if you shoot a lot of landscapes and travel to more remote locations.
I’ll also emphasize that I’m not an expert compared to some hikers out there, and I’m just speaking from my personal experience. These tips only scratch the surface, and every hiker I’ve met has had their own tricks they rely upon in similar situations. If you have tips of your own for hiking or camping, let us know in the comments – I’d love to hear!