Editor’s Note: Photographer and digital artist Mohammed Sattar doesn’t capture reality, he creates dreams. One of his most popular photos is called “The Escape,” and in this step-by-step tutorial he shows you how he combined two images he captured to create this magical scene!
You can find more of Mohammed’s work by following him on 500px or giving his page a like on Facebook.
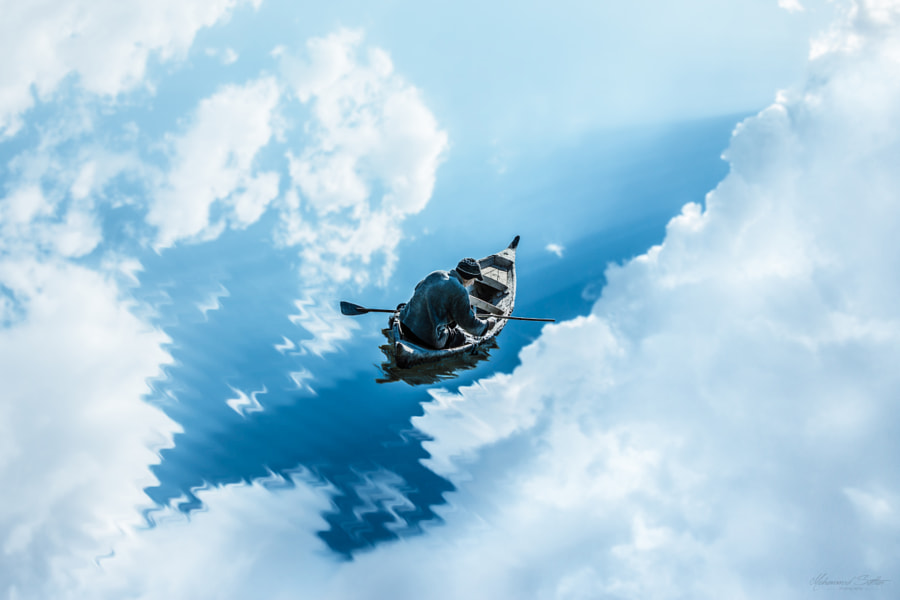
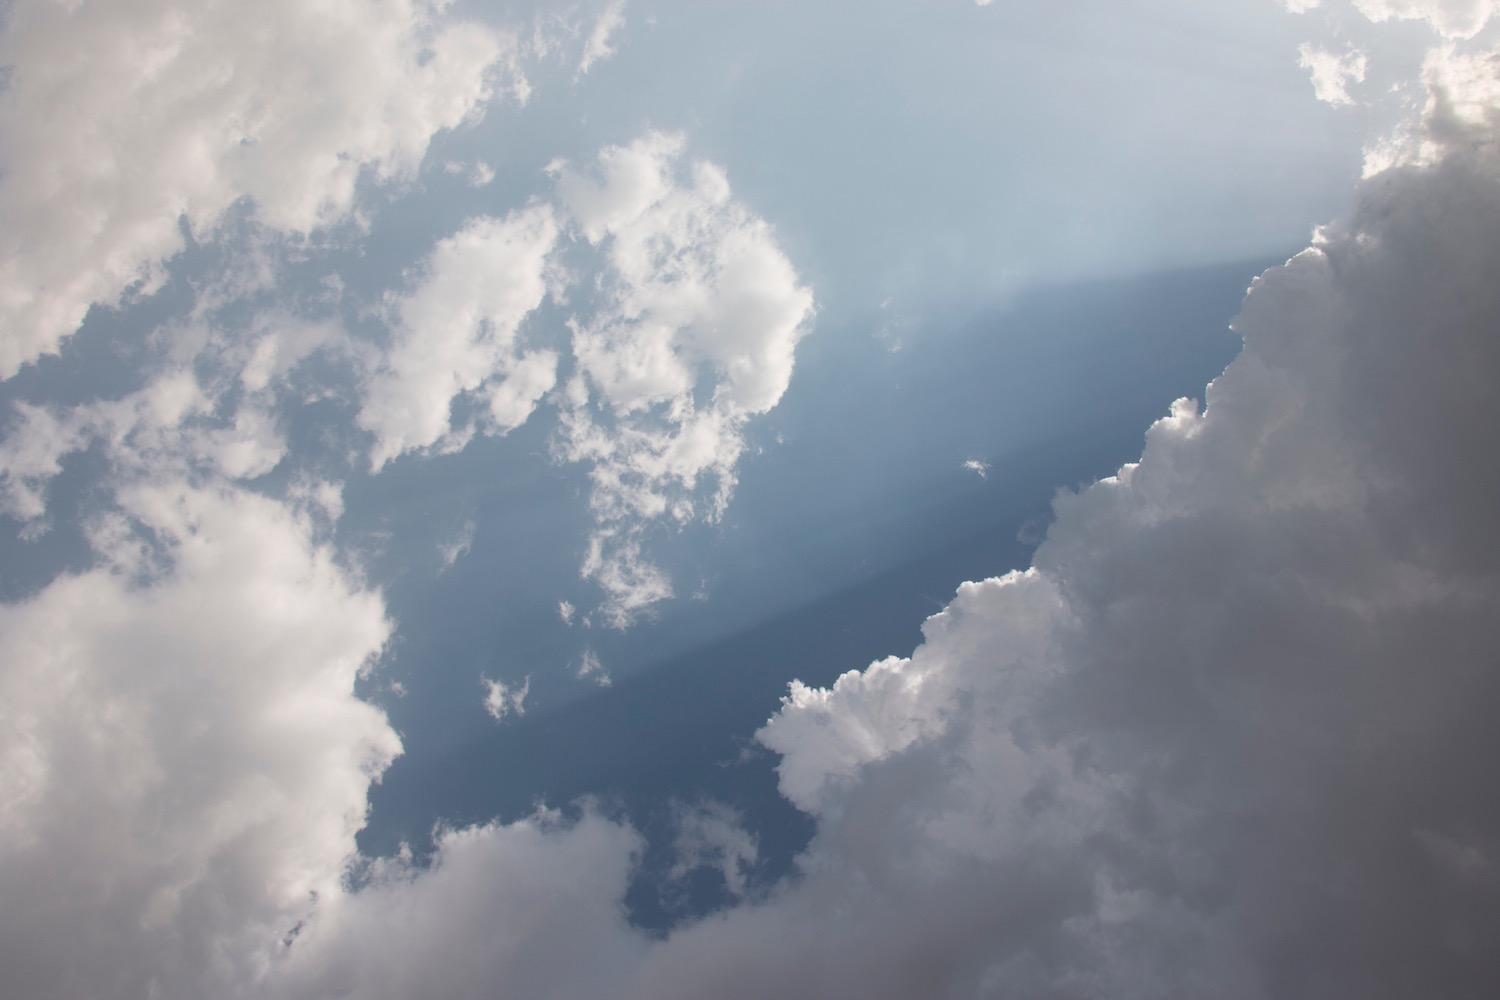
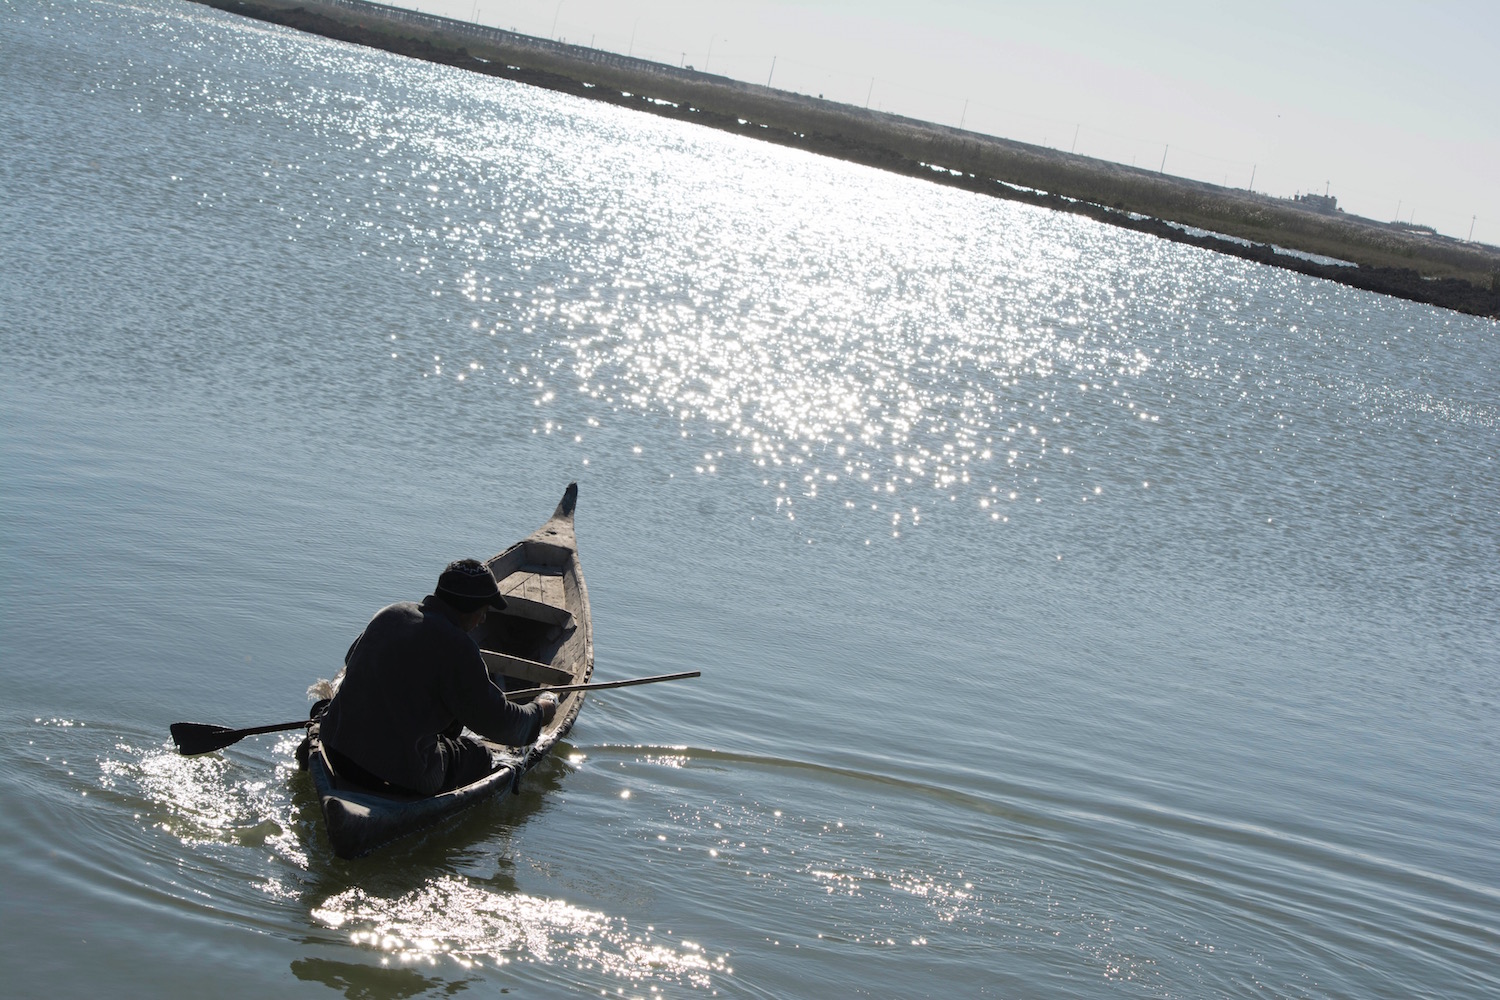
My Editors’ Choice pick “The Escape” is two frames, as shown below, edited together in Photoshop.
First, make a new layer and “Fill” it with white color as shown below.
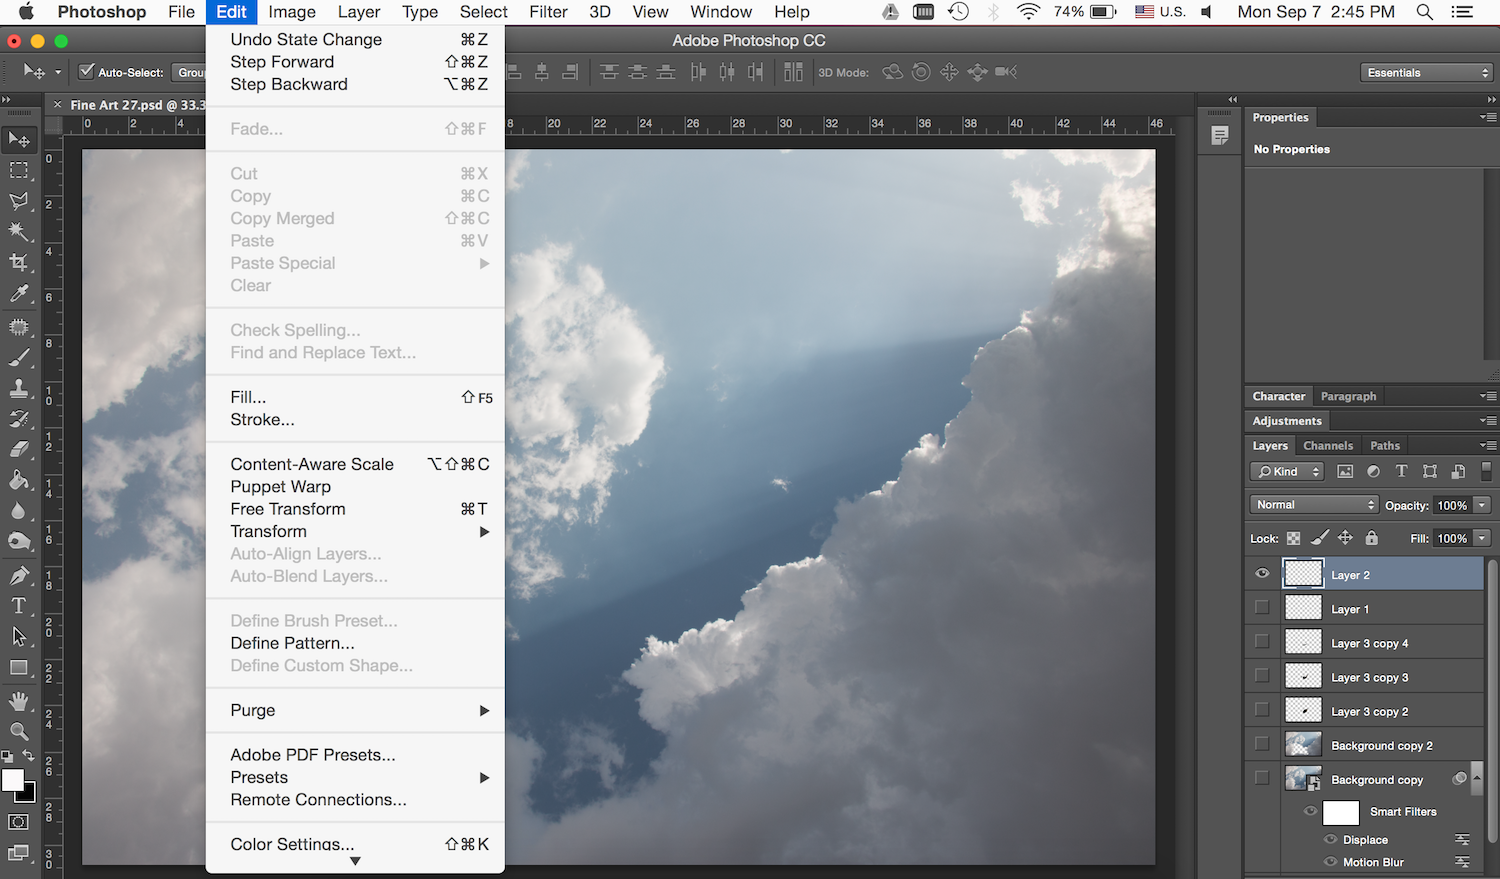
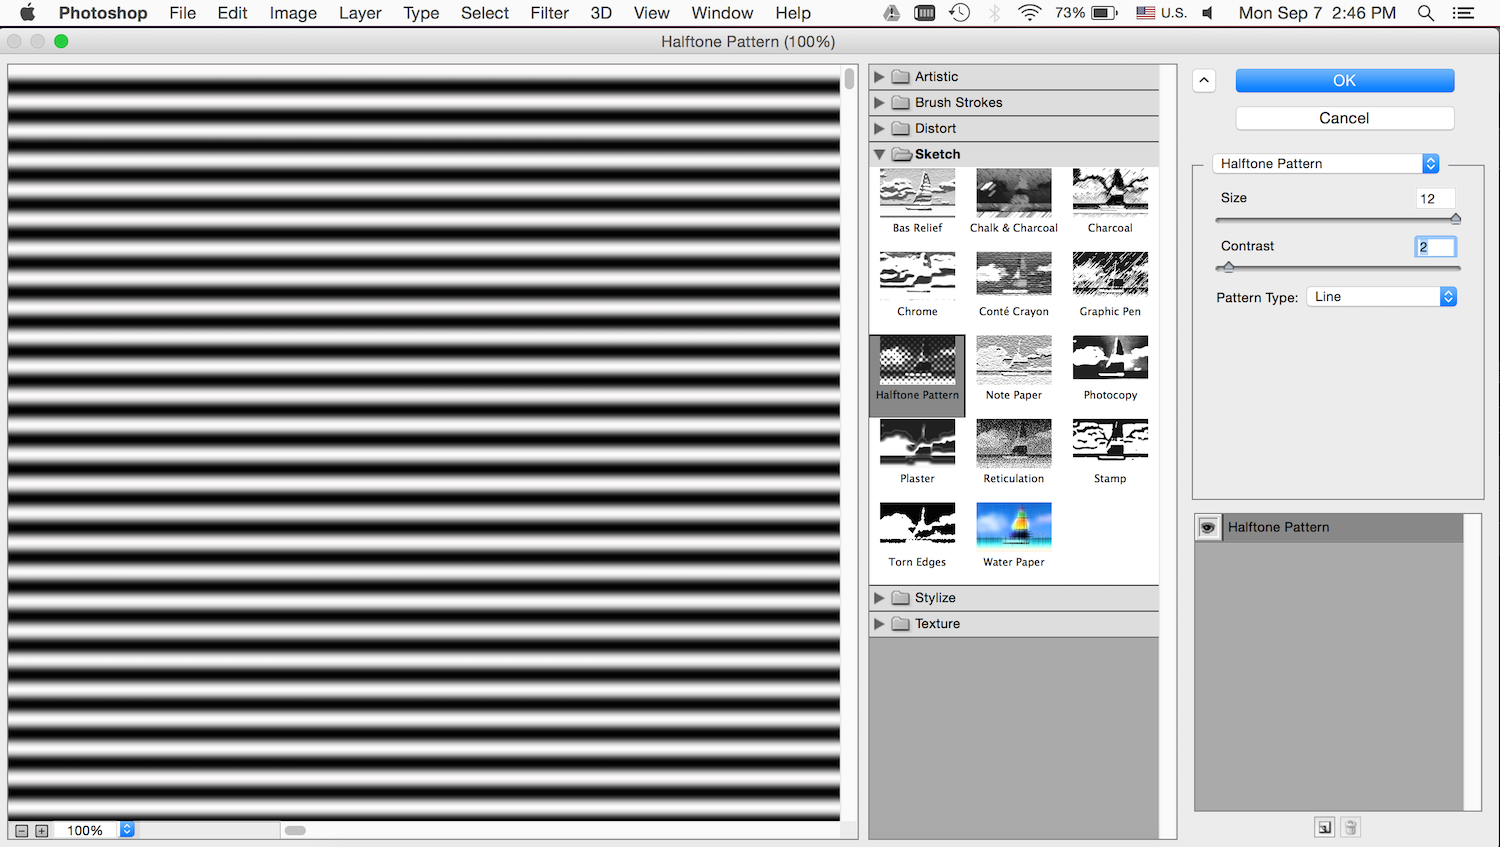
Then, go to “Filter” and choose “Filter Gallery,” “Halftone Pattern,” and adjust “Size” & “Contrast.”
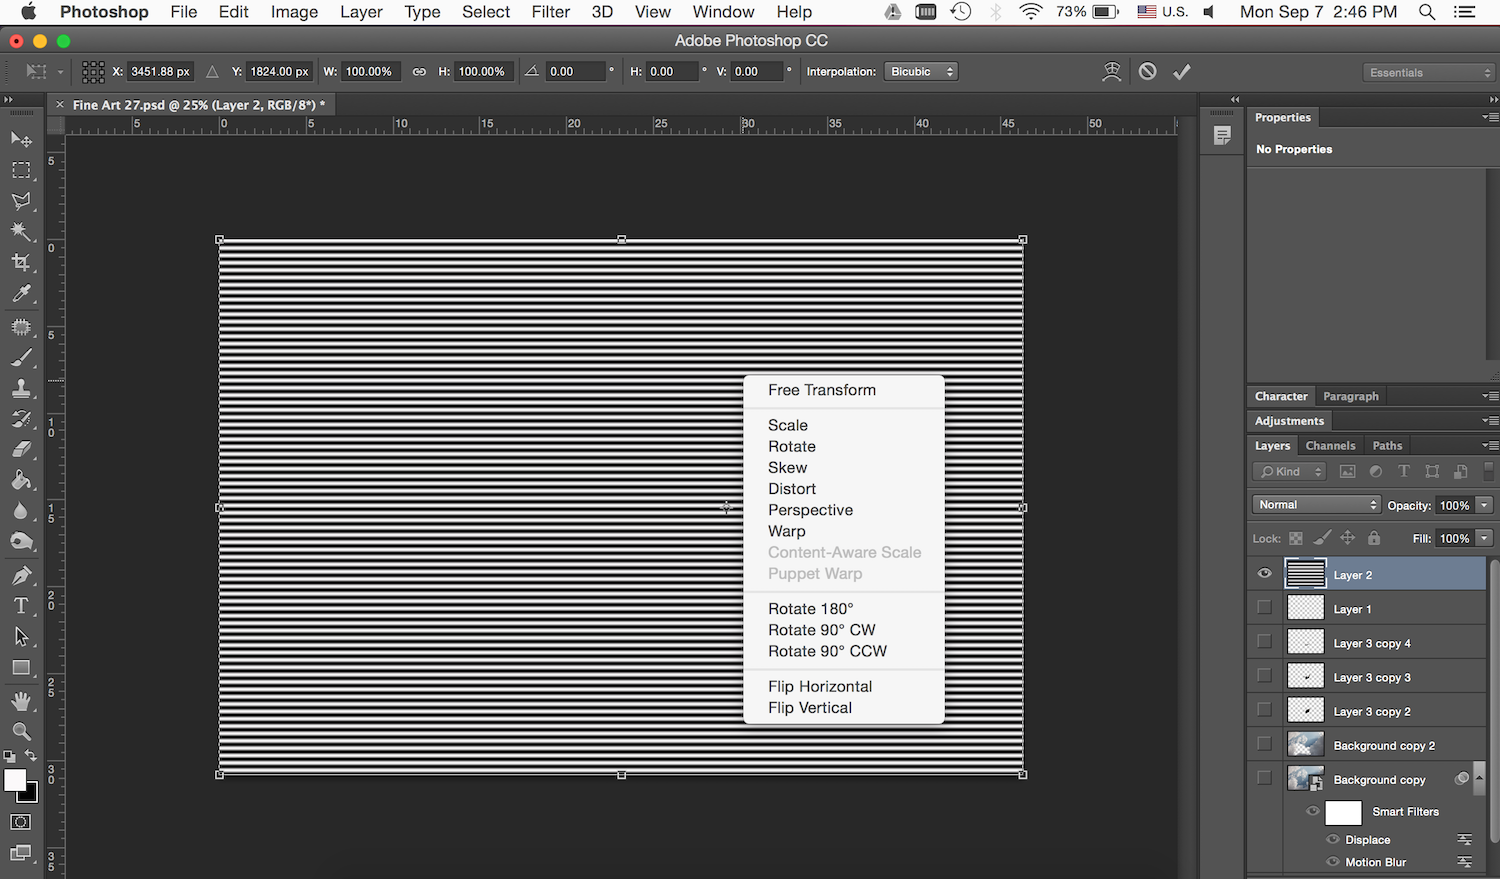
Third, select and go to “Distort” and change the shape as shown in next slide.
Fourth, make a “Duplicate Layer” as shown below.
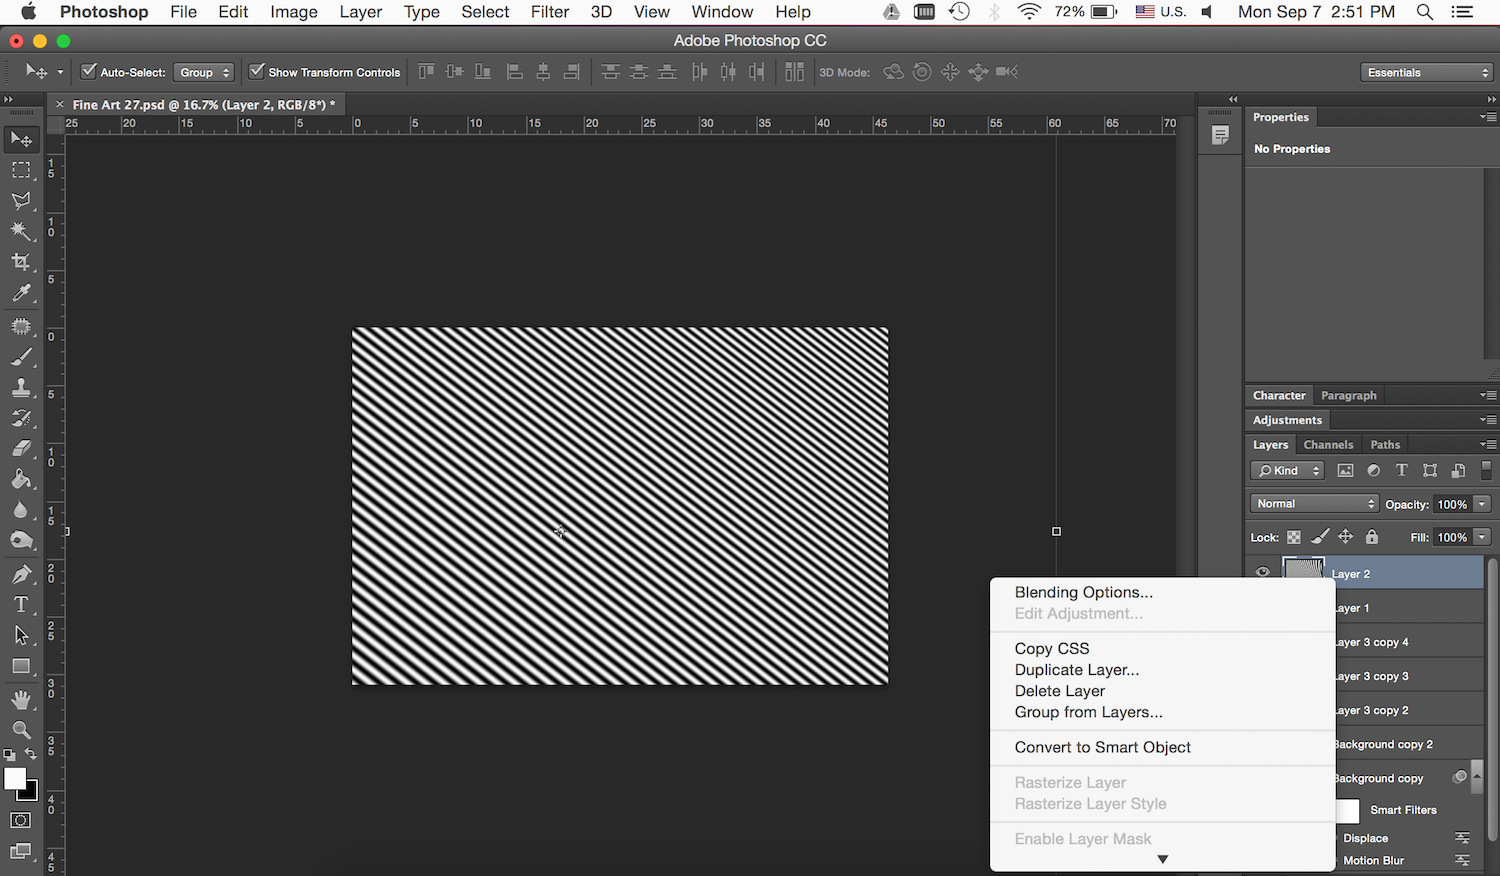
And choose “New.”
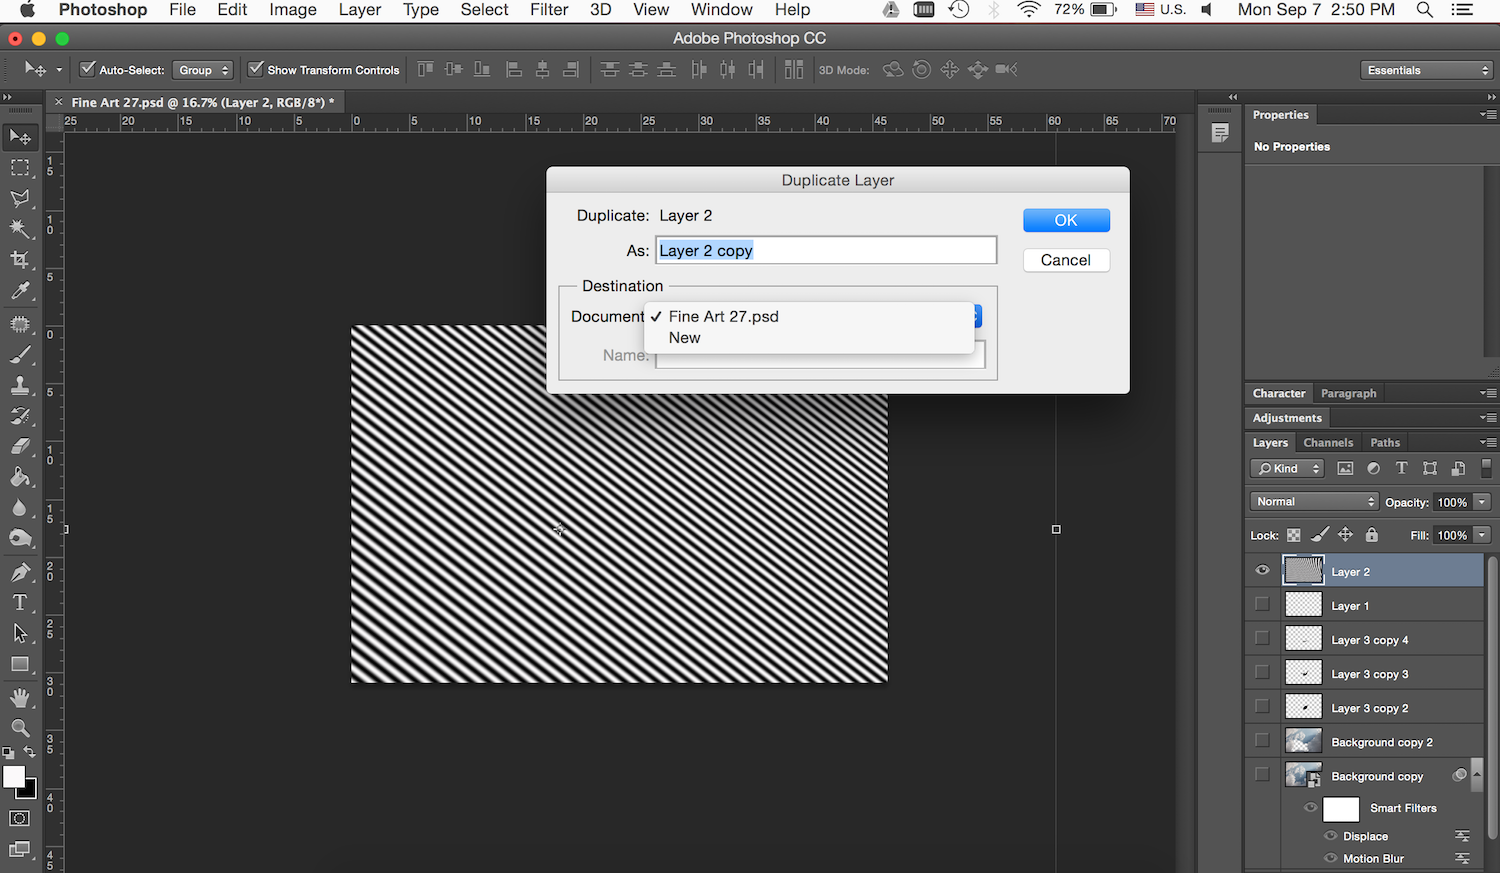
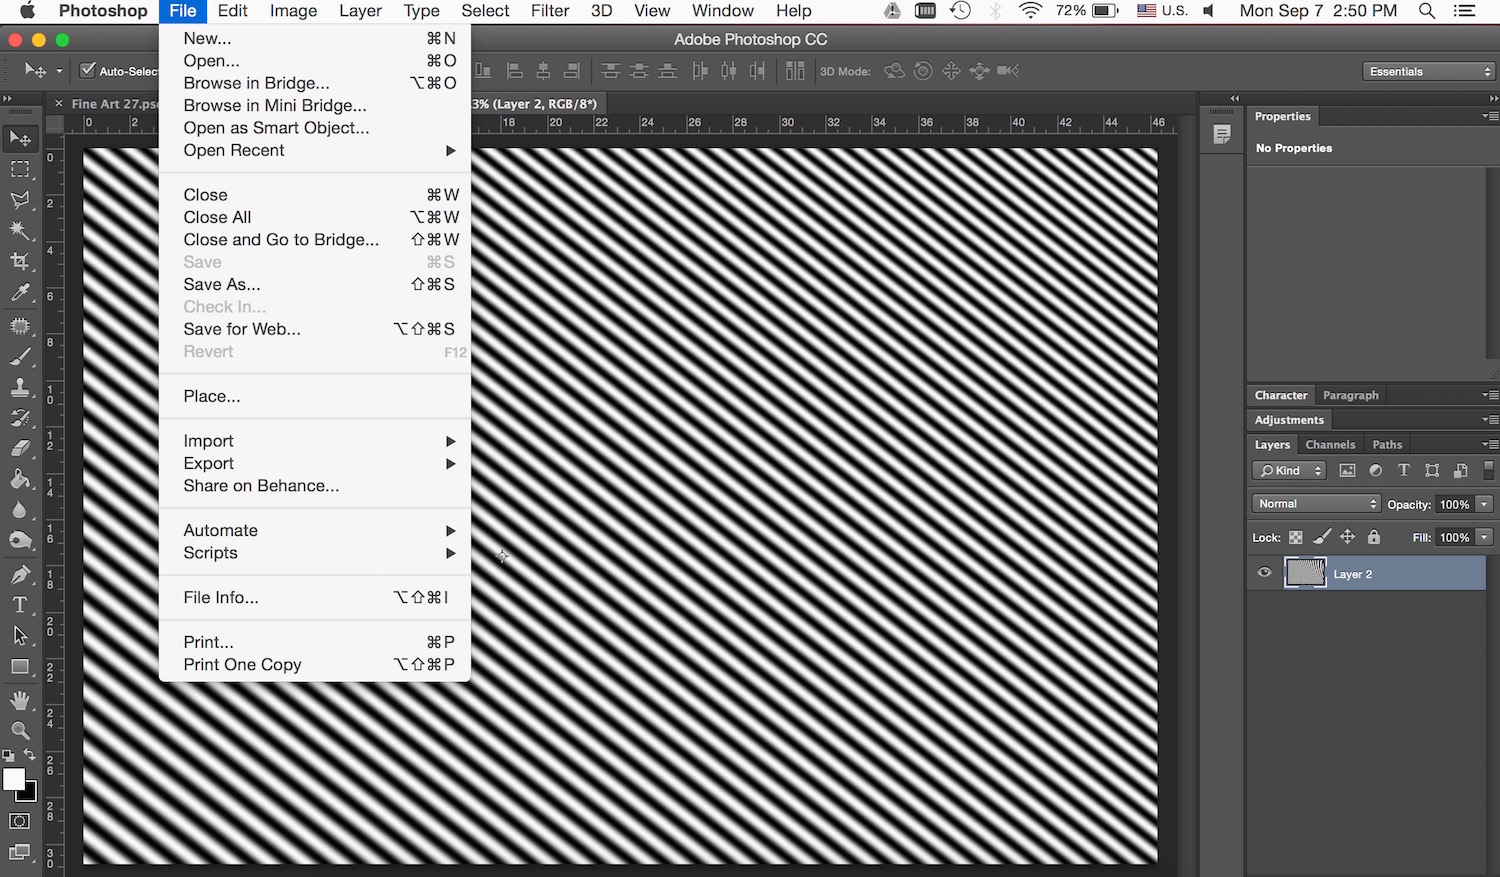
Fifth, go to “Save As” and save the layer named “Waves” in PSD form. Then close the layer and head back to your main file.
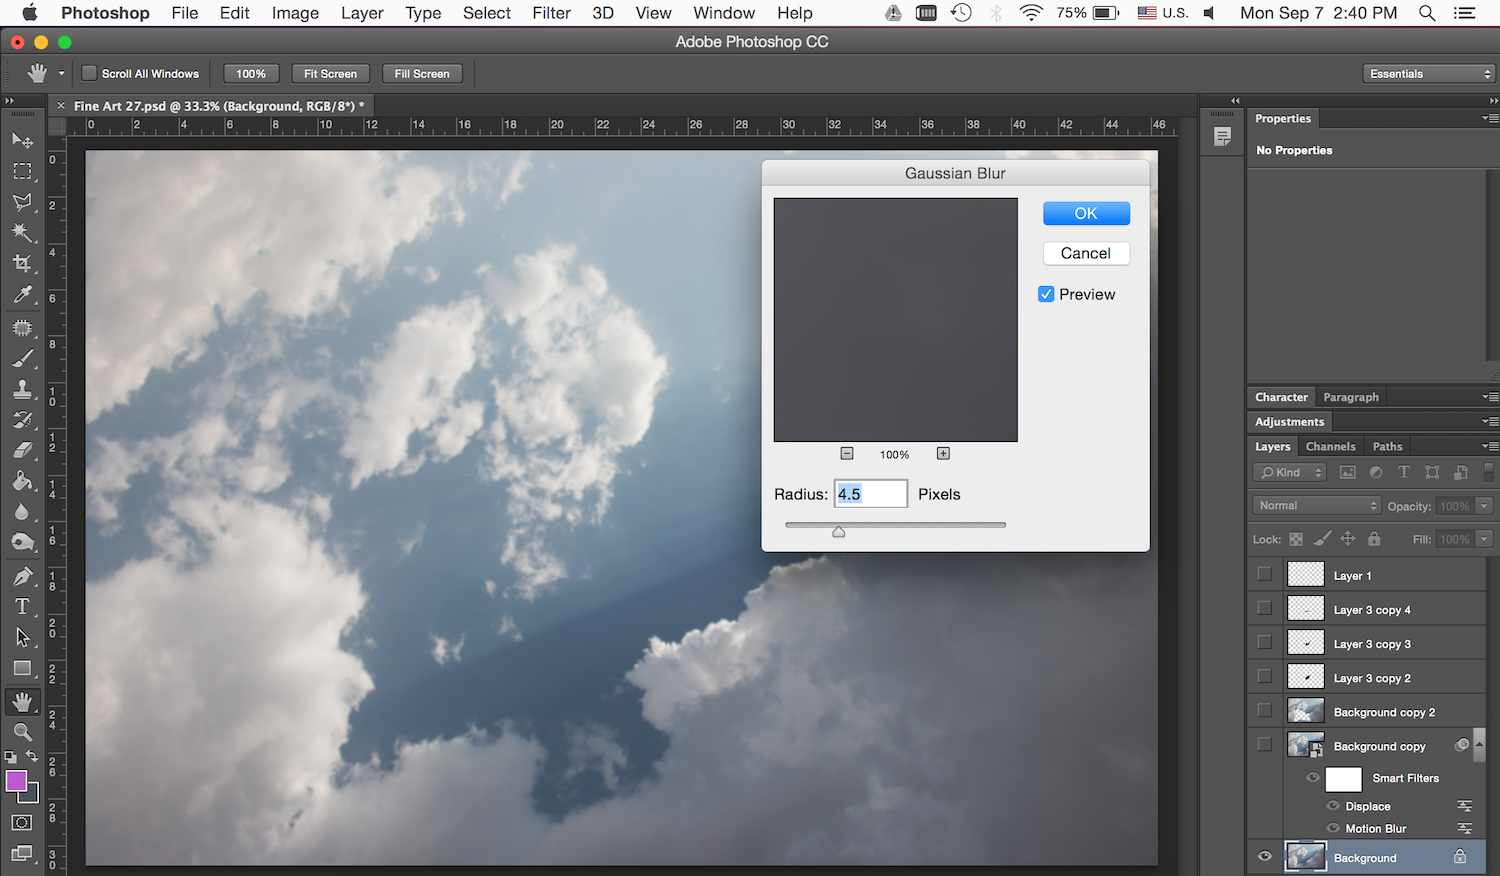
Sixth, go to the background layer and apply a “Gaussian Blur” as shown below.
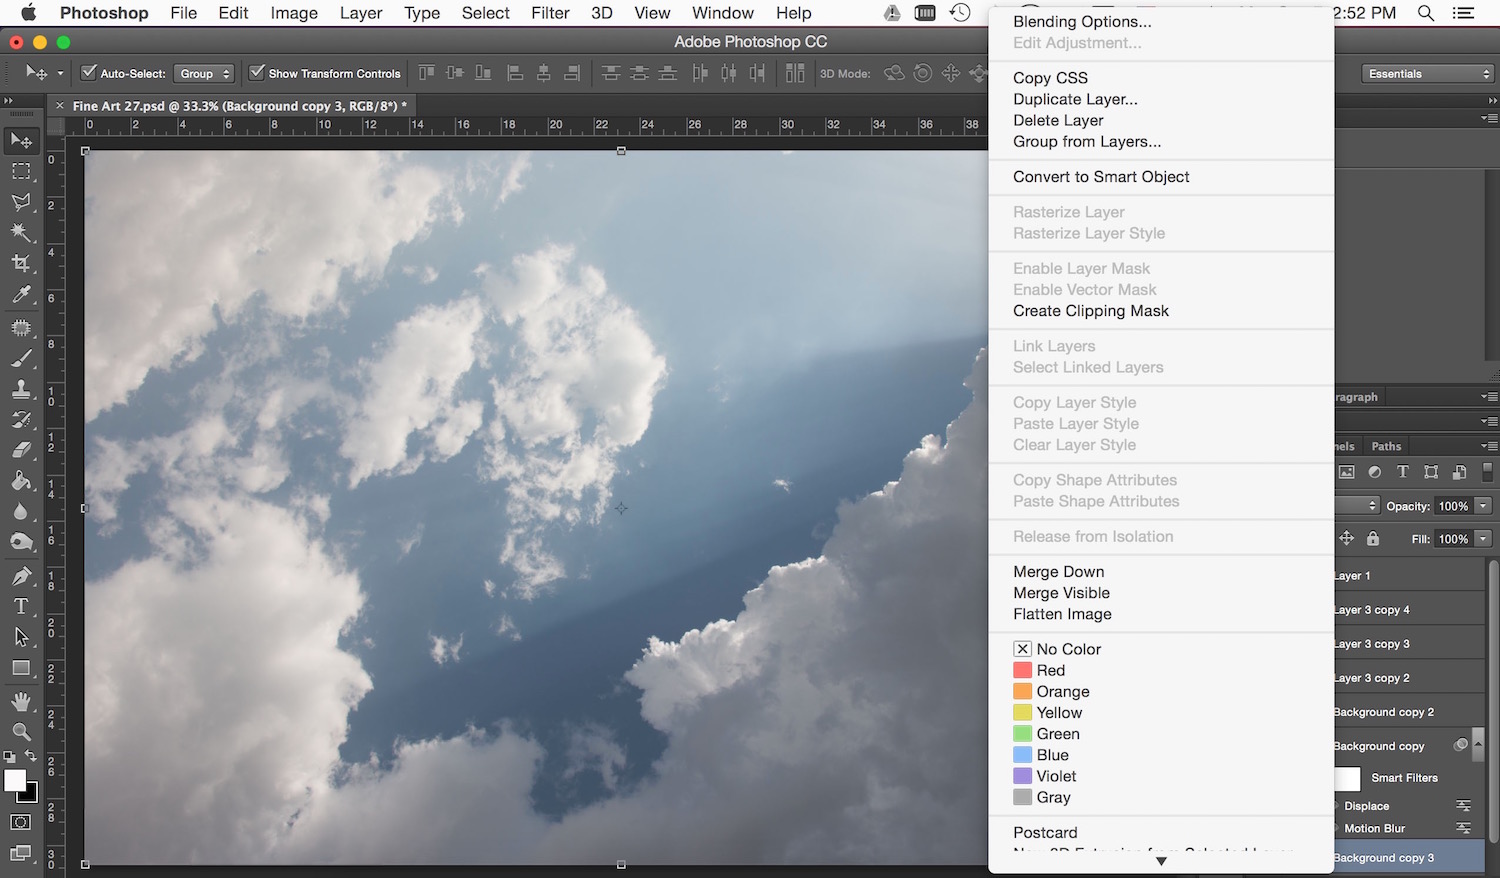
Then go to options and choose “Convert to Smart Object.”
Eighth, go to “Filter,” “Distort,” and “Displace,” and change the value as below.
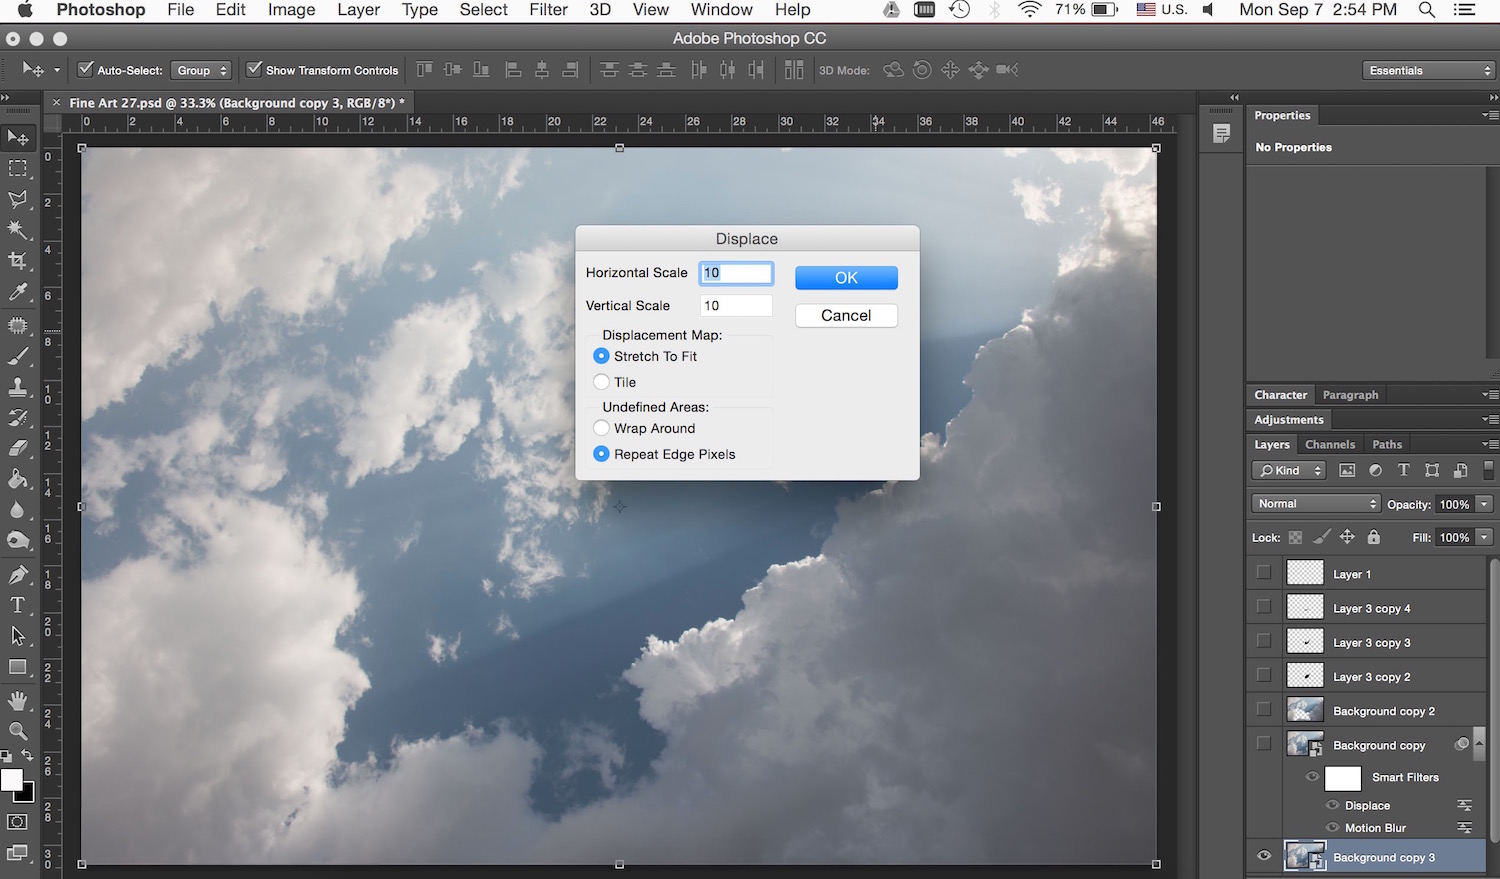
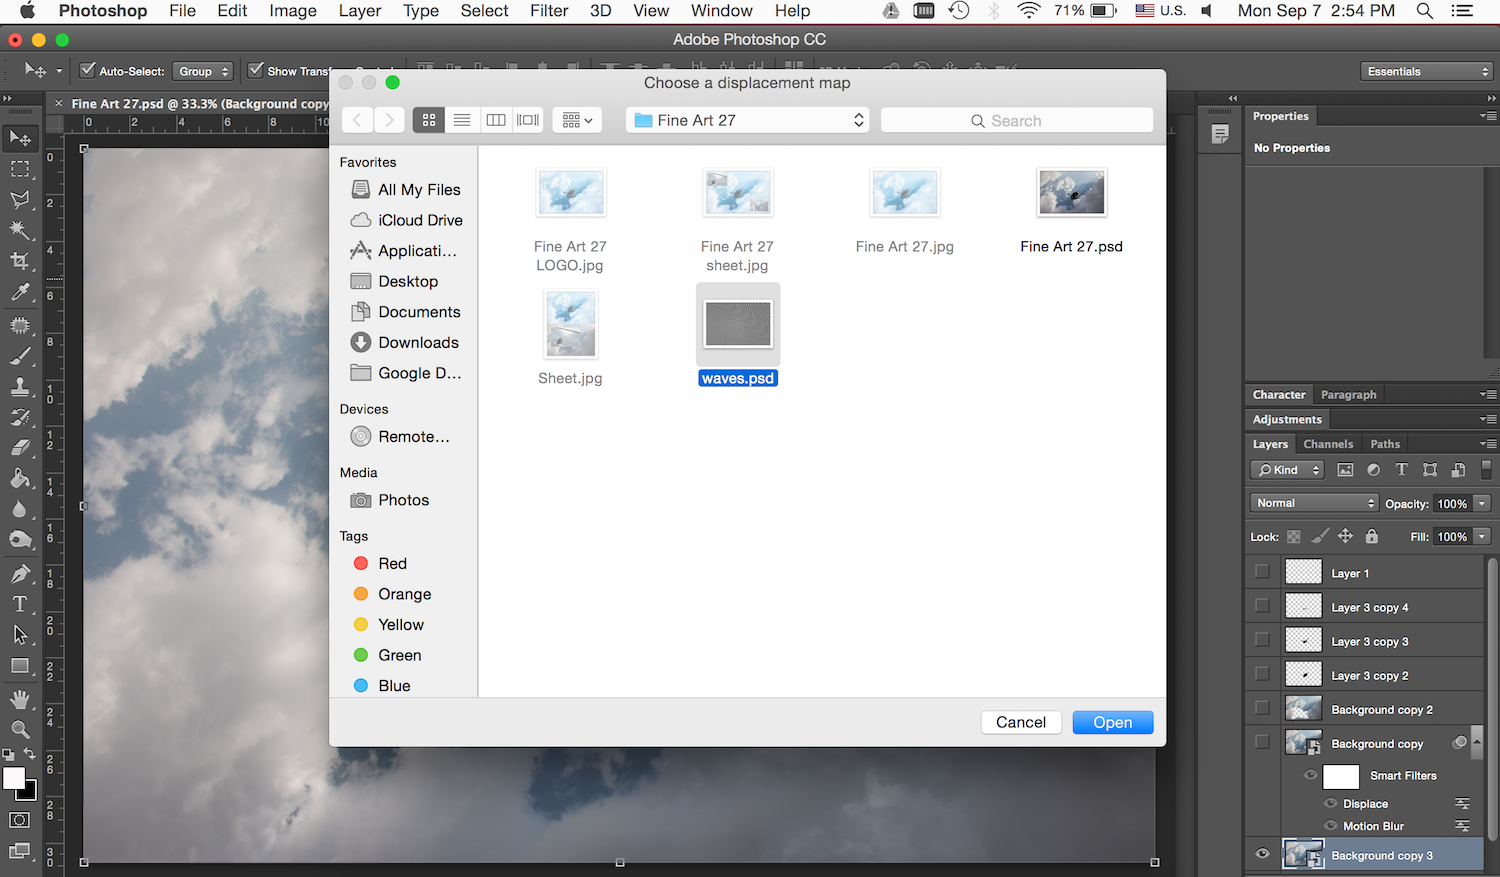
Now go and open the “Wave PSD” we created earlier. You should get the result below:
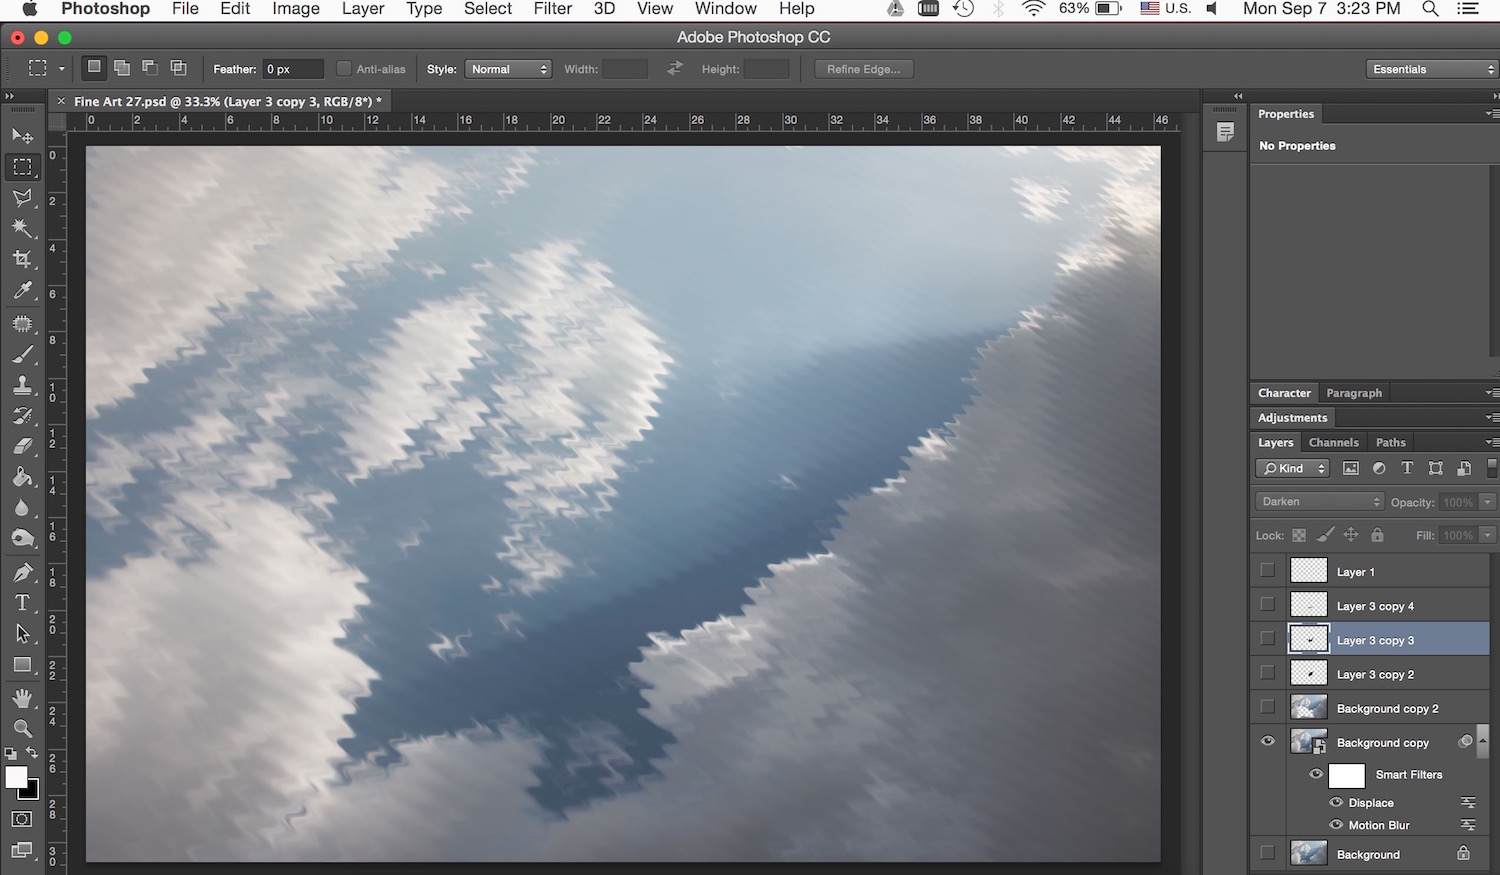
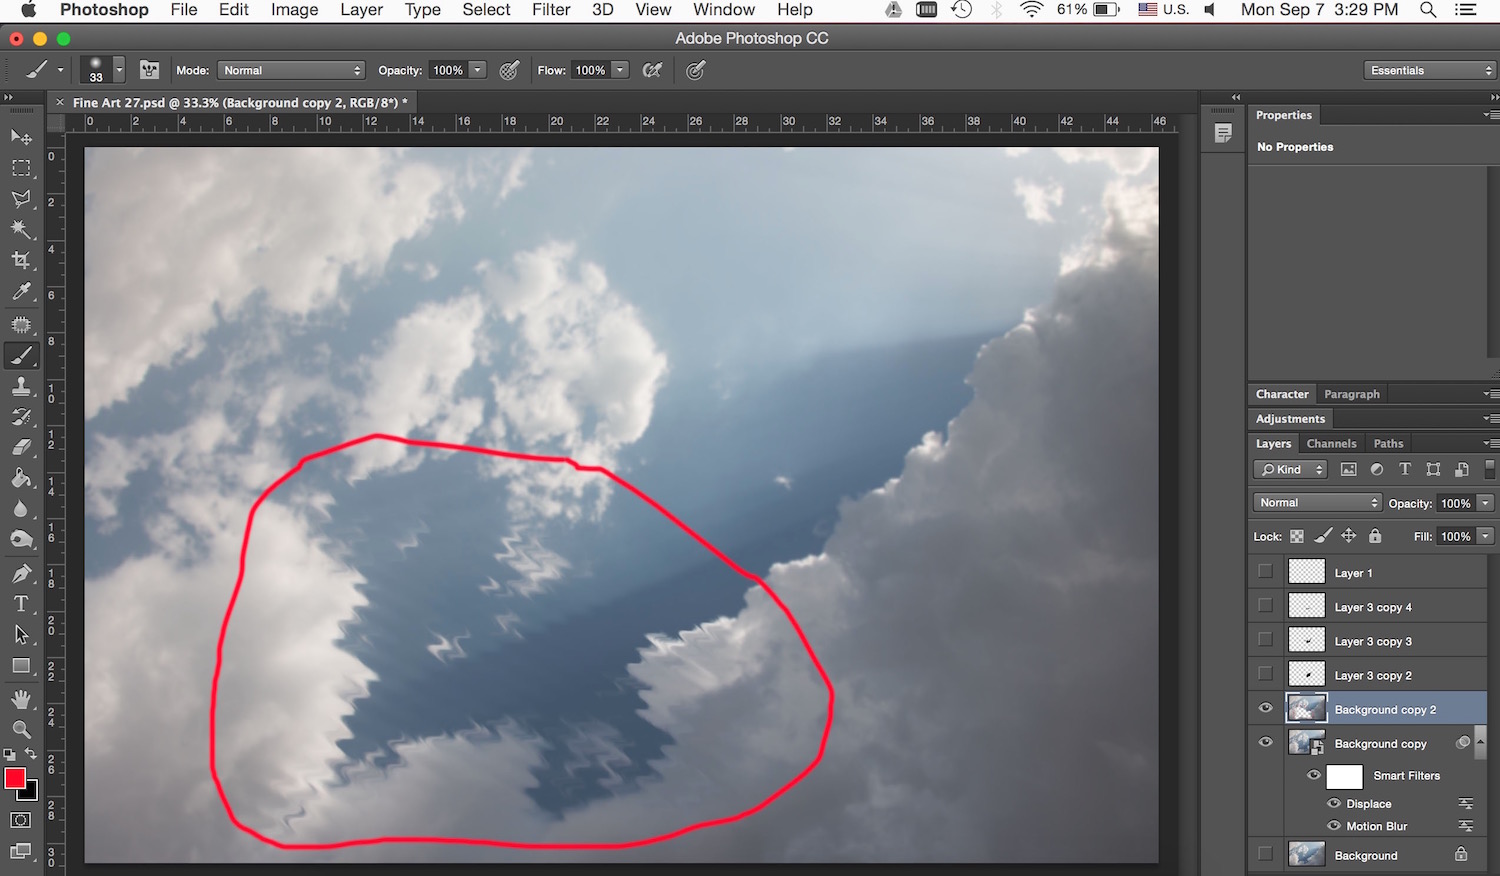
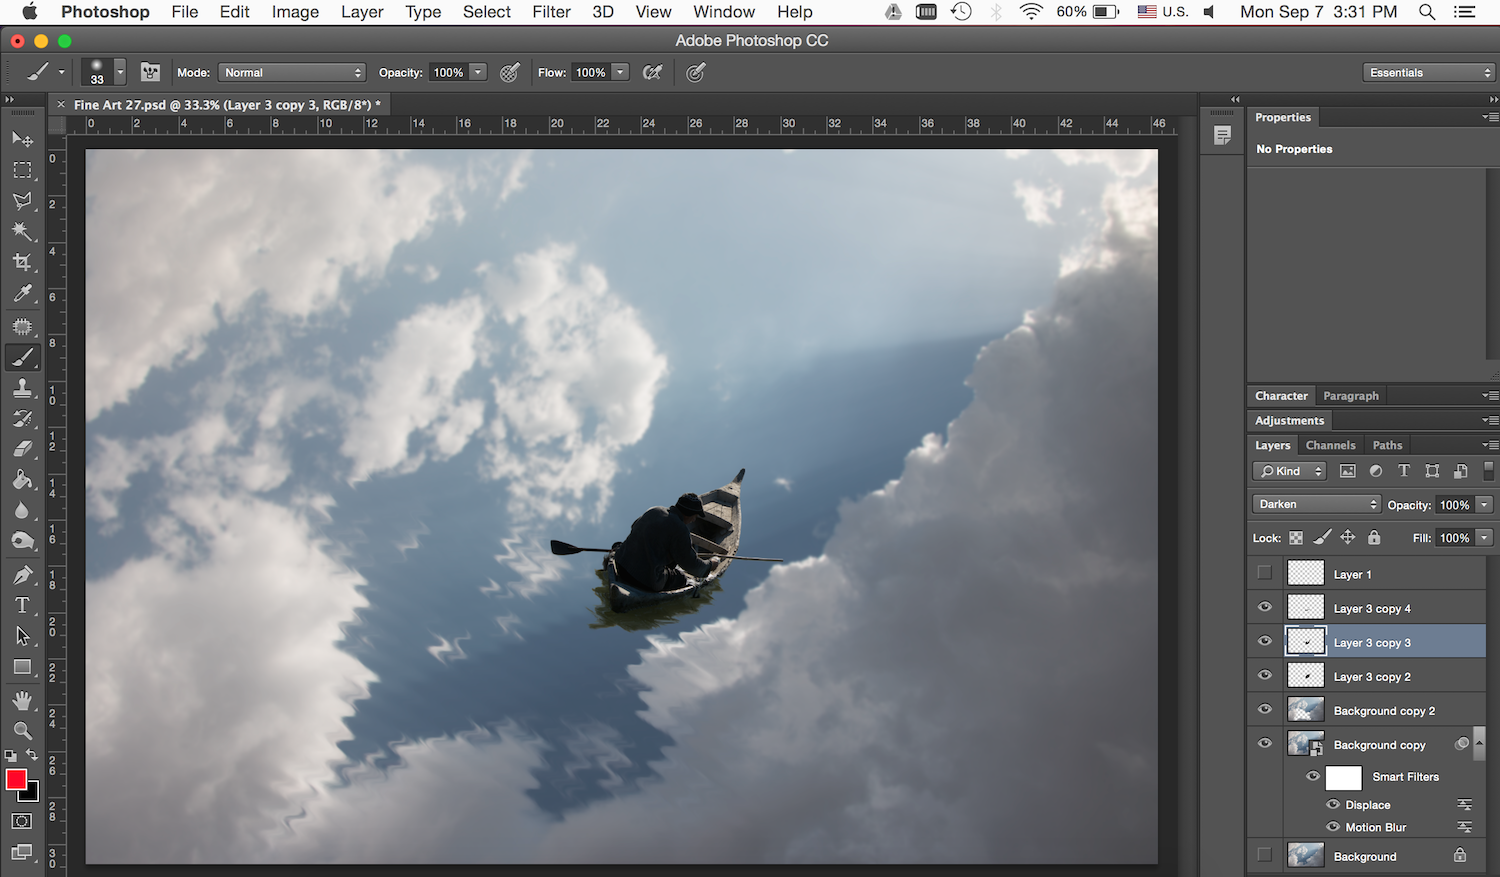
Next, drop an original background layer on it and apply a bit of “Gaussian blur” just like we did before; then erase the area shown in red from the original layer and you will get this:
Finally, go to the boat layer, extract the boat using “Pen Tool,” and “Paste” it on the final background layer. You should get the image below, and the time has come to move over to Lightroom.
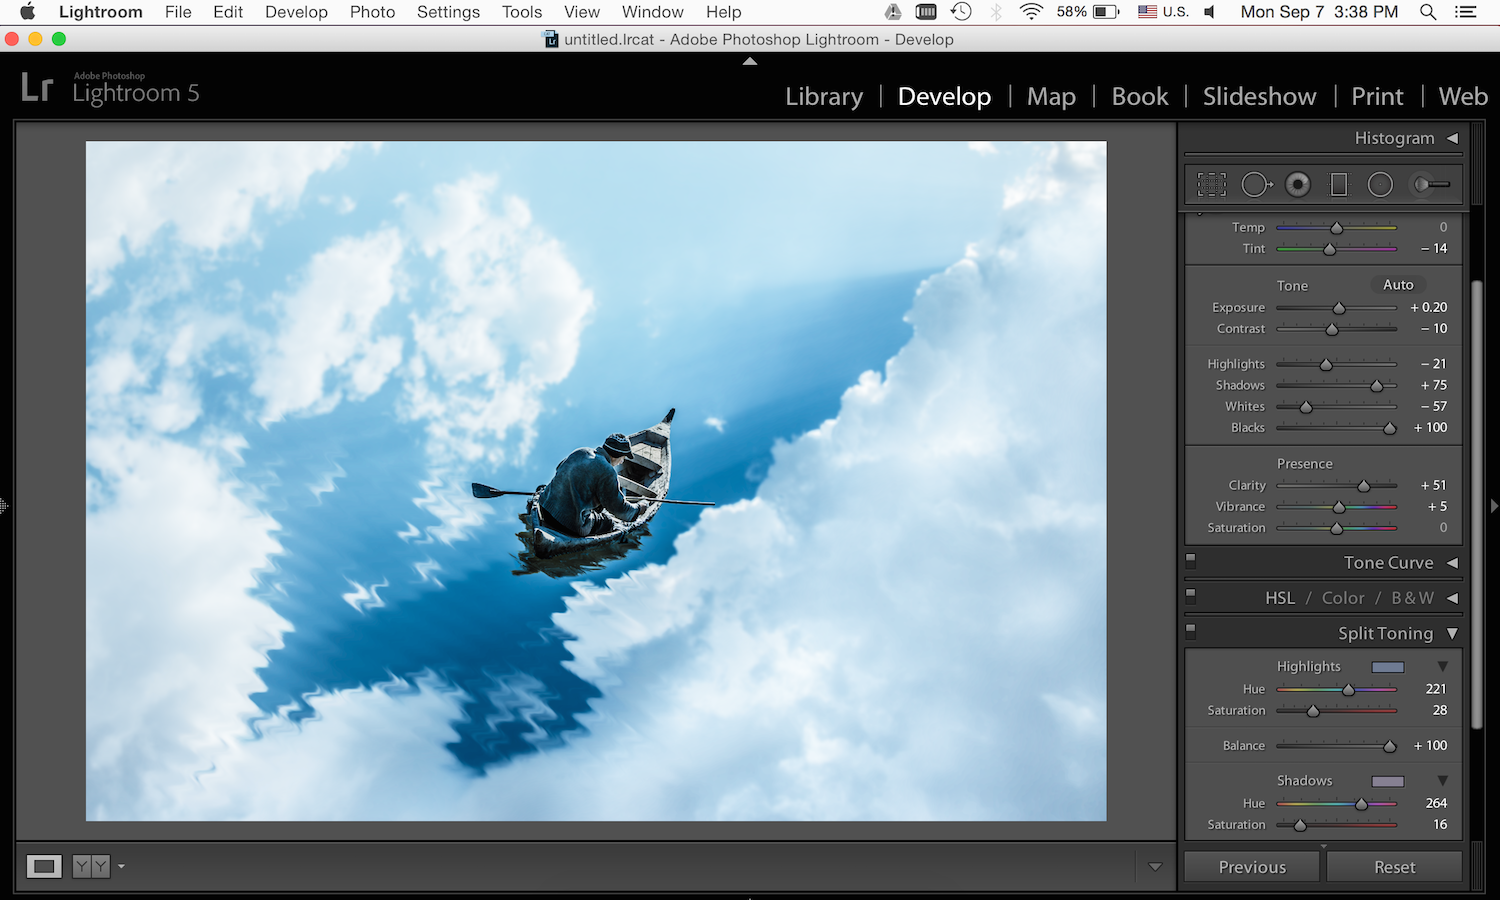
In Lightroom, I first cropped the image to correct the position of the boat. Then I adjusted the Temperature, Tint, Contrast, and Split Toning. Finally, I used some masks to adjusted some specific spots on the background, leading to the final result, uploaded to 500px and selected for Editors’ Choice!
