In this tutorial we will learn how to blend Photoshop textures with our photos and tweak the results in order to achieve different effects.
Final Image
Resources
- Landscape
- Grunge v
- Abstract Background
- Paper Parchment
Step 1
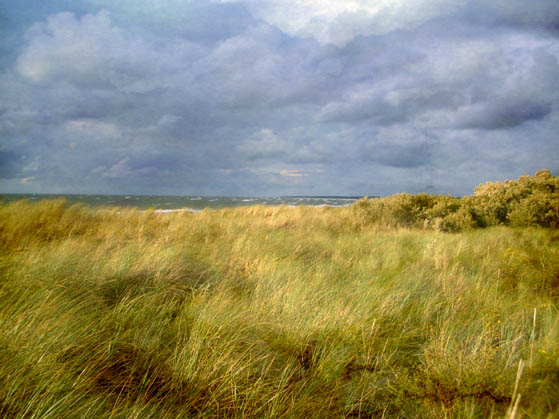
In order to add a texture to an image the first step is to place the texture layer over the image. Let’s open the image “landscape”. This is our base image on which we will apply texture’s.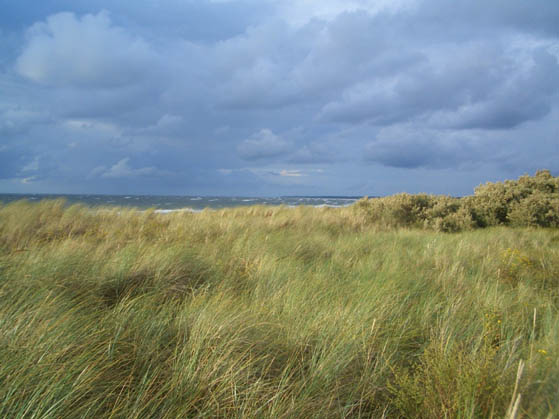
Step 2
Now open the desired texture image, in our case “texture1”. Select all by pressing Ctrl + A and copy by pressing Ctrl + C. Go back to our initial image and paste by pressing Ctrl + V.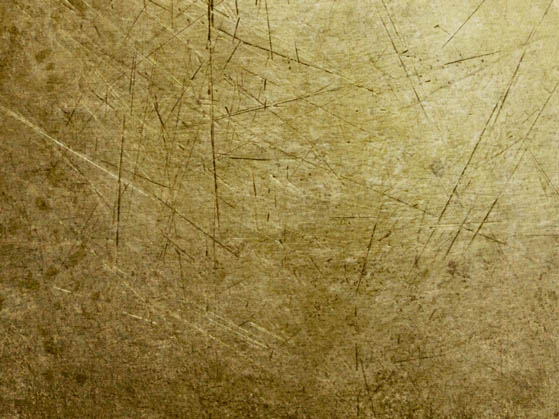
Now resize the texture in order to cover all the image. Press Ctrl + T to enter Free Transform and resize the texture.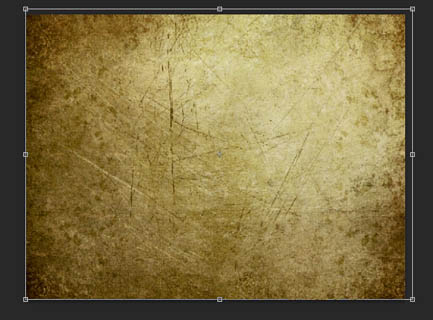
Step 3
Change the blending mode of the texture layer to Multiply and there you have it, your first textured image!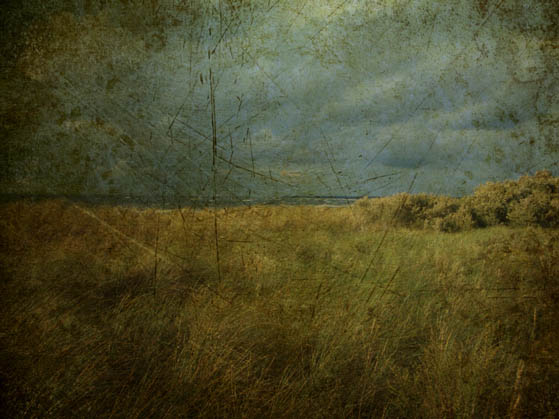
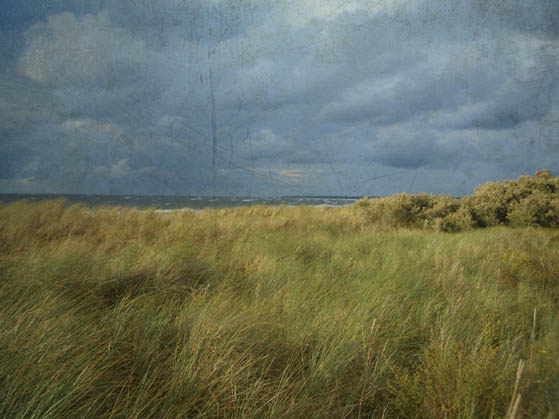
It looks a bit dark so let’s lower the opacity to 41%.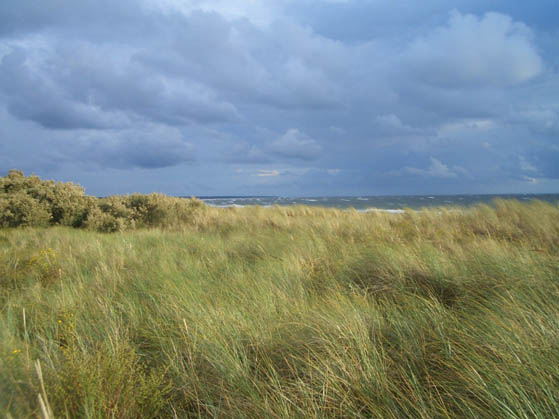
Step 4
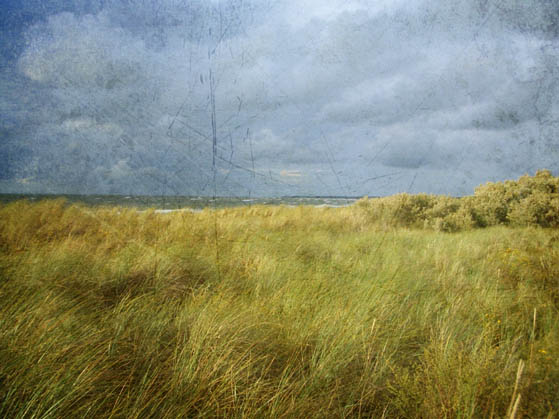
It looks interesting but a bit faded. Let’s try some interesting blending modes. Change the texture layer blending mode to Soft Light (Soft Light is a weaker version of Overlay) and boost the Opacity all the way to 100%. See how the contrast is higher and the colors are richer.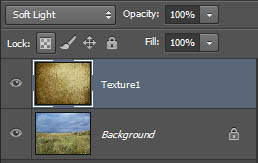
Step 5
Let’s try some other textures. Turn off the visibility of the “texture1” layer for now by clicking on the little eye icon next to the layer thumbnail.
Place “texture2” in our file by following the instructions from step 2. Notice how this is a richer texture, with darker tones.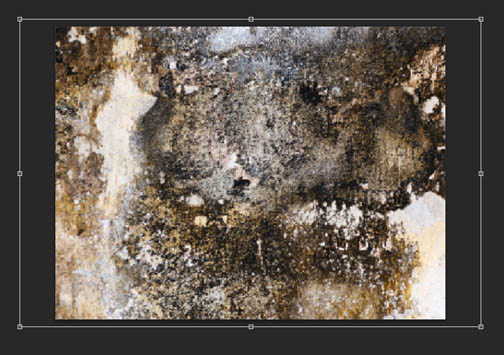
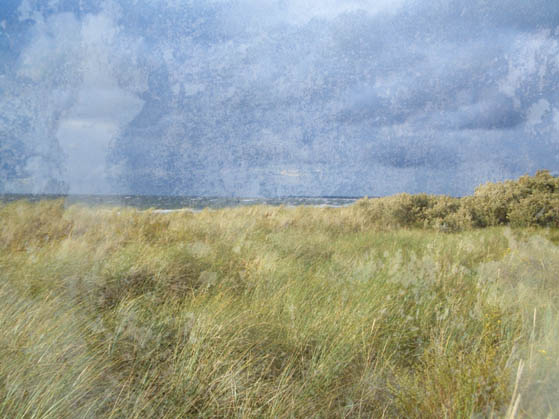
Let’s try another interesting blending mode – Screen. Change the blending mode of the “texture2” layer to Screen and lower the Opacity to 38%. Now the image looks worn out and old.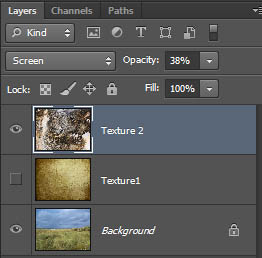
Step 6
Another interesting thing to do is to invert the texture. Press Ctrl + I and notice how the texture changes.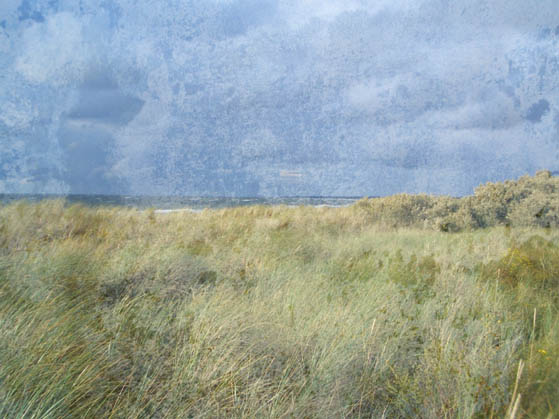
Step 7
Let’s try yet another texture. Turn off the visibility of the “texture2” layer and place the “texture3” layer as explained in step 2.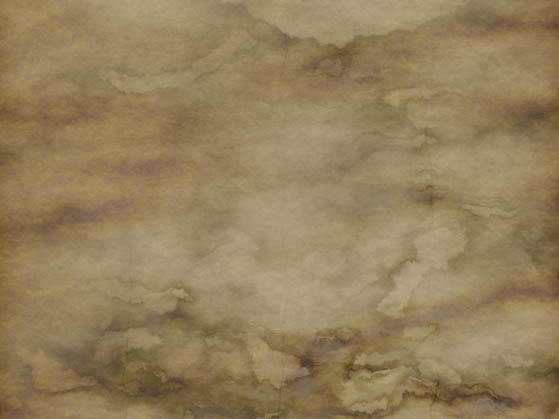
Change the blending mode of “texture3” layer to Vivid Light and lower the Fill to 63%. It looks quite nice!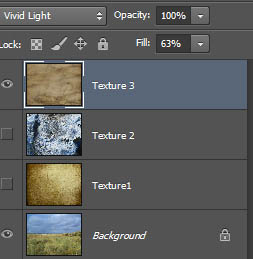
Step 8
But what if we want to preserve the original colors of our image? In that case desaturate the texture layer (“texture3”) by pressing Ctrl + Shift + U. Now we have a black and white version of the texture with our image thus preserving the colors present in the image.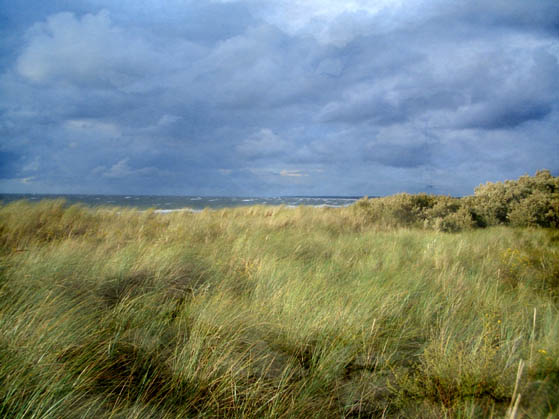
Step 9
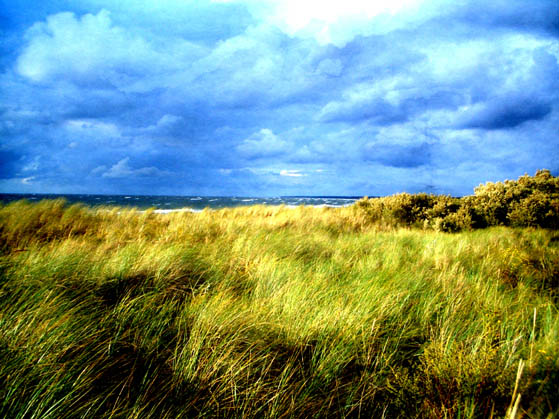
Let’s try some more blending modes. Change the “texture3” blending mode to Hard Mix. This is a very strong blending mode that boosts the color to extreme. Lower the Fill value to 58%. You can also try every other blending mode and see how it looks like. If you feel courageous you can turn on the visibility of all the layers and play with their Opacity values and blending modes.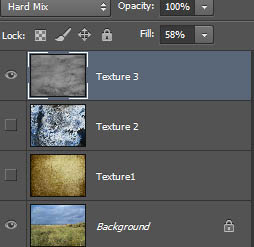
Step 10
As a little bonus I will show you how to add texture to an image using the image itself. Turn off the visibility of all the texture layers and click on the “Background” layer in order to make it active. Press Ctrl + D to duplicate the layer.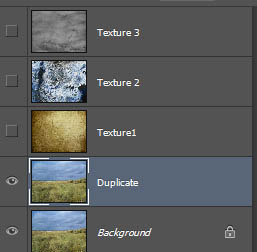
Click on the “Duplicate” layer and enter Free Transform (Ctrl + T). Right-click somewhere on the image and from the dropdown menu choose Flip Horizontally. Press Enter when you’re done.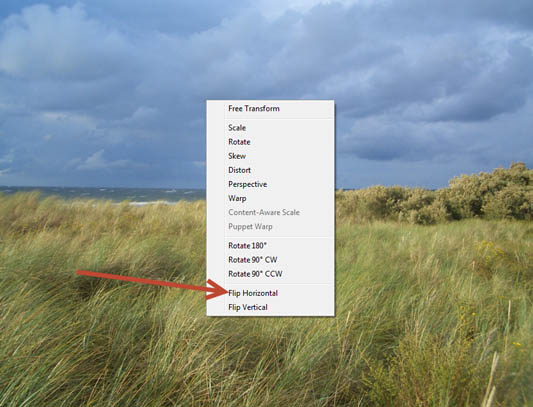

Step 11
Now change the blending mode of the “Duplicate” layer to Overlay. Hmmm, interesting effect with the symmetry and all but it’s obvious that the image was flipped horizontally. That’s true, but we will address that issue in the next step.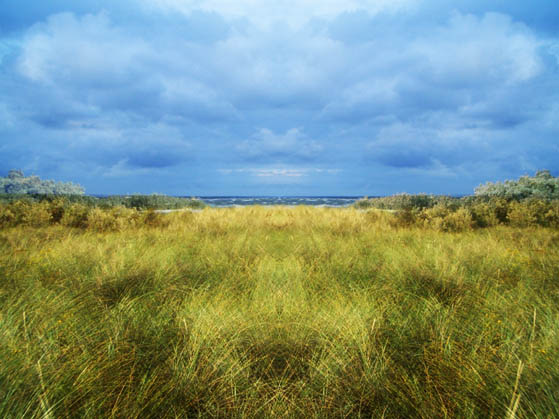
Step 12
Add a layer mask to the “Duplicate” layer by choosing Layer > Layer Mask > Reveal All.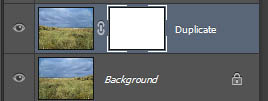
Click on the layer mask in order to make it active and go to Filter > Render > Clouds. Hey, look at that! The image doesn’t look so symmetrical now! You can further hide portions of the “Duplicate” texture by painting with a black brush in the layer mask.
And We’re Done!

Let’s summarize. Here are the steps to blend textures with photos:
– place the texture layer over the image layer (step 2)
– try blending modes until you find one that you like (the best guesses are Multiply, Overlay, Soft Light, Screen and Hard Mix) (step 3)
– lower the opacity of the texture layer if the effect is too strong (step 3)
– if you want to preserve the colors of the original image then desaturate the texture (step 8)
– inverting the texture will provide you with a different look right away (step 6).