Dina Belenko is a creative still-life photographer from Russia. Her artistic images capture magical stories behind everyday inanimate objects. In this tutorial, you’ll get creative with Dina and learn how to create half-splashes out of coffee—a different take on the usual liquid splash photography.
by Dina Belenko
Not so long ago I made a still life, where everything was halved—a sandwich, a sprig of dill, and even coffee in the cup. The concept seemed fun to me. But the coffee ended up not looking liquid in the final shot. It looked more like jelly.
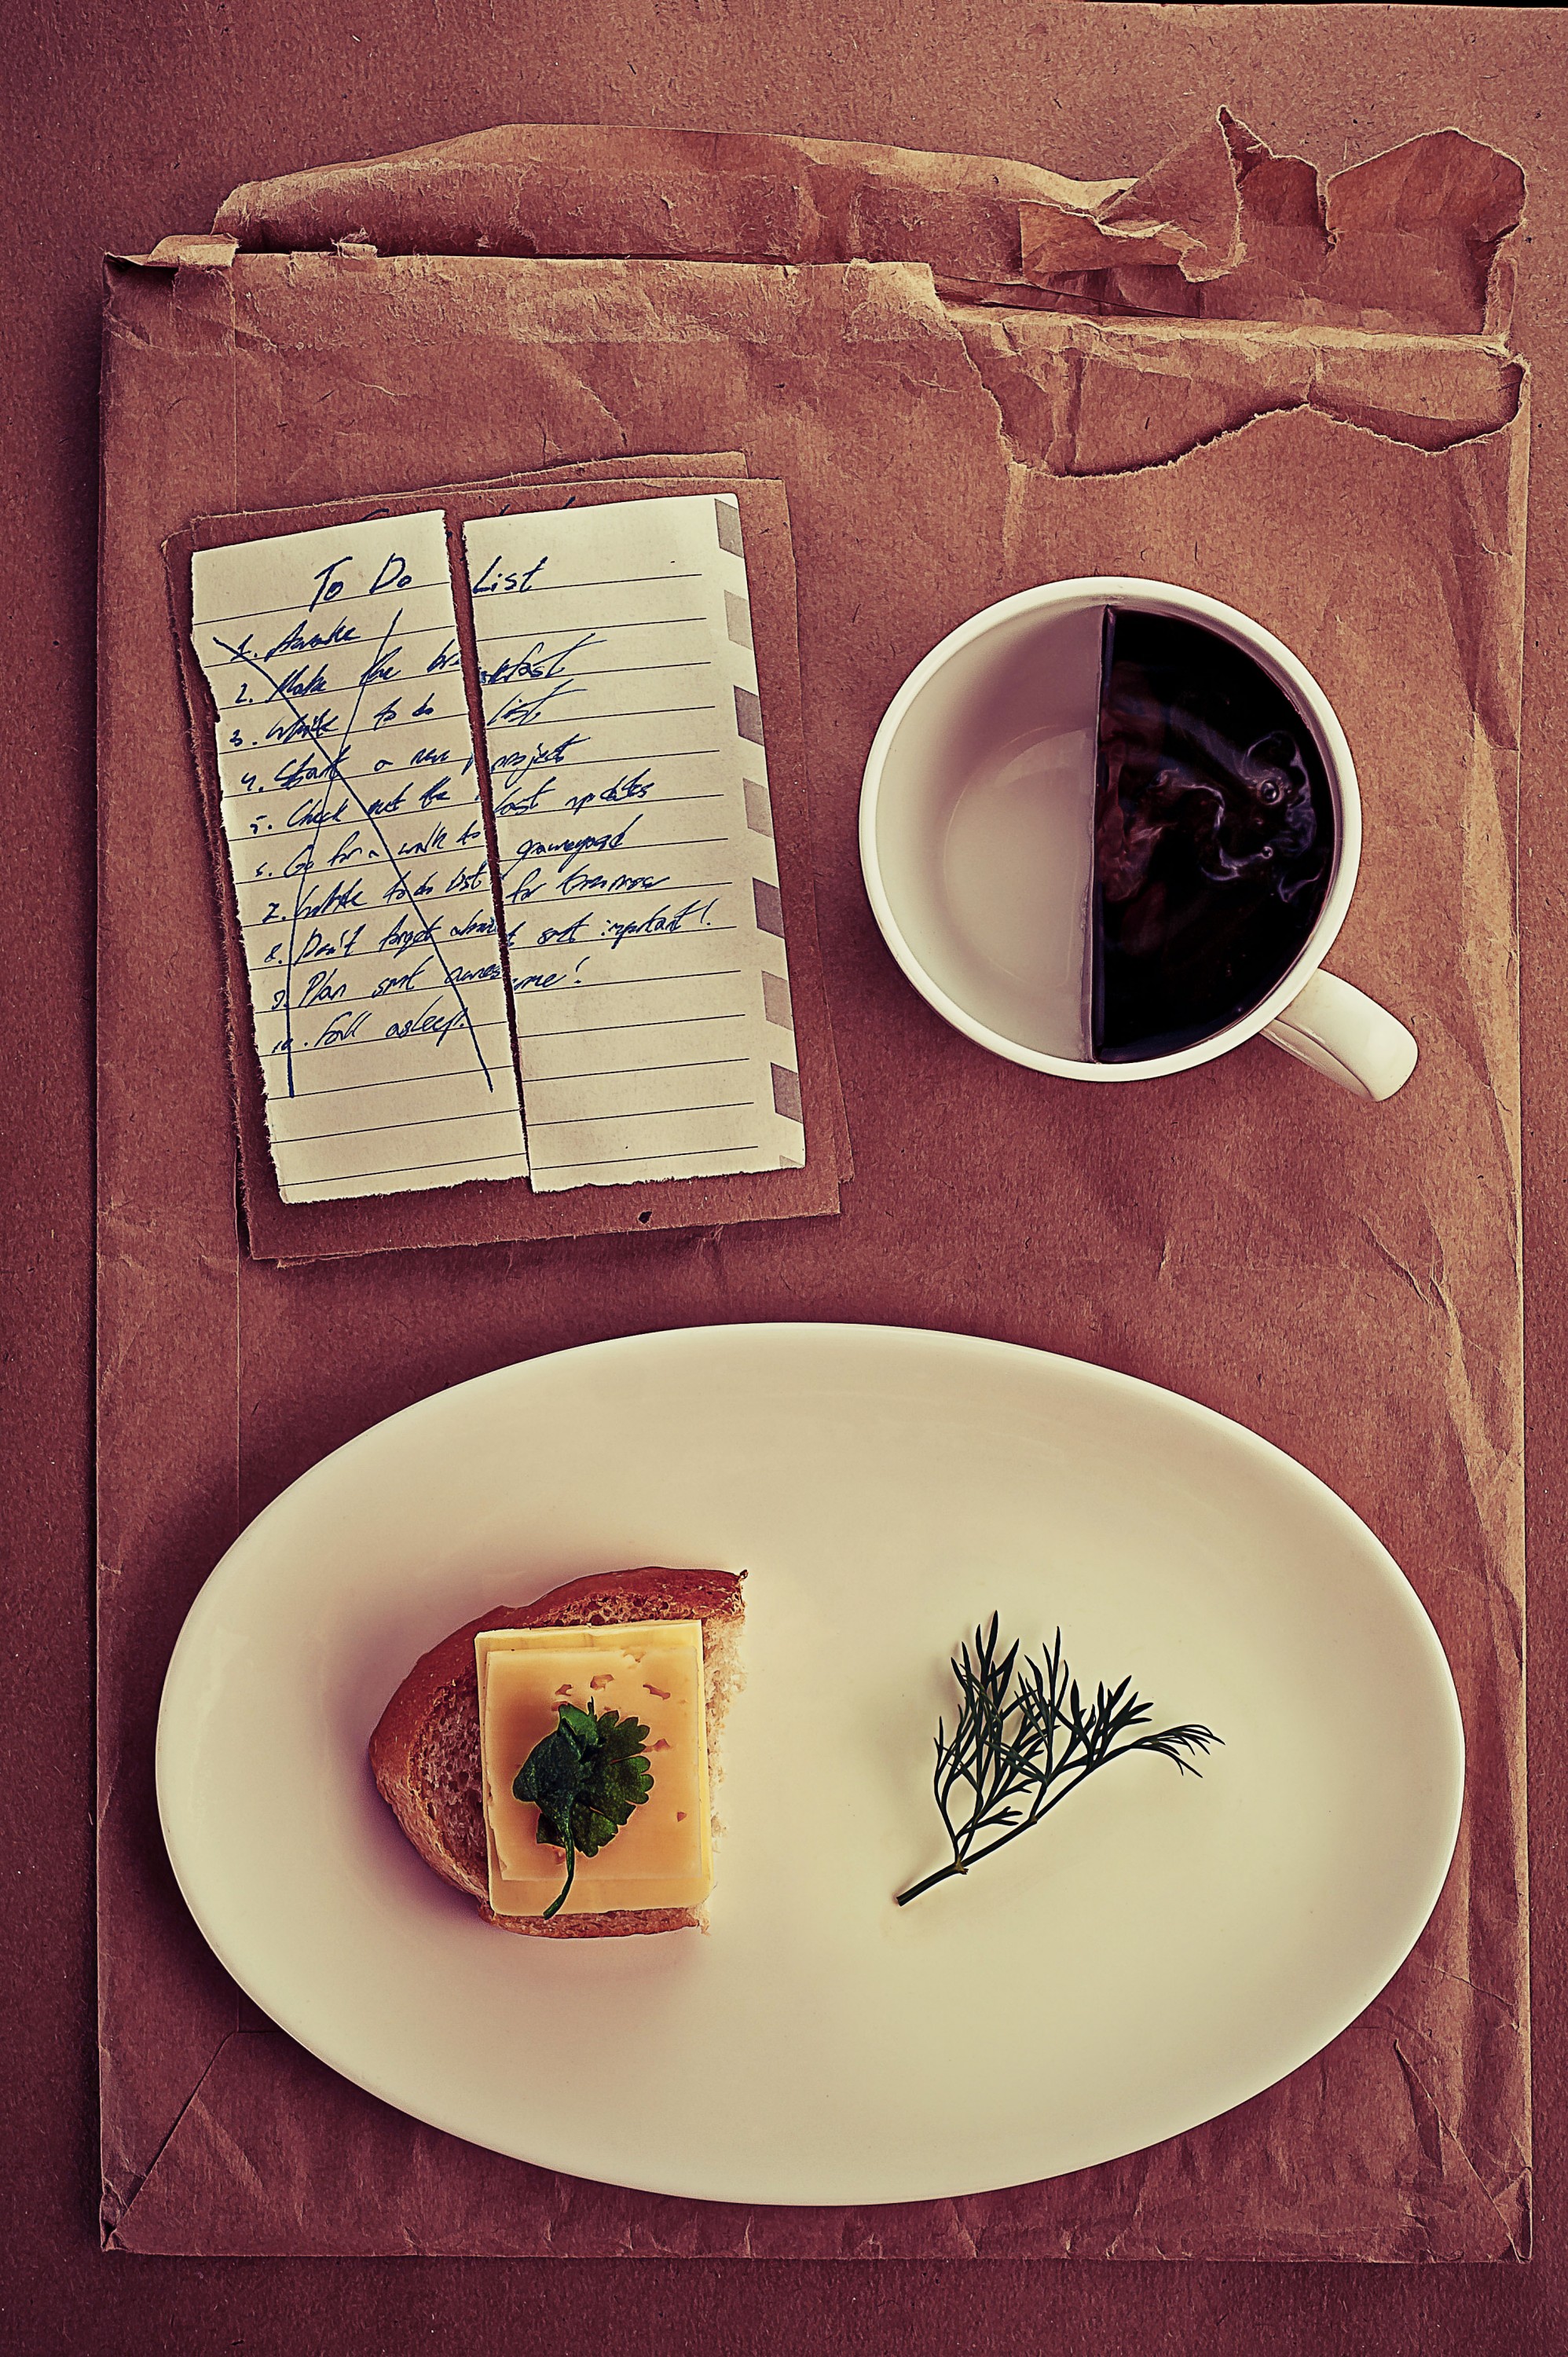
Later, it occurred to me that the best way to correct this flaw is to shoot a splash, which can capture how the liquid moves. To give the splash a twist, I attempted to shoot a half-splash, and it worked.
In this tutorial, I’ll teach you how to shoot and achieve a similar result, so you can try it yourself during your next coffee break.
Equipment you’ll need:
1. Camera with an external flash. I use Nikon D800 and SB-910, but almost any flash that is not integrated in camera will fit.
2. Softbox. I like smooth lighting and soft shadows in my shots, so I use a medium-sized softbox to diffuse the flash light.
3. Reflector. This scene requires a fairly large reflector, but I have none. So I made do with a big sheet of drawing paper.
4. Tripod. The more stable, the better.
Props you’ll need:
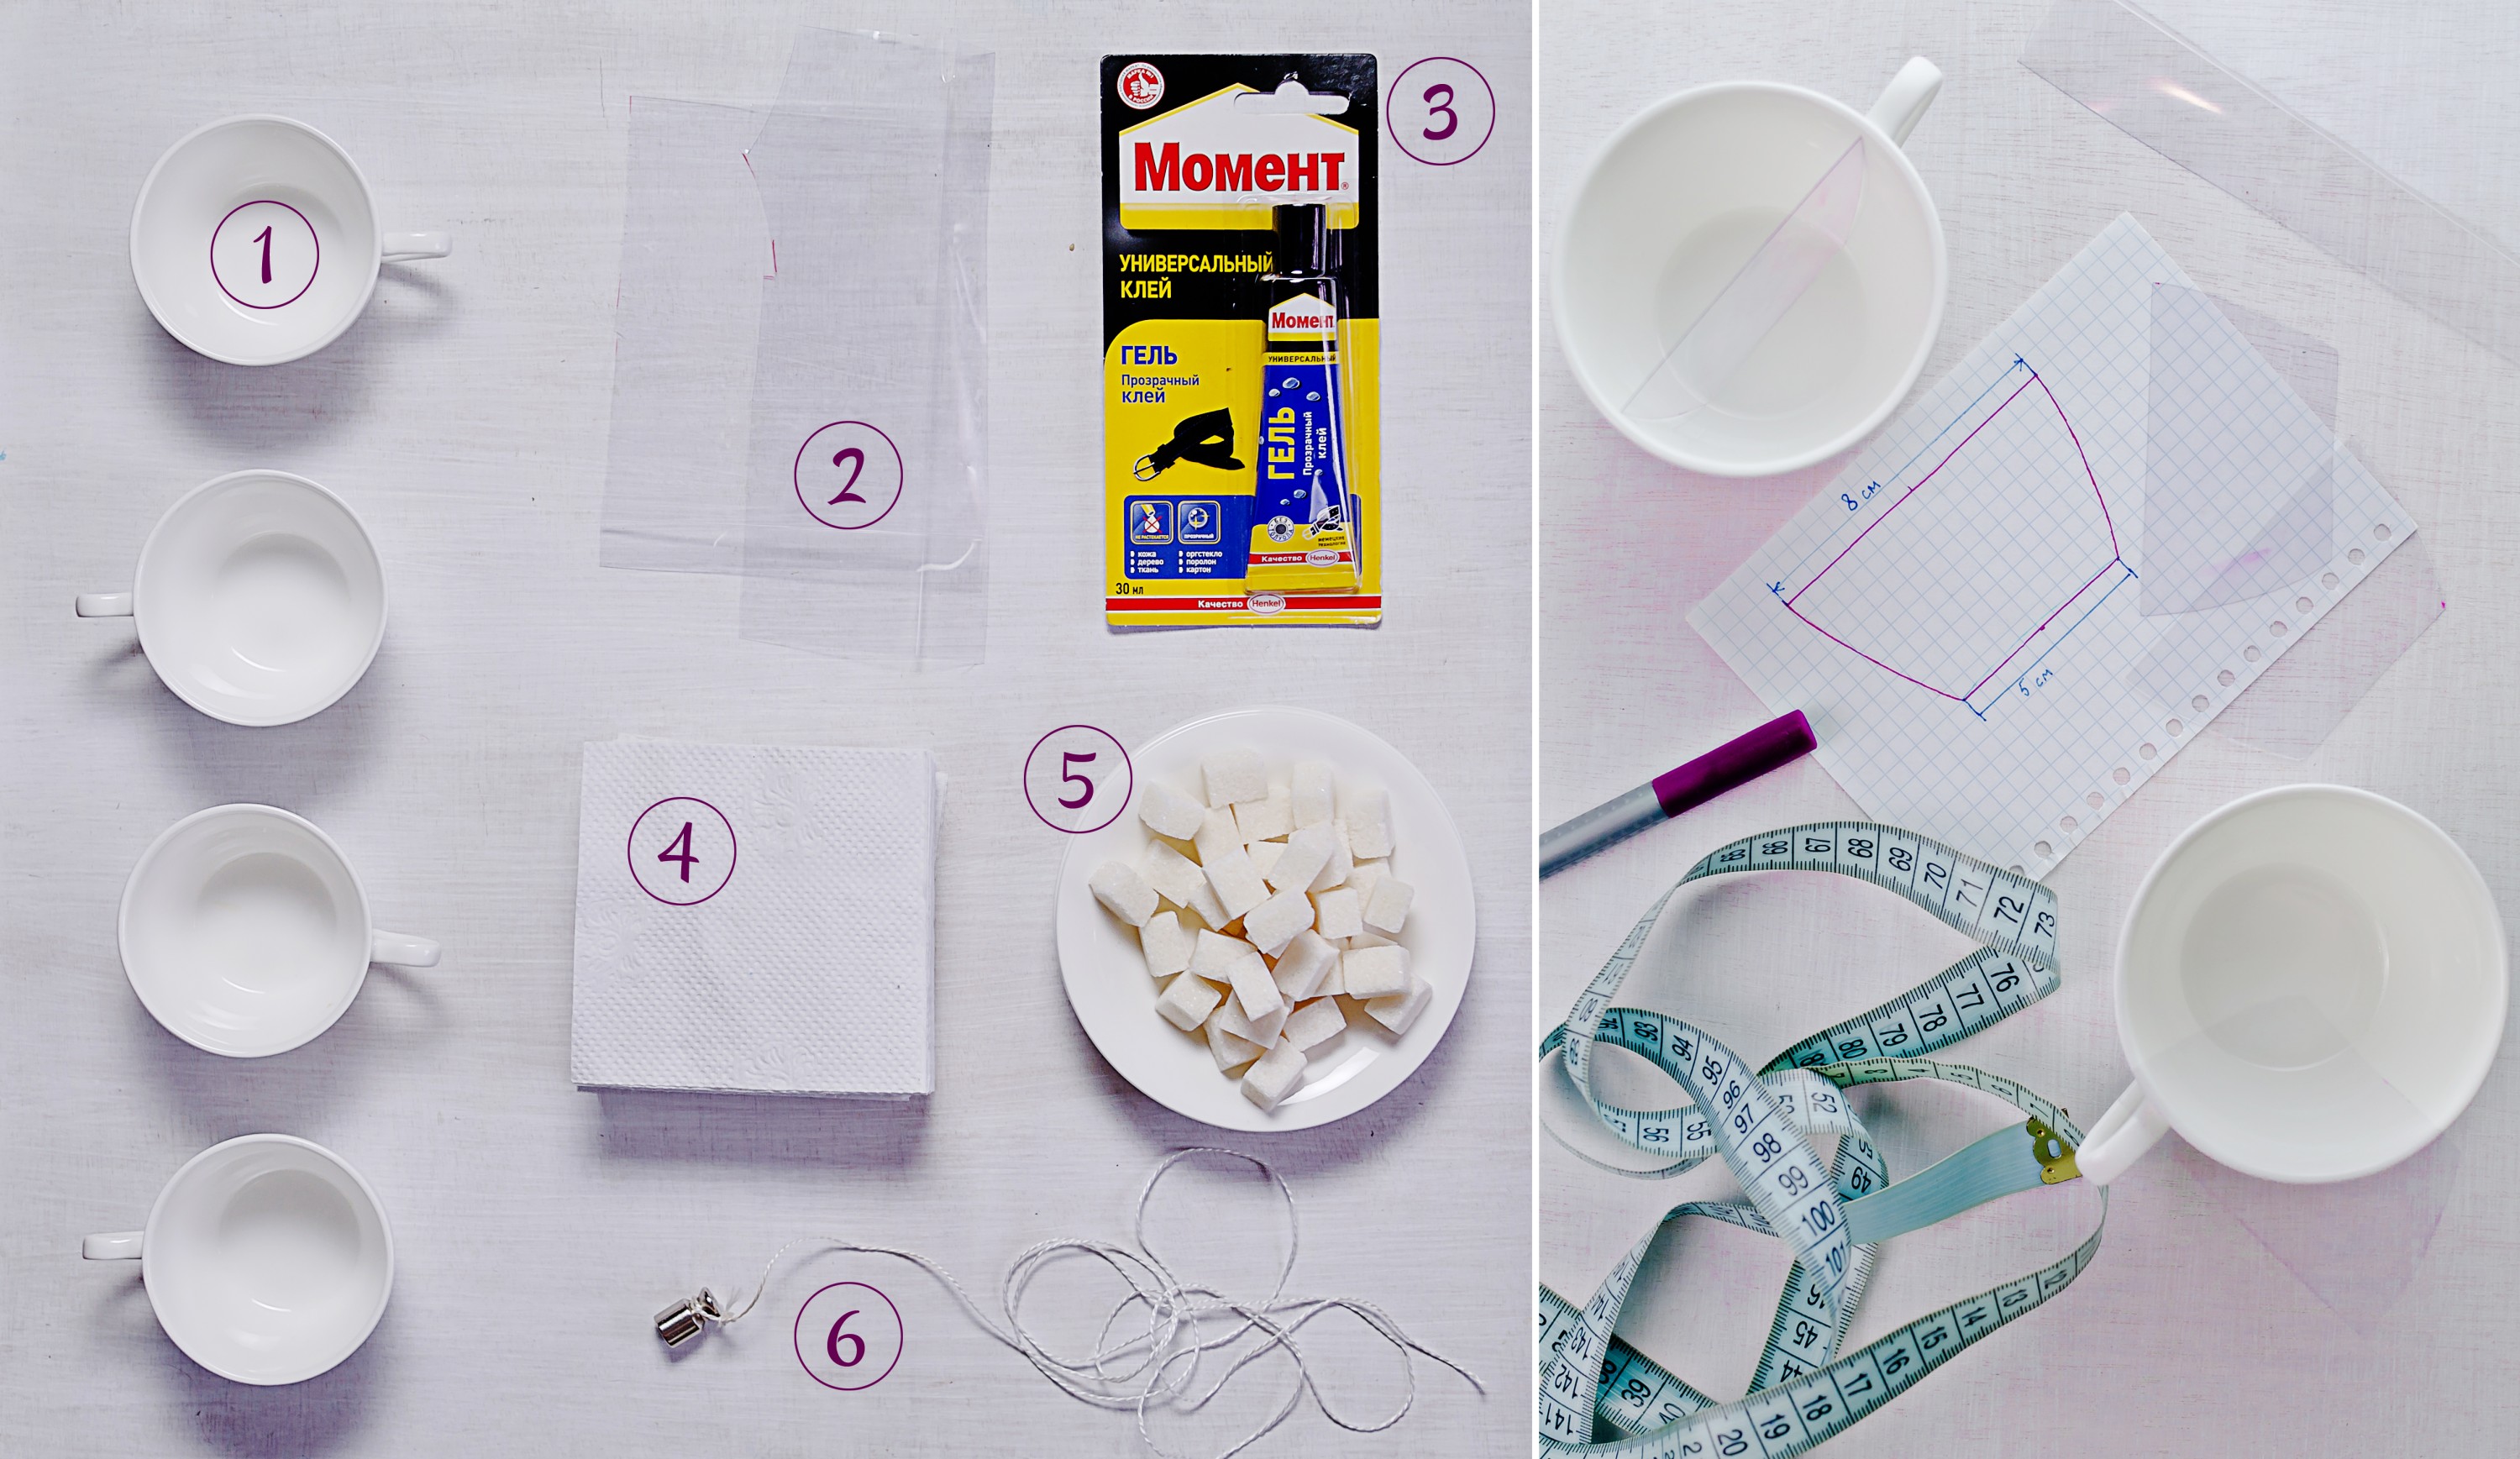
1. Cups. It’s better to use cups that have a smaller diameter at the bottom than its top. It will be easier to create the half partition for them.
2. Sheets of thin, transparent plastic. You can find this from the packaging of toys or sweets.
3. Glue. Any transparent waterproof glue.
4. Napkins. You’ll need a lot of these.
5. Refined sugar cubes. This will be thrown into the cup to get a splash.
6. Small sinker. Needed for aiming.
Steps:
1. First of all, you will need to make special cups with its insides separated in half. Create a section with a plastic partition in such way that it is possible to pour coffee in only one half one the cup. To do this, measure the inner diameter of the top and bottom, and draw the circuit of the section.
2. Cut the resulting shape from the plastic, and glue it inside the cup. Ideally, the glue should be on the side where you pour the coffee. That way, the empty half will stay as clean as possible, and you won’t not have to remove traces of glue during post-processing. Wait until the glue dries, and then test your cup. If there are no leaks anywhere, you are ready to shooting!
3. Set the scene in a place where the mess does not cause problems. Place the softbox and the reflector in such a way that they illuminate the scene equally, but leave some soft shadows behind. In my case, the softbox stands in the upper right side, and reflector stands in the lower left side.
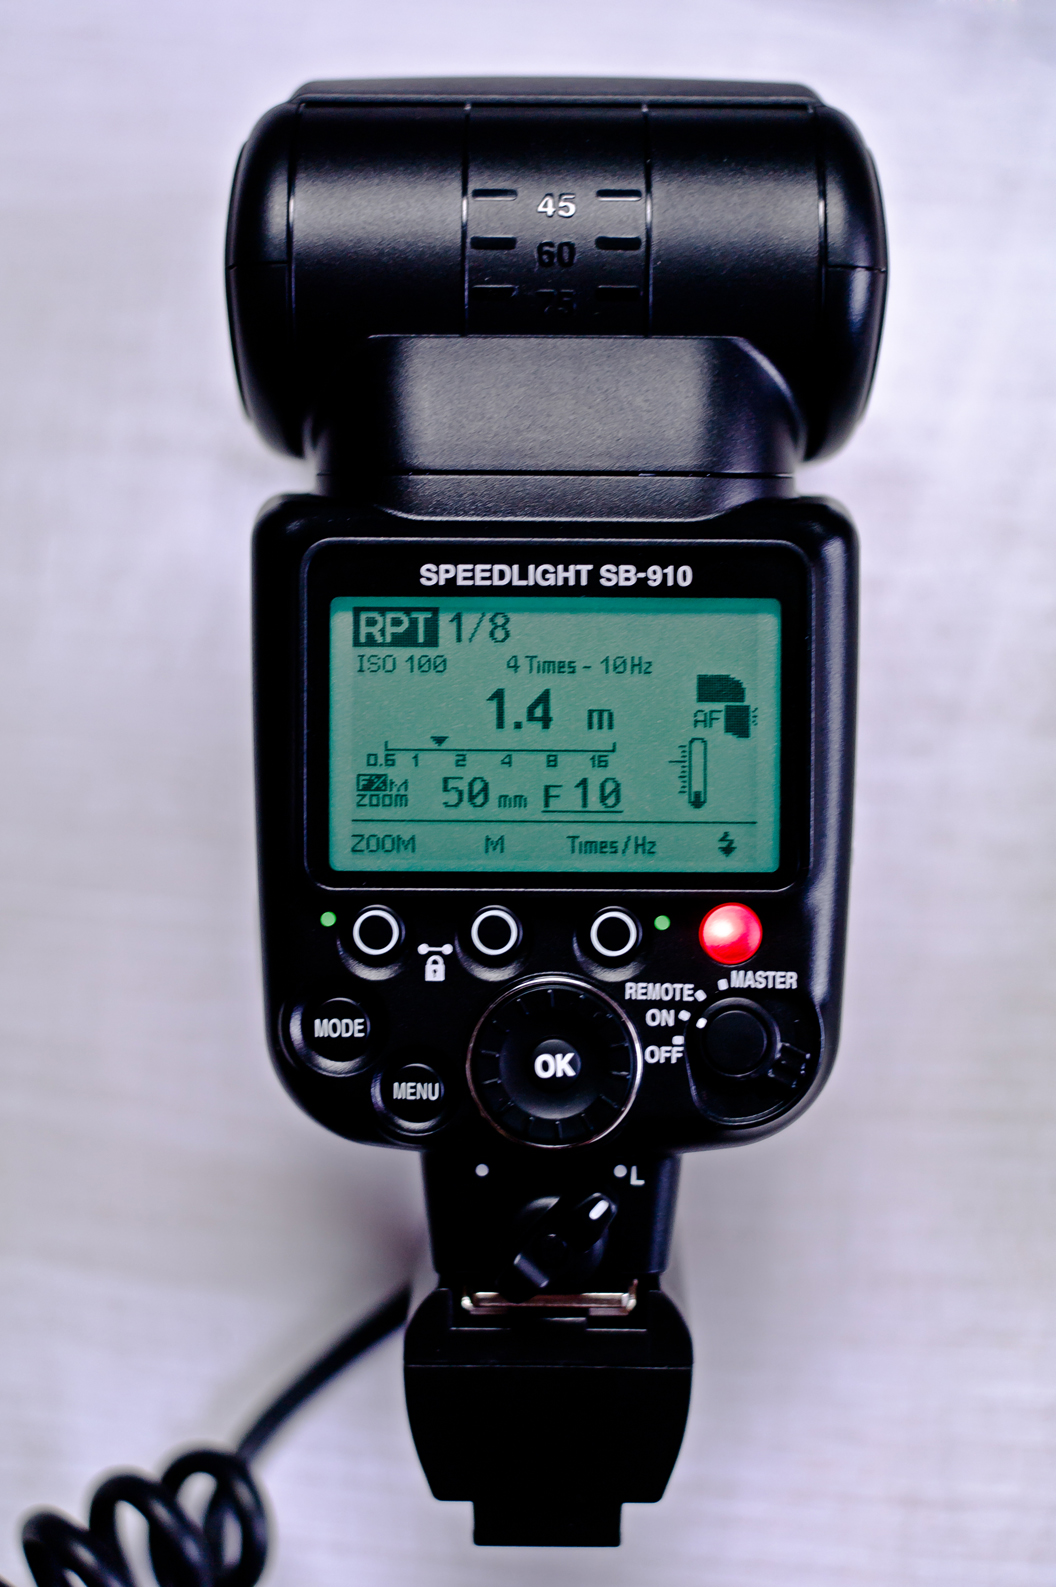
4. Configure the flash. It needs a very short pulse that would freeze the motion of coffee—from 1/8 up to 1/128 of the power. As for the regime, it is best to choose one that will make a few shots in a row, so it will be more likely to catch the beautiful splash.
5. Tie a sinker to a long rope and secure. This is not necessary, but it’s very comfortable. I always miss a piece of sugar by the cup, and the sinker helps me aim. Sinker must be placed directly over the cup. Mark the position of the top of the rope, and throw sugar cubes at this point. (After, of course, removing the sinker from the frame.) Accurate results increases significantly.
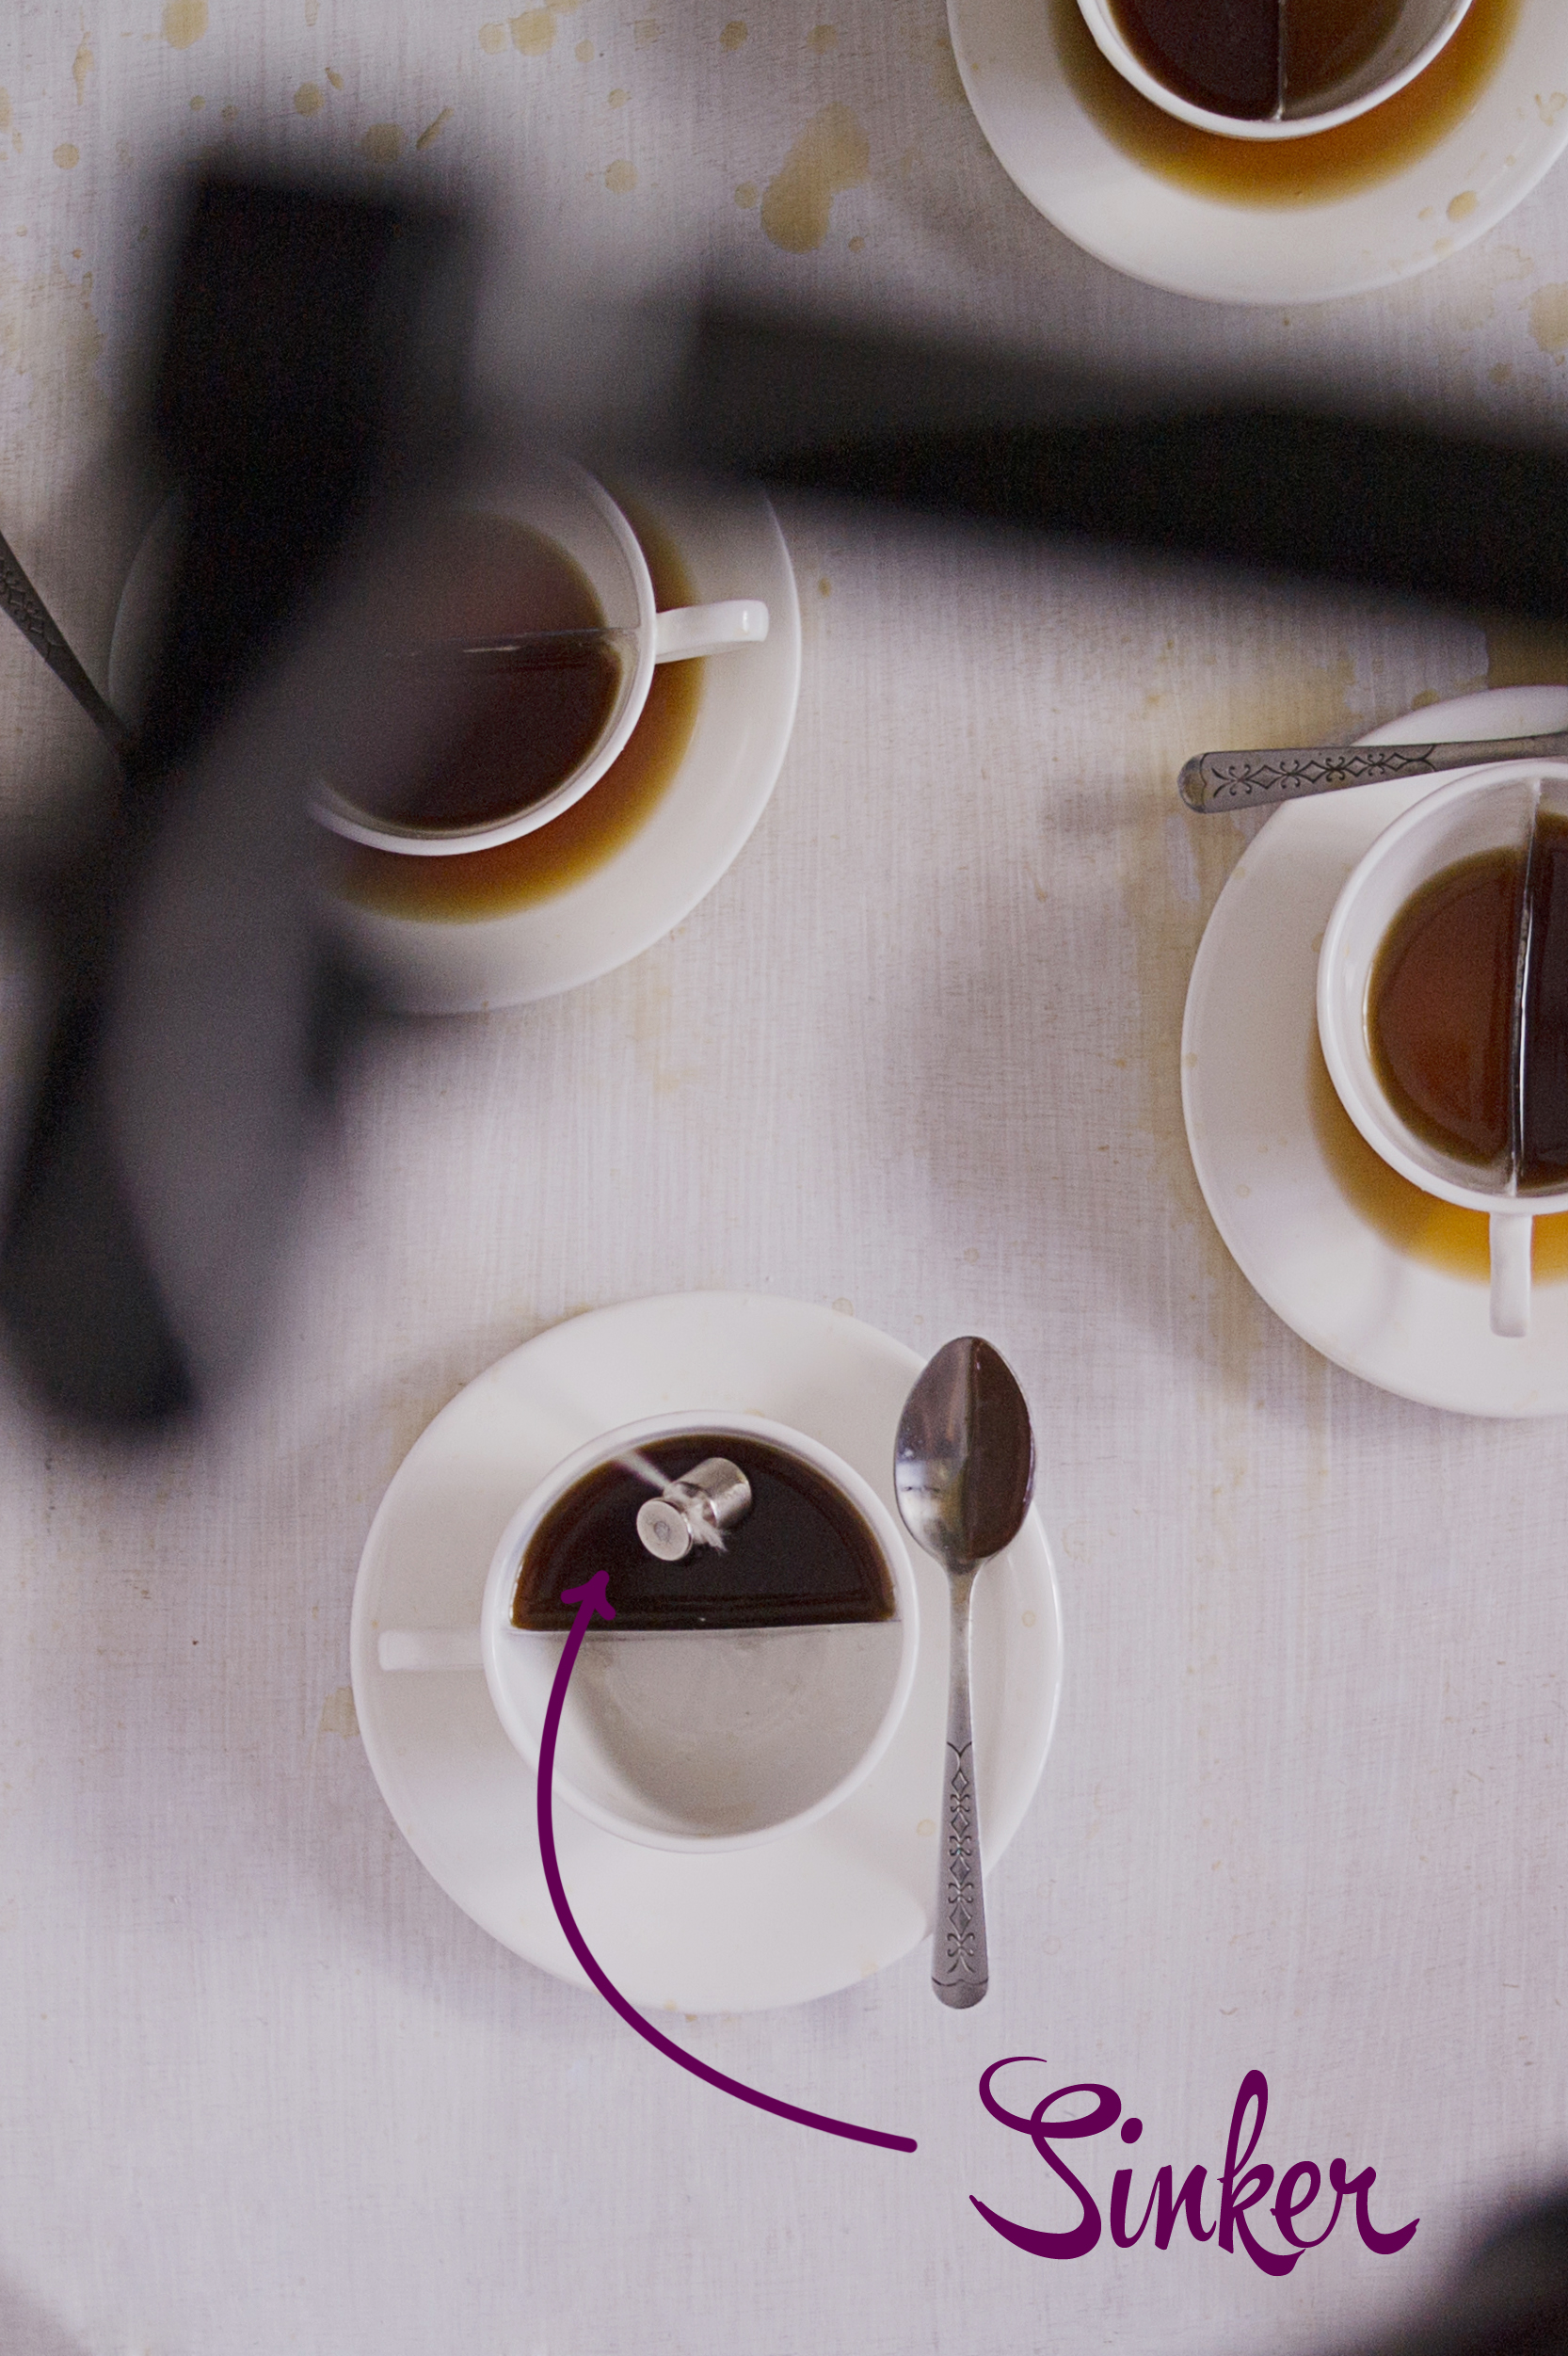
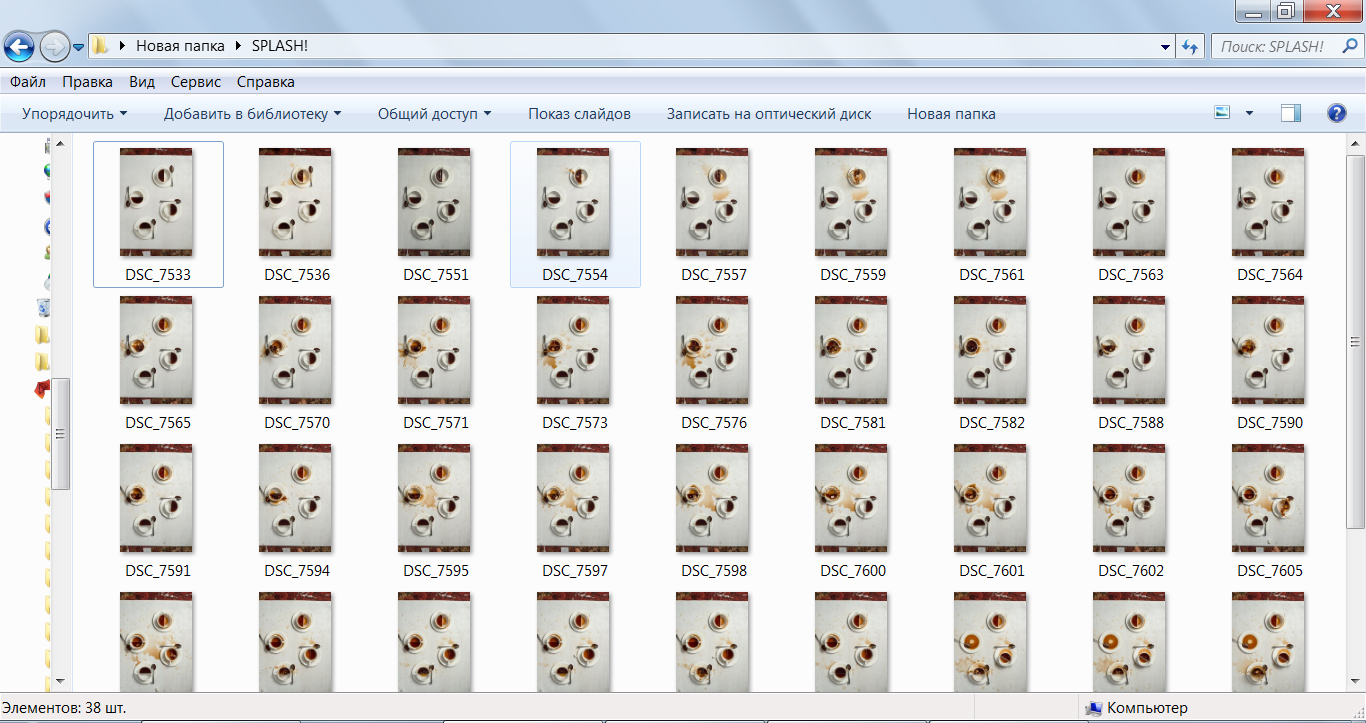
6. Shoot—this is my favorite part. You will need to make a shot with a splash in each cup. Try not to move anything except the sinker, and remember to clean up spilled coffee on background—it will save you time during post-processing. What else? Have fun creating splashes!
7. Choose the most beautiful splashes, and combine them into one picture.

8. Then you can adjust the tone and contrast—and voila!
Enjoy the finished work!
To see more of my work, please follow me on 500px, or visit my DeviantArt page.
Got any questions for me about my shot and process? Leave a comment below!