Uldis Plinte is a hobbyist photographer and 500pxer located in Latvia. He loves natural light, shallow depth of field, bokeh, and combining all of those things in portrait photography. You can keep up with Uldis by following him on 500px.
This article originally appeared on DIY Photography and is being republished here with express permission.
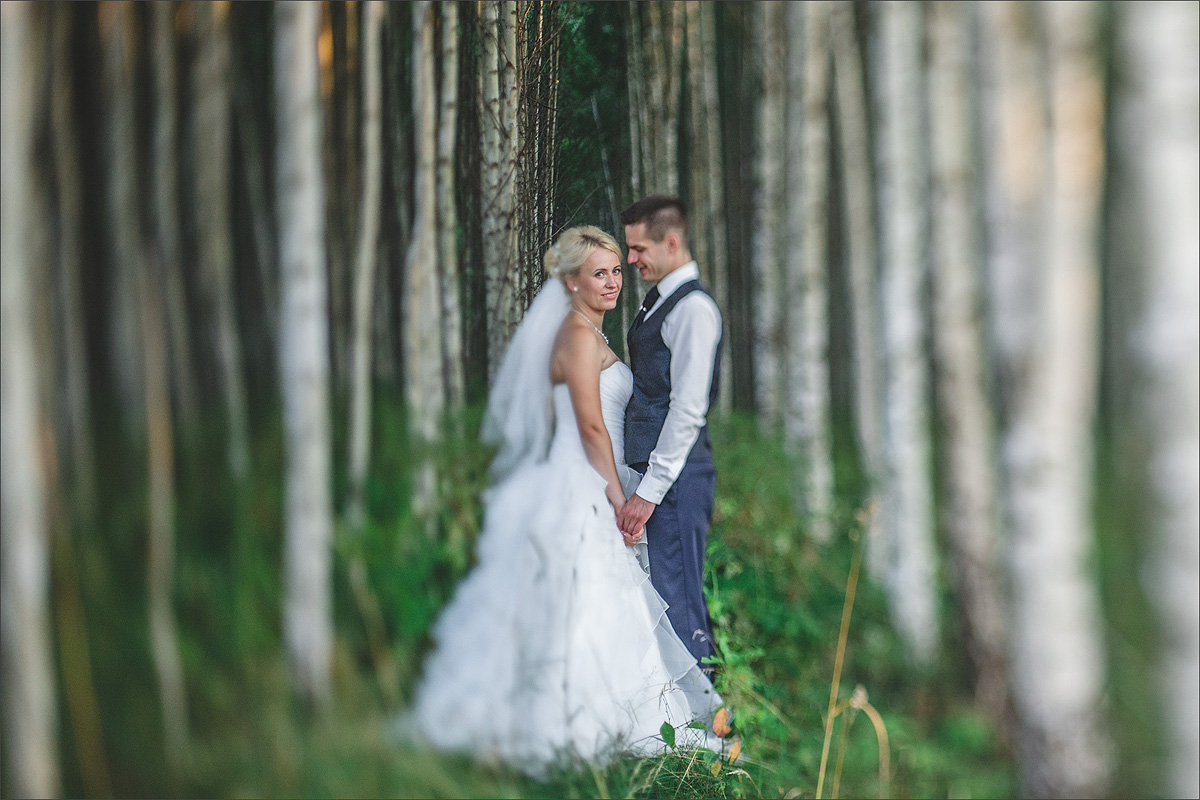
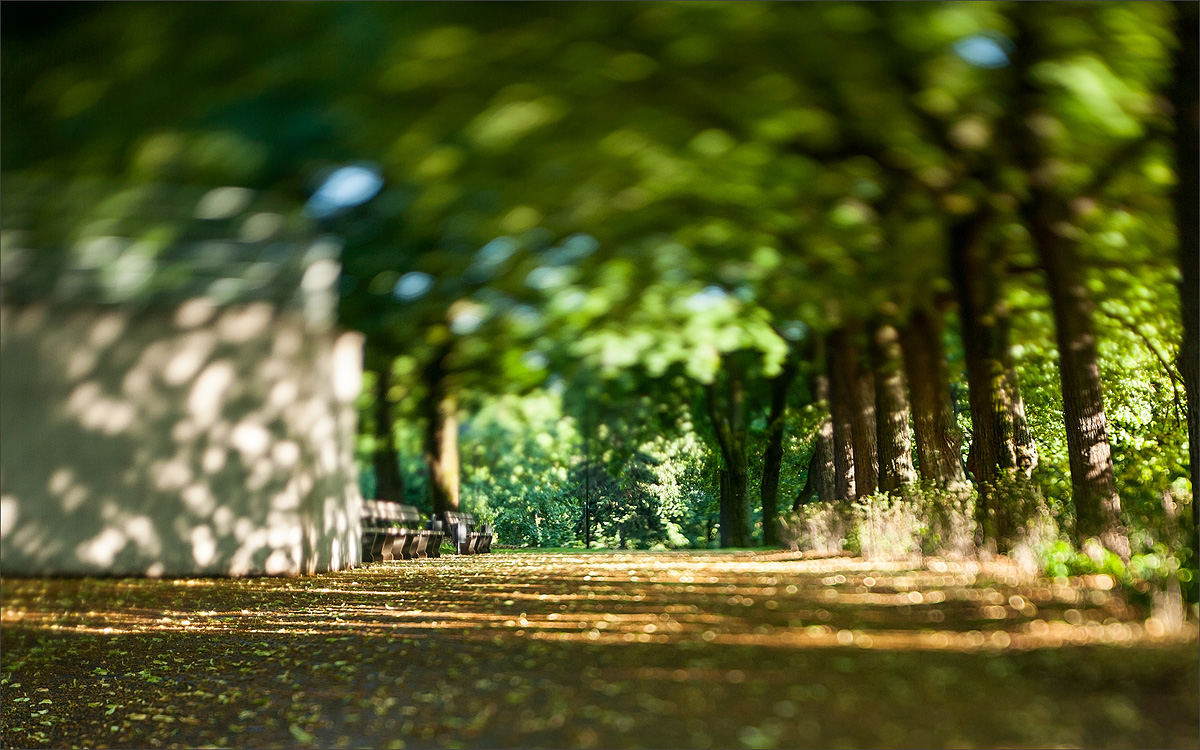
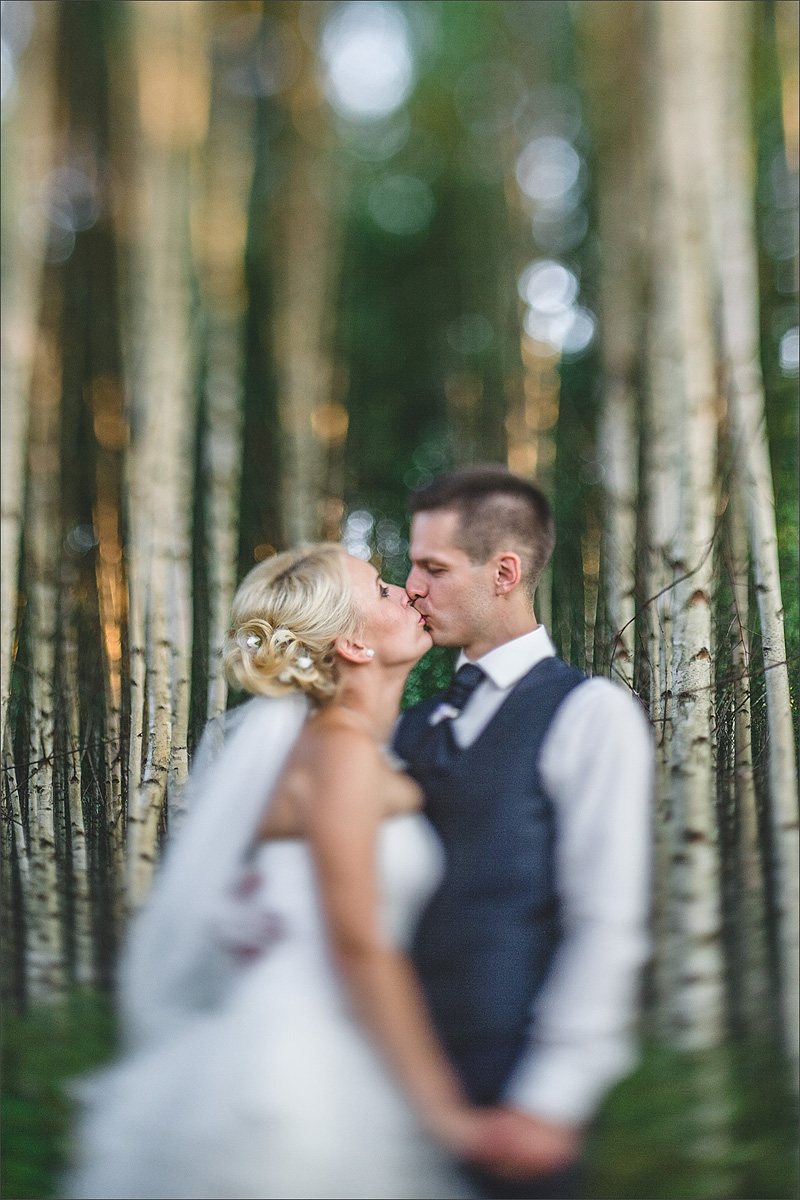
After seeing some photos taken with tilt lenses, I fell in love with the idea of lens tilting and its creative options—the miniature effect, great control of focus, and creamy bokeh.
I really wanted to have such a lens, but didn’t want to spend $1,000 for the moderate use I will probably have for it. So I decided to make my own. Here’s how I did it.
The main things to consider when making a tilt lens is to choose the appropriate lens, and understand what Flange Focal distance is and how it affects building such lens.
So, first things first: Flange Focal distance (FFD) is the distance from the mounting flange (the metal ring on the camera and the rear of the lens) to the film plane.
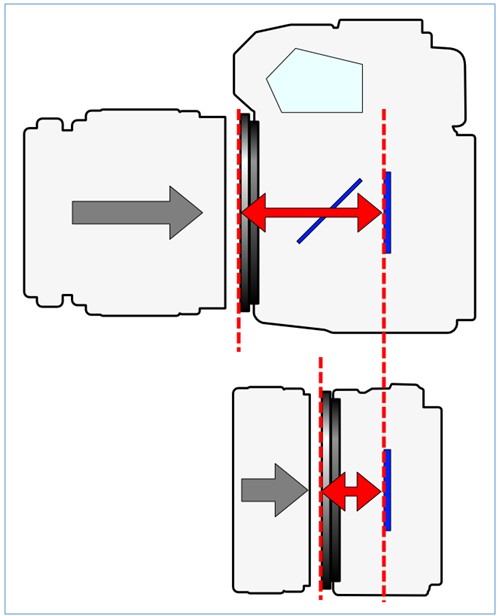
To make a tilt lens you’d need a lens where its FFD is larger than the FFD of the camera you’d be using it on. The larger the FFD, the more room we will have between the camera and lens for tilting.
Example: If the Canon EF-mount FFD is 44mm, then we need a lens whose FFD is larger than 44.00mm.
Medium format camera lenses are the best choice because they have larger FFDs than DSLRs use. This also means that the image projected from the lens will cover the entire sensor since with its ‘intended’ use it has to cover quite a bit more area.
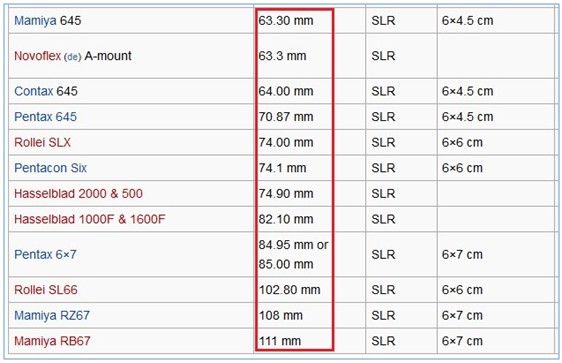
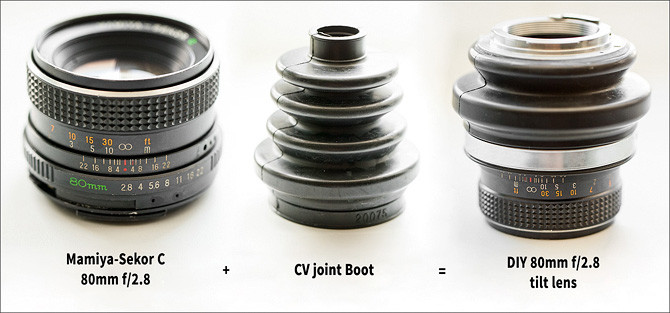
I chose the Mamiya 645 lens Mamiya-Sekor C 80mm f/2.8 (FFD 63.30 mm) to use on my Canon 5D classic (FFD 48.00 mm). This means that I will have 63.30 – 44.00 mm = 19.30mm free space between the camera and lens for tilting.
Supplies I used for my DIY Tilt lens:
Instructions
The operation is quite simple (though I take no responsibility if you happen nuke your lens, so attempt at your own risk):
1. Remove the lens bayonet to gain some more free space with the CV joint boot.
2. Mount the CV joint boot on the lens with a clamp (was provided with CV joint Boot) leaving the focusing ring outside for focusing purposes.
3. On the other side cut off a part from CV joint Boot (we don’t need it so long) and glue the M42 to Canon EOS adapter with epoxide glue.
Now, you can tilt the lens any direction, press towards the camera, focus, and change aperture. At the beginning it was difficult to get correct exposure and focus, but it is only a matter of time and practice ? so keep at it.
Some Examples