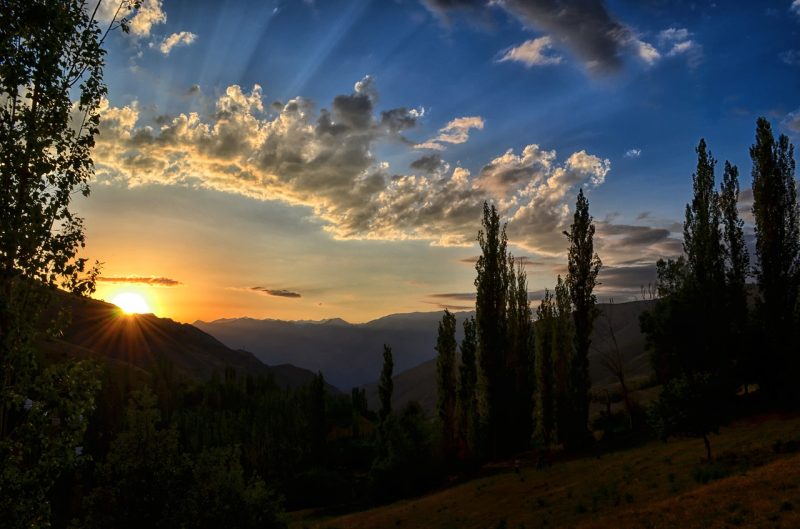
Photo by kareni / CC0
The sky is a critical element to many landscape images. Sometimes photographers don’t think too much of it and focus more on flashier subjects like mountains, lakes, and forests. The sky is not only an enhancement but can be the main event unto itself. So what do we need to really capture great photographs that include the sky?
Wide Angle Lenses
When it comes to capturing photographs that convey the expansiveness of the sky you want as wide a view as possible. Most landscape photographers will want to carry a lens in the 10-15mm minimum focal length range. Changes in focal length are much more noticeable on the wide-angle end compared to the telephoto end. 10mm to 14mm will have a very large impact on the field of view compared to 196-200mm.
Aperture-wise, while it’s always nice to have a fast aperture like f/2 or f/2.8, in landscape photography we’re almost always going to be increasing our aperture for extra depth of field. The depth of field is how much of a scene is in sharp focus. Therefore, buying a wide angle lens that stops down the aperture as the focal length increases (like a 12-35mm f/2.8-4.0) or simply a f/3.5 or higher is a good purchase for most landscape photographers.
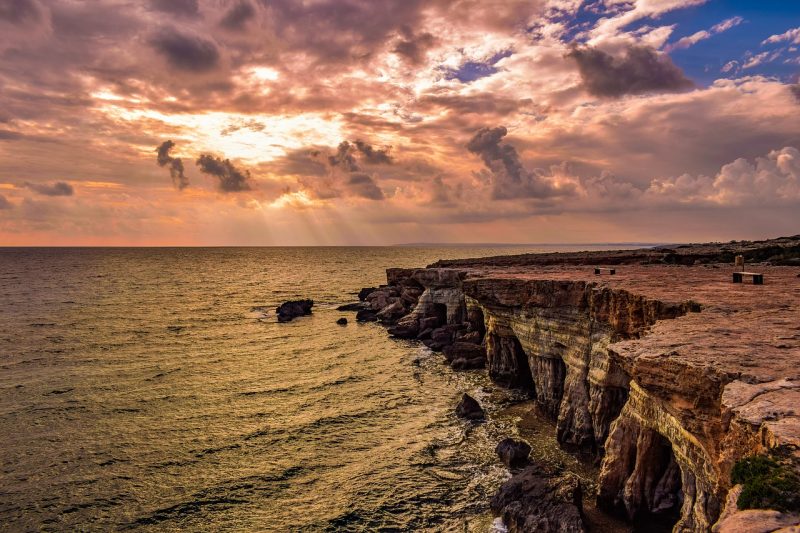
Photo by dimitrisvetsikas1969 / 9225 / CC0
Bringing Out All the Details
The sky is often full of haze, dust, scattered light, and other elements that can make photography challenging. What are some ways to cut through all of that atmospheric gunk? One of the most powerful tools in the arsenal of anyone looking to photograph the sky is a circular polarizing filter.
Haziness from dust and other sources are all caused by light scattering. The scattered light effectively acts in the same way glare does from a brightly lit pane of glass. If the atmosphere didn’t scatter sunlight it would appear black during the day.
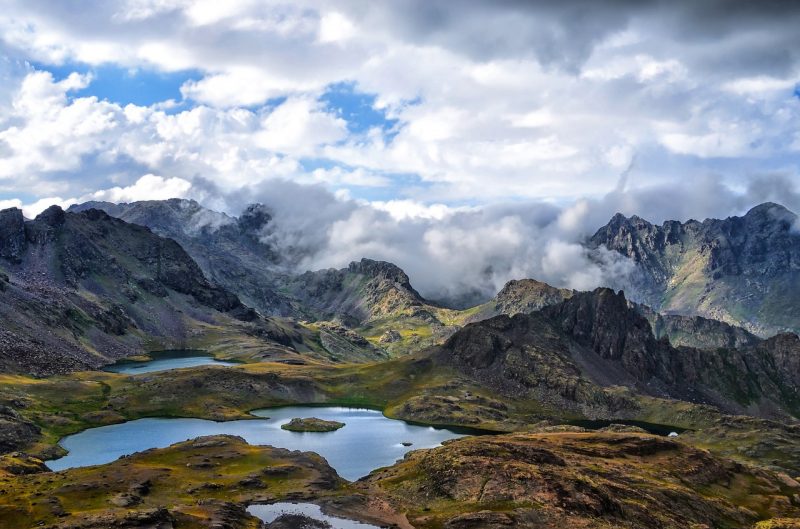
Photo by kareni / CC0
Fortunately, even polarizing filters don’t cut out 100% of scattered light or it would create a very strange scene. Polarizing filters cut down on scattered light to enhance the contrast of the daytime sky. Blues deepen and the natural tone gradient between the upper and lower atmosphere can stand out. Clouds also show more detail because the atmospheric haze between you and the clouds is reduced or eliminated. The filter must be rotated until the interference disappears; the position of the filter depends on the angle between your light source and your subject. But little calculation is required; simply rotate your filter while looking through the viewfinder.
Cameras aren’t always as smart as the human eye and brain at decoding exposure. Sometimes the sky appears overpoweringly bright and almost impossible to photograph without some extra gear. Graduated neutral density filters are well worth looking at in situations like this. A graduated ND filter has half of the filter darkened to a certain amount, expressed as ND numbers. An ND 2 filter provides 1 stop of light reduction, which cuts incoming light by 1/2. An ND 8 filter provides 3 stops of light reduction or 1/8th of the amount of normal light. One might use an ND 8 filter on a bright sunny day to capture fine details in the sky without under or overexposing the valley below. For a sunset, an ND 2 filter might be enough to capture sky details without spoiling the dim ambience.

Photo by PIRO4D / CC0
How to Capture a Dramatic Sky
Even when we have a subject that’s interesting in its own right, sometimes the sky is where all of the viewer’s attention goes. So why not compose the scene to take advantage of that large, colorful expanse of the sky? One great way to do this is to think in terms of a Rule of Thirds grid.
Many interchangeable lens cameras come with Rule of Thirds grids that will divide the viewfinder into nine equal portions using equidistant pairs of horizontal and vertical lines. If we align the horizon along the lower horizontal line we get a beautiful “big sky” effect that adds a powerful sense of drama to the scene. The choice of a wide angle lens makes this effect even more powerful.
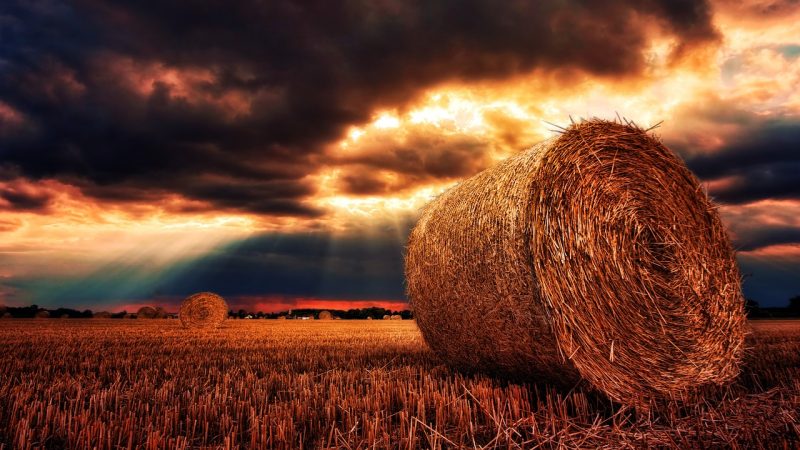
Photo by jplenio / CC0
Another way to capture a stunning sky image is to slow the shutter speed down. With long exposure times of 2-10 seconds, depending on the wind speed, clouds begin to take on a hazy, dream-like quality. This type of photography is especially effective and dramatic when done around bodies of water. Like the clouds, the moving water can be made to appear smooth and hazy with some creative photography. But if we leave the sensor open for 2-10 seconds without filters the result will be an overexposed mess, no matter what aperture or ISO we use.
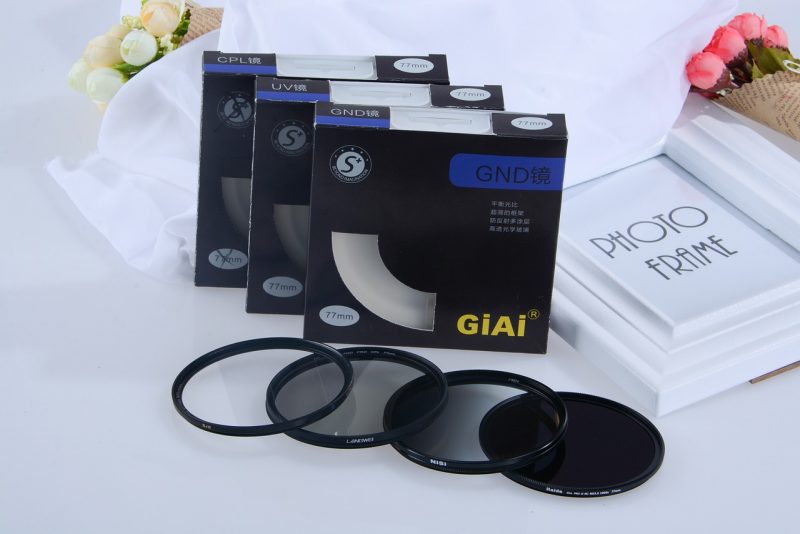
Photo by zlyce / CC0
Neutral Density filters come to our rescue once again. Only this time we don’t want graduated filters. Depending on the length of our exposure time, we want either a single ND filter or several stacked on top of each other. An ND 2 and an ND 4 together act as an ND 6 filter would. Using enough light reduction combined with a longer exposure allows us to create photos that have normal exposure yet dramatically altered cloud patterns like the one below. A tripod is also mandatory here since the exposure times are so long. Every scene is different so the technique takes a few tries before you can confidently take multiple shots but its well worth exploring.
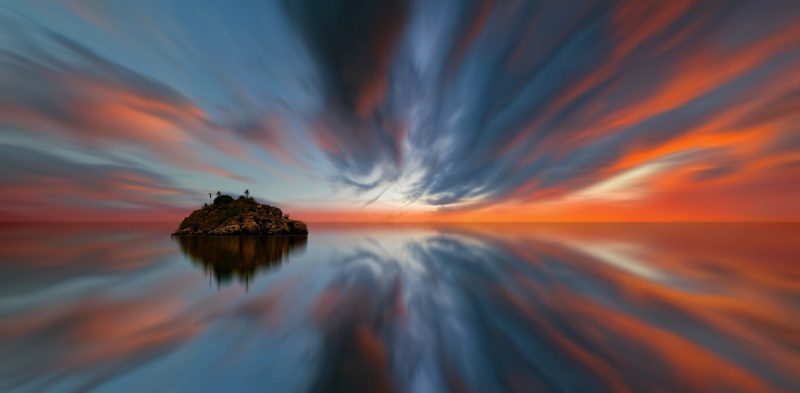
Photo by jplenio / CC0
The sky is a great place to point your lens as a landscape photographer. So instead of treating it as the background try making the sky your subject in your next photo shoot. Good luck snapping out there!
Photo license link: CC0