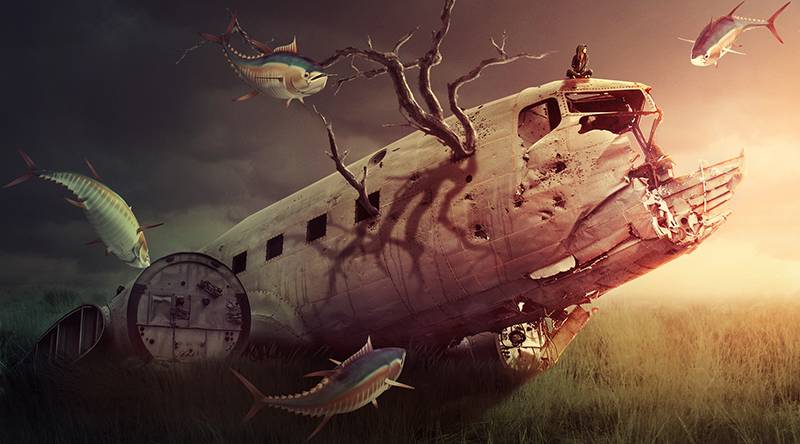
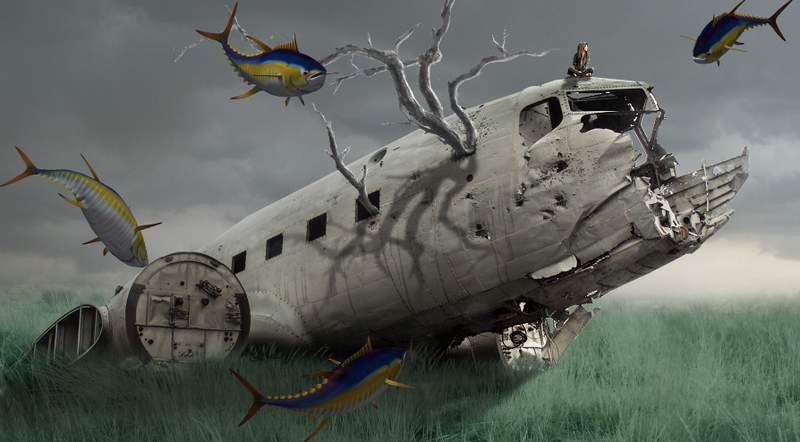
In this Photoshop tutorial, I’ll show you how to create a surreal scene featuring a girl watching flying big fish on a wreck.
You’ll learn how to combine several stock images together using adjustment layers, masking and brushes. You’ll also learn how to enhance color, paint light and more.
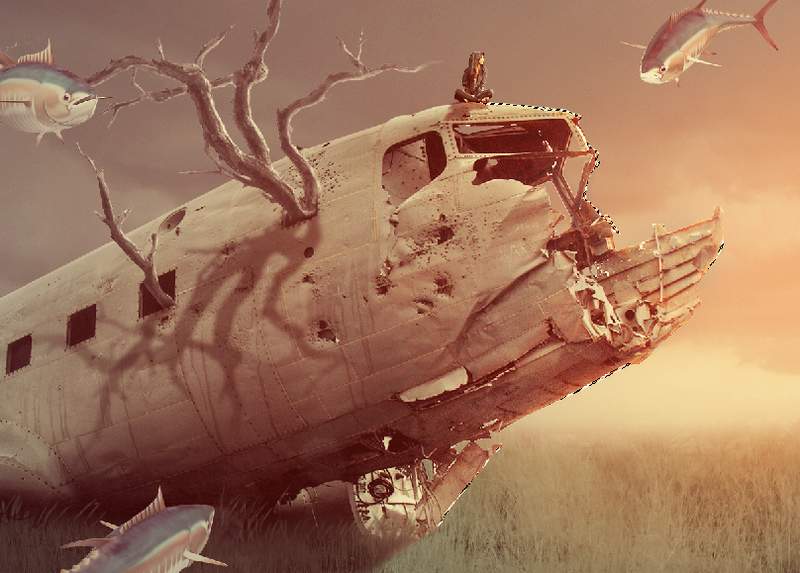
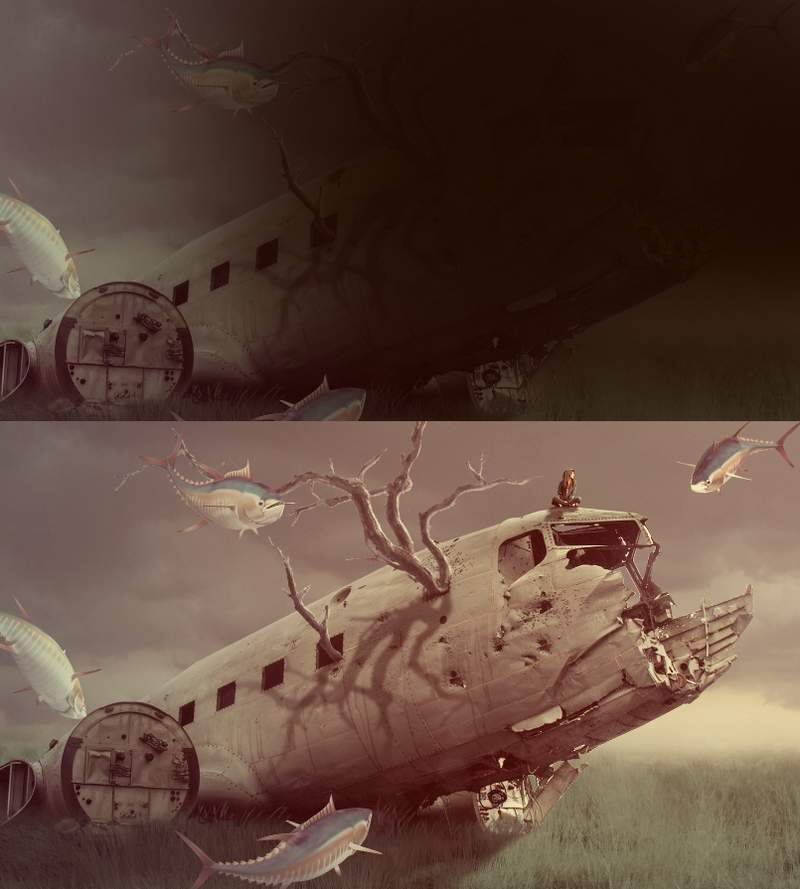
Final Image
Tutorial Details
- Program : Photoshop CS3+
- Estimated Completion Time : 120 minutes
- Difficulty :Intermediate
Resources
Step 1
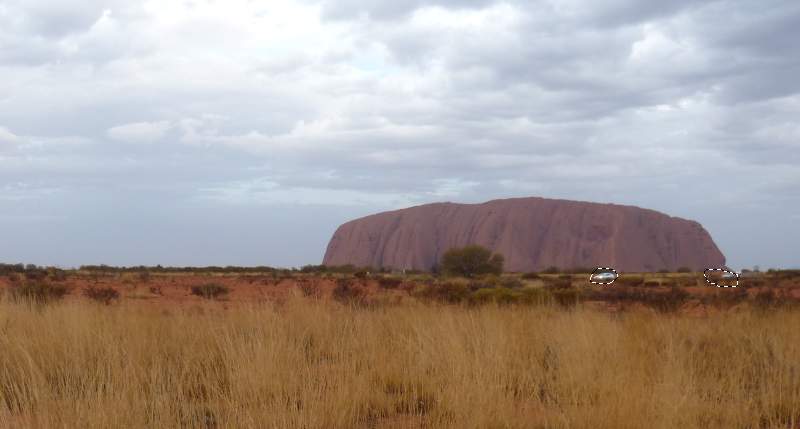
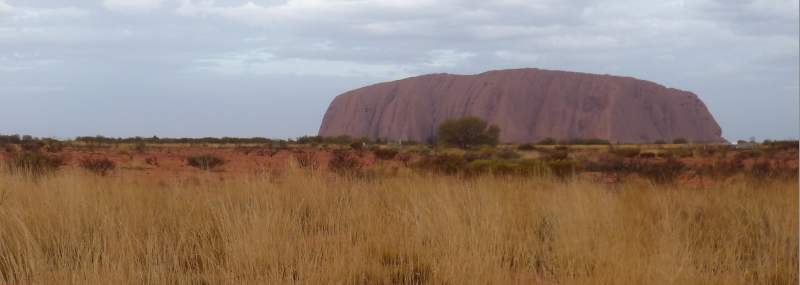
Create a new 1800×1000 px document in Photoshop and fill it with white. Open the field image. First create a new layer above the background layer and activate the Clone Tool (S) . Use this tool to remove the cars in the background.
Step 2
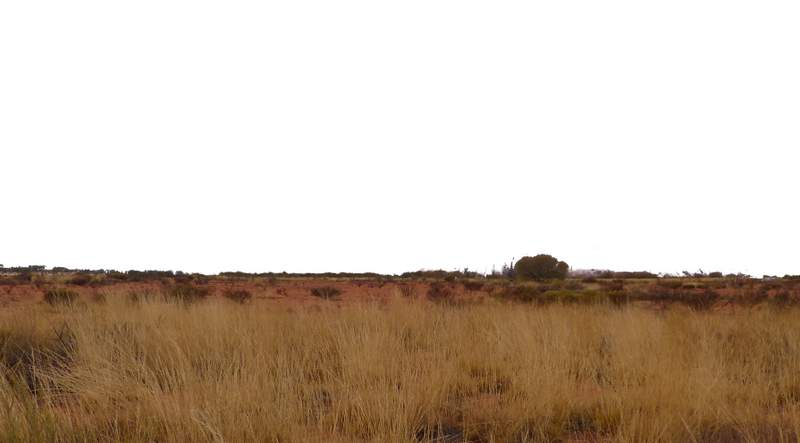
Hit Ctrl+Shift+Alt+E to merge the background and the cloning layer into a new one. Isolate the field from the background using the Polygonal Lasso Tool (L) or any tools you’re familliar with. Drag the field image into the white canvas using the Move Tool (V) .
Step 3
Go to Layer> New Adjustment Layer> Hue/Saturation and set it as Clipping Mask . Decrease the Saturation value to -84 :
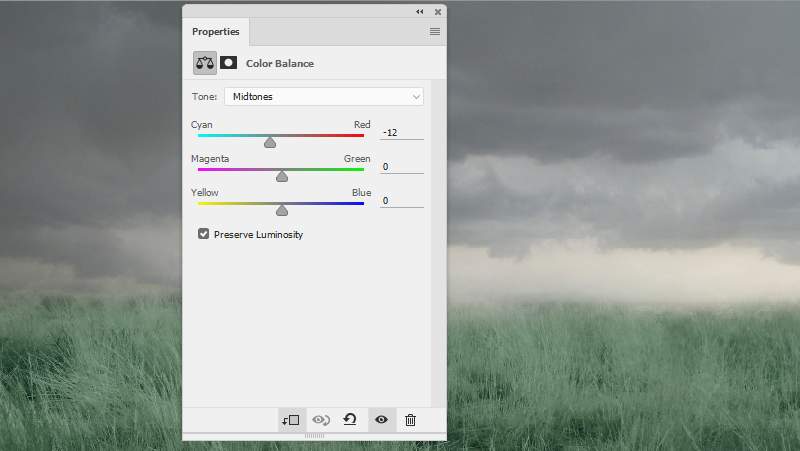
Step 4
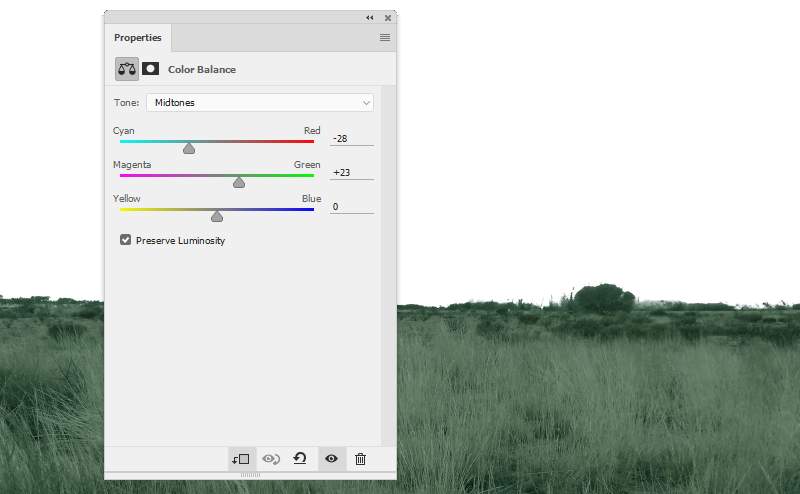
Use a Color Balance adjustment layer to change the field’s color.
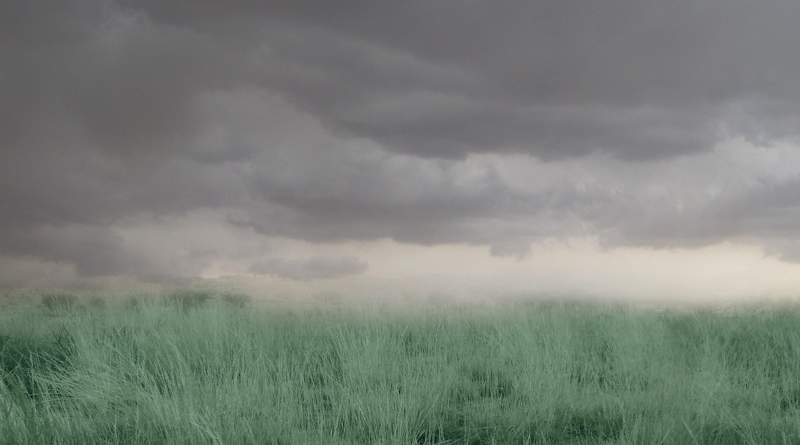
Step 5
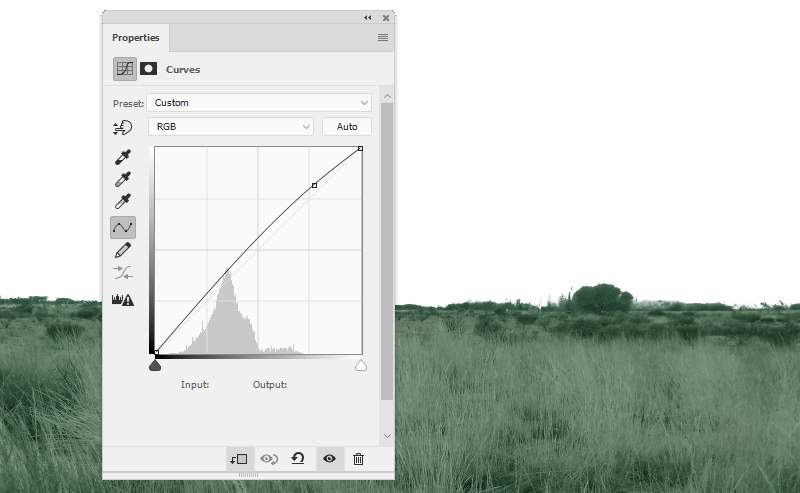
Add a Curves adjustment layer to brighten the field a little.
Step 6
Open the sky image and use the Rectangular Marquee Tool (M) to select the sky only and place it above the field.
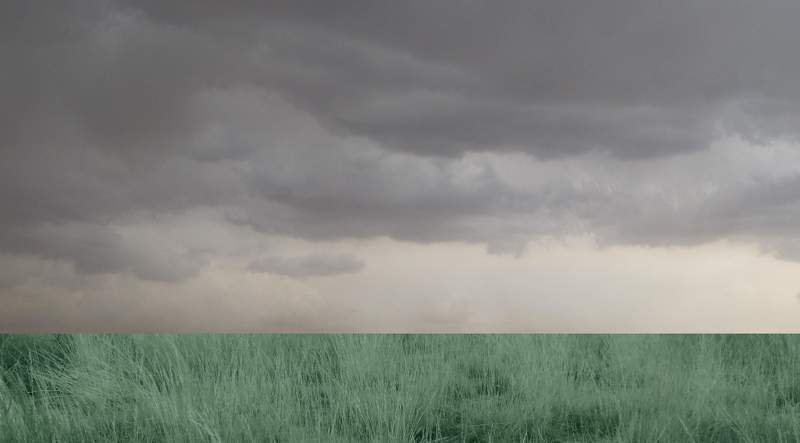
Click the second icon at the bottom of the Layers panel too add a mask to this layer. Use a soft black brush to remove the hard edges and blend the sky with the ground.
Step 7
Create a Color Balance adjustment layer to change the sky’s color.
Step 8
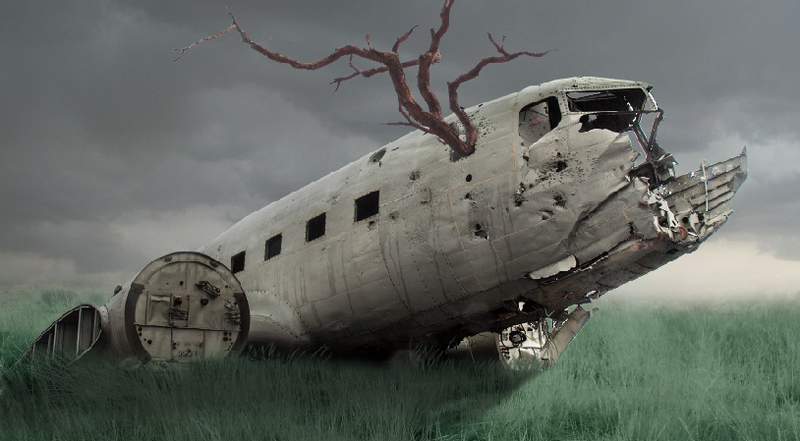
Isolate the wreck from the background and add it to the middle of the grassy ground. Use a layer mask to blend its bottom with the grass.
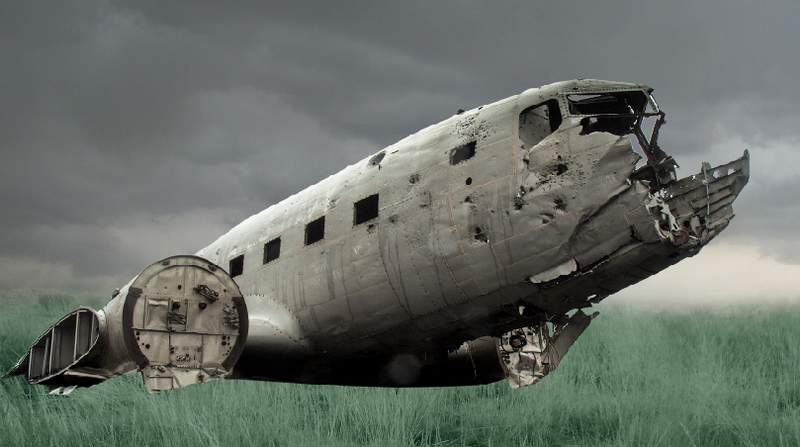

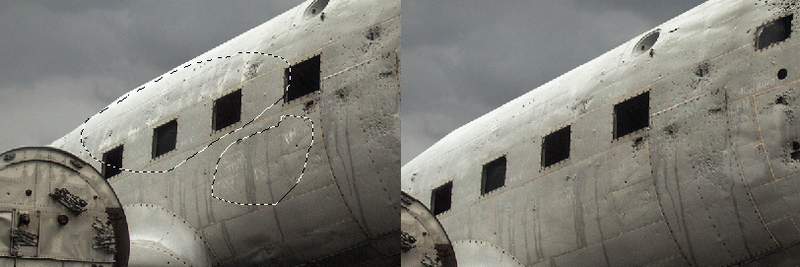
Step 9
Make a new layer (set as Clipping Mask ) and use the Clone Tool (S) to remove the letters on the wreck.
Step 10
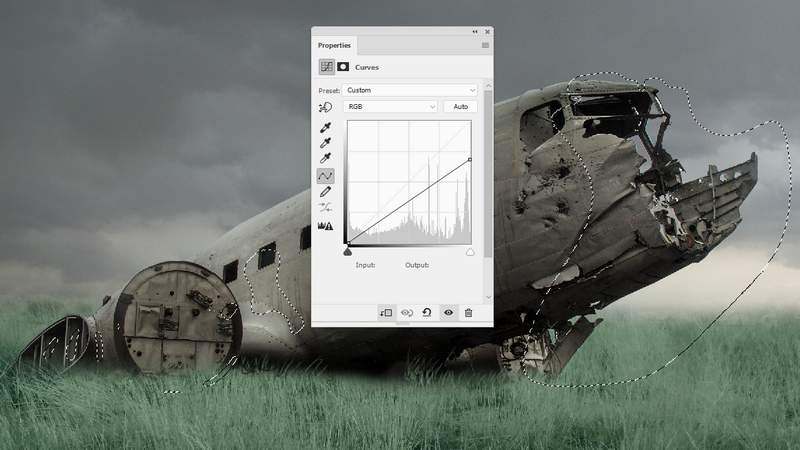
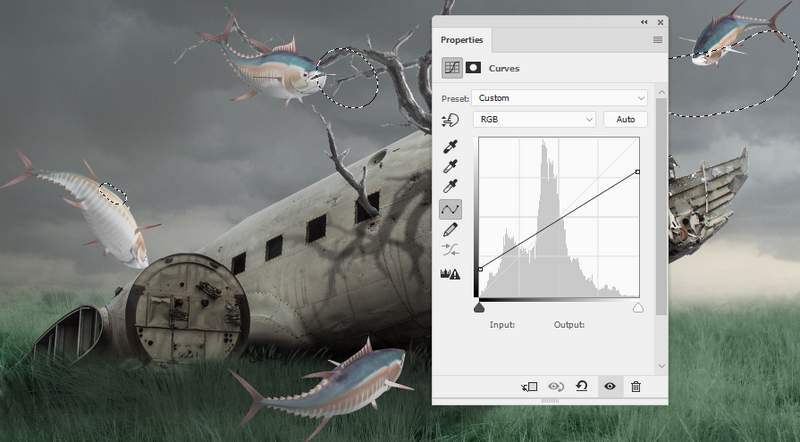
Create a Curves adjustment layer to darken the wreck. On the layer mask, use a soft black brush to remove the effect on the details which are dark already.
Step 11
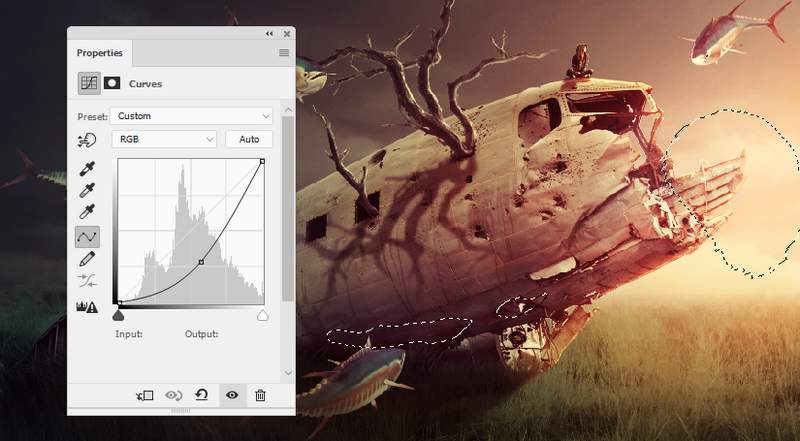
Add another Curves adjustment layer to bring more light to the right of the wreck (from the viewer). Paint on the left or the areas you feel bright enough.
Step 12
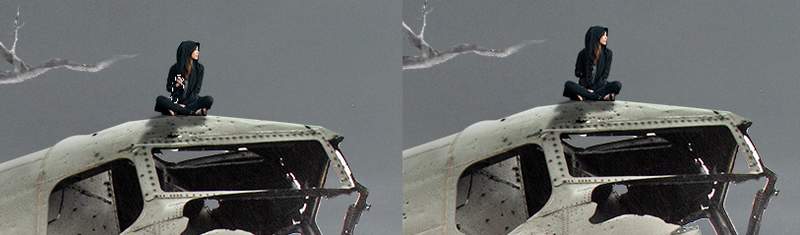
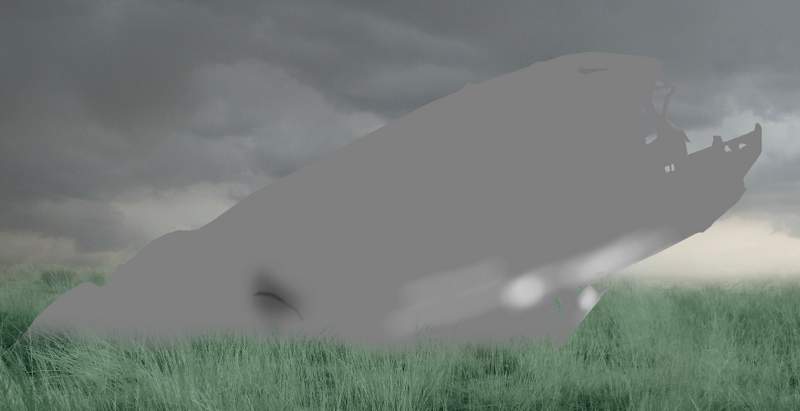
Create a new layer, change the mode to Overlay 100% and fill with 50% gray:
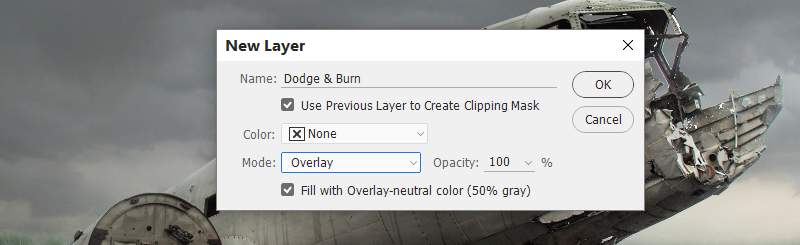
Select the Dodge and Burn Tool (O) with Midtones Range, Exposure about 10-15% to refine the light and shadow on the wreck. You can see how I did it with Normal mode and the result with Overlay mode.
Step 13
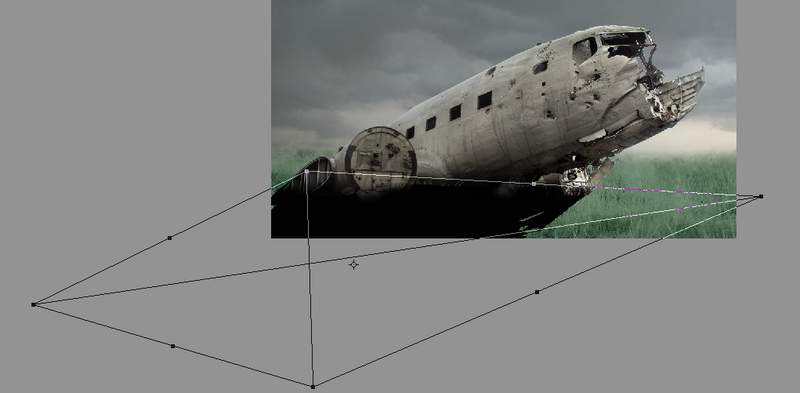
We aim to make the main light from the right and the front of the wreck. Make a new layer below the wreck one and load its selection by holding Ctrl and clicking the wreck thumbnail layer.
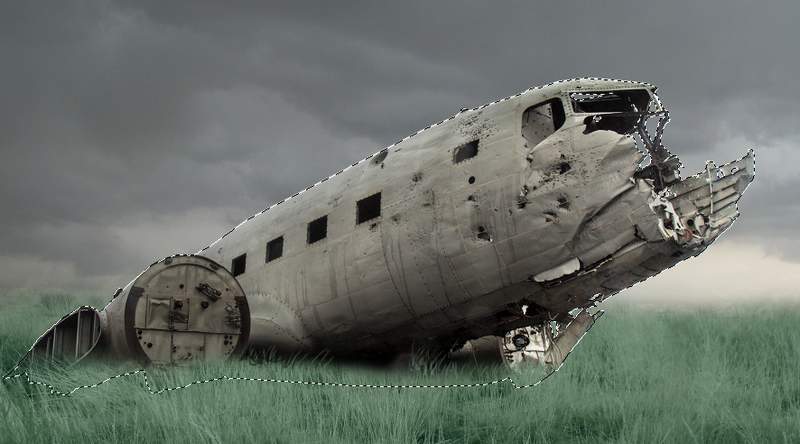
Fill this selection with the color #010101 and flip it vertically (Edit> Transform> Flip Vertical). Use the Free Transform Tool (Ctrl+T) to rotate the shadow to fit the light’s direction:
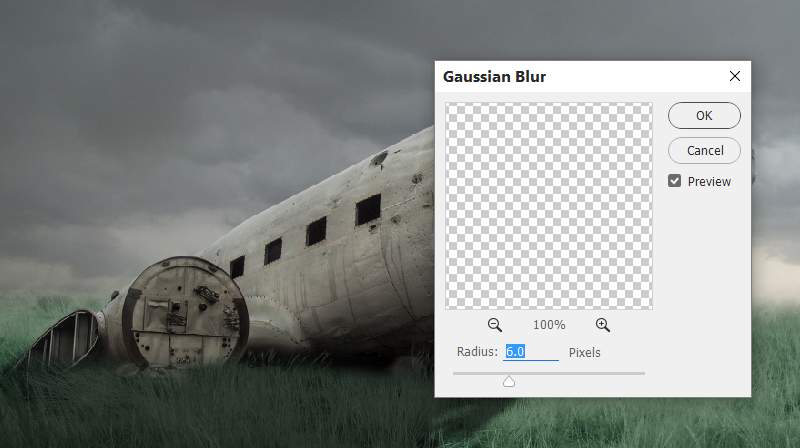
Lower the opacity of this layer to 60% and go to Filter> Blur> Gaussian Blur. Set the radius to 6 px:
Step 14
Use a layer mask to soften and reduce the shadow visibility.
Step 15
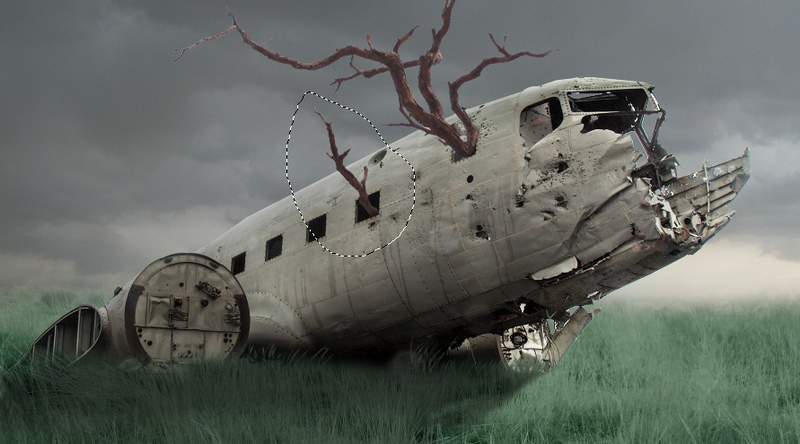
Cut out the tree from the original background and place it onto the wreck.
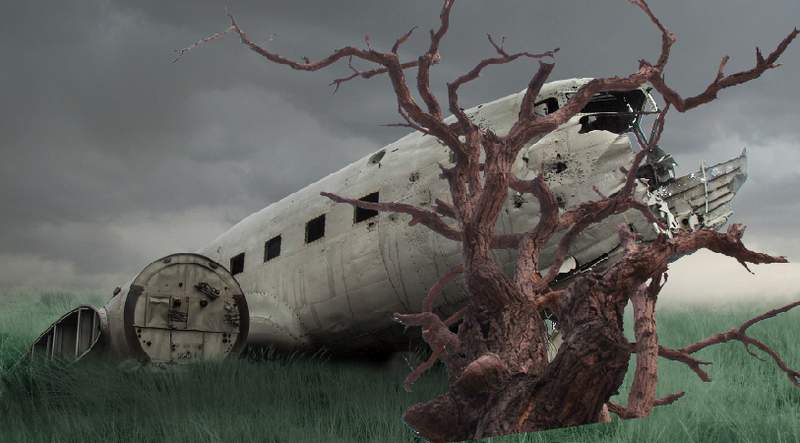
Use a layer mask with a hard back brush to remove the lower parts of the tree, make it look like coming out from a hole on the wreck.
Step 16
Add a small branch from the tree to the lower hole on the wreck.
Step 17
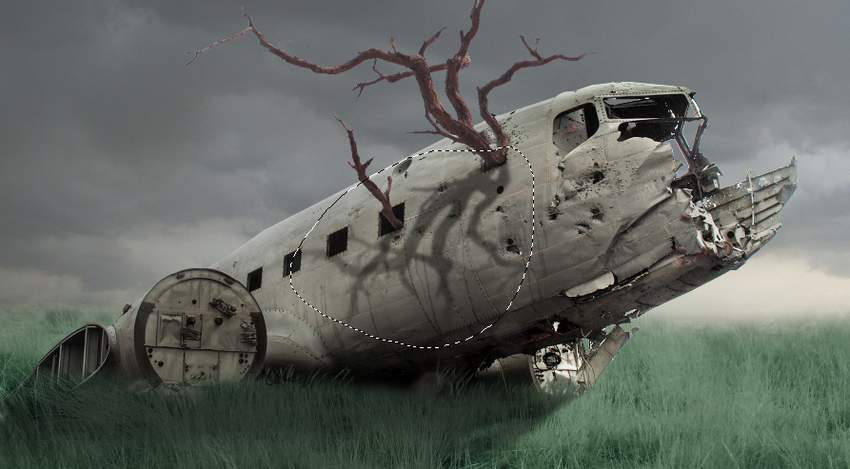
Make shadow for these branches as done with the wreck.
Step 18
On the big tree layer, create a new layer, change the mode to Overlay 100% and fill with 50% gray. Use the Dodge Tool to brighten the lower detail of one of the branches.
Step 19
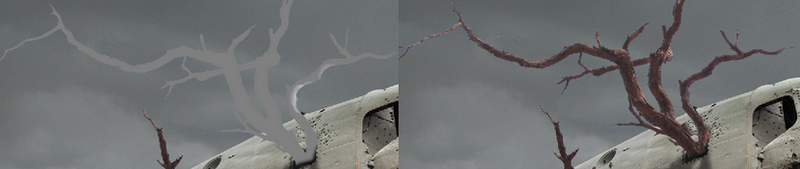
Select all the branches layers and hit Ctrl+G to make a group for them. Change the group mode to Normal 100% and add a Hue/Saturation within this group.
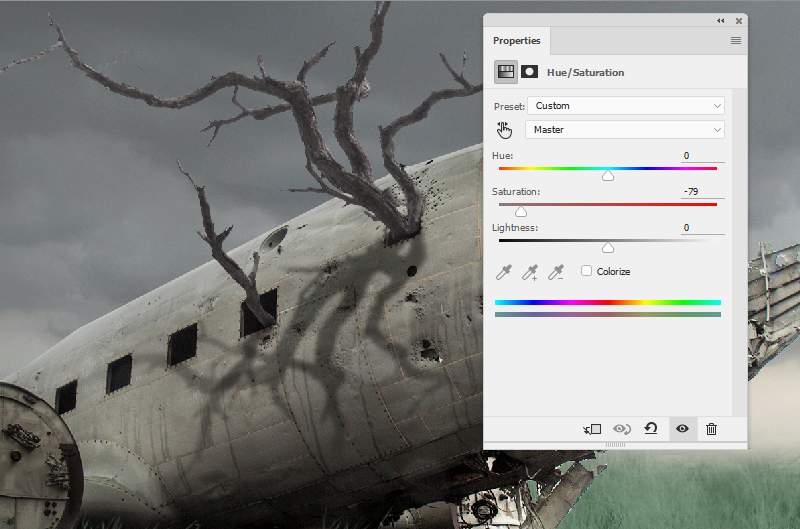
Step 20
Create a Color Balance adjustment layer and alter the Midtones settings:

Step 21
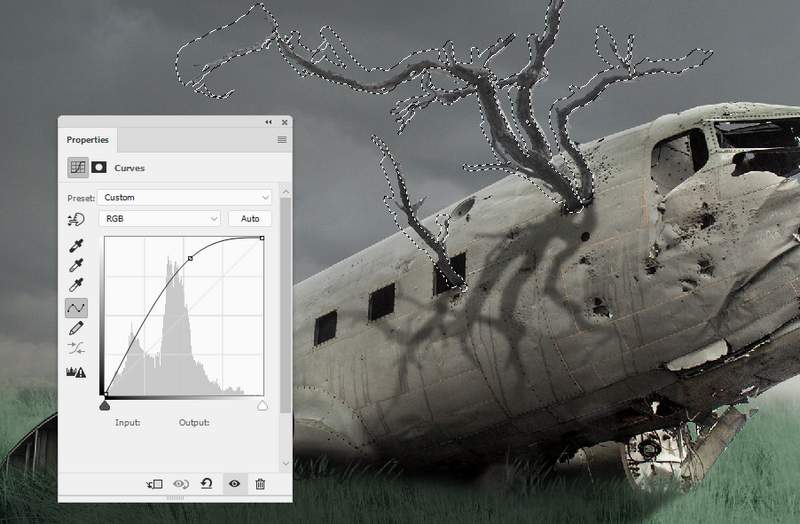
Make a Curves adjustment layer to bring more light to the trees. Paint on the shadow sides so they won’t be affected by this adjustment layer.
Step 22
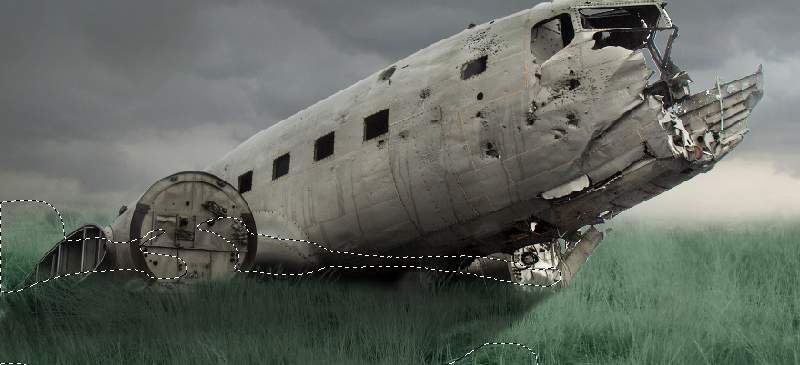
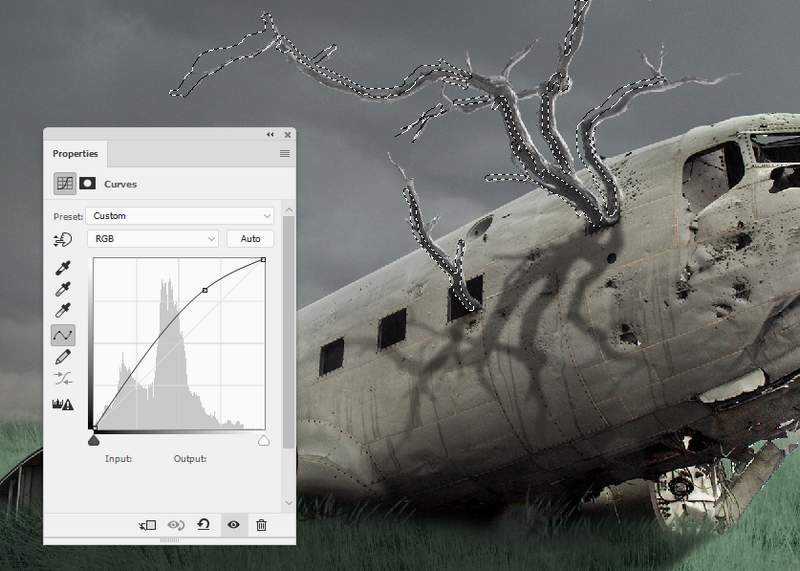
Make another Curves adjustment layer with the same purpose. The selected areas show where to paint on the layer mask.
Step 23
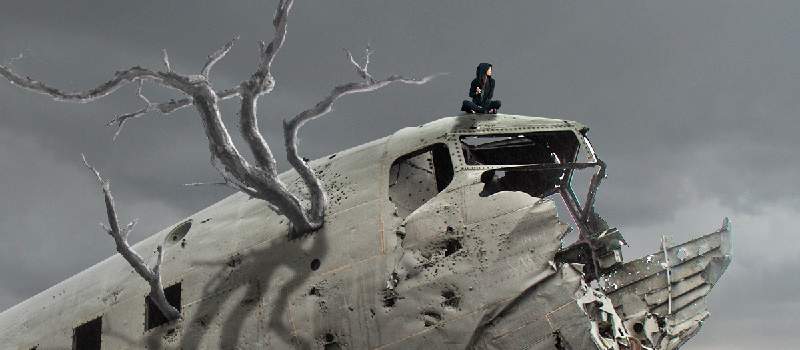
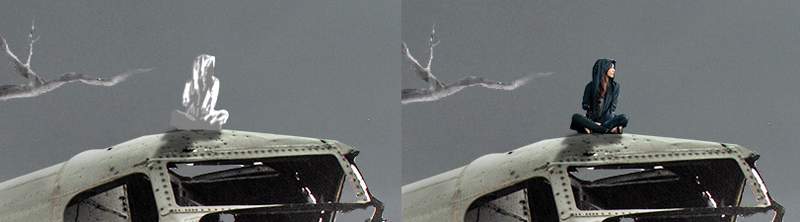
Cut out the model and add her to the upper area of the wreck.

Make her shadow as done with other subjects.
Step 24
Use the Clone Tool to remove this hand of the model, make it look like being covered behind the pocket.
Step 25
Use the Dodge Tool on a new layer to brighten the model.
Step 26
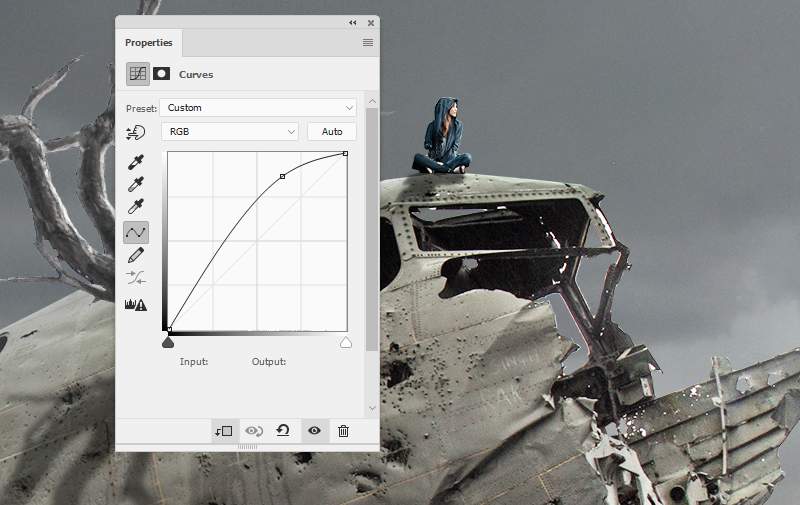
Make a Curves adjustment layer to bring more light to the model.
Step 27
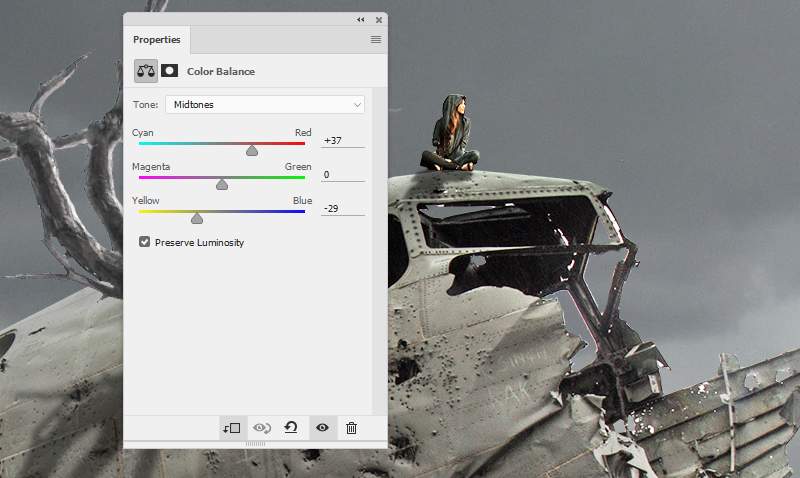
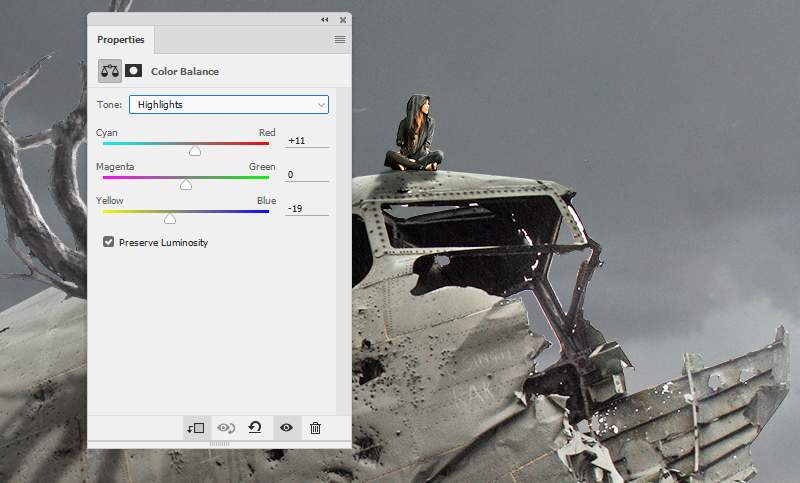
Add a Color Balance adjustment layer and alter the Midtones and Highlights settings:
Step 28
Open the fish image. As it has a transparent background so just need to use the Move Tool to drag different fish and arrange them over the main document.
Step 29
Create a Hue/Saturation to change the fish’s color.
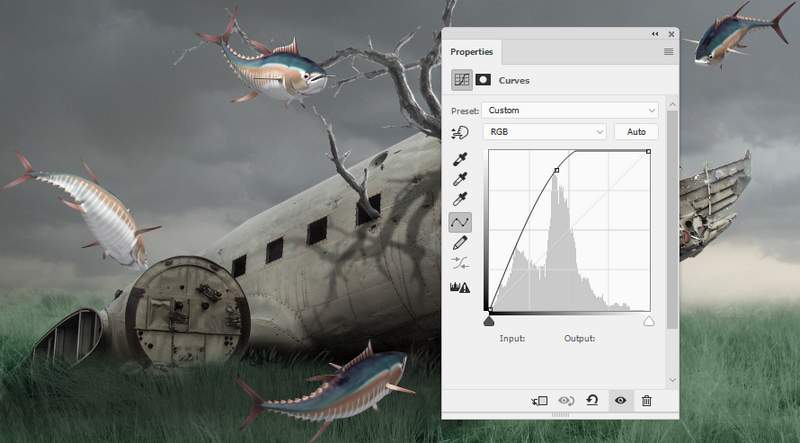
Step 30
Use a Curves adjustment layer to brighten the fish.
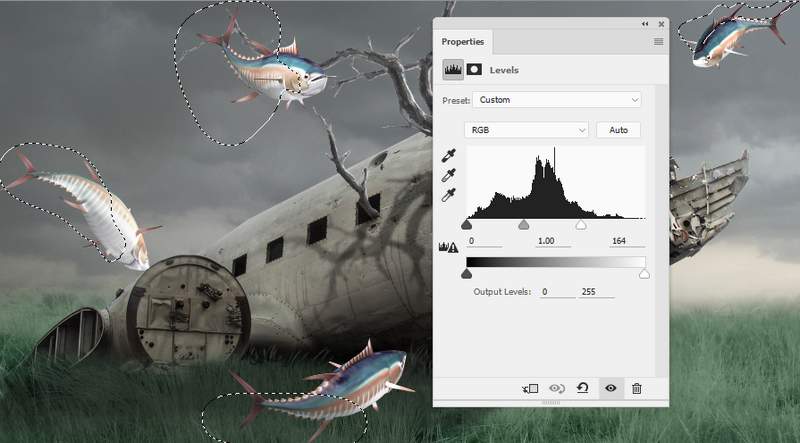
Step 31
Make a Levels adjustment layer with the same purpose. Paint on the shadow areas of the fish so they won’t be affected by this adjustment layer.
Step 32
Use another Curves adjustment layer to reduce the fish’s contrast.
Step 33
Make a new layer on top of the layers. Use a soft brush with the color #1f0b01 to paint on the right of the scene. Change this layer mode to Linear Dodge 100%.
Step 34
Create a new layer and change the mode to Overlay 100%. Take a soft brush with the color #efa67e to make the light more vibrant. Use a layer mask to reduce the light on the front of the wreck.
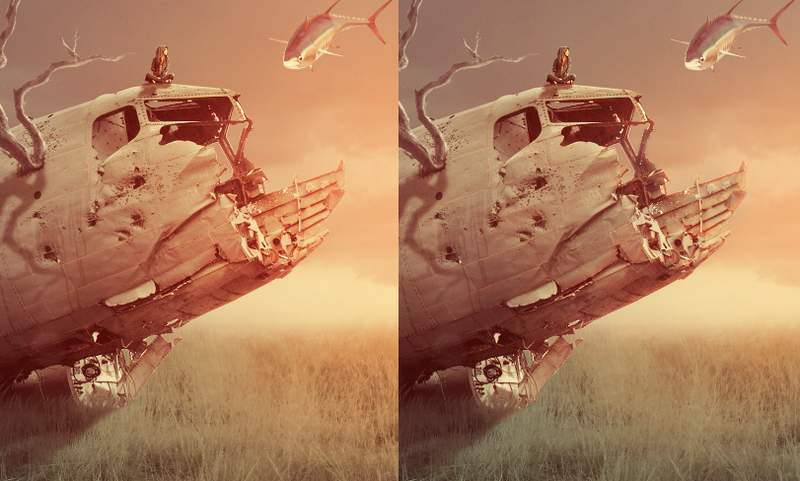
Step 35
Make a new layer and change the mode to Overlay 100%. Use a lighter brush (#fae6a4 ) to paint highlight for the contour of the wreck.
Step 36
Create a Color Balance adjustment layer to change the whole scene color a bit. Paint on the ground so it won’t be afftected by this adjustment layer.


Step 37
Make a Curves adjustment to bring more light to the right of the scene. Paint on the rest to keep its lightness.
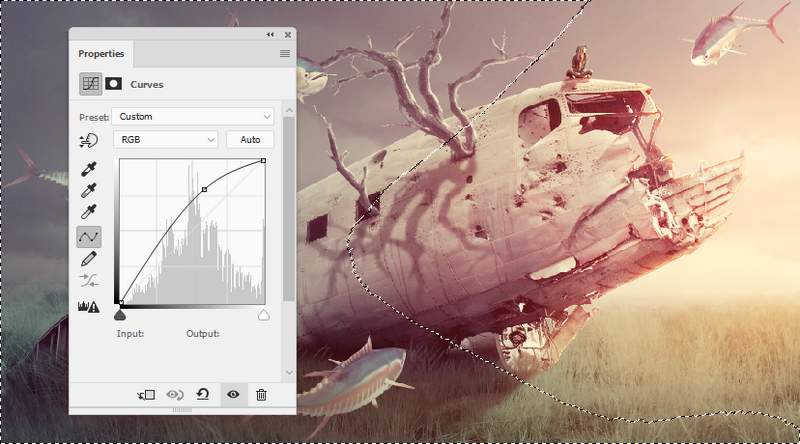
Create another Curves adjustment layer to darken the left. The selected area shows where to paint on the layer mask.
And We’re Done!
I hope that you enjoyed this tutorial.
