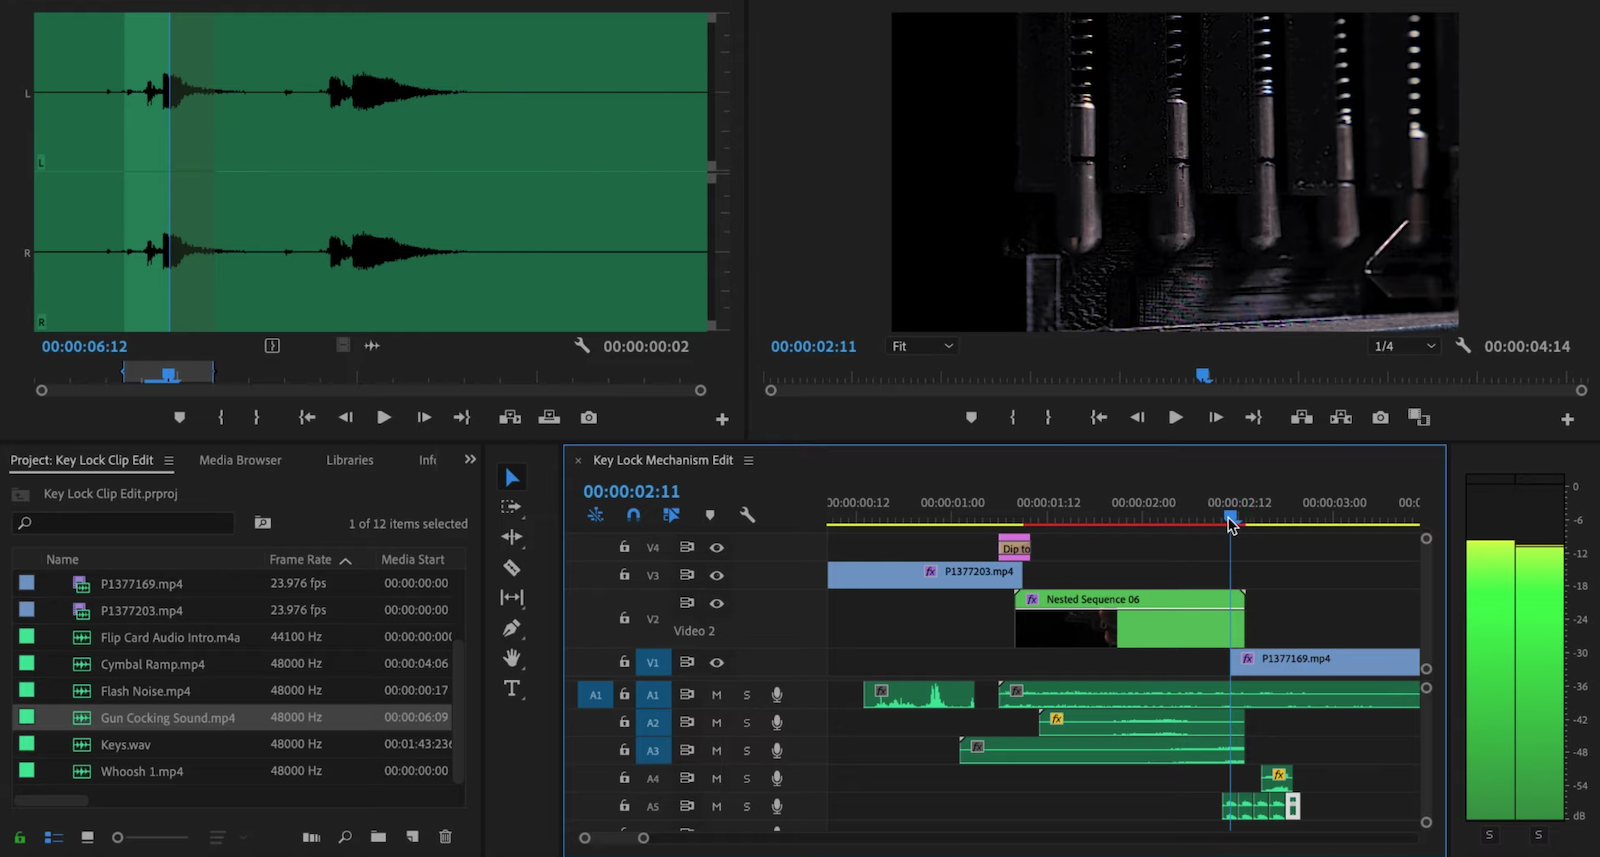
Filmmaker Daniel DeArco is back with the promised Part 2 of his tutorial on creating cool and compelling “match cuts” to up your transition game. In Part 1, he showed you how he captured the three shots that he would be using to create the match cut; in Part 2, he takes us the rest of the way there in post.
The clip that DeArco is creating in this video is this short transition made up of three different shots:
As he was putting together this two-part tutorial, DeArco realized that the key shot he’s using isn’t exactly “beginner-friendly” given the amount of work it takes to capture and splice together these three shots. So in this video, he starts out by putting together a very simple, easy-to-shoot and easy-to-edit match cut using a roll of tape and a bowl of fruit.
Then, once he’s done creating that clip, he dives back into the original three-clip sequence and brings you along as he edits that one together into the more complex final product.

If you want to follow along with any of this—be it the beginner-friendly “warmup” or the more complex key shot—check out the video’s description on YouTube where you can download all of the clips involved and follow along in Premiere Pro for yourself.
And if you want to see more from DeArco, “smash that subscribe button” while you’re there.