In this tutorial, you’ll learn how to get one very interesting mosaic effect in Adobe Photoshop.
Final Image Preview

Step 1
Create a new document with 1000px width and 600px height. Fill it with black color (#000000) and update layer name to Background (click twice on layer name).
Step 2
For this tutorial, we need to create an action. Make Actions Panel active with Window > Actions (or Alt+F9) and press Create new Action button on lower window options.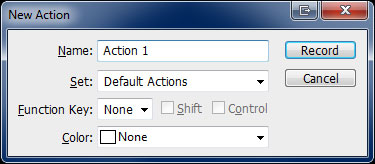
After that create a new layer and apply Filter > Render > Clouds. Change layer mode to Screen for this layer.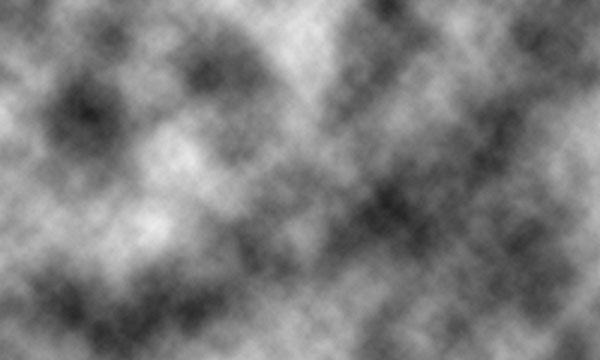
Step 3
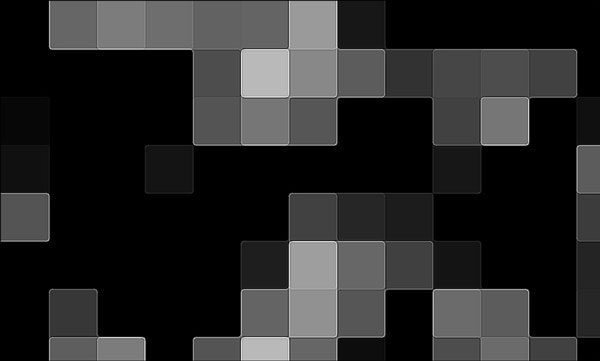
Apply Filter > Pixelate > Mosaic with following settings: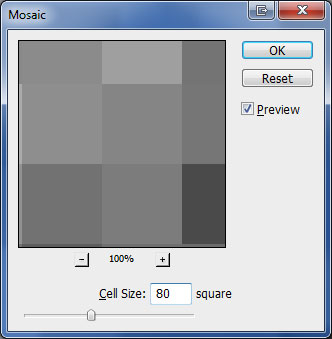

Step 4
Apply Filter > Sketch> Reticulation with following settings: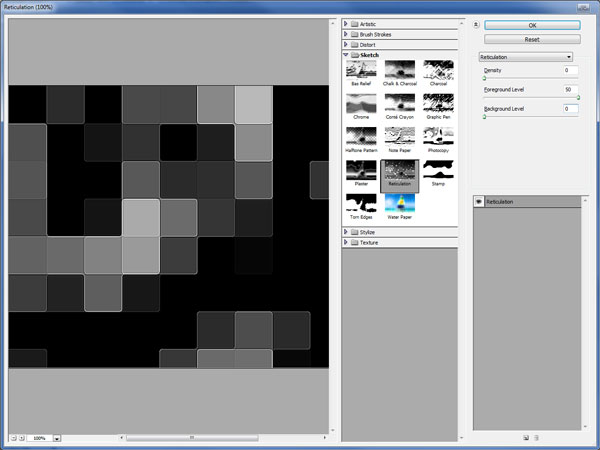
Now we need to stop recording our new action. Press Stop on Action panel. Make sure that your new Action only has the following items: Make layer, Clouds, Set current layer, Mosaic, and Reticulation. If you have more items remove them and if you have any missing delete Action and recreate it.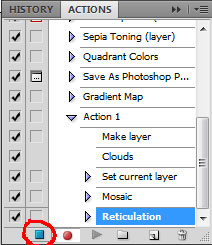
Step 5
With our Action created, we are going to create mosaic bricks. We need to apply our Action about 6-7 times more until all black spots will disappear on canvas.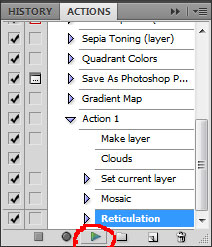
The result should be similar to this: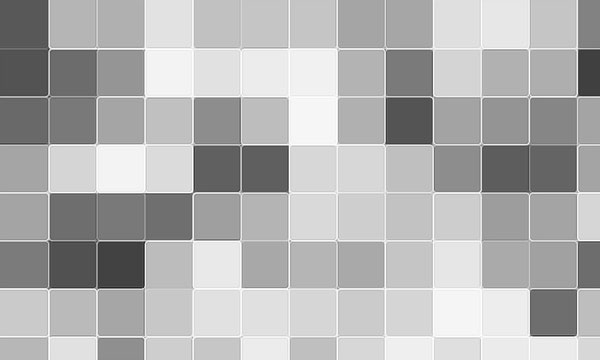
Merge all layers together except the background layer by selecting them and using Ctrl+E. After merge, change layer mode to Screen again. We now have only two layers: background layer and mosaic layer.
Step 6
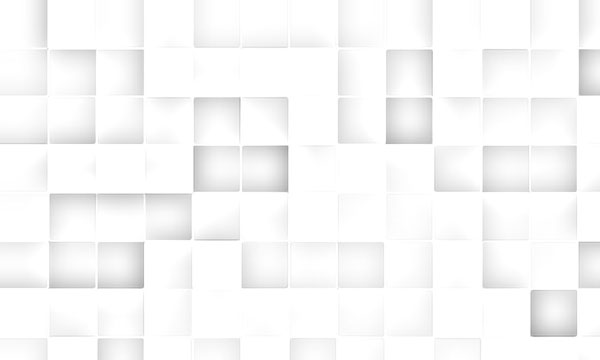
We now are going to add glow. Apply Filter > Sketch > Photocopy on the mosaic layer (Detail: 24 and Darkness:1).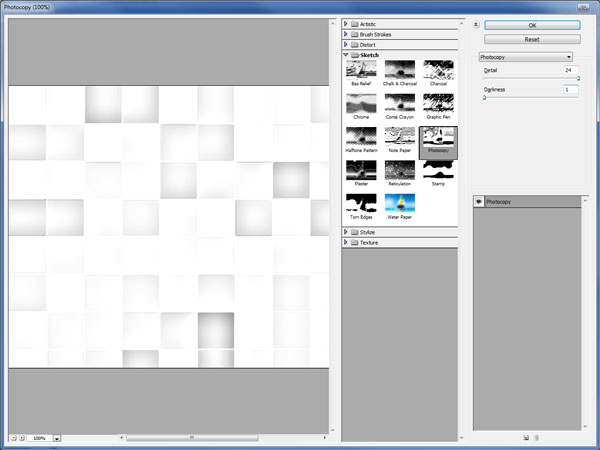
Step 7
Invert layer colors by pressing Ctrl+I.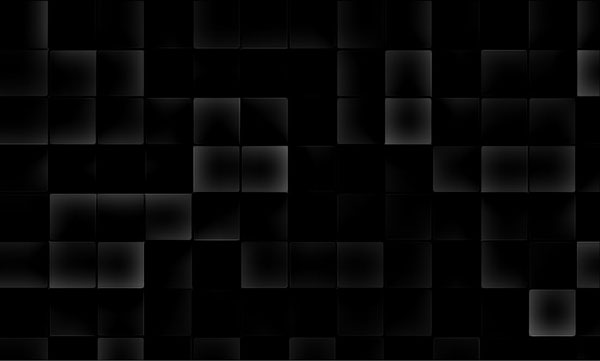
Step 8
Set Auto Contrast by going to Image > Auto Contrast (on older Photoshop versions it´s inside Image > Adjustments).
Step 9
Create new layer and change layer mode to Overlay. Select Brush Tool (soft round brush with about 80 pixels) and apply brush on edges of dark squares with white color.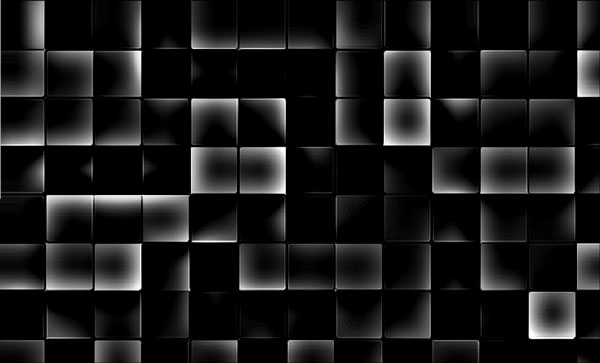
Step 10
Merge all layers except the background layer by selecting them and using Ctrl+E. Duplicate the mosaic layer again with Ctrl+J.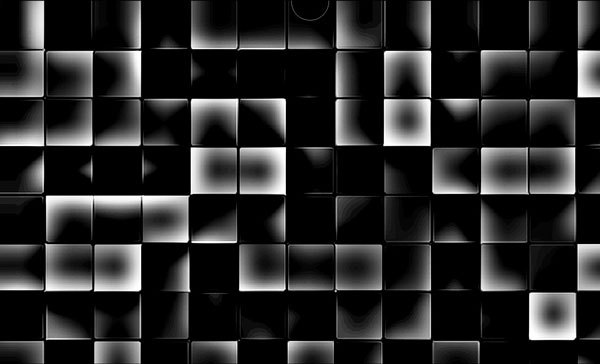
On duplicated layer apply Filter > Blur > Gaussian Blur. Change layer mode to Overlay.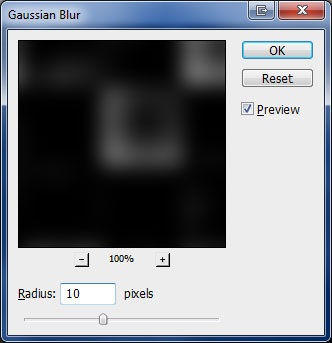
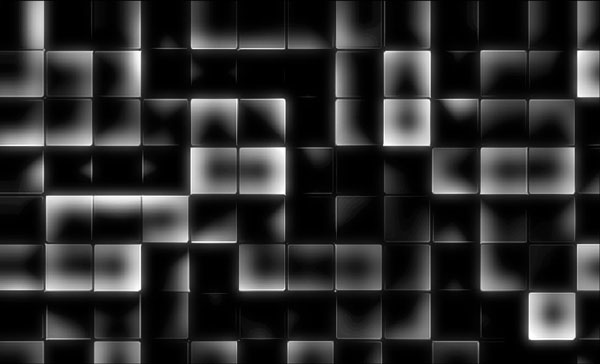
Step 11
Duplicate current layer with Ctrl+J to increase the effect.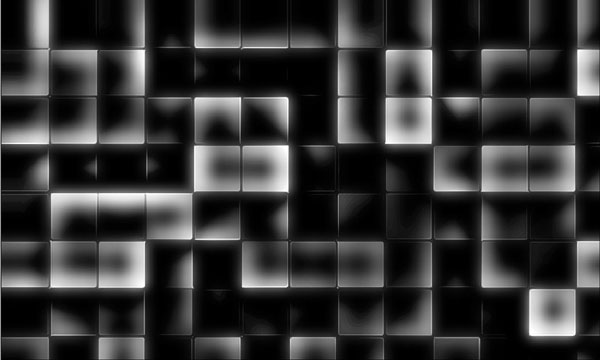
Merge all mosaic layers except the background layer.
Step 12
On this step, we are going to bring some color to the mosaic layer. Apply Image > Adjustments > Hue/Saturation with following settings: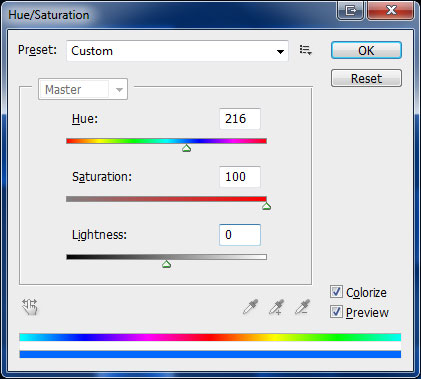
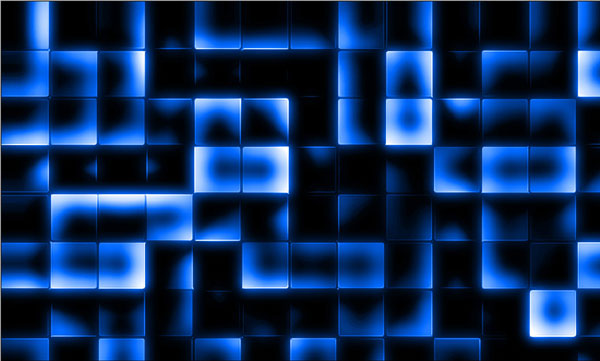
Step 13
Time to add some perspective to the mosaic. Use Edit > Transform > Perspective to transform mosaic to something similar to what I did on the image below.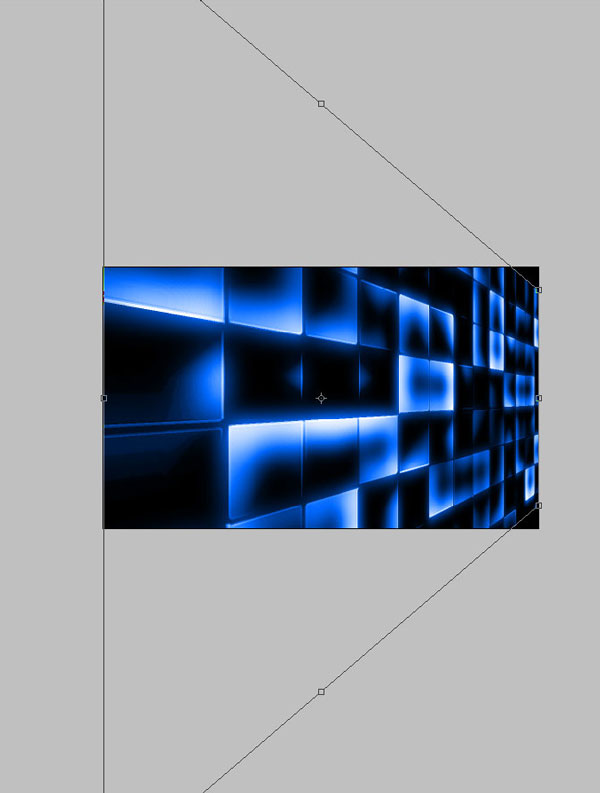

To remove too much-blurred areas if you have any, use Crop Tool to fix them.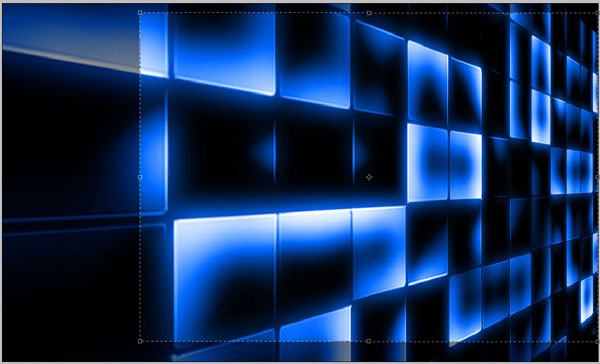

Final Image
We may add some additional colors to our mosaic.
Add a new layer and change layer mode to Overlay. Set up foreground color as purple (#8a00ff) and with Brush Tool selected (soft round brush with 300px) apply on the right side of mosaic.
Finally set up foreground color to blue (#002cff) and apply Brush Tool on the left side to increase brightness and add some glow.

And now this tutorial is complete.